


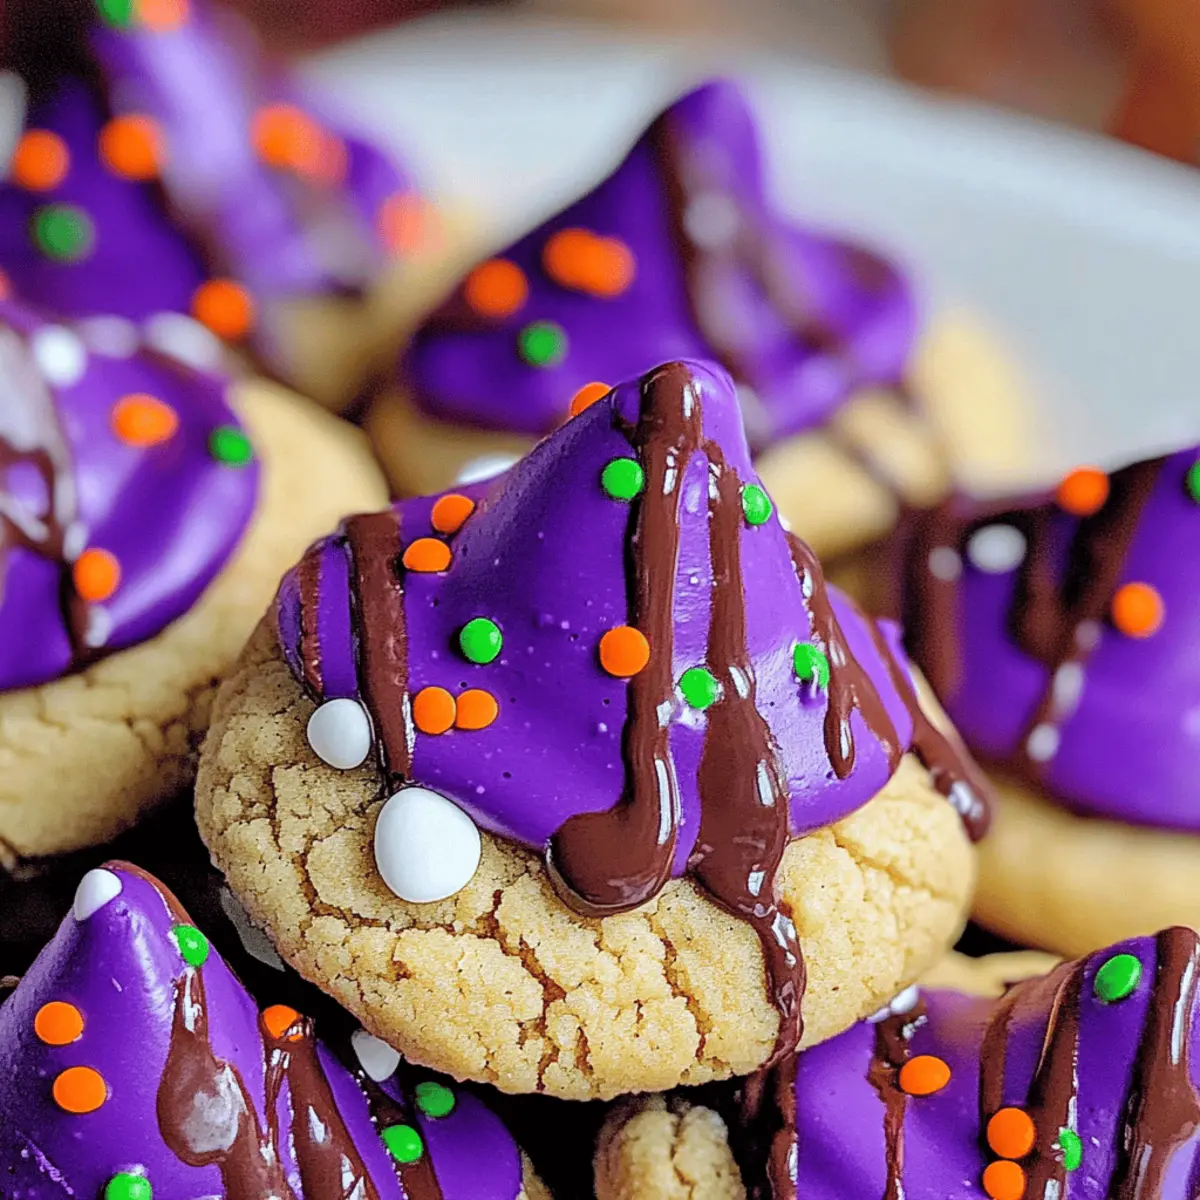
As Halloween creeps closer, the thrill of transforming the kitchen into a spooky bake shop fills me with excitement. That’s when I whip out my favorite recipe: Witch Hat Halloween Cookies, a playful twist on classic Peanut Butter Blossoms. These charming treats are not only super easy to whip up but also an absolute blast for getting the little ones involved in festive baking. Imagine rich, chewy cookies crowned with a delightful chocolate hug, creating the perfect visual feast for all your Halloween gatherings! Quick to prepare, they’re the ultimate crowd-pleaser and a guaranteed way to create heartwarming family memories. Are you ready to dive into the fun of festive baking this Halloween?
Why Are These Cookies a Must-Bake?
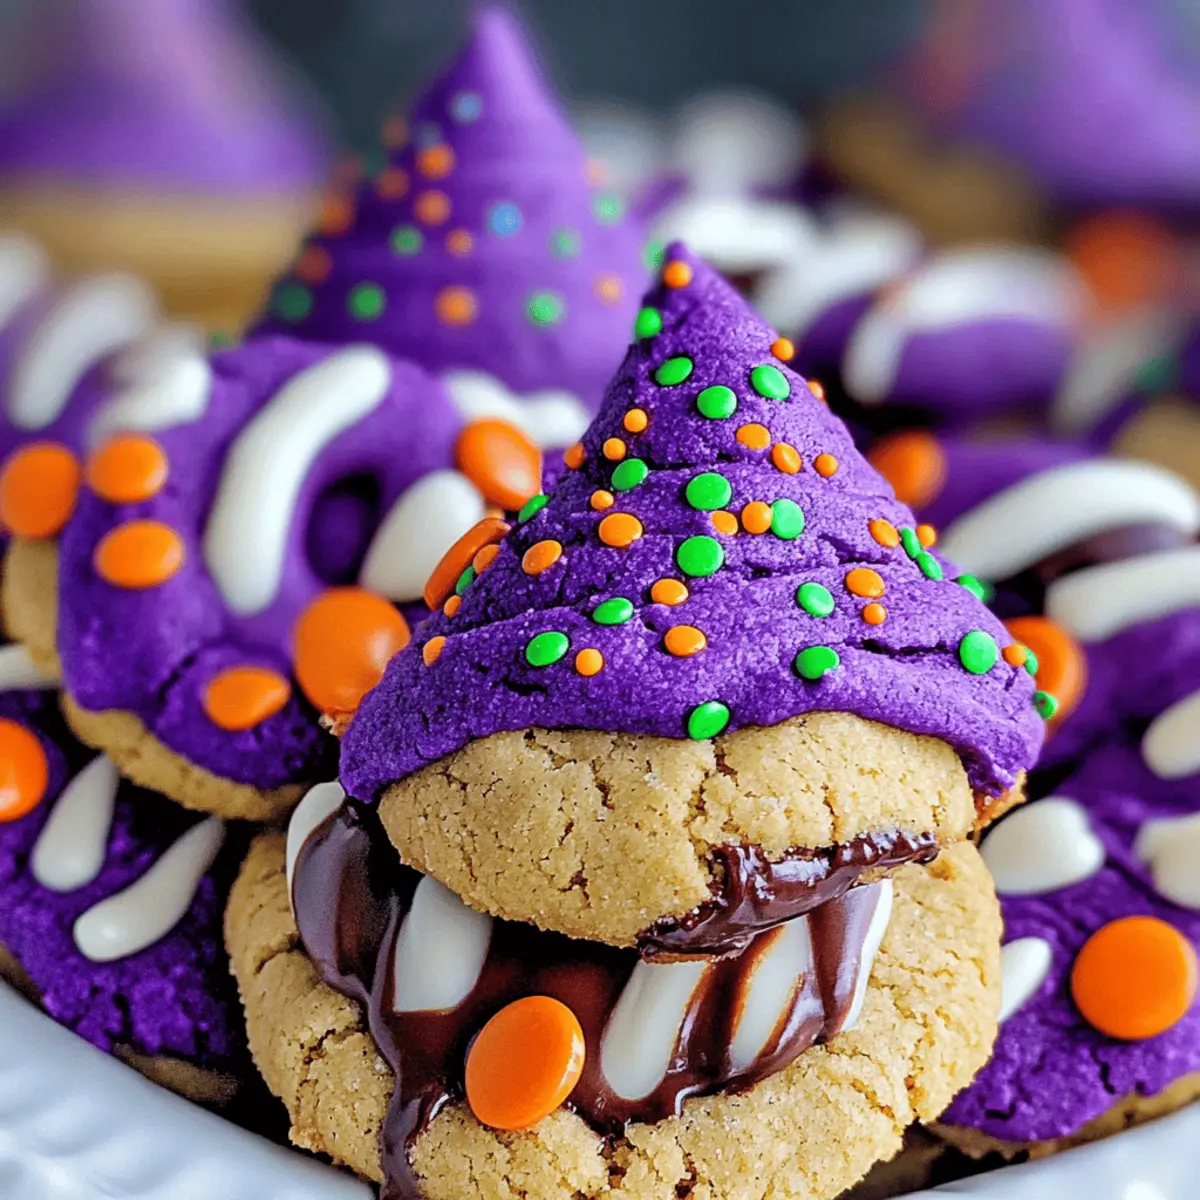
Festive Fun: These Witch Hat Halloween Cookies are a whimsical treat that adds a spooky flair to your Halloween celebrations.
Simple Steps: With just a few easy steps, you’ll master this delightful recipe, making it perfect for bakers of all skill levels.
Kid-Friendly: Involve the little ones in decorating these cookies, turning baking into a joyous family activity filled with laughter and creativity.
Irresistible Flavors: The rich peanut butter base combined with chocolate hugs creates an unforgettable taste sensation that everyone will adore—perfect for parties alongside drinks like hot apple cider or spooky milkshakes!
Versatile Variations: Feel free to experiment with different colors or toppings, ensuring there’s a festive option for every celebration.
Delicious Memories: Making these cookies will create cherished memories year after year, reminding everyone why homemade treats are always best.
Witch Hat Halloween Cookies Ingredients
For the Cookie Dough
- All-Purpose Flour – Provides structure. Note: For a gluten-free version, substitute with a 1:1 gluten-free flour blend.
- Cornstarch – Enhances softness and tenderness. Note: Ensure measurement is accurate for best results.
- Baking Powder – Helps cookies rise for a delightful texture. Note: Fresh leavening agents are recommended for best puff.
- Baking Soda – Works in harmony with baking powder to achieve the perfect rise.
- Salt – Balances sweetness and enhances flavor. Note: Do not omit for the best taste.
- Unsalted Butter – Adds richness and flavor. Substitution: Can use softened coconut oil for a dairy-free option.
- Granulated Sugar – Sweetens and contributes to the cookie’s structure.
- Egg – Binds ingredients together and aids in leavening.
- Vanilla Extract – Add warmth and flavor depth to cookies.
- Creamy Peanut Butter – Main flavor component, gives cookies a moist and chewy texture. Note: Avoid natural brands that separate; creamy types work best.
- Purple Gel Food Coloring – For festive color. Substitution: Any gel food coloring can be used for different color schemes.
For the Topping
- Hershey’s Hugs or Chocolate Kisses – Creates the “witch hat” appearance.
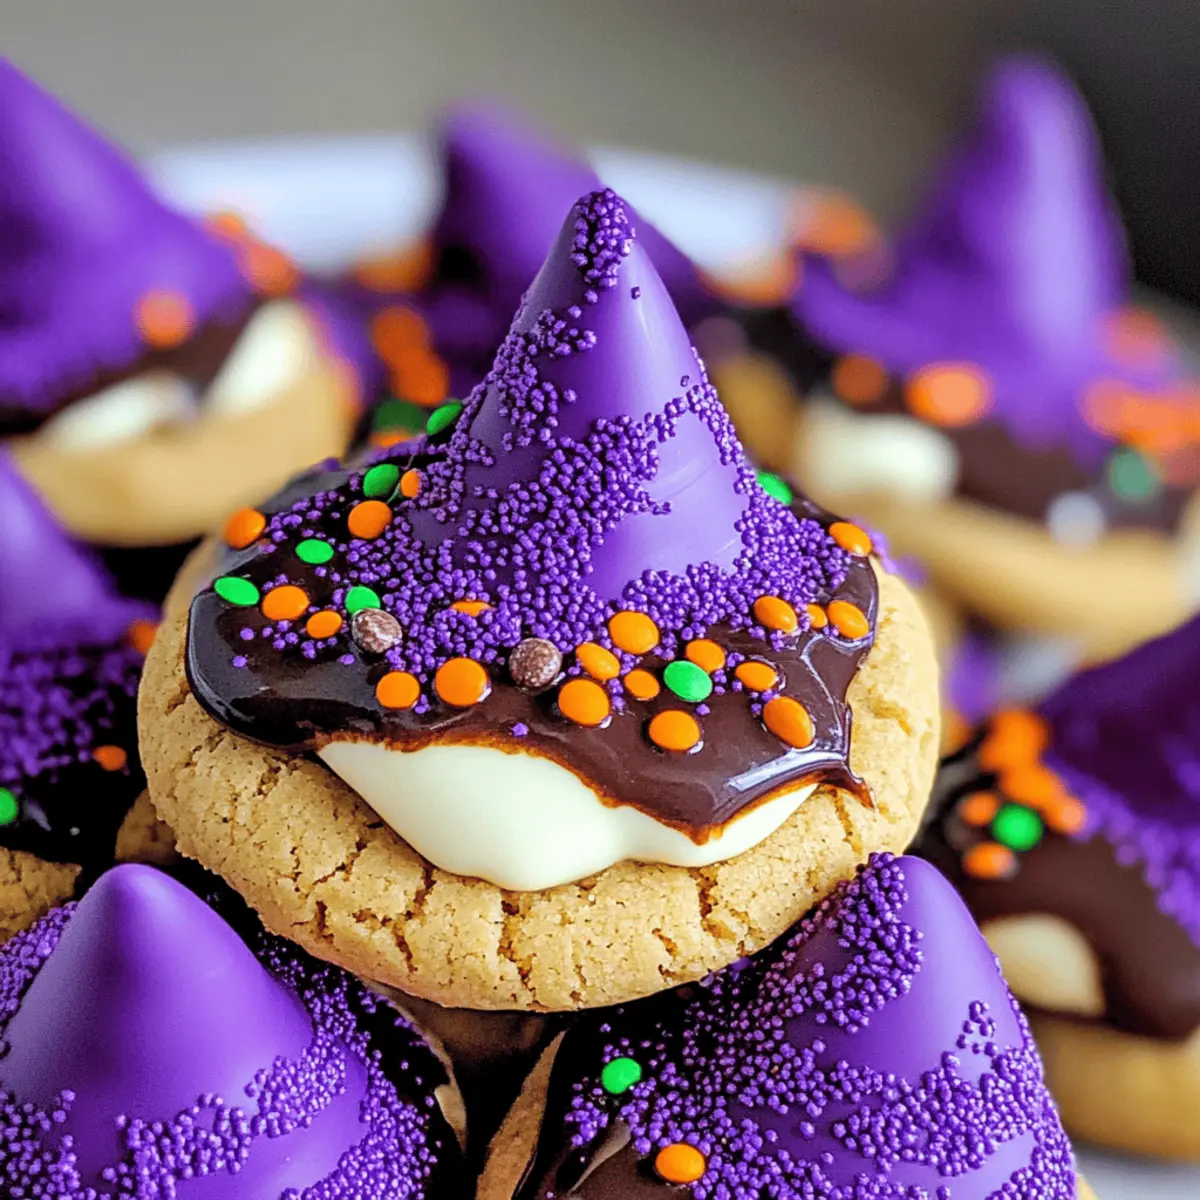
- Halloween Sprinkles or Purple Sanding Sugar – Decoration for added visual appeal. Note: Small sprinkles work better for adherence.
Step‑by‑Step Instructions for Witch Hat Halloween Cookies
Step 1: Mix Dry Ingredients
In a medium bowl, whisk together 2 cups of all-purpose flour, 2 tablespoons of cornstarch, 1 teaspoon of baking powder, 1 teaspoon of baking soda, and ½ teaspoon of salt until well combined. This blend creates a light structure for your Witch Hat Halloween Cookies. Once mixed, set the dry ingredients aside to ensure they’re ready for the next steps.
Step 2: Cream Butter and Sugar
Using a hand mixer, beat together ¾ cup of softened unsalted butter and 1 cup of granulated sugar in a large mixing bowl for about 2 minutes, or until the mixture is creamy and light in color. This step incorporates air, setting the stage for a delightful cookie texture that’s both soft and chewy.
Step 3: Add Eggs and Flavorings
Crack in 1 large egg and pour in 1 teaspoon of vanilla extract, along with ¾ cup of creamy peanut butter. Mix thoroughly until all the ingredients are well combined, scraping down the sides of the bowl as necessary. The rich peanut butter will provide a delicious base for your Witch Hat Halloween Cookies.
Step 4: Combine Mixtures
Gradually add in the reserved dry ingredients from Step 1 while mixing on low speed, until just combined. Carefully fold in a few drops of purple gel food coloring, adjusting until you achieve your desired hue. This vibrant color will elevate the festive look of your cookies, making them perfect for Halloween.
Step 5: Chill Dough
Cover your mixing bowl with plastic wrap and refrigerate the dough for at least 2 hours, or overnight if you have the time. Chilling the dough helps prevent spreading during baking and ensures that your Witch Hat Halloween Cookies come out soft and perfectly shaped.
Step 6: Prepare Baking Sheets
Preheat your oven to 350°F (175°C) and line two baking sheets with parchment paper or silicone mats. This prep ensures easy removal of cookies post-baking, while also helping to maintain the beautiful shape of your festive treats as they bake.
Step 7: Shape Cookies
Once chilled, scoop out rounded tablespoons of dough and roll them into 1-inch balls. For a sweet touch, roll each ball into granulated sugar or Halloween sprinkles. This adds a fun crunch and extra sweetness to your Witch Hat Halloween Cookies while providing a festive sparkle.
Step 8: Bake
Place the dough balls onto the prepared baking sheets with enough spacing in between. Bake in the preheated oven for 8-10 minutes, or until the cookies are puffed up with small cracks on the surface but haven’t browned. Keep an eye on them to ensure they stay chewy and delicious.
Step 9: Add Toppings
Immediately after pulling the sheets from the oven, gently press a Hershey’s Hug or Chocolate Kiss into the center of each cookie. The warmth from the cookies will slightly melt the chocolate, helping it adhere perfectly to the Witch Hat Halloween Cookies and enhancing their whimsical appearance.
Step 10: Cool
Transfer the baking sheets to the freezer for about 10 minutes to help the chocolate hold its shape. Once set, carefully move the cookies to a wire rack to cool completely. This final stage locks in the soft and chewy texture, making them ready for your Halloween celebrations!
Make Ahead Options
These Witch Hat Halloween Cookies are perfect for meal prep enthusiasts! You can prepare the cookie dough up to 24 hours in advance; simply mix the ingredients and chill the dough in the refrigerator. Not only does chilling enhance the flavors, but it also prevents spreading during baking. Alternatively, you can roll the dough into balls and freeze them for up to 3 months. When you’re ready to bake, just place the frozen dough onto a baking sheet and add an extra minute to the baking time. With these make-ahead options, you’ll enjoy delicious, festive cookies with minimal effort, bringing joy to your Halloween celebrations!
Tips for the Best Witch Hat Halloween Cookies
-
Room Temperature Ingredients: Ensure butter and eggs are at room temperature, as this promotes better mixing and a light texture in your Witch Hat Halloween Cookies.
-
Don’t Skip Chilling: Always chill the dough for optimal results; it prevents spreading during baking, ensuring your cookies maintain their adorable witch hat shape.
-
Even Baking: Rotate your baking sheets halfway through baking to ensure even heat distribution, so all cookies come out perfectly puffed and chewy.
-
Chocolate Placement: Press the chocolate hugs or kisses into the cookies immediately after baking for better adherence; the warmth will help it stick and create a delightful visual effect.
-
Storage Solution: Store the cookies in an airtight container at room temperature to keep them soft and chewy, and always let them cool completely before storing.
How to Store and Freeze Witch Hat Halloween Cookies
Room Temperature: Keep cookies in an airtight container at room temperature for up to 4 days to maintain their chewy texture and delicious flavor.
Fridge: If you prefer a longer storage period, refrigerate in an airtight container for up to 7 days, though it’s best to allow them to come to room temperature before enjoying.
Freezer: Freeze individual cookies in a single layer, then transfer to a freezer-safe bag for up to 2 months. This way, you can enjoy your Witch Hat Halloween Cookies whenever a festive craving strikes.
Reheating: To restore warmth and softness, reheat cookies in a microwave for 5-10 seconds. Just be careful not to overheat, as you want to keep that delightful texture!
Witch Hat Halloween Cookies Variations
Feel free to let your creativity shine as you customize these delightful cookies with fun and easy twists!
-
Nut-Free: Replace peanut butter with sunflower seed butter for a nut-free option that everyone can enjoy.
-
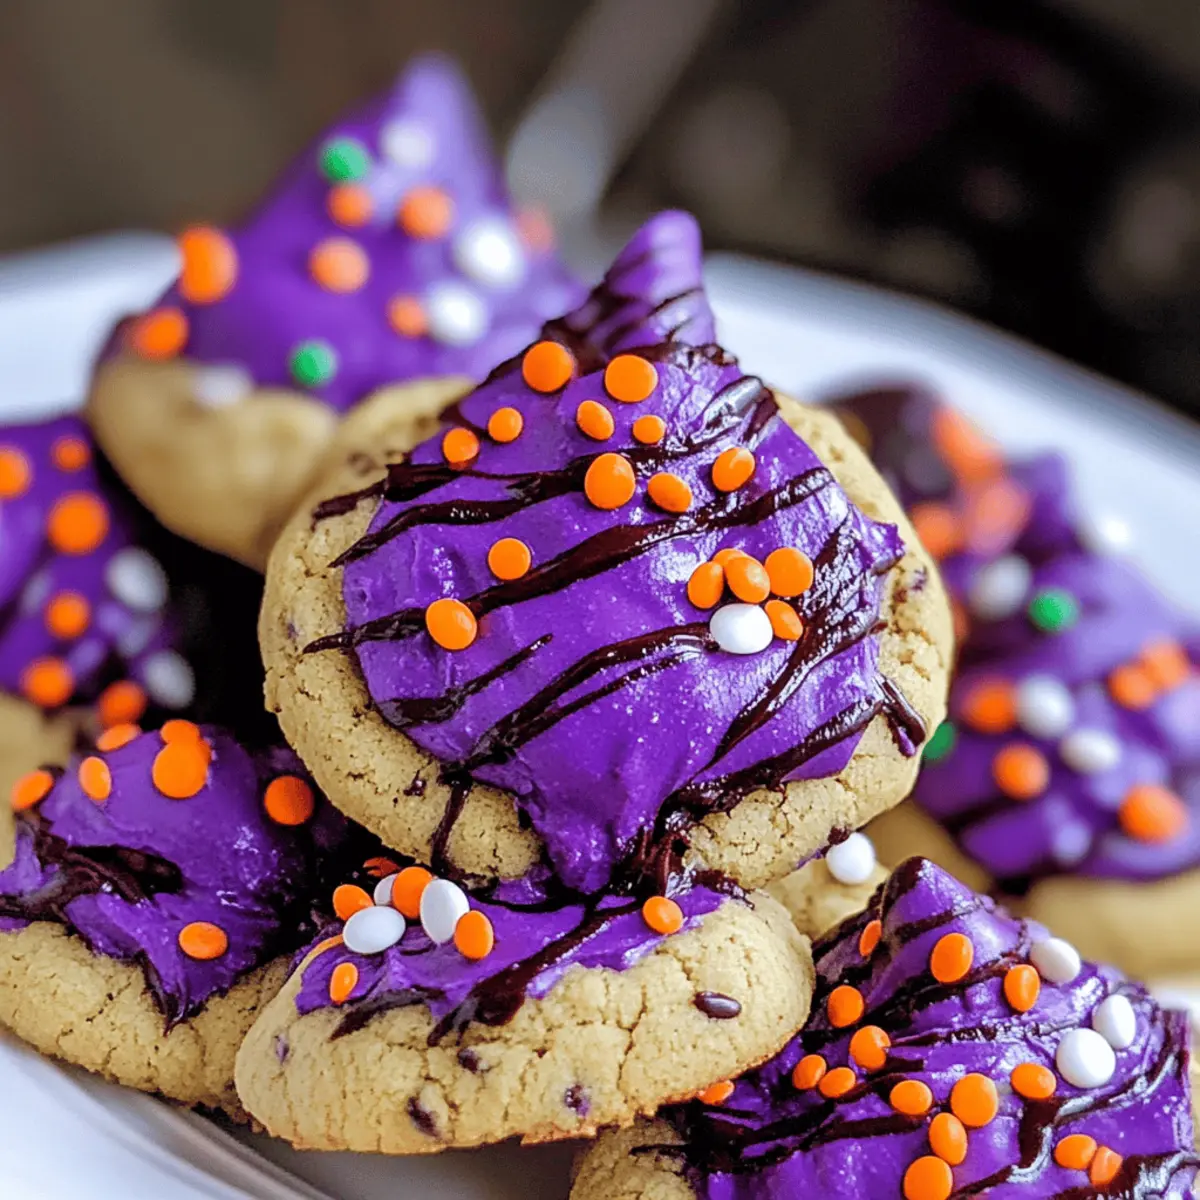
Colorful Creation: Use different gel food colorings, like orange or green, to create a spooky assortment of Witch Hat cookies for your Halloween party.
-
Extra Crunch: Sprinkle some crushed nuts or toffee bits into the dough for added texture and flavor in each bite.
-
Sweet & Spicy: Add a pinch of cinnamon or pumpkin spice to the dough to introduce a warm, fall-inspired flavor that complements the rich peanut butter.
-
Choco Swap: If you want a deeper chocolate flavor, substitute milk chocolate kisses with dark chocolate ones, providing a delightful contrast to the sweet cookie base.
-
Holiday Variation: Transform these cookies for different holidays by switching the sprinkles based on the season—red and green for Christmas or pastels for Easter.
-
Coconut Bliss: For a tropical twist, mix in shredded coconut to the batter, adding a chewy and unique flavor that pairs perfectly with the chocolate topping. You might even enjoy these with a lovely glass of hot apple cider.
-
Surprise Filling: Create a hidden treasure by adding a small dollop of jam in the center before placing the chocolate topping—think raspberry or strawberry for a fruity burst!
What to Serve with Witch Hat Halloween Cookies?
Serving these delicious treats at your Halloween gatherings invites sweetness and warmth, creating unforgettable moments with friends and family.
-
Creamy Hot Chocolate: A rich, chocolaty drink enhances the festive spirit, making every sip a cozy joy during the Halloween chill.
-
Spiced Apple Cider: Warm, spiced cider brings out the fall flavors and offers a comforting counterpoint to the sweet cookies, delighting your guests.
-
Pumpkin Spice Cake: The warm, spiced layers of this cake pair beautifully with the peanut butter flavor, creating a quintessentially autumnal dessert spread.
-
Caramel Popcorn: The sweet, buttery crunch of caramel popcorn adds a fun texture contrast, perfect for a playful Halloween dessert table.
-
Vanilla Ice Cream: A scoop of creamy vanilla ice cream serves as a creamy counterpart to the chewy cookies, creating a deliciously delightful combination.
-
Ghostly Cupcakes: Decorate vanilla cupcakes with spooky designs to complement the cookies, bringing extra festive flair to your table and enticing every guest.
-
Fizzy Lemonade: A refreshing sparkling lemonade can balance the richness of the cookies, making it an excellent thirst-quencher in a jovial Halloween setting.
-
Chocolate Dipped Fruit: Dipping strawberries or bananas in chocolate creates a healthier yet indulgent treat, adding a fresh and fruity note that pairs well with cookies.
-
Haunted Trail Mix: A mix of nuts, candies, and popcorn further adds to the treat variety and satisfies diverse taste buds, making it a perfect party snack.
-
Ginger Snap Cookies: The spicy kick of ginger snaps pairs beautifully with the sweetness of Witch Hat Halloween Cookies, celebrating the cozy flavors of the season.
Witch Hat Halloween Cookies Recipe FAQs
What type of peanut butter works best for these cookies?
Absolutely! It’s best to use creamy peanut butter that doesn’t contain any added oils or separates, as this will give your cookies that perfect moist and chewy texture. I often recommend looking for classic brands like Jif or Skippy for the best results!
How should I store my Witch Hat Halloween Cookies?
Store your cookies in an airtight container at room temperature for up to 4 days. Be sure to wait until they are completely cooled before storing them, as any residual heat can create moisture leading to sogginess. If you would like to enjoy them longer, opt to refrigerate them for up to 7 days but allow them to come to room temperature before serving for the best experience!
Can I freeze these cookies?
Yes! To freeze your Witch Hat Halloween Cookies, place them in a single layer on a baking sheet until solid. Once frozen, transfer them to a freezer-safe bag or container, making sure to label the date. They can be kept frozen for up to 2 months. When you’re ready for a taste, simply thaw them in the fridge overnight, then enjoy!
What should I do if my cookies spread too much during baking?
Very! If your cookies spread excessively, it may be due to the dough not being chilled long enough. I recommend chilling the dough for at least 2 hours, but overnight is best. Also, check your oven temperature with an oven thermometer to ensure it’s accurate. The right chilling time and temperature control will help your cookies keep that adorable witch hat shape!
Are these cookies safe for pets or those with allergies?
When it comes to pet safety, avoid sharing any baked goods with your furry friends, particularly those with chocolate, which can be toxic to dogs and cats. Additionally, be cautious of allergies; this recipe includes peanuts and may not be suitable for those with nut allergies. Always check with guests about dietary restrictions before baking for gatherings!
Can I use different colors for the gel food coloring?
Absolutely! The beauty of these Witch Hat Halloween Cookies lies in their versatility. Feel free to swap out the purple gel food coloring for any color to match your Halloween theme! You could even create red or green hats for a fun twist—just make sure to keep the same base gel for an equally vibrant color.
Witch Hat Halloween Cookies: Spooktacular Peanut Butter Treats
Ingredients
Equipment
Method
- In a medium bowl, whisk together 2 cups of all-purpose flour, 2 tablespoons of cornstarch, 1 teaspoon of baking powder, 1 teaspoon of baking soda, and ½ teaspoon of salt until well combined. Set aside.
- Using a hand mixer, beat together ¾ cup of softened unsalted butter and 1 cup of granulated sugar in a large mixing bowl for about 2 minutes until creamy and light in color.
- Add 1 large egg, 1 teaspoon of vanilla extract, and ¾ cup of creamy peanut butter. Mix until well combined.
- Gradually add the reserved dry ingredients while mixing on low speed until just combined. Fold in a few drops of purple gel food coloring.
- Cover the mixing bowl with plastic wrap and refrigerate the dough for at least 2 hours, or overnight.
- Preheat the oven to 350°F (175°C) and line two baking sheets with parchment paper.
- Scoop out rounded tablespoons of dough and roll them into 1-inch balls. Roll each ball into granulated sugar or Halloween sprinkles.
- Bake in the preheated oven for 8-10 minutes, until puffed up with small cracks on the surface but not browned.
- Immediately press a Hershey’s Hug or Chocolate Kiss into the center of each cookie.
- Transfer the baking sheets to the freezer for about 10 minutes. Once set, move the cookies to a wire rack to cool completely.