


There’s nothing quite like the aroma of fresh cookies wafting through your home, a sweet scent that instantly warms the heart and draws in family and friends. When it comes to the ultimate comfort food, nothing beats my go-to recipe for Ultimate Chocolate Chip Cookies. These delightful treats are not only quick and easy to whip up, but they’re also completely customizable to suit any chocolate lover’s cravings. Imagine sinking your teeth into a cookie with a crispy edge and a soft, chewy center, each bite oozing with melted chocolate. Whether you’re baking for a special occasion or just indulging in a cozy night at home, these cookies are sure to please. Are you ready to create some unforgettable moments in your kitchen? Let’s dive in!

Why Are These Cookies So Irresistible?
Irresistible, the aroma of freshly baked chocolate chip cookies fills your home, creating a warm and inviting atmosphere. Quick and easy, these cookies come together in just a few simple steps, perfect for those busy days! Customizable options allow you to mix in nuts or swap for dark chocolate, catering to every taste. Crowd-pleaser quality ensures they’re a hit at gatherings or family nights, leaving everyone wanting more. Plus, paired with a glass of milk, they elevate snack time to a whole new level! If you love comforting dishes, don’t miss out on my Creamy Garlic Pasta or Honey Garlic Salmon for more delicious ideas!
Ultimate Chocolate Chip Cookie Ingredients
• Transform your baking with these classic chocolate chip cookies!
For the Batter
- All-Purpose Flour – Provides structure; substitute with gluten-free flour for a gluten-free option.
- Unsalted Butter – Adds richness and moisture; can substitute with plant-based butter for a dairy-free version.
- Granulated Sugar – Sweetens and helps cookies spread; can reduce the quantity for a less sweet treat.
- Brown Sugar – Enhances moisture and depth of flavor; dark brown sugar can intensify the taste.
- Eggs – Binds the ingredients and adds moisture; use a flax egg for a vegan option.
- Vanilla Extract – Adds aromatic flavor; pure vanilla extract is preferred but imitation can be used as a substitute.
- Baking Soda – Leavening agent that promotes rising; avoid substituting with baking powder without adjusting quantity.
- Salt – Balances sweetness; use kosher salt for a coarser texture.
- Chocolate Chips – Main flavor component; can replace with chunks or mix in dried fruits or nuts for variations.
These ingredients come together in a delightful symphony of flavors, making your homemade cookies a true crowd-pleaser!
Step-by-Step Instructions for Ultimate Chocolate Chip Cookies
Step 1: Preheat the Oven
Begin by preheating your oven to 350°F (175°C). While the oven warms, line your baking sheets with parchment paper to ensure that your cookies won’t stick. This setup will create a non-stick surface that helps the cookies bake evenly, giving you that perfect golden edge.
Step 2: Cream the Butter and Sugars
In a large mixing bowl, add the softened unsalted butter along with granulated and brown sugars. Use an electric mixer to beat these ingredients together on medium speed for about 2-3 minutes until the mixture is light and fluffy. This creaminess is essential for achieving that irresistible texture in your Ultimate Chocolate Chip Cookies.
Step 3: Incorporate Eggs and Vanilla
Add the eggs one at a time to the creamed mixture, mixing well after each addition until fully combined. Then, pour in the vanilla extract and continue to beat until everything is smooth and silky. This step not only enhances flavor but also creates a moist base for your cookies.
Step 4: Combine Dry Ingredients
In a separate bowl, whisk together the all-purpose flour, baking soda, and salt until well mixed. Gradually add this dry mixture into your wet ingredients, stirring gently until just combined. Take care not to overmix, as this could create tougher cookies, but ensure no flour pockets remain.
Step 5: Fold in the Chocolate Chips
Using a spatula, fold in the chocolate chips gently until they are evenly distributed throughout the dough. This is where your Ultimate Chocolate Chip Cookies truly earn their name, as those rich, melted chocolate morsels will create a delightful burst of flavor in every bite.
Step 6: Scoop the Dough
Scoop rounded tablespoons of dough onto the prepared baking sheets, ensuring there is enough space (about 2 inches) between each mound. This spacing allows the cookies to spread without merging. For an appealing presentation, you can press a few extra chocolate chips into the tops of each dough ball.
Step 7: Bake the Cookies
Place the baking sheets in the preheated oven and bake for 10-12 minutes. Keep an eye on them; the edges should turn golden while the centers look slightly underbaked. This visual cue is key to achieving that chewy center that everyone loves in cookies.
Step 8: Cool Before Serving
Once baked, remove the cookies from the oven and allow them to cool on the baking sheets for about 5 minutes. This step lets them firm up slightly before transferring them to wire racks, where they can cool completely. The final result will be perfectly crispy edges with a soft, gooey inside, ready to enjoy!
Variations & Substitutions for Chocolate Chip Cookies
Feel free to get creative with these chocolate chip cookies by exploring delightful twists that suit your taste!
-
Nuts: Add chopped walnuts or pecans for a delightful crunch that amplifies both texture and flavor. Nuts offer a wonderful contrast to the gooey chocolate, making every bite even more satisfying.
-
Oatmeal: Swap in oats for part of the flour for a heartier texture. This adds a rustic quality that makes the cookies feel more wholesome and filling.
-
Dark Chocolate: Use dark chocolate chips instead of semi-sweet for a richer and more indulgent flavor profile. Dark chocolate gives the cookies a sophisticated twist that chocolate lovers will adore.
-
Butterscotch Chips: Substitute half of the chocolate chips with butterscotch chips for a sweet and buttery flavor explosion. The combination of chocolate and butterscotch will surprise and delight your taste buds!
-
Spices: Add a pinch of cinnamon or nutmeg for a warm, spiced flavor that brings a new complexity to your cookies. These subtle spices evoke a sense of coziness, perfect for chilly evenings.
-
Sea Salt: Sprinkle coarse sea salt on top of the cookie dough before baking to enhance the sweetness and add a savory contrast. It’s a simple trick that elevates the overall taste experience.
-
Vegan Option: Replace eggs with a flax egg (1 tablespoon flaxseed meal + 2.5 tablespoons water). This easy switch allows your cookies to remain delicious while accommodating a vegan lifestyle.
-
Gluten-Free: Substitute all-purpose flour with a gluten-free blend to create a cookie that’s friendly for those with gluten sensitivities. Just ensure the blend includes xanthan gum for proper texture.
Whether you’re reminiscing with a classic batch or experimenting with new flavors, these variations will surely make your baking experience enjoyable. If you’re ever in the mood for something different, why not try these alongside my Cheesy Garlic Chicken or Garlic Chicken Gnocchi? Happy baking!
What to Serve with Ultimate Chocolate Chip Cookies
There’s something magical about pairing warm, gooey cookies with complementary flavors that elevate your snack time experience.
- Cold Glass of Milk: The classic choice! Milk’s cool creaminess perfectly balances the rich, warm chocolate, making each bite unforgettable.
- Rich Vanilla Ice Cream: Place a warm cookie on top of a scoop for a delightful melting experience; the creamy warmth contrasts beautifully with the soft cookie.
- Fresh Berries: Juicy strawberries or raspberries add a vibrant freshness that cuts through the sweetness, providing a refreshing bite alongside your cookies.
- Chocolate Fondue: Dip your cookies into a warm chocolate fountain for an indulgent treat; it’s a fun twist that’s perfect for gatherings or special occasions!
- Nutty Granola: Sprinkle some granola on your milk or yogurt for a satisfying crunch that pairs wonderfully with the cookies’ textures, adding depth to your dessert.
- Hot Coffee or Espresso: The rich, bitter notes of coffee balance beautifully with the sweet cookies, creating a warm hug in a mug that’s perfect for cozy evenings.
- Homemade Chocolate Sauce: Drizzle warm, thick chocolate sauce over cookies for an extra-rich treat that’ll satisfy any chocolate lover’s cravings!
Pairing these delicious options with your Ultimate Chocolate Chip Cookies will create memorable moments filled with warmth and joy!
Storage Tips for Ultimate Chocolate Chip Cookies
Room Temperature: Store cooled cookies in an airtight container at room temperature for up to 1 week to maintain their chewy texture.
Fridge: If you want to extend freshness, keep the cookies in the fridge for up to 2 weeks, but allow them to come to room temperature before serving for better taste.
Freezer: For longer storage, freeze the cookies in an airtight container or freezer bag for up to 3 months. Place parchment between layers to prevent sticking.
Reheating: To enjoy warm cookies again, reheat them in the oven at 350°F (175°C) for 5-7 minutes. This will revive that soft, gooey center we all love in creamy chocolate chip cookies!
Expert Tips for Ultimate Chocolate Chip Cookies
• Room Temperature Ingredients: Ensure your butter and eggs are at room temperature for better mixing, creating a consistent and smooth dough.
• Avoid Overmixing: After adding flour, mix just until combined. Overmixing can lead to tough cookies instead of the chewy texture you desire.
• Chill the Dough: For optimal flavor and cookie control, chill the dough for at least 30 minutes before baking. This helps prevent excessive spreading.
• Bake Time Sensitivity: Ovens can vary! Check your cookies a minute or two early; the key is golden edges with slightly underbaked centers for that chewy perfection.
• Customize Creatively: Don’t be afraid to adjust your chocolate chip cookies by adding nuts or different chocolate varieties. This will let you express your culinary creativity!
Make Ahead Options
These Ultimate Chocolate Chip Cookies are perfect for busy home cooks looking to save time! You can prepare the cookie dough up to 3 days in advance, keeping it tightly wrapped in plastic wrap in the refrigerator to maintain freshness. Alternatively, you can scoop the dough into mounds on a baking sheet, freeze them for up to 24 hours, and then transfer the frozen dough balls to a zip-top bag for longer storage. When you’re ready to bake, simply preheat your oven and add a minute or two to the baking time for the frozen dough. With these make-ahead tips, you can enjoy freshly baked cookies anytime with minimal effort – just as delicious and perfect for any occasion!
Ultimate Chocolate Chip Cookies Recipe FAQs
How do I choose the best ripe ingredients for my cookies?
Absolutely! When selecting your ingredients, especially the butter, ensure it’s at room temperature for optimal mixing. The eggs should also be at room temperature to combine seamlessly with the rest of the ingredients. For chocolate chips, I recommend semi-sweet for a classic chocolate experience, but feel free to mix in milk chocolate for a sweeter touch or dark chocolate for a richer flavor profile.
What’s the best way to store my chocolate chip cookies?
Very! Store cooled cookies in an airtight container at room temperature for up to 1 week. For extended freshness, keep them in the fridge where they can last for up to 2 weeks. Just remember to let them come to room temperature for the best taste when serving!
Can I freeze these cookies for future use?
Absolutely! You can freeze baked cookies for up to 3 months. Just stack them between layers of parchment paper in an airtight container or a freezer bag to prevent sticking. To enjoy them later, simply reheat in the oven at 350°F (175°C) for about 5-7 minutes—this way, your cookies will be warm and delicious all over again!
What should I do if my cookies turn out too tough?
Ah, a common baking conundrum! If your cookies are tough, it’s likely due to overmixing after adding the flour. To prevent this, mix just until you no longer see flour pockets. Also, ensuring your butter is softened (but not melted) helps create that tender texture. Remember, chilling the dough for at least 30 minutes is also a great way to enhance both flavor and texture!
Are there any dietary considerations I should be aware of?
Definitely! If you have allergies, be cautious with the chocolate chips and any nuts you choose to add, as they can contain common allergens like dairy, nuts, or soy. For a gluten-free option, you can substitute all-purpose flour with a gluten-free blend. If you’re vegan, simply use a flax egg instead of regular eggs and substitute the butter with plant-based alternatives.
How long does the cookie dough last in the refrigerator?
Very! The cookie dough can be stored in the refrigerator for up to 3 days. Just make sure to cover it tightly to prevent it from drying out. If you’re ready to bake, there’s no need to let it come to room temperature; you can scoop and bake it directly from the fridge for thicker cookies!
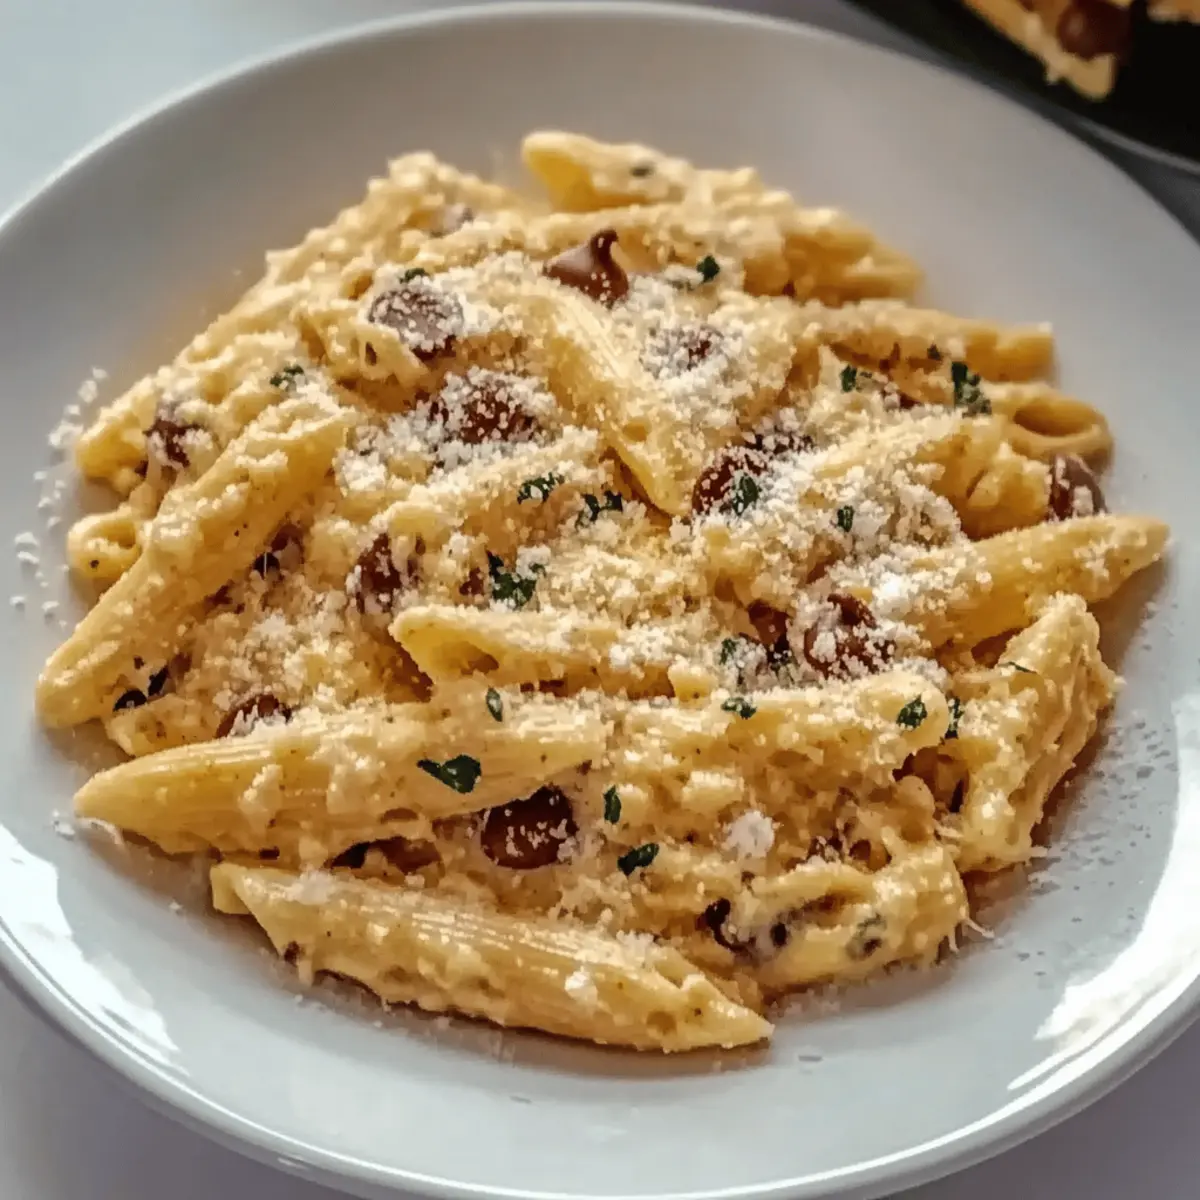
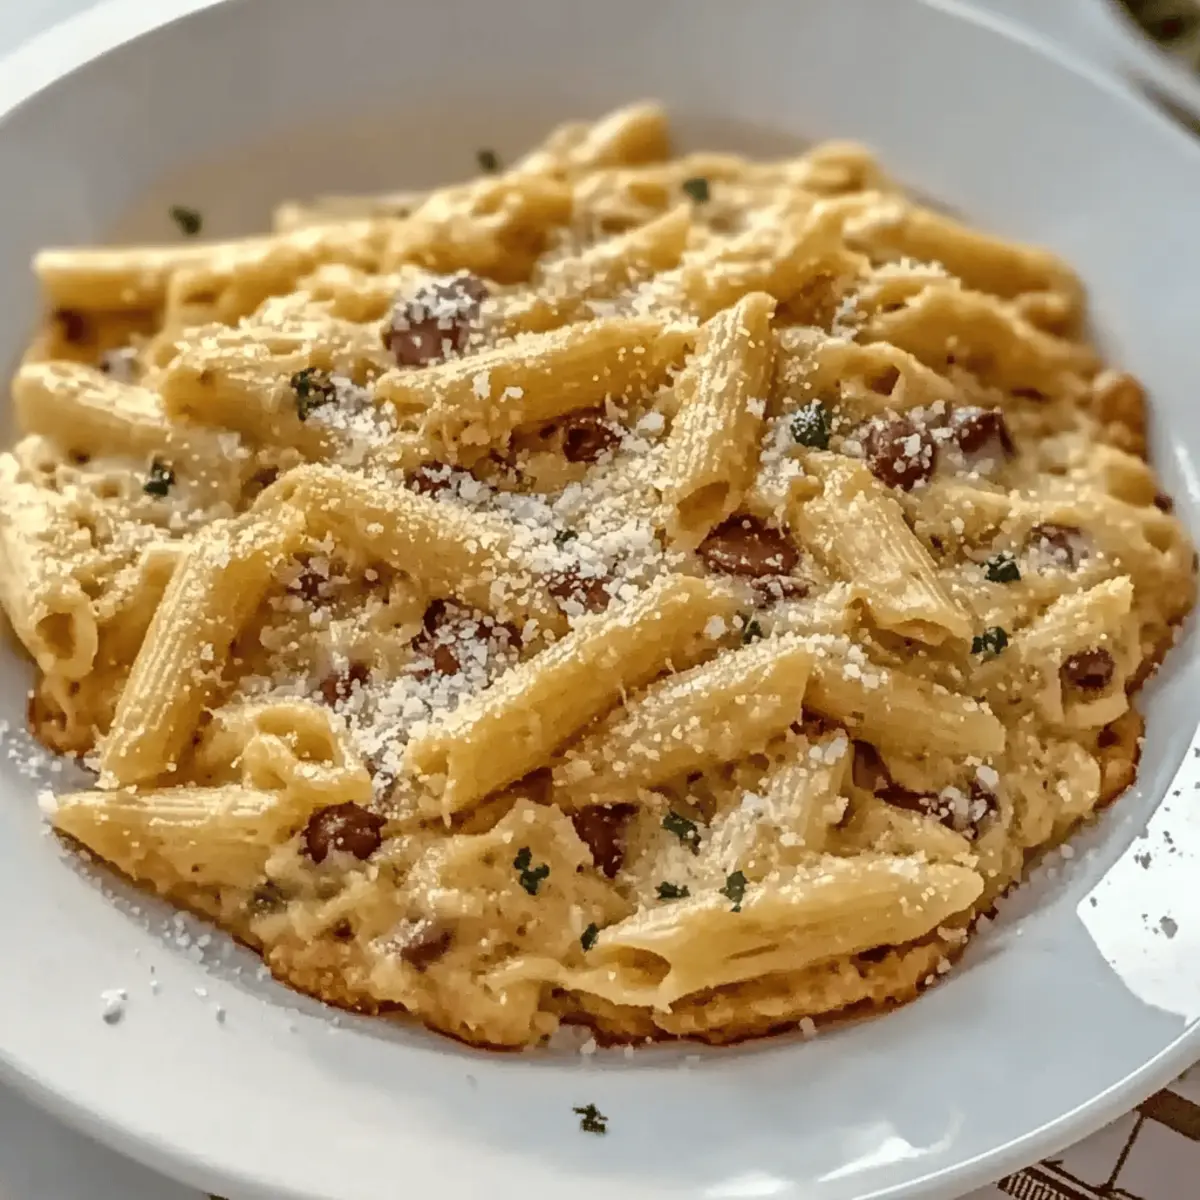
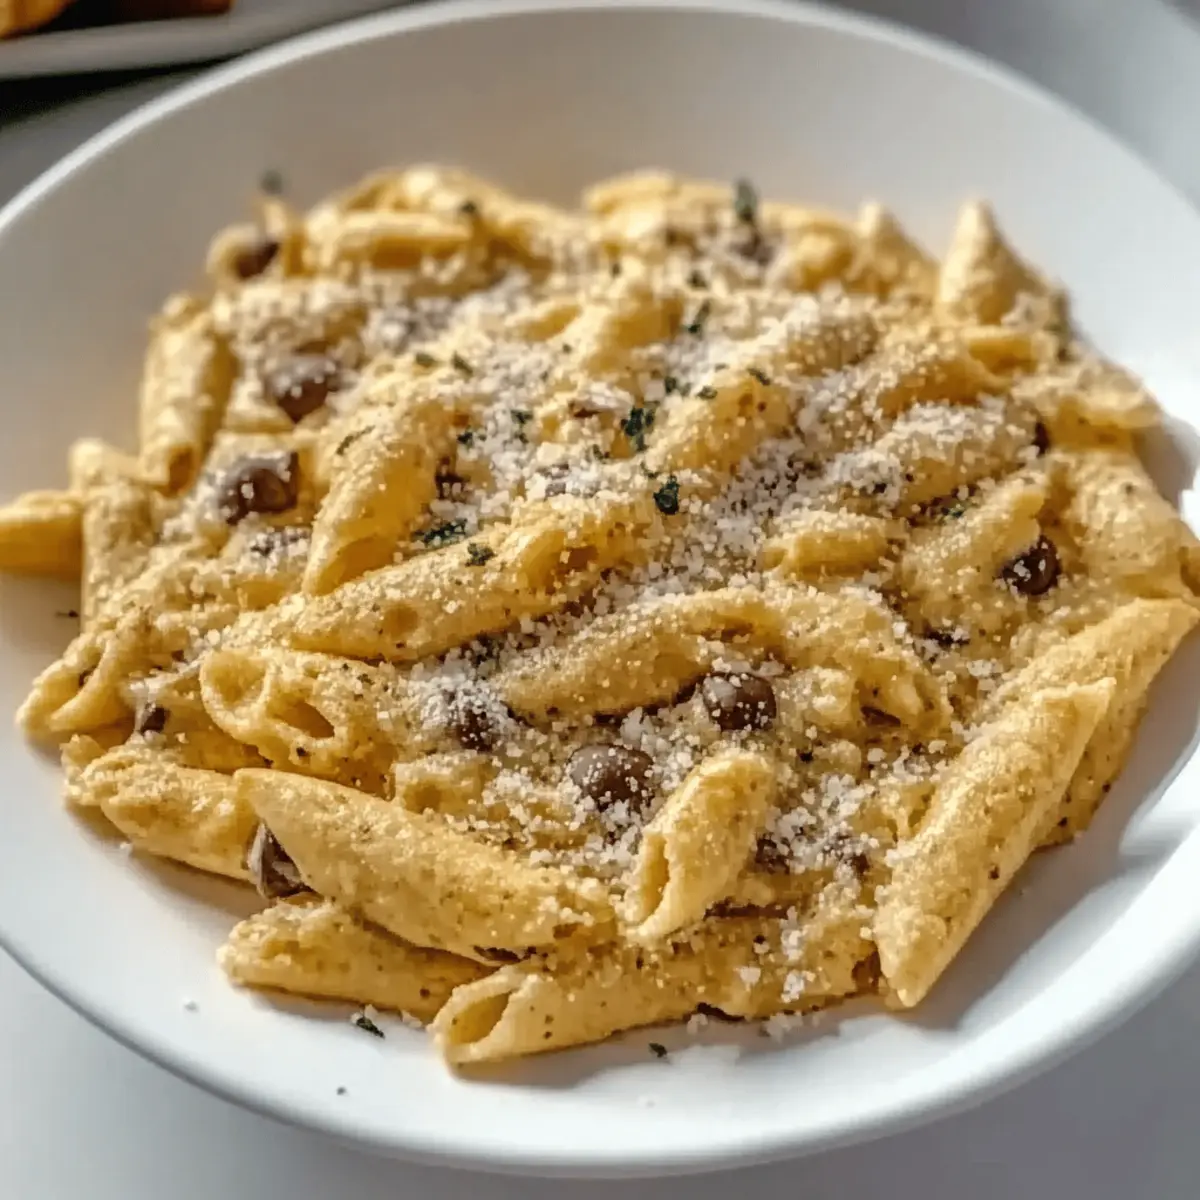
Creamy Garlic Pasta – A Comforting, Flavor-Packed Delight!
Ingredients
Equipment
Method
- Boil a large pot of salted water and cook fettuccine according to package instructions. Drain and set aside.
- In a saucepan, heat olive oil over medium heat and sauté minced garlic until fragrant.
- Add heavy cream to the saucepan and bring to a simmer.
- Stir in Parmesan cheese until melted and the sauce thickens.
- Season with salt and black pepper to taste, then add cooked pasta to the sauce.
- Toss to coat the pasta evenly with the creamy garlic sauce.
- Garnish with fresh parsley before serving.