


As I lifted the lid on my favorite mixing bowl, a wave of nostalgia washed over me. Halloween is just around the corner, and that means it’s time to get creative in the kitchen! Enter the Easy Cauldron Cookies—these delightful little chocolate cake mix cookie cups are not only fun to make, but they also double as a festive project with the kids. With just a handful of ingredients and a brief prep time, you can whip up these whimsical treats that resemble bubbling potions ready for a witch’s brew. Plus, the best part is their customizable nature—everyone can decorate them in their own spooky style! Who’s ready to bake a batch that will enchant your Halloween gathering?
Why Are Cauldron Cookies So Special?
Fun and Festive: These Easy Cauldron Cookies are perfect for Halloween, making baking a joyful family activity.
Customizable Creations: With vibrant green buttercream and whimsical toppings, they allow everyone to unleash their inner artist.
Quick and Easy: The cake mix base makes these cookies a breeze to whip up—ideal for busy bakers.
Kid-Friendly Fun: Decorating these cookies offers a creative outlet that both kids and adults can enjoy together, making sweet memories.
Crowd-Pleasing Treats: Whether for a Halloween party or just a spooky snack at home, these cookies are sure to impress and delight.
Check out our variation ideas to make them even more memorable, like swapping in a cream cheese frosting for a tangy twist, or trying out our Brownie Base for an indulgent option!
Cauldron Cookies Ingredients
• To get started on these delightful Cauldron Cookies, gather your festive ingredients below!
For the Cookie Cups
- Devil’s Food cake mix – A rich base providing a chocolatey flavor; can substitute with any chocolate cake mix.
- Eggs – Essential for binding the dough; no substitutions recommended.
- Canola or vegetable oil – Adds moisture; melted coconut oil or butter make great alternatives.
- Black food coloring (optional) – For a spooky hue; totally optional but recommended for a fun look.
For the Buttercream Frosting
- Unsalted butter – Important for creamy frosting; margarine or dairy-free butter can also be used.
- Powdered sugar – Sweetens and thickens the frosting; no substitutions recommended.
- Vanilla extract – Enhances flavor; swap for almond extract if you’re looking for something different.
- Salt – Balances sweetness in the frosting; no substitution needed.
- Milk (1-3 tablespoons) – Adjusts frosting consistency; almond or soy milk can be used for dairy-free options.
- Green food coloring – Gives your buttercream that festive Halloween tint; optional but recommended.
For Toppings
- Round green sprinkles, Halloween sprinkles, candy eyeballs, pretzel sticks – Fun decorations to make your cookies pop; feel free to use any themed sprinkles or candies!
Step‑by‑Step Instructions for Easy Cauldron Cookies
Step 1: Preheat and Prepare
Preheat your oven to 350°F (175°C) and lightly grease three 12-count mini muffin pans with a non-stick spray. This preparation ensures that your Easy Cauldron Cookies won’t stick, allowing for easy removal later on. Make sure your work surface is clean and ready for some fun baking!
Step 2: Mix the Dough
In a large mixing bowl, combine the Devil’s Food cake mix, eggs, canola oil, and optional black food coloring. Use a whisk or spatula to blend these ingredients until you achieve a smooth and evenly mixed dough. The mixture should be thick and slightly glossy, indicating it’s ready for the next step.
Step 3: Scoop and Shape the Cookies
Using a cookie scoop or a tablespoon, scoop roughly 1/2 tablespoon of dough into each compartment of the prepared muffin pans. Use your fingers to gently flatten the dough into the bottoms of the molds. It’s important to ensure they’re evenly spread for uniform baking and to achieve those charming cups for your cookies.
Step 4: Bake and Indent
Place the muffin pans in the preheated oven and bake for 8-10 minutes. Keep an eye on them; they’re ready when the edges look set, and the tops appear slightly domed. As soon as they come out of the oven, use the back of a tablespoon to press an indentation into each warm cookie to create cavities for the frosting.
Step 5: Cool the Cookies
Carefully remove the pans from the oven, and let the cookies cool in the pans for about 5 minutes. Afterward, gently transfer them to a wire rack to cool completely. It’s important that the cookies are fully cooled before frosting to avoid any melting issues with your delightful buttercream.
Step 6: Make the Buttercream Frosting
In a mixing bowl, beat the unsalted butter until creamy and smooth. Gradually sift in the powdered sugar, and mix until well combined. Add vanilla extract, salt, and milk a tablespoon at a time, mixing continuously until the frosting reaches a fluffy and spreadable consistency. Incorporate green food coloring until you achieve your desired spooky shade!
Step 7: Pipe the Frosting
Once your cookies are completely cooled, use a piping bag fitted with a round tip to pipe the vibrant green buttercream into each cookie cup. Fill them generously, mimicking the look of a bubbling potion for your Easy Cauldron Cookies. This is where the fun begins—let your creativity shine!
Step 8: Decorate Your Cookies
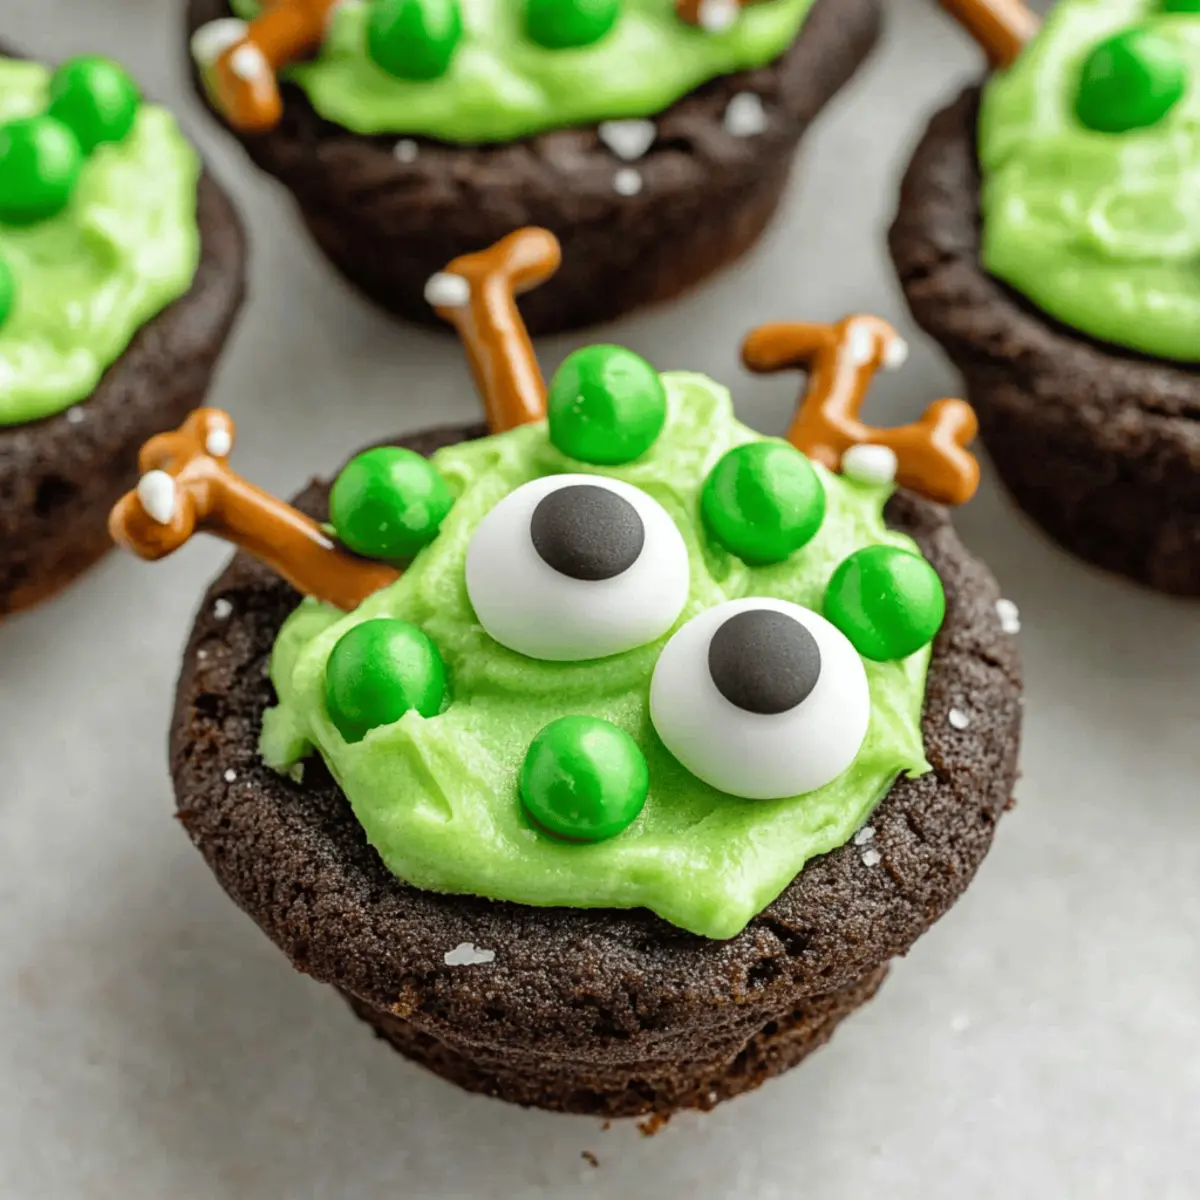
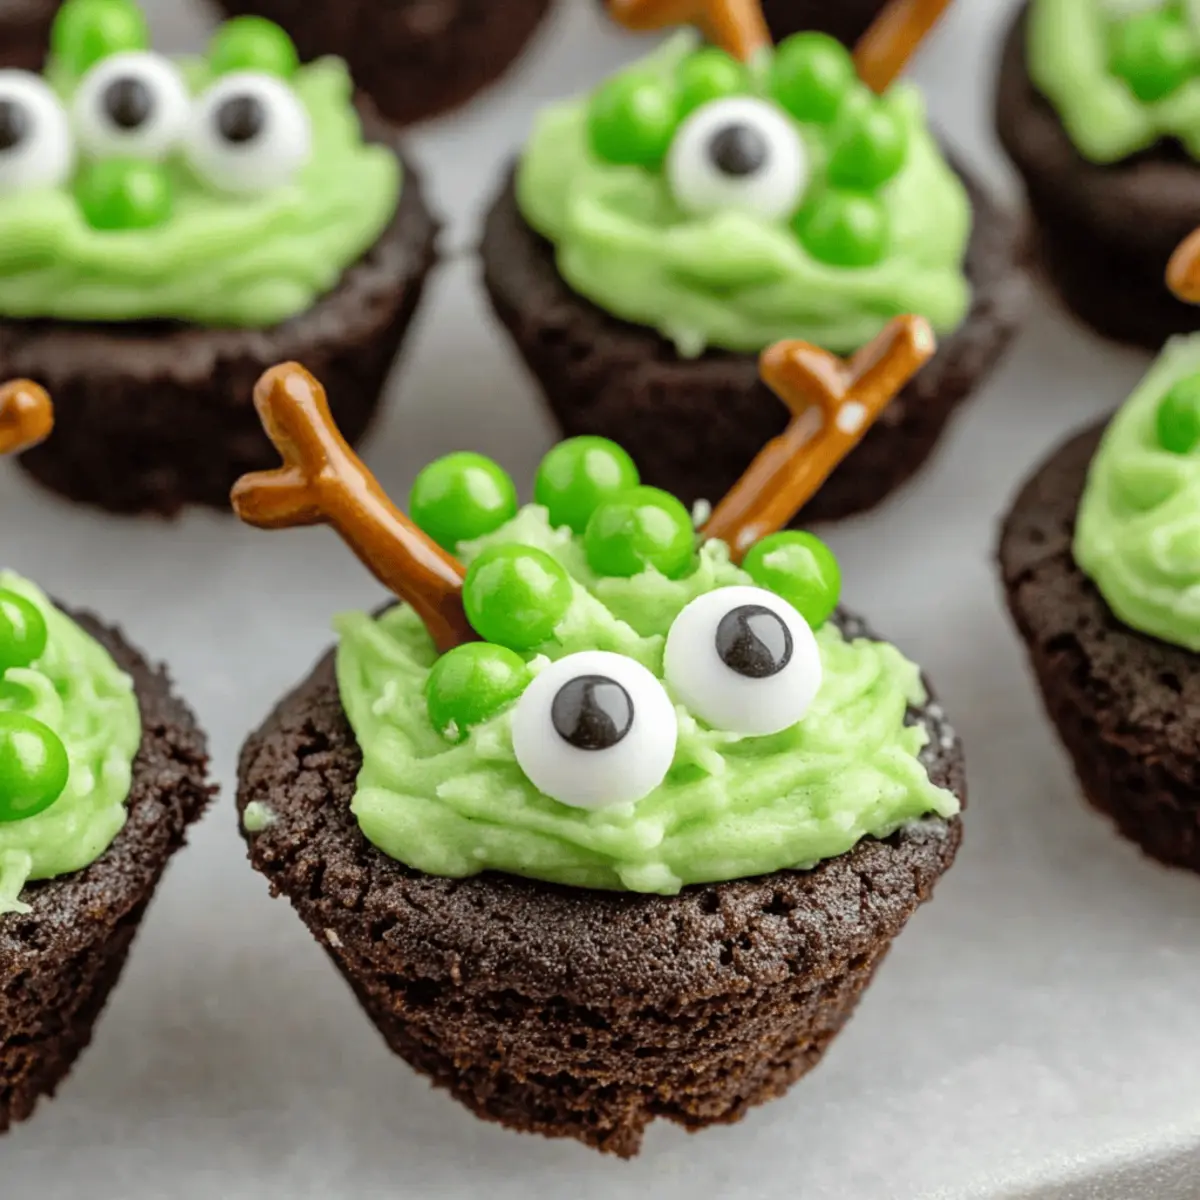
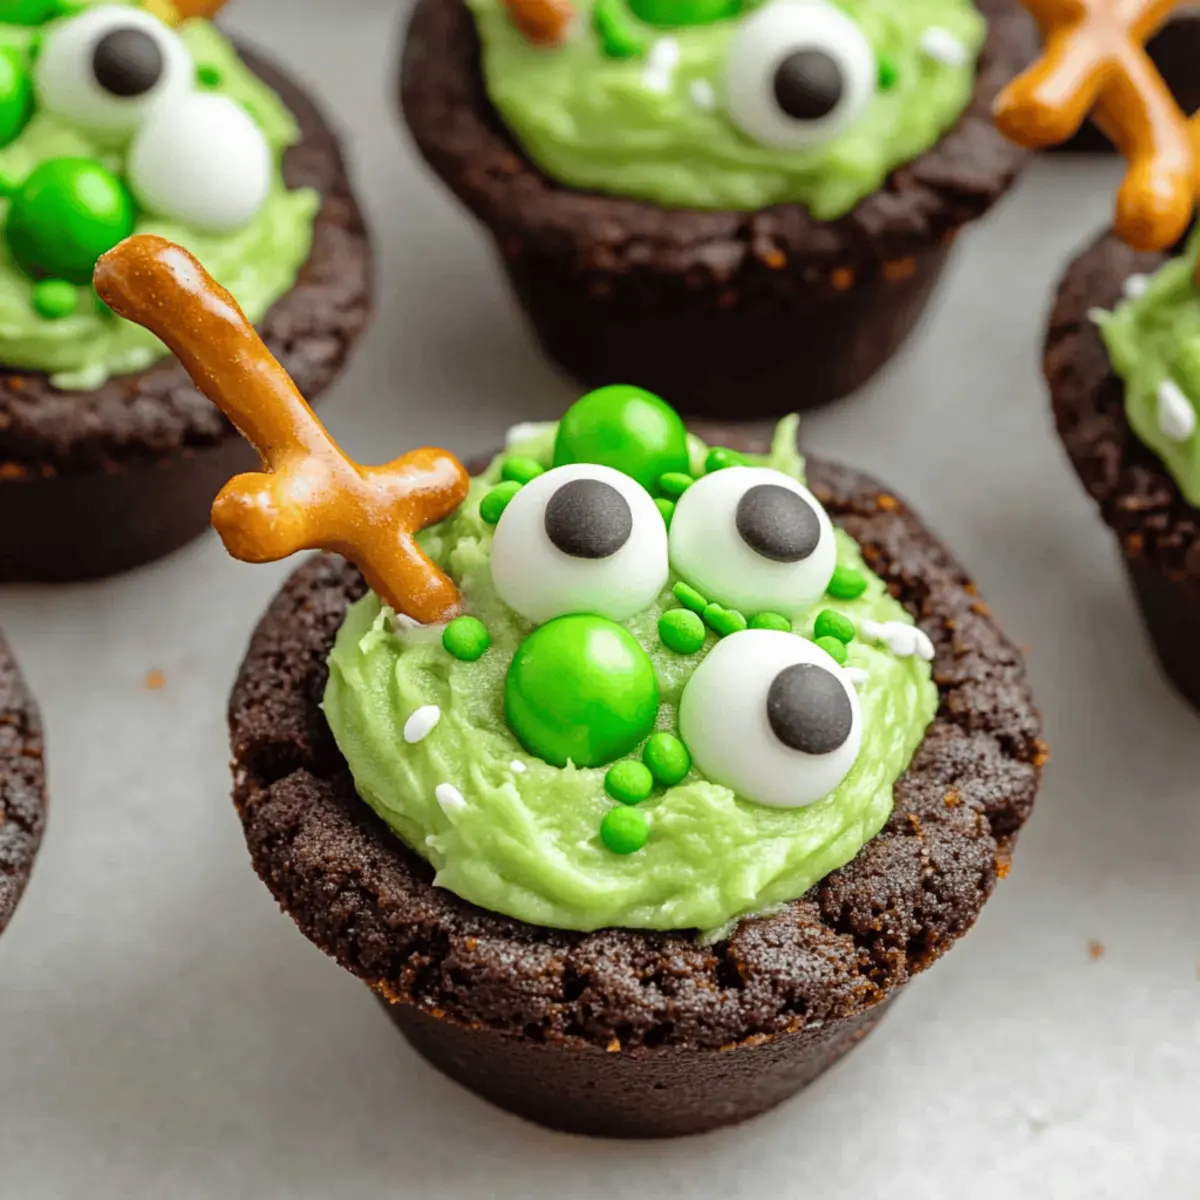
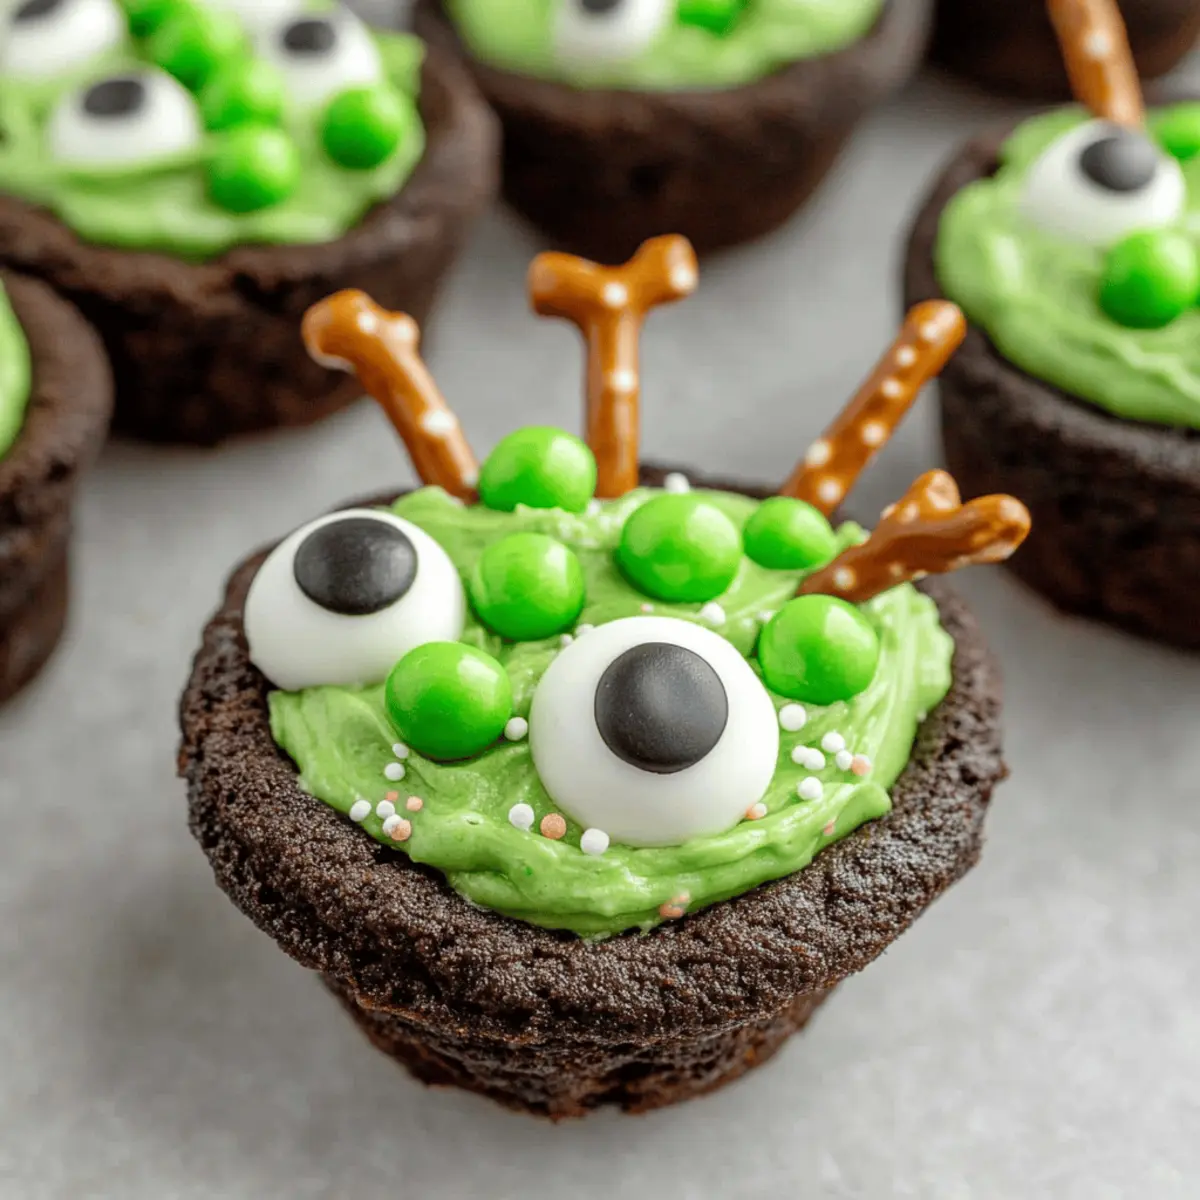
Top off each frosted cookie with your choice of festive round green sprinkles, Halloween-themed sprinkles, or candy eyeballs. To make it even more whimsical, insert a pretzel stick as a “stirring stick” in each cookie cup. Take a moment to enjoy the colorful masterpiece you’ve created!
Step 9: Serve and Enjoy
Once your Easy Cauldron Cookies are beautifully decorated, they’re ready to impress your family and friends! These delightful treats make perfect additions to Halloween parties, kids’ bake sales, or a spooky snack at home. Serve them up on a festive platter, and watch everyone’s eyes light up with excitement!
Make Ahead Options
These Easy Cauldron Cookies are perfect for busy home cooks looking to save time during those hectic Halloween festivities! You can prepare the cookie cups up to 24 hours in advance by baking and cooling them completely, then storing them in an airtight container at room temperature. Alternatively, the buttercream frosting can be made and refrigerated for up to 3 days—just let it sit at room temperature for about 30 minutes before using. When it’s time to serve, simply pipe the chilled frosting into the cooled cookie cups and decorate them as desired. This way, you can enjoy delightful Cauldron Cookies without the last-minute rush, ensuring they turn out just as delicious as if they were made fresh!
Storage Tips for Cauldron Cookies
Room Temperature: Store your Easy Cauldron Cookies in an airtight container at room temperature for up to 3-4 days to keep them soft and fresh.
Fridge: If you want them to last longer, you can refrigerate undecorated cookie cups for up to a week. Make sure they are placed in an airtight container to avoid any moisture.
Freezer: Undecorated cookie cups can be frozen for up to three months. Allow them to cool completely before freezing in an airtight container or freezer bag.
Reheating: When ready to enjoy, thaw the cookies in the fridge or at room temperature. If desired, warm them briefly in the microwave for 10-15 seconds for a freshly baked taste!
What to Serve with Easy Cauldron Cookies
As you prepare these delightful treats, think about what dishes or drinks will create a festive atmosphere for your Halloween gathering!
-
Witch’s Brew Punch: A vibrant, fruity drink that adds a splash of fun and perfectly complements the spooky theme of your cookies.
-
Ghoulish Green Fruit Salad: Blend fresh fruits like kiwi, green grapes, and lime for a refreshing, colorful treat that balances the sweetness.
-
Spooky Cheese Platter: Provide an assortment of cheeses and crackers, including spider-shaped crackers, to offer a savory contrast to the sweet cookies.
-
Pumpkin Spice Hot Chocolate: Warm, cozy, and topped with whipped cream, this seasonal drink enhances the overall festive experience.
-
Ghostly Milkshakes: Whip up creamy vanilla milkshakes with ghost-shaped marshmallows on top, delighting kids and adults alike.
-
Creepy Cupcake Companions: Bake chocolate cupcakes decorated with spooky frosting to create a fun dessert spread that matches the festive theme.
Take time to mix and match these serving suggestions, ensuring each element complements the cheerful nostalgia of your Easy Cauldron Cookies while adding excitement to your Halloween celebration!
Expert Tips for Cauldron Cookies
Cool Completely: Let your cookies cool completely before adding frosting to prevent it from melting and losing that delightful shape.
Mix Gradually: When preparing the buttercream, add milk gradually to reach your desired consistency; too much at once can lead to runny frosting.
Watch the Baking Time: Keep an eye on your cookies as they bake—overbaking can make them dry, while underbaking might affect the structural integrity of your cauldron cups.
Control the Color: If using black food coloring, start with a little; you can always add more, but it’s tough to lighten it once mixed.
Decoration Variations: Feel free to experiment with decorations; any themed sprinkles or candies will enhance the festive look of your cauldron cookies!
Avoid Freezing: To maintain the vibrant look of your decorated cookies, avoid freezing them, as it can cause color bleeding from sprinkles.
Cauldron Cookies: Fun Flavor Twists
As you embark on your baking adventure, remember that these delightful cookies can be customized to suit every taste and preference!
- Brownie Base: Swap out the cake mix for a fudgy brownie mix for an extra rich treat. These brownie cauldrons will be a chocolate lover’s dream come true!
- Cream Cheese Frosting: Replace the buttercream with luscious cream cheese frosting for a tangy, delicious alternative. It adds a nice contrast to the sweetness of the cookie!
- Nutty Surprise: Mix in chopped nuts, like walnuts or pecans, to the cookie dough for a delightful crunch. Even better, try a nut butter in the frosting for a creative twist.
- Store-bought Frosting: For a quick solution, use a tub of vanilla or white frosting, tint it green, and save a bit of time without compromising flavor. Perfect for those busy days!
- Pumpkin Spice Addition: Spice things up by adding a teaspoon of pumpkin spice to the cookie dough. This will lend a warm, cozy flavor that’s perfect for fall.
- White Chocolate Ganache: For a luxurious treat, melt white chocolate with cream, tint it green, and use it as a decadent filling. It brings a sophisticated flair to the cookie!
- Spicy Kick: Add a dash of cayenne or chili powder to the cookie dough for an unexpected heat. The fusion of sweet and spicy is absolutely enchanting!
- Fruity Fun: Substitute some of the frosting with fruit preserves or creams, like raspberry or strawberry, blending sweet and tart for a delightful balancing act.
Let your imagination run wild, and don’t be afraid to mix and match ideas! If you’re looking for additional inspiration, check out these Blueberry Breakfast Cookies for a fruity spin or consider adding a touch of that cream cheese frosting for a layer of creamy goodness. Happy baking!
Cauldron Cookies Recipe FAQs
What type of cake mix should I use for Cauldron Cookies?
Absolutely! For these Easy Cauldron Cookies, I recommend using Devil’s Food cake mix for a rich chocolate flavor, but any chocolate cake mix will work just as well. You can even try a gluten-free chocolate cake mix if you’re accommodating dietary preferences!
How should I store my Cauldron Cookies?
For optimal freshness, store your Easy Cauldron Cookies in an airtight container at room temperature for up to 3-4 days. If your cookie cups are undressed, they can last a bit longer—up to a week in the fridge! Just ensure they’re airtight to combat moisture!
Can I freeze my decorated Cauldron Cookies?
It’s best to avoid freezing the decorated cookie cups, as the sprinkles may bleed and lose their vibrancy. However, undecorated cookie cups can be frozen for up to 3 months. To do so, let them cool completely, then place them in an airtight container or freezer bag. Thaw them in the fridge or at room temperature when you’re ready to enjoy!
What should I do if my cookie cups puff up while baking?
If you find your cookie cups puffing up during baking instead of forming a cavity, it could mean they need a moment of gentle pressing right after you take them out of the oven. Use the back of a tablespoon to create the indentation while the cookies are still warm. It’s the most effective way to ensure that lovely cauldron shape!
Are there any allergy considerations for Cauldron Cookies?
Yes! If you’re making these cookies for allergy-sensitive eaters, be mindful of common allergens like eggs and dairy in the ingredients. You can try substituting egg with a flax egg (1 tablespoon ground flaxseed mixed with 2.5 tablespoons water) and use dairy-free butter and milk alternatives. Always check your ingredient labels to ensure that they’re safe for your guests.
What if my frosting is too runny?
If you find your buttercream frosting is too runny, don’t worry! Just add a little more powdered sugar until you achieve a thicker consistency. This is also a great time to add your green food coloring. Aim for a fluffy, spreadable frosting that holds its shape when piped, perfect for those delightful details in your Cauldron Cookies!
Cauldron Cookies: Fun Halloween Treats to Make Together
Ingredients
Equipment
Method
- Preheat your oven to 350°F (175°C) and lightly grease three 12-count mini muffin pans with non-stick spray.
- In a mixing bowl, combine the Devil's Food cake mix, eggs, canola oil, and optional black food coloring. Mix until smooth.
- Scoop roughly 1/2 tablespoon of dough into each muffin pan compartment and flatten gently.
- Bake for 8-10 minutes until edges look set and tops are slightly domed. Press a spoon into the center to create an indentation.
- Cool in pans for 5 minutes then transfer to a wire rack.
- In a bowl, beat the unsalted butter, gradually add powdered sugar, then mix in vanilla, salt, and milk until fluffy.
- Pipe the green buttercream into each cookie cup.
- Decorate with sprinkles, candy eyeballs, and insert a pretzel stick as a stirring stick.
- Serve and enjoy your festive treats!