


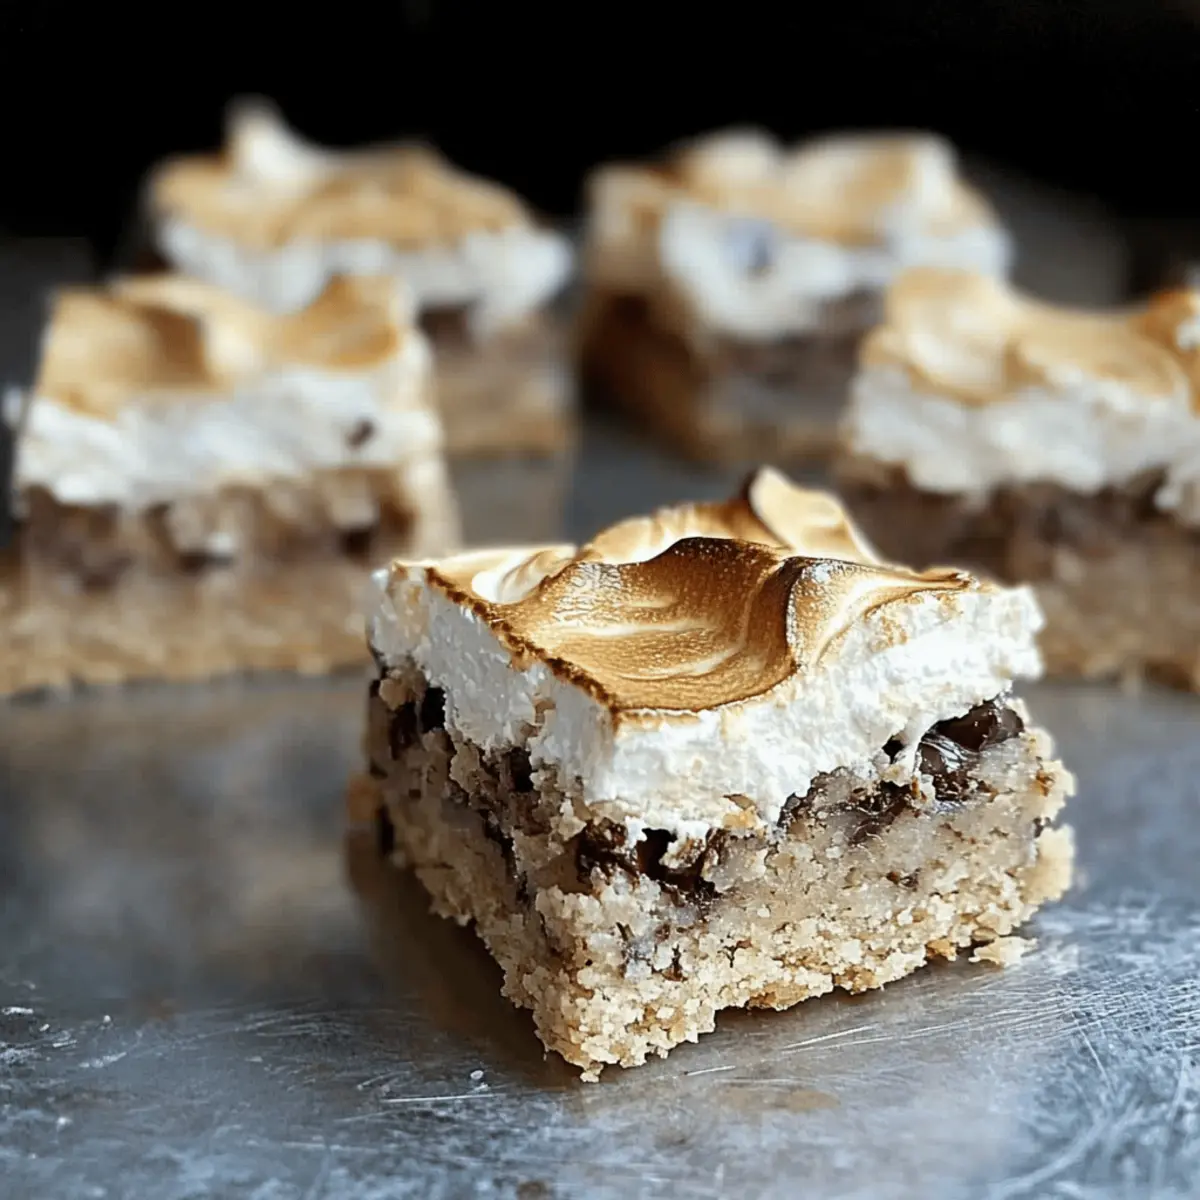
As I pulled my freshly baked bars from the oven, I was greeted by the sweet aroma of melted chocolate and toasty meringue. These Chewy Halfway Cookie Bars are not just a dessert; they’re a delightful experience that marries a chewy cookie base with a rich chocolate layer and a cloud-like meringue on top. The best part? They’re incredibly easy to whip up, making them perfect for spontaneous gatherings or a cozy night in. Plus, you can customize these bars to fit dietary preferences, whether you need a gluten-free option or simply want to mix up the chocolate layer. Curious how these simple ingredients transform into a crowd-pleasing favorite? Let’s dive into this delicious recipe!
Why Are Halfway Cookie Bars So Irresistible?
Easy to Make: The straightforward steps mean you’ll have these delicious bars ready in no time, even if you’re new to baking.
Versatile Delights: Feel free to customize with your favorite mix-ins, like nuts or dried fruits, to make these bars uniquely yours.
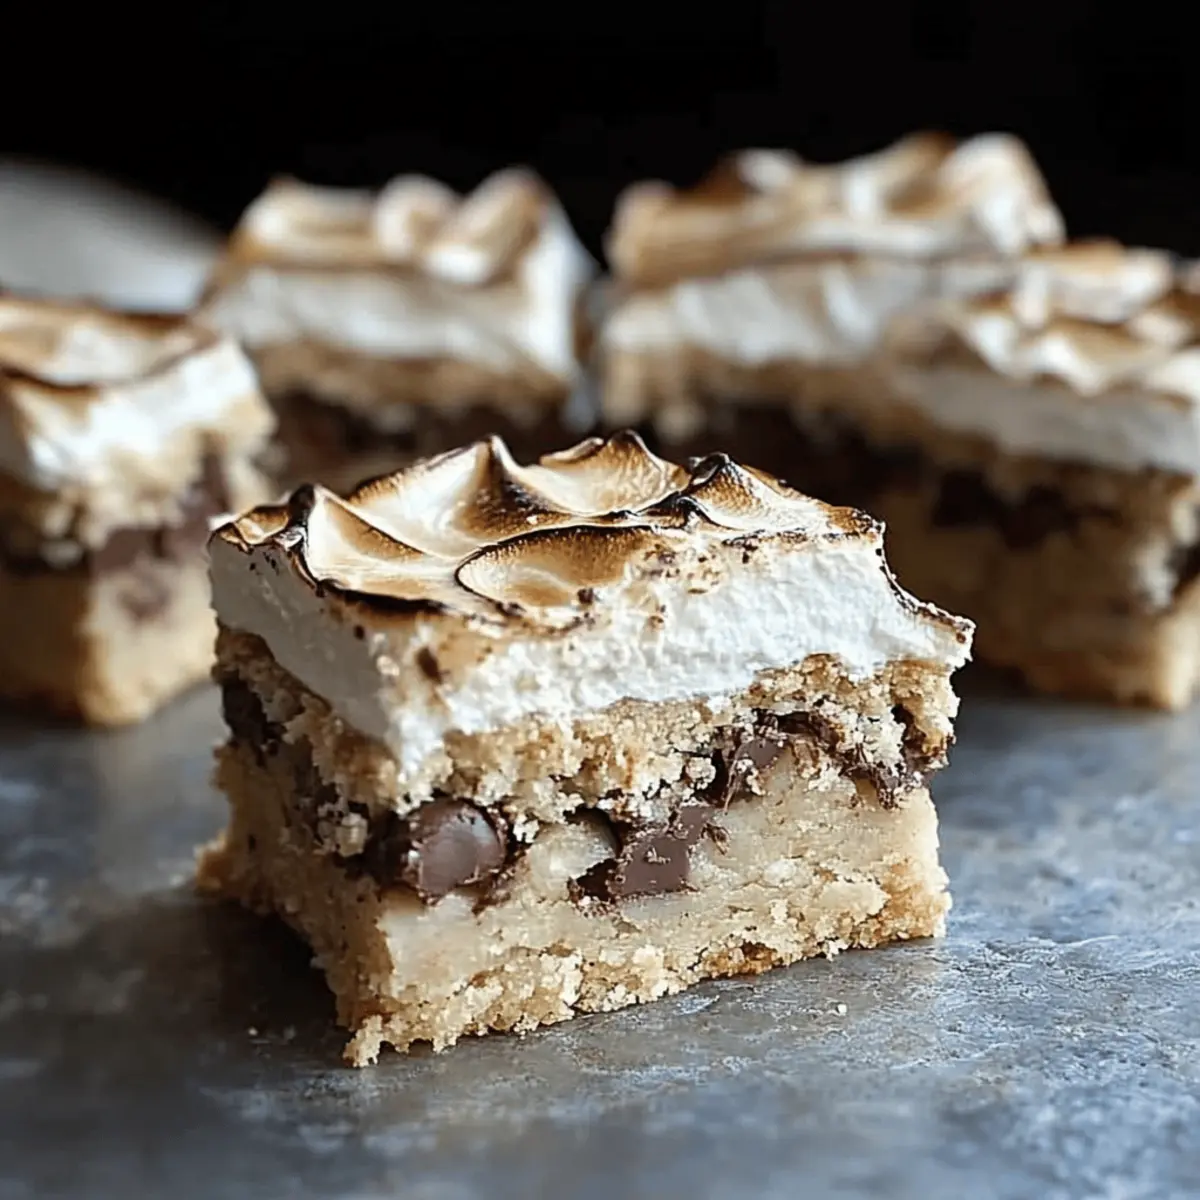
Texture Paradise: Experience the delightful contrast between the chewy base, decadent chocolate layer, and fluffy meringue topping.
Perfect for Any Occasion: Whether it’s a family gathering or a quiet evening at home, these bars will impress everyone. Tempted by other sweet options? Don’t forget to check out my Turtle Bars Decadent for an indulgent treat and my Blueberry Breakfast Cookies for a morning delight!
Halfway Cookie Bars Ingredients
For the Cookie Base
• All-purpose flour – Provides structure to the cookie base; substitute with gluten-free flour if needed.
• Salt – Enhances overall flavor and balances sweetness.
• Baking soda – Acts as a leavening agent, helping the cookie rise beautifully.
• Baking powder – Adds lightness to create a tender texture in the cookie.
• Unsalted butter – Adds richness and fat; remember to soften before mixing!
• Granulated sugar – Provides sweetness and helps achieve that lovely golden color.
• Brown sugar – Adds moisture and deepens the flavor of your cookie base. Reserve half for the meringue!
• Large eggs – Binds the ingredients together and provides moisture; separate whites for meringue.
• Water – Aids in mixing and dissolving sugars for even distribution.
• Vanilla extract – Infuses depth of flavor, making your bars irresistibly delicious.
• Semi-sweet chocolate chips – Adds rich chocolaty flavor; swap with butterscotch chips for a twist!
For the Meringue Topping
• Large egg whites – Use at least one for the meringue; three for extra thickness is an option!
• Brown sugar – Essential for a glossy meringue; adjust sweetness based on preference.
For the Baking
• Aluminum foil – For lining the baking dish, making bar removal a breeze.
• Parchment or wax paper – Protects the meringue during baking and helps achieve an even layer.
Now that you have all the essentials for the best Halfway Cookie Bars, let’s prepare to indulge in this cheerful dessert!
Step‑by‑Step Instructions for Halfway Cookie Bars
Step 1: Preheat and Prepare Pan
Begin by preheating your oven to 350°F (175°C). While it’s warming up, take a 9×13 inch baking dish and line it with aluminum foil, making sure to leave some overhang on the edges for easy removal once baked. Lightly spray the foil with nonstick cooking spray to ensure your Halfway Cookie Bars come out effortlessly.
Step 2: Make Cookie Dough
In a large bowl, combine the all-purpose flour, salt, baking soda, and baking powder. In a separate mixing bowl, cream softened unsalted butter with granulated and half of the brown sugar until the mixture is smooth and fluffy. Beat in the egg yolks, water, and vanilla extract until combined. Gradually add the dry ingredients to the wet mixture, stirring until crumbly to form the chewy base for your Halfway Cookie Bars.
Step 3: Assemble Layers
Transfer the cookie dough to the prepared baking dish. Use your fingers or a spatula to press the dough evenly across the bottom of the pan, creating a uniform layer. Next, sprinkle semi-sweet chocolate chips generously over the cookie layer, gently pressing them into the surface to ensure they meld beautifully during baking.
Step 4: Prepare Meringue
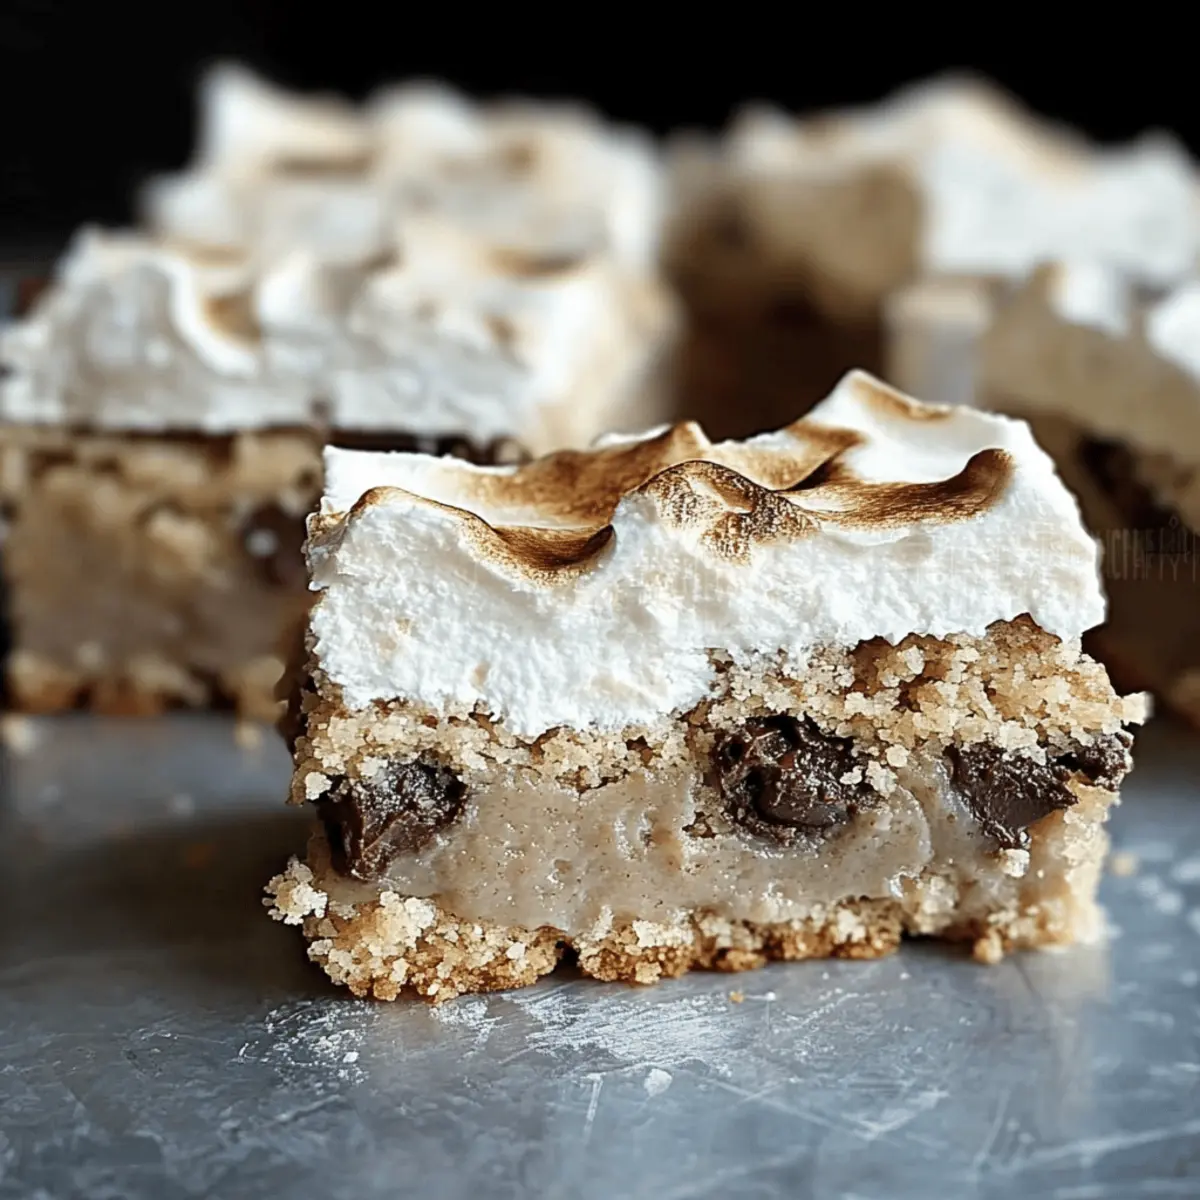
In a large mixing bowl, whip the separated egg whites until frothy, using a handheld mixer or stand mixer. Gradually add the remaining brown sugar, continuing to whip until glossy and soft peaks begin to form. The meringue should look light and airy, and this fluffy topping will create a delightful contrast on your Halfway Cookie Bars.
Step 5: Spread Meringue
Carefully spread the prepared meringue over the chocolate chip layer, smoothing it out with a spatula. Place the baking dish into your preheated oven and bake for 20 minutes. Keep an eye on the meringue; after 20 minutes, remove the foil and continue baking for an additional 5-10 minutes until the edges are lightly toasted and golden brown, adding a lovely crunch.
Step 6: Cool and Serve
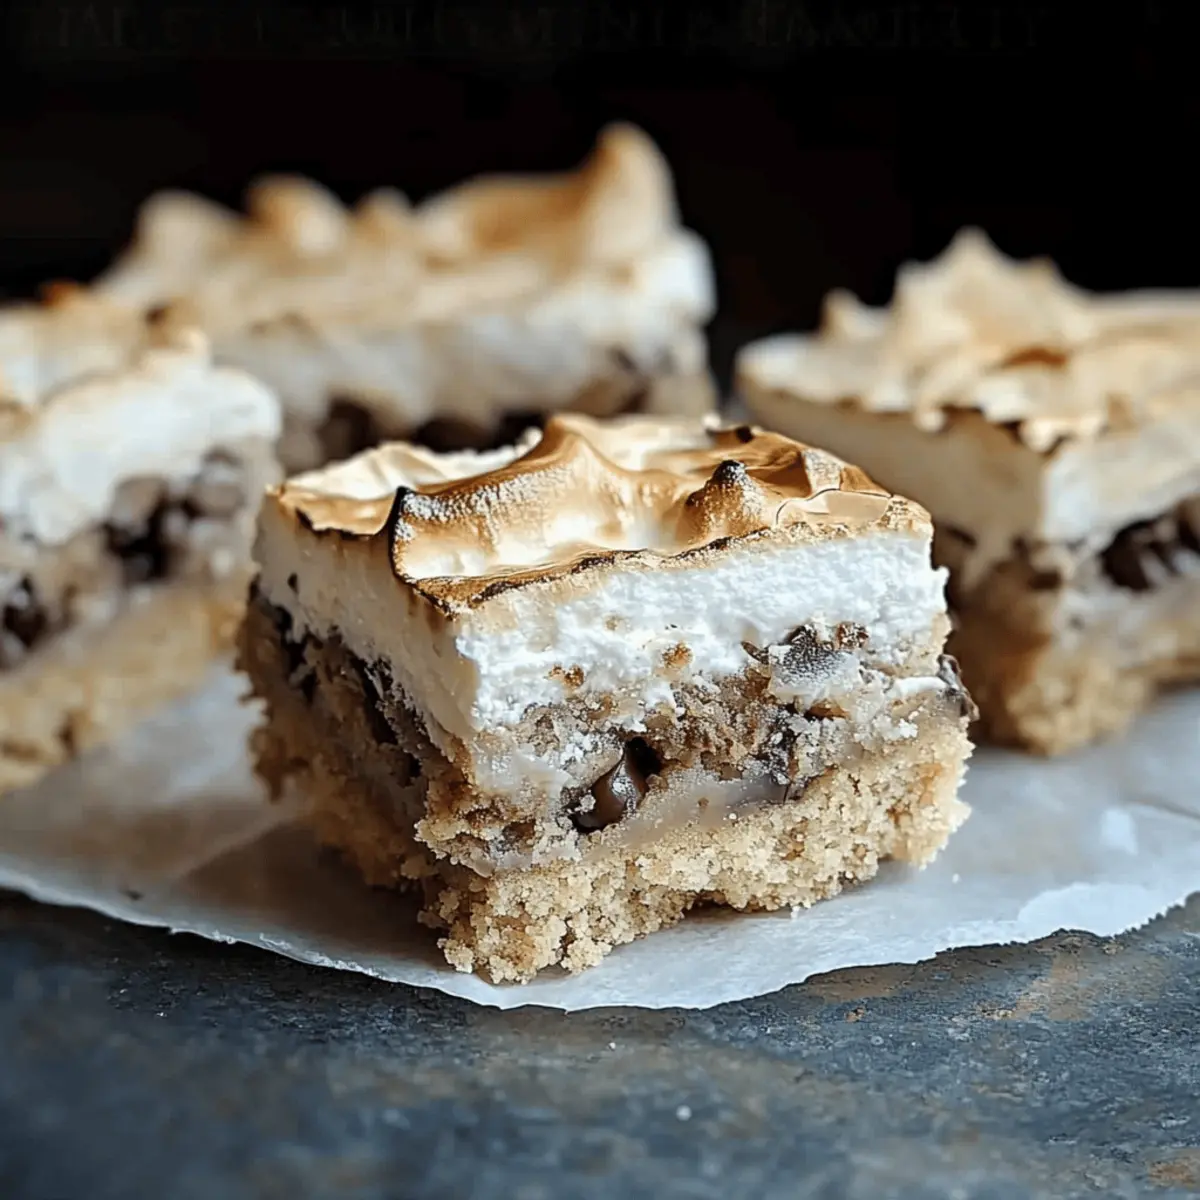
Once baked, remove the Halfway Cookie Bars from the oven and allow them to cool completely in the pan. After cooling, use the aluminum foil overhang to lift the bars out of the dish. Cut into squares and serve, enjoying the delightful blend of chewy, chocolaty, and fluffy textures that make these bars a memorable treat!
How to Store and Freeze Halfway Cookie Bars
Room Temperature: Store the cooled Halfway Cookie Bars in an airtight container at room temperature for up to 3-4 days to keep them fresh and chewy.
Fridge: If you prefer a firmer texture, refrigerate the bars in an airtight container for up to a week. Just remember to let them come to room temperature before enjoying for the best flavor!
Freezer: For longer storage, wrap individual bars in plastic wrap and then place them in a freezer-safe bag. They can be frozen for up to 2 months.
Reheating: To enjoy a warm treat, simply thaw frozen bars overnight in the fridge, then warm them in the microwave for 10-15 seconds before serving.
Expert Tips for Halfway Cookie Bars
-
Clean Tools: Ensure all bowls and utensils for the meringue are impeccably clean. Any grease can prevent the egg whites from reaching their maximum volume.
-
Perfect Meringue: For a crunchier meringue on your Halfway Cookie Bars, switch from brown to granulated sugar and whip until stiff peaks form, ensuring a delightful texture.
-
Watch the Bake: Keep an eye on the meringue during the last stages of baking. Check it a few minutes before the recommended time to avoid over-browning.
-
Mix-Ins Magic: Feel free to customize with favorite mix-ins like dried fruits or nuts. Just ensure they’re evenly distributed for consistent flavor in every bite.
-
Cooling Necessity: Let the bars cool completely before lifting them out of the pan for perfect slicing. Warm bars can crumble and are harder to cut neatly.
Halfway Cookie Bars Variations & Substitutions
Feel free to get creative with these delightful Halfway Cookie Bars—there’s so much room for personalization!
- Gluten-Free: Swap all-purpose flour for a gluten-free blend, ensuring everyone can join the fun.
- Fruit-Infused: Add dried fruits like cranberries or cherries for a sweet and chewy surprise in every bite.
- Nutty Crunch: Mix in chopped nuts, such as walnuts or pecans, to elevate the texture with a little added crunch.
- Flavor-Boosted Meringue: Infuse meringue with almond extract instead of vanilla for a beautiful twist that delights the senses.
- Choco-Twist: Substitute semi-sweet chocolate chips with white chocolate or caramel chips for a sweet, gooey variation.
- Reduced Sugar: Scale back the sugar in the meringue down to ½ cup for a less sweet topping while still enjoying the delicious fluff.
- Layered Delight: Consider adding a layer of peanut butter spread over the cookie base before sprinkling the chocolate chips for a nutty twist.
- Spice It Up: Add a hint of cinnamon or nutmeg to the cookie dough for a warm, cozy flavor profile that’s perfect for fall.
Each of these variations invites new experiences with your Halfway Cookie Bars. Once you master the basics, don’t hesitate to explore further, and if you’re in the mood for something else sweet, try my mouthwatering Turtle Bars Decadent or energizing Blueberry Breakfast Cookies. Happy baking!
Make Ahead Options
These Chewy Halfway Cookie Bars are perfect for meal prep, letting you enjoy a delicious dessert with minimal effort on busy days! You can prepare the cookie base up to 24 hours in advance; just store it in an airtight container in the refrigerator to keep it fresh. Alternatively, whip up the meringue layer and store it separately covered at room temperature for up to 3 days. When you’re ready to serve, simply assemble the layers, spread the meringue over the cookie base, and bake according to the recipe instructions. This way, you’ll have delightful, homemade bars just as scrumptious and fluffy, all with time-saving ease!
What to Serve with Chewy Halfway Cookie Bars?
Indulging in these delightful bars opens up a world of complementary flavors and textures that will elevate your dessert experience.
-
Vanilla Ice Cream: A scoop of creamy vanilla ice cream balances the chewy texture of the bars, adding a refreshing coolness.
-
Fresh Berries: Sweet and tart strawberries or raspberries bring a burst of freshness that contrasts beautifully with the rich chocolate.
-
Chocolate Sauce Drizzle: A warm drizzle of chocolate sauce enhances the chocolaty flavor while adding a luxurious touch.
-
Cup of Milk: Simple, yet classic! A tall glass of cold milk perfectly complements the sweetness of the bars, making them a nostalgic treat.
-
Tea or Coffee: Pairing your bars with a hot cup of tea or coffee can provide a comforting warmth, enriching the overall dessert experience.
-
Whipped Cream Topping: Light and fluffy whipped cream adds a luxurious layer of sweetness, making each bite an inviting indulgence.
-
Nuts or Nut Butter: Chopped nuts sprinkled on top or a dollop of nut butter on the side can introduce an additional crunch that contrasts with the soft meringue.
-
Fruit Salad: A light fruit salad with citrus and melon can cleanse the palate, making it a refreshing side to your dessert.
-
Chocolate Covered Strawberries: These luscious treats can echo the chocolate layer while adding a fancy flair to your dessert table.
-
Coconut Flakes: Toasted coconut lightly sprinkled over the top offers an unexpected tropical twist and pairs delightfully with the meringue.
Halfway Cookie Bars Recipe FAQs
What type of flour can I use for Halfway Cookie Bars?
Absolutely! All-purpose flour is the go-to choice for these bars, giving them the structure they need. If you’re looking for a gluten-free option, you can easily substitute it with a gluten-free flour blend designed for baking. Just be sure to check the brand’s recommended ratios as they can differ.
How should I store Halfway Cookie Bars once they’re baked?
These scrumptious bars can be kept fresh by storing them in an airtight container at room temperature for up to 3-4 days. If you’d like, you can also refrigerate them, but let them sit out for a bit to regain their delightful chewiness before serving!
Can I freeze Halfway Cookie Bars? How do I do it properly?
Yes, you can freeze them and still enjoy that glorious texture later! Simply wrap each bar in plastic wrap, then place them in a freezer-safe bag or container. They’ll stay well for up to 2 months. When you’re ready to indulge, thaw them overnight in the refrigerator, and warm them in the microwave for about 10-15 seconds for a delicious treat!
What can I do if my meringue doesn’t come out fluffy?
If your meringue isn’t reaching those lovely fluffy heights, it could be due to a couple of factors. Make sure all your bowls and utensils are completely clean – any grease can inhibit the egg whites from reaching their full potential. Also, if you’re not getting enough volume, try whipping them at a medium speed first until frothy before gradually adding in the sugar. Here’s a pro tip: for a crunchier meringue, switch to granulated sugar and ensure stiff peaks form!
Are there any allergy considerations for Halfway Cookie Bars?
Absolutely! Since the recipe includes eggs and dairy (butter), those with allergies should take care. You can use egg substitutes if you’re allergic to eggs, like flaxseed meals or commercial egg replacers. For dairy-free options, consider using vegan butter. Always double-check each ingredient to fit your dietary needs!
Can I change the type of chocolate in these bars?
Very much so! The beauty of Halfway Cookie Bars lies in their versatility. You can swap semi-sweet chocolate chips with butterscotch chips, white chocolate, or even chopped nuts for a different texture and flavor. The more the merrier when it comes to experimenting with toppings!
Chewy Halfway Cookie Bars with Fluffy Meringue Delight
Ingredients
Equipment
Method
- Preheat oven to 350°F (175°C) and line a 9x13 inch baking dish with aluminum foil, leaving an overhang. Spray with nonstick cooking spray.
- In a large bowl, combine flour, salt, baking soda, and baking powder. Cream softened butter with granulated and half the brown sugar until smooth. Beat in egg yolks, water, and vanilla extract. Gradually add dry ingredients until crumbly.
- Press the cookie dough evenly in the prepared baking dish. Sprinkle chocolate chips over the top, pressing slightly.
- Whip egg whites in a bowl until frothy. Gradually add remaining brown sugar, whipping until glossy and soft peaks form.
- Spread meringue over the chocolate layer and bake for 20 minutes, then continue for another 5-10 minutes until lightly toasted.
- Remove from oven, cool completely in the pan. Lift out using foil and cut into squares to serve.