


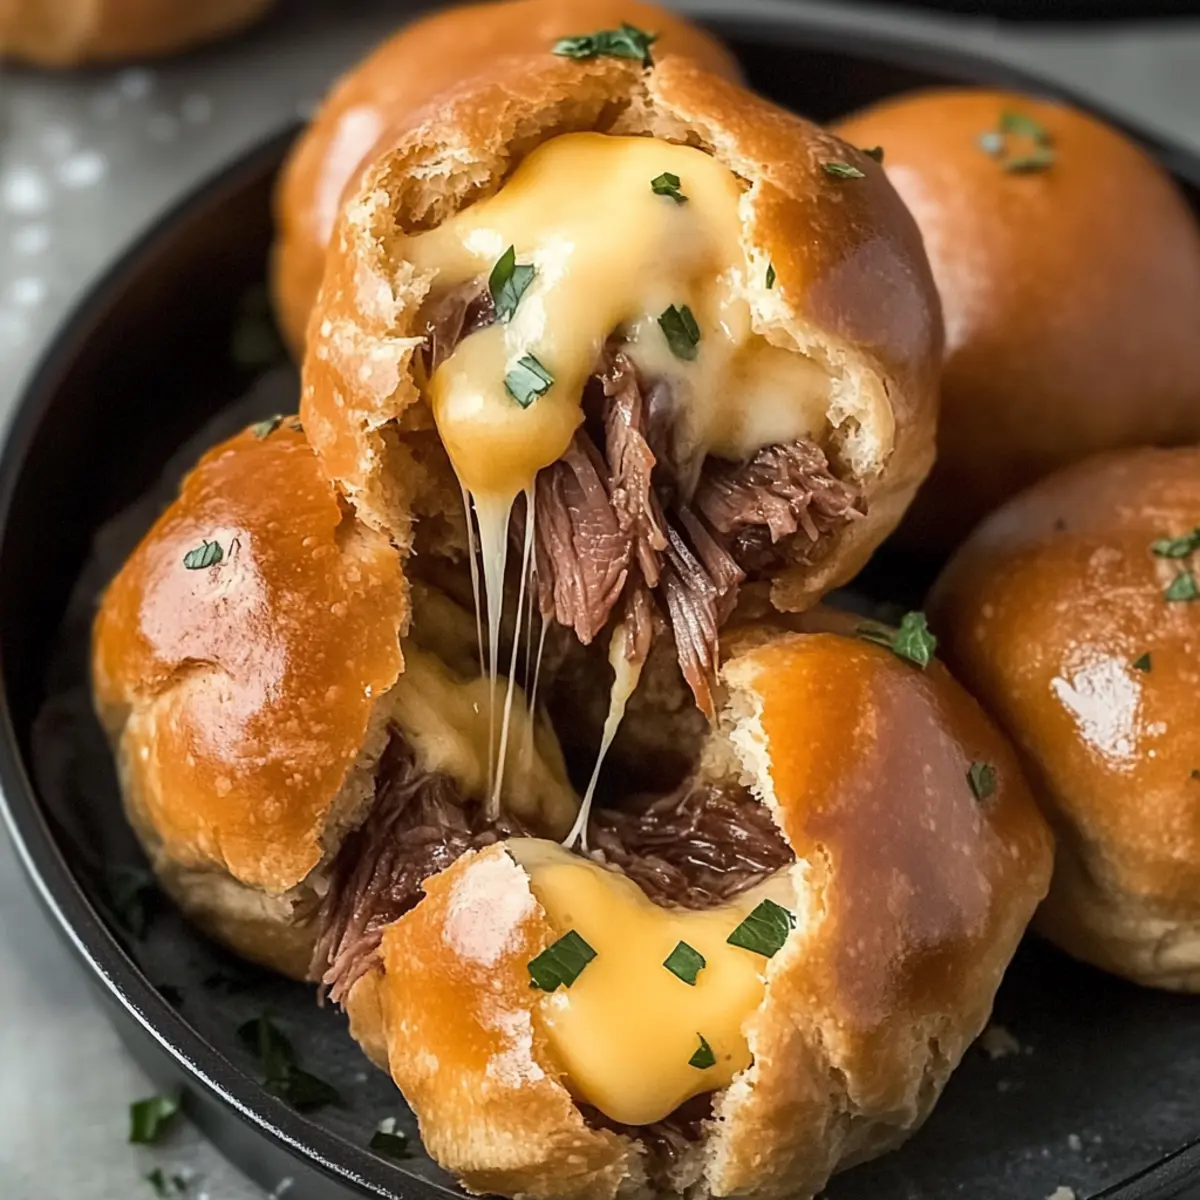
As I watched my friends’ eyes light up at the sight of bubbling cheese and tender brisket, I knew I had struck gold with my Smoked Brisket Beer Cheese Bombs. These savory bites are more than just comfort food; they’re a game day triumph that guarantees a crowd-pleasing experience. With a flaky biscuit crust encasing smoky brisket blended with sharp beer cheese, each bomb delivers an irresistible fusion of flavors. The beauty of this recipe lies in its versatility—you can easily swap in pulled pork or rotisserie chicken for a new twist. Plus, they’re perfect for prepping ahead of time, making them a breeze to serve during any festive gathering. Don’t you want to surprise your guests with a snack that’s both indulgent and unforgettable? Let’s dive into this delicious recipe!
Why are these snacks a game changer?
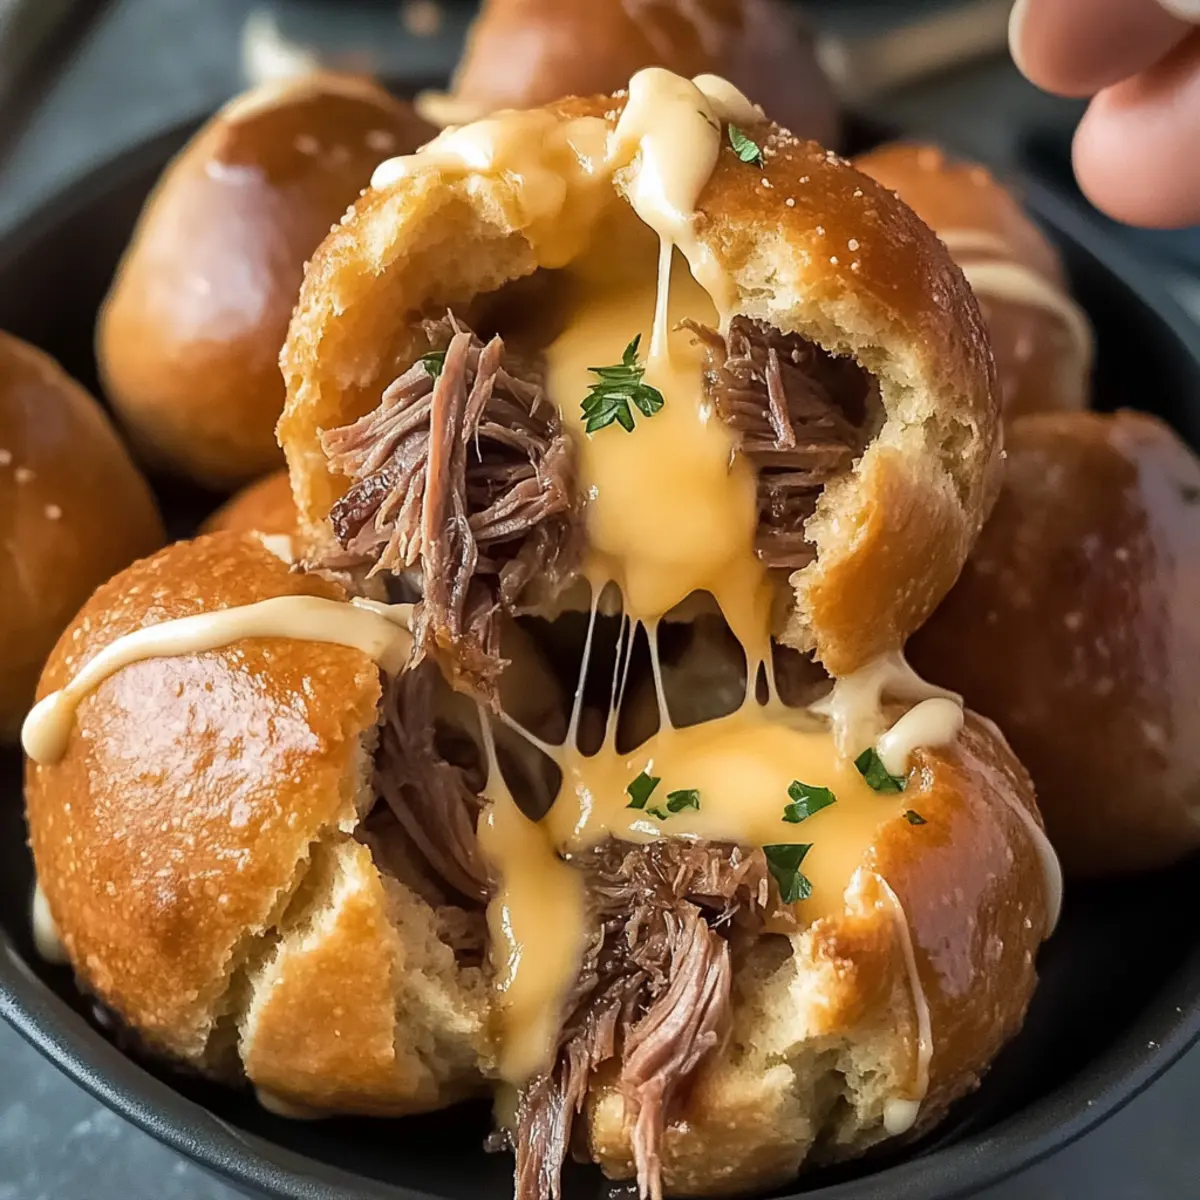
Irresistible Flavor Explosion: Each bite of these Smoked Brisket Beer Cheese Bombs delivers a fusion of smoky, cheesy goodness that’s simply unforgettable.
Versatile Variations: Swap out brisket for pulled pork or rotisserie chicken, and try different cheeses for a personalized touch.
Easy Prep Ahead: These can be made in advance and stored, ensuring you’re not rushed when hungry guests arrive.
Crowd-Pleasing Delight: Perfect for game day or gatherings, these bites are sure to impress your friends.
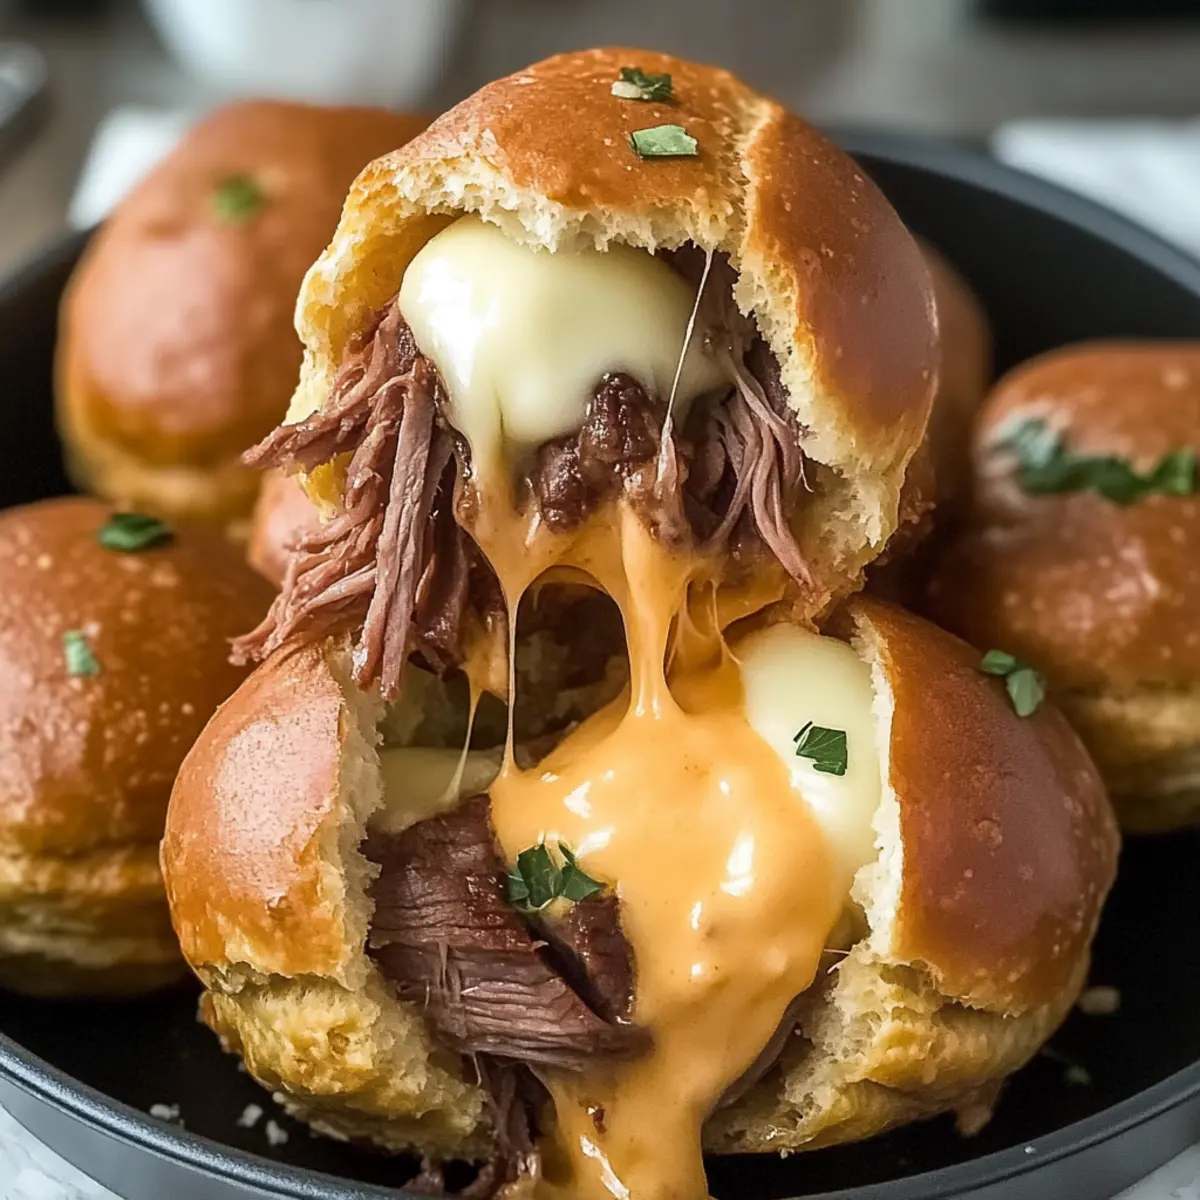
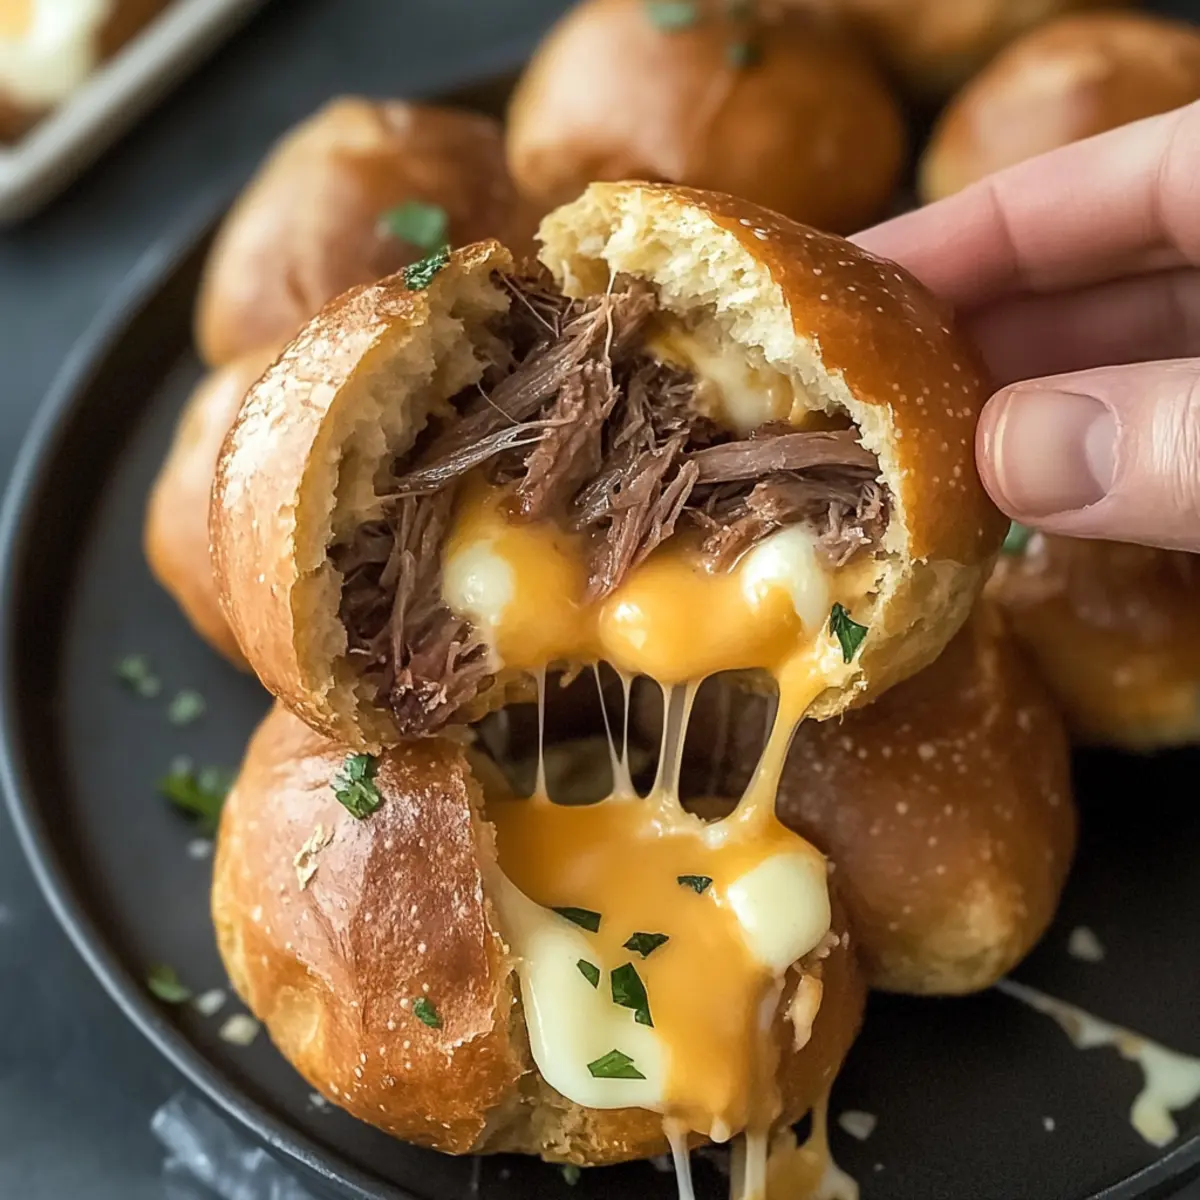
Perfect Texture: Enjoy a golden, flaky crust wrapped around a gooey, savory filling that creates an irresistible contrast.
Don’t forget to serve them warm alongside your favorite dipping sauces for that extra punch!
Smoked Brisket Beer Cheese Bombs Ingredients
• Get ready to create these delightful snacks that will leave everyone wanting more!
For the Filling
- Smoked Brisket – Adds tender, smoky protein; feel free to substitute with pulled pork or rotisserie chicken for a different twist.
- Beer Cheese Spread – Offers a creamy and tangy flavor; thin with beer or milk if it’s too thick. Regular cheese can be substituted, but it will change the taste.
- BBQ Sauce – Enhances the brisket’s flavor and moisture; adjust according to your preference.
- Cheddar Cheese – Melts beautifully and adds flavor; try using Monterey Jack for variation if desired.
For the Dough
- Biscuit Dough – Forms the crispy, buttery outer layer; you can also use puff pastry for an indulgent option.
For the Garlic Butter
- Melted Butter – Adds richness; brush generously on the bombs before and after baking for flavor enhancement.
- Minced Garlic – Amplifies the savory aspect; adjust based on your garlic preference.
- Parsley – Provides freshness and a pop of color; can substitute with other herbs as you like.
- Garlic Powder – Extra garlic flavor; ensure to sprinkle for maximum taste.
For Garnish (Optional)
- Everything Bagel Seasoning – Adds delightful extra flavor and texture; sprinkle on top before baking if desired.
Now that you have all the Smoked Brisket Beer Cheese Bombs ingredients, you’re just a few steps away from a game day snack that’s sure to impress!
Step‑by‑Step Instructions for Smoked Brisket Beer Cheese Bombs
Step 1: Preheat the Oven
Begin by preheating your oven to 375°F (190°C). As it warms up, line a baking sheet with parchment paper to prevent sticking and ensure easy cleanup. This preliminary step sets the stage for perfectly baked Smoked Brisket Beer Cheese Bombs that will be golden and crispy.
Step 2: Prepare the Brisket
Chop your smoked brisket into pea-sized pieces, aiming for about 2 cups total. The smaller size allows for easy mixing with the other ingredients and helps fill the bombs evenly. Take a moment to savor the smoky aroma as you prepare this delectable filling for your beer cheese bombs.
Step 3: Combine Filling Ingredients
In a mixing bowl, combine the chopped brisket, beer cheese spread, and your desired amount of BBQ sauce. Mix them thoroughly until well-combined, creating a cohesive filling that will burst with flavor inside each Smoked Brisket Beer Cheese Bomb. Set aside while you prepare the dough.
Step 4: Cut the Cheese
Cube the cheddar cheese into 16 small pieces, roughly ½ inch in size. These cheesy morsels will melt beautifully inside the bombs, enhancing their deliciousness. Having your cheese ready will help streamline the assembly process, ensuring uniformity in every bite.
Step 5: Prepare the Dough
Separate your biscuit dough into 8 equal pieces, then cut each piece in half to make 16 portions total. Gently roll or flatten each piece into a circle that is approximately 3 inches wide. This step is crucial for encasing the flavorful filling securely without tearing.
Step 6: Fill the Dough
Place about 1 tablespoon of the brisket mixture and one cheese cube right in the center of each flattened dough circle. Be careful not to overfill, as you’ll need sufficient dough to seal the bombs properly. This combination of ingredients is what makes our Smoked Brisket Beer Cheese Bombs irresistibly tasty.
Step 7: Seal the Bombs
Gather and pinch the dough around the filling gently but firmly, securing it tightly to prevent any leaks during baking. Roll the filled dough into a ball shape, ensuring the seam is at the bottom. This method creates a pleasing appearance and helps keep all that cheesy goodness inside each bomb.
Step 8: Arrange on the Baking Sheet
Place the sealed bombs seam-side down on your prepared baking sheet, ensuring they are spaced about 2 inches apart. This helps them bake evenly and prevents sticking. The anticipation builds as you prepare to bake these glorious Smoked Brisket Beer Cheese Bombs.
Step 9: Brush with Garlic Butter
In a small bowl, mix melted butter with minced garlic, parsley, and garlic powder. Generously brush this aromatic mixture over the tops of the bombs to enhance flavor and promote browning. This garlic butter glaze will add a golden sheen as they bake, enticing everyone with its savory aroma.
Step 10: Bake to Perfection
Place your baking sheet in the preheated oven and bake the bombs for 15-18 minutes or until they are puffed and golden brown. Keep an eye on them toward the end, as visual cues will ensure they don’t overbake, resulting in the perfect texture of the Smoked Brisket Beer Cheese Bombs.
Step 11: Final Touches
Once baked, immediately brush the bombs with more garlic butter for an extra buttery finish. If desired, sprinkle additional toppings like Everything Bagel Seasoning for added flavor and visual appeal. Let them cool for a few moments to set but serve while still warm for the best experience.
Step 12: Serve and Enjoy
Allow the Smoked Brisket Beer Cheese Bombs to cool for about 5 minutes before serving. This cooling period helps maintain the structure of the bombs while leaving the cheesy filling gooey and delightful. Pair with your favorite dipping sauces for the ultimate snack experience.
Smoked Brisket Beer Cheese Bombs Variations
Get excited about customizing your Smoked Brisket Beer Cheese Bombs to fit your taste buds and pantry staples!
-
Pulled Pork: Swap the brisket for tender pulled pork for a delightful twist that’s just as flavorful.
-
Rotisserie Chicken: Using store-bought rotisserie chicken makes for a quick and easy alternative, perfect for busy days.
-
Dairy-Free Cheese: For a plant-based option, try dairy-free cheese; just note it may alter the taste and texture slightly.
-
Spicy Jalapeños: Add diced jalapeños to the filling for an extra kick of heat that will impress spice lovers.
-
Mushroom Medley: Incorporate sautéed mushrooms into the brisket mixture for an earthy flavor blending beautifully with the cheese.
-
Herbed Dough: Toss in fresh herbs like rosemary or thyme into the biscuit dough for an aromatic flavor enhancement.
-
Puff Pastry: For a puffier, more decadent version, use puff pastry instead of biscuit dough—think buttery layers that melt in your mouth!
-
Sweet BBQ Sauce: Experiment with a sweet BBQ sauce for a playful sweetness that pairs beautifully with the smoky filling.
Feel free to dive into any of these variations, or get creative with your own ideas! You could even explore pairing these with a tangy dip like ranch or a sweet BBQ sauce for extra flavor. Enjoy the culinary adventure!
What to Serve with Smoked Brisket Beer Cheese Bombs
Elevate your game day or festive gathering with delicious pairings that complement these irresistible snacks.
-
Creamy Coleslaw: The crunchy freshness of coleslaw balances the rich flavors of the cheese bombs, adding a refreshing crunch to every bite.
-
Spicy Jalapeño Poppers: These spicy bites add heat and texture, creating a zesty contrast that complements the savory smokiness of your bombs.
-
Zesty Dipping Sauces: A trio of dipping sauces—ranch, BBQ, and spicy mustard—offers delightful variety, enhancing the experience with each dunk.
-
Cool Guacamole: The smooth, creamy avocados provide a refreshing contrast to the warm cheesiness of the bombs, lightening the overall meal.
-
Crispy Potato Wedges: These golden, seasoned wedges offer a satisfying crunch and pair beautifully with the gooey cheese bombs for a hearty treat.
-
Chilled Beer: Balance the richness of the bombs with a refreshing craft beer or a light lager that brings out the flavors without overwhelming your palate.
-
Warm Spinach Artichoke Dip: The creaminess of this dip adds another layer of indulgence that pairs wonderfully with the bomb’s crispy, buttery crust.
-
Sweet Cornbread: A slice of slightly sweet cornbread provides a lovely contrast to the savory and smoky notes of the Smoked Brisket Beer Cheese Bombs, making for a comforting addition.
Together, these accompaniments will create a delightful spread that not only showcases your incredible beer cheese bombs but promises to impress every guest at your gathering!
How to Store and Freeze Smoked Brisket Beer Cheese Bombs
-
Room Temperature: Store uneaten Smoked Brisket Beer Cheese Bombs at room temperature for up to 2 hours. Beyond this timeframe, it’s best to refrigerate to ensure quality.
-
Fridge: Keep any leftover bombs in an airtight container in the refrigerator for up to 3 days. Reheat in the oven at 350°F for about 10 minutes for the best texture.
-
Freezer: Freeze prepared but unbaked Smoked Brisket Beer Cheese Bombs for up to 3 months. Layer them between parchment paper in a freezer-safe container for easy separation.
-
Reheating: When ready to enjoy, bake from frozen at 375°F for 20-25 minutes until golden and heated through. Enjoy that gooey, cheesy goodness!
Make Ahead Options
These Smoked Brisket Beer Cheese Bombs are a fantastic choice for meal prep, saving you time on busy game days! You can prepare the filling (brisket, beer cheese spread, and BBQ sauce) and keep it in the refrigerator for up to 3 days. Additionally, you can assemble the bombs and refrigerate them for up to 24 hours before baking, ensuring that they’re ready to pop in the oven when you’re ready to serve. Just remember to cover them tightly to maintain quality and prevent the dough from drying out. When it’s time to enjoy, simply bake straight from the fridge, adding a few extra minutes to the cooking time for that perfectly golden, cheesy goodness!
Expert Tips for Smoked Brisket Beer Cheese Bombs
-
Seal Tight: Ensure you pinch the seams tightly to prevent any filling from leaking out during baking, which keeps the flavor intact.
-
Chill Dough: Use room temperature biscuit dough to make it easier to handle; refrigerating it beforehand will help avoid stickiness.
-
Flour Your Hands: Lightly dust your hands with flour when handling the dough to prevent it from sticking, ensuring a smoother assembly process.
-
Avoid Overfilling: Be cautious not to overfill the bombs with the brisket mixture; this keeps them easy to seal and helps maintain the shape.
-
Maximize Cheese Melting: Use a high-quality cheddar for better melting; try alternatives like Monterey Jack for varied flavors in your Smoked Brisket Beer Cheese Bombs.
-
Serve Warm: For the best experience, serve the bombs warm and pair with dipping sauces such as ranch or extra BBQ sauce to elevate the flavors.
Smoked Brisket Beer Cheese Bombs Recipe FAQs
How do I select the best smoked brisket for my bombs?
Absolutely! When choosing smoked brisket, look for meat that is moist and tender with a good balance of fat for flavor. Ideally, the brisket should have a rich, smoky aroma and not be overly dried out. Avoid any with excessive dark spots, as this may indicate spoilage.
How should I store leftover Smoked Brisket Beer Cheese Bombs?
For sure! Store any uneaten bombs in an airtight container in the refrigerator for up to 3 days. I often reuse deli containers or resealable bags for easier access. Reheat them in the oven at 350°F for about 10 minutes until warm. This ensures the dough stays crispy while the filling remains gooey!
Can I freeze the Smoked Brisket Beer Cheese Bombs?
Yes, indeed! You can freeze prepared but unbaked Smoked Brisket Beer Cheese Bombs for up to 3 months. Layer them between parchment paper in a freezer-safe container, ensuring they don’t stick together. When ready to enjoy, bake from frozen at 375°F for 20-25 minutes until they are golden and heated through, giving you that perfect cheesy experience.
What can I do if my bombs explode in the oven?
Oh no! If your bombs explode during baking, it often means the dough hasn’t been sealed tightly enough. For next time, ensure you’re pinching the seams securely and maybe try reducing the filling amount to avoid overstuffing. Remember, a little less filling makes for better sealing without sacrificing yumminess.
Are there any dietary considerations for Smoked Brisket Beer Cheese Bombs?
Very important! If you’re cooking for others, let your guests know about potential allergens like dairy and gluten in the biscuit dough and cheese. If anyone has specific dietary restrictions, consider using gluten-free biscuit dough or dairy-free cheese alternatives. You could also offer a meatless version by using sautéed mushrooms or vegetables.
Can I make these bombs ahead of time?
Absolutely! You can prepare everything in advance and store unbaked bombs in the fridge for up to 3 days. This works wonderfully for parties; just assemble them and keep them covered until you’re ready to bake. When you’re all set, just pop them in the oven for a freshly baked snack!
Smoked Brisket Beer Cheese Bombs for Ultimate Game Day Indulgence
Ingredients
Equipment
Method
- Preheat the oven to 375°F (190°C) and line a baking sheet with parchment paper.
- Chop the smoked brisket into pea-sized pieces, about 2 cups total.
- Combine chopped brisket, beer cheese spread, and BBQ sauce in a mixing bowl.
- Cube the cheddar cheese into 16 small pieces, approximately ½ inch in size.
- Separate biscuit dough into 8 pieces, cut each in half to make 16 portions; roll each into 3-inch circles.
- Place 1 tablespoon of brisket mixture and one cheese cube in the center of each dough circle.
- Gather and pinch the dough around the filling to seal the bombs tightly.
- Arrange the bombs seam-side down on the prepared baking sheet, spaced about 2 inches apart.
- Mix melted butter, minced garlic, parsley, and garlic powder; brush over the tops of the bombs.
- Bake for 15-18 minutes until puffed and golden brown.
- Brush with more garlic butter after baking and sprinkle any desired additional toppings.
- Let cool for 5 minutes before serving; pair with favorite dipping sauces.