


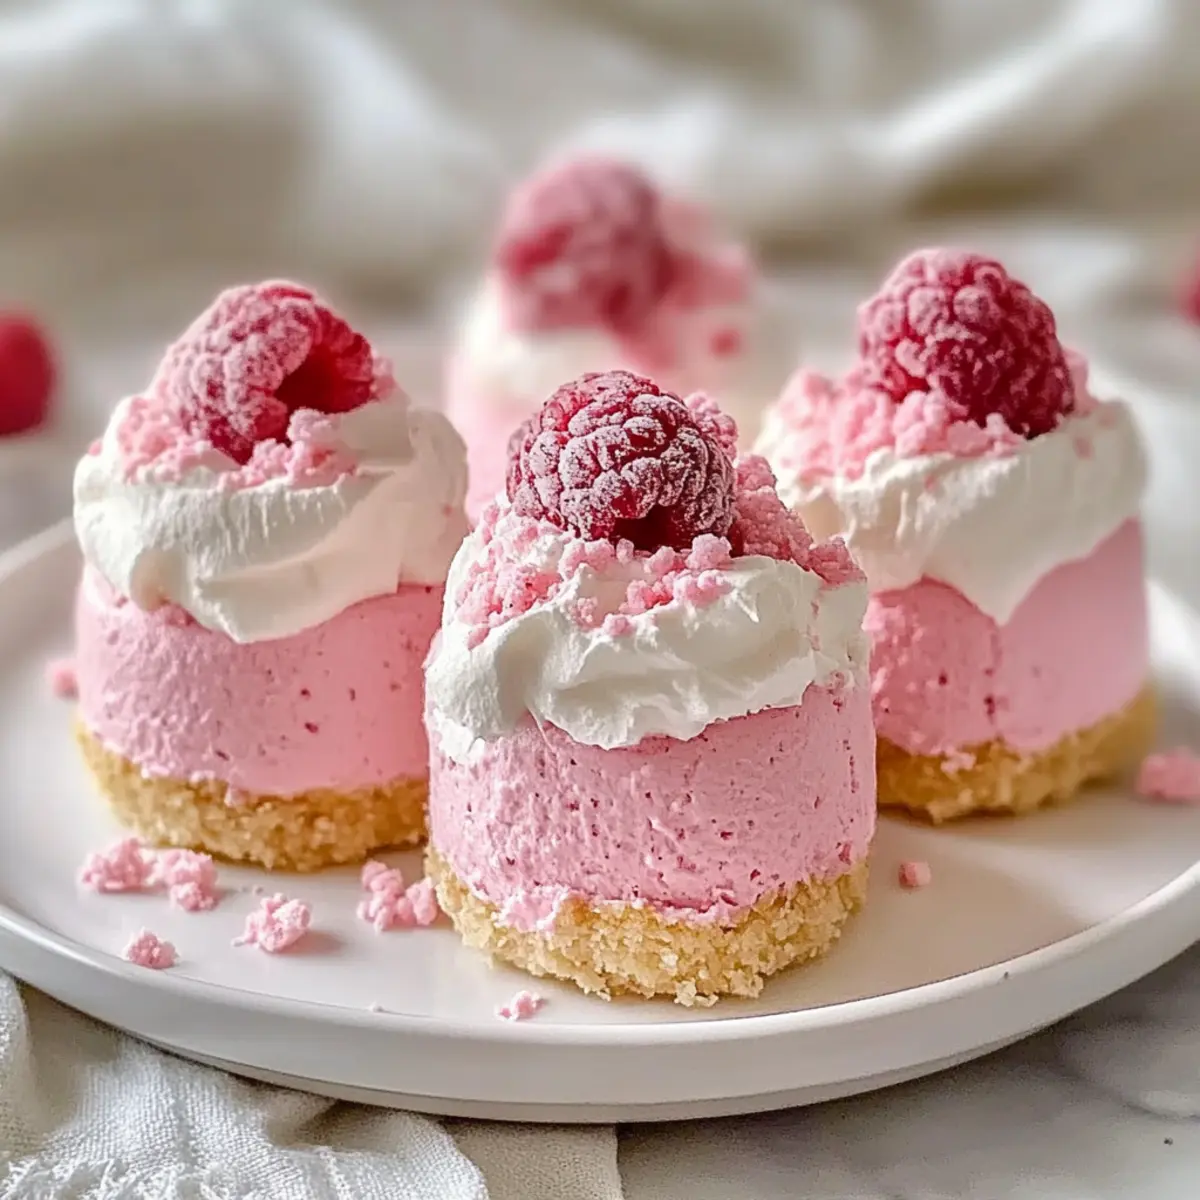
As I stood in my kitchen, the world outside became a blur while I dove into creating something truly special. Enter the No Bake Pink Velvet Cheesecake Bites—a dessert that’s as fun to make as it is to eat. These delightful bites aren’t just visually stunning with their charming pink hue; they’re also incredibly easy to whip up, making them perfect for anyone who loves homemade sweets without the fuss of baking. Not only do they offer a creamy, rich flavor that’ll have you sneaking in just one more, but they’re also a versatile treat that can cater to both your vegetarian and dairy-free friends. Curious how to bring this sweet vision to life? Let’s dive into the delicious details!
Why are these cheesecake bites irresistible?
Effortless Preparation: Skip the oven; these No Bake Pink Velvet Cheesecake Bites come together in no time, making them perfect for busy weeknights or spontaneous gatherings.
Visual Appeal: Their striking pink hue makes them a showstopper at any party, instantly brightening up your dessert table.
Creamy Delight: Each bite is smooth, rich, and satisfying, perfectly balancing sweetness and a subtle tang from the cream cheese.
Diet-Friendly Flexibility: Cater to various diets effortlessly—consider using vegan cream cheese or a gluten-free crust to keep everyone happy.
Perfect for Any Occasion: Whether it’s a fancy gathering or a casual family treat, these bites fit right in, ensuring your desserts are always the talk of the table. For more enchanting dessert ideas, check out our guide on easy no-bake treats.
No Bake Pink Velvet Cheesecake Ingredients
For the Filling
- Cream Cheese – Provides richness and creaminess to the filling; substitute with vegan cream cheese for a dairy-free option.
- Powdered Sugar – Adds sweetness to balance the tang of the cream cheese; adjust according to taste preference.
- Whipping Cream – Creates a light and fluffy texture; for a dairy-free option, use coconut cream.
- Pink Food Coloring (or Beet Juice Concentrate) – For achieving the charming pink hue; use beet juice concentrate for a natural alternative.
For the Crust
- Graham Cracker Crust – Serves as the crunchy base for the bites; opt for gluten-free crust if needed.
Step‑by‑Step Instructions for No Bake Pink Velvet Cheesecake Bites
Step 1: Prepare the Cream Cheese Filling
In a mixing bowl, using an electric mixer, beat the cream cheese on medium speed until it becomes smooth and creamy, about 2 minutes. Ensure there are no lumps for a silky filling. This creamy base is the heart of your No Bake Pink Velvet Cheesecake Bites, so take your time to achieve the right texture.
Step 2: Sweeten the Mixture
Gradually add the powdered sugar while continuing to mix the cream cheese, blending until fully combined and fluffy, roughly 1-2 minutes more. The mixture should be sweet yet well-balanced, creating a harmonious flavor for your cheesecake bites. Scrape the sides of the bowl to incorporate all the sugar evenly.
Step 3: Whip the Cream
In a separate large bowl, use a chilled electric mixer to whip the cream until soft peaks form, about 3-4 minutes on medium-high speed. The whipped cream will bring a delightful lightness to your dessert. Be careful not to over-whip, as you want it light and airy to fold into your cheesecake mixture.
Step 4: Combine Cream and Cheesecake Mixture
Gently fold the whipped cream into the cream cheese mixture in three parts. This process should be done carefully to maintain the volume of the whipped cream. The result should be a luscious and fluffy filling for your No Bake Pink Velvet Cheesecake Bites that captures the eye and the palate.
Step 5: Add Color to the Filling
Once combined, add your pink food coloring gradually, mixing until the desired hue is achieved. Aim for a soft, pastel pink that makes your cheesecake bites visually appealing. Take a moment to admire the beautiful color; it’s all part of the fun!
Step 6: Fill the Crust
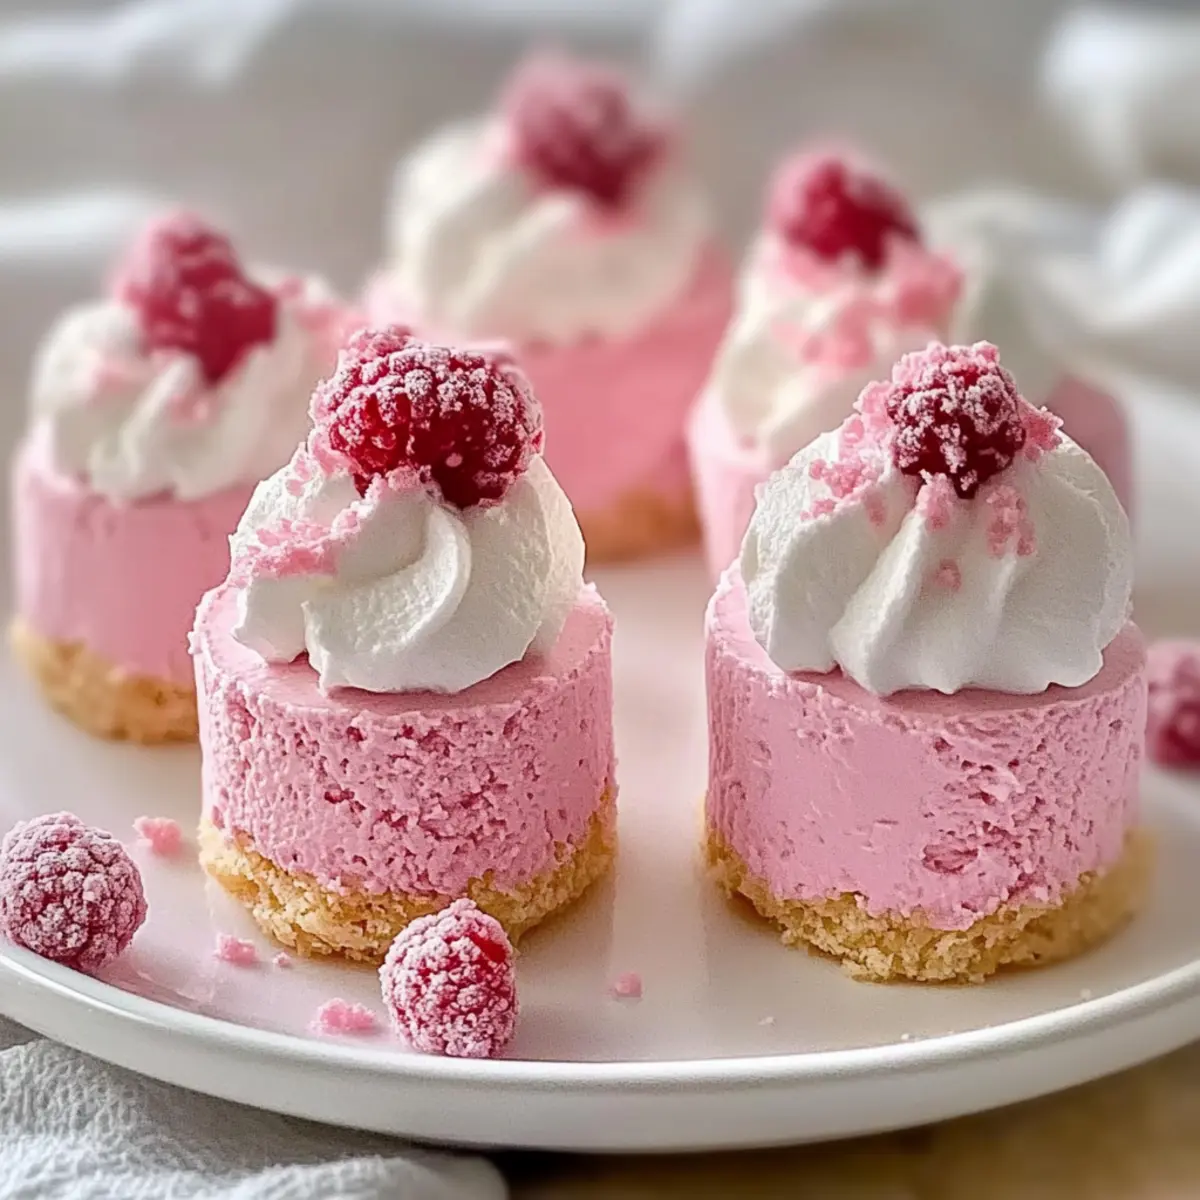
Spoon the pink cheesecake filling evenly into your prepared graham cracker crust, smoothing the top with a spatula. Ensure the filling is level for consistent bites. This step adds to the final presentation, making your No Bake Pink Velvet Cheesecake Bites look divine.
Step 7: Chill to Set
Cover the filled crust with plastic wrap and refrigerate for at least 4 hours, or until the bites are set firmly. The chilling process develops their flavor, resulting in a creamy, delightful texture that will melt in your mouth.
Step 8: Serve and Enjoy
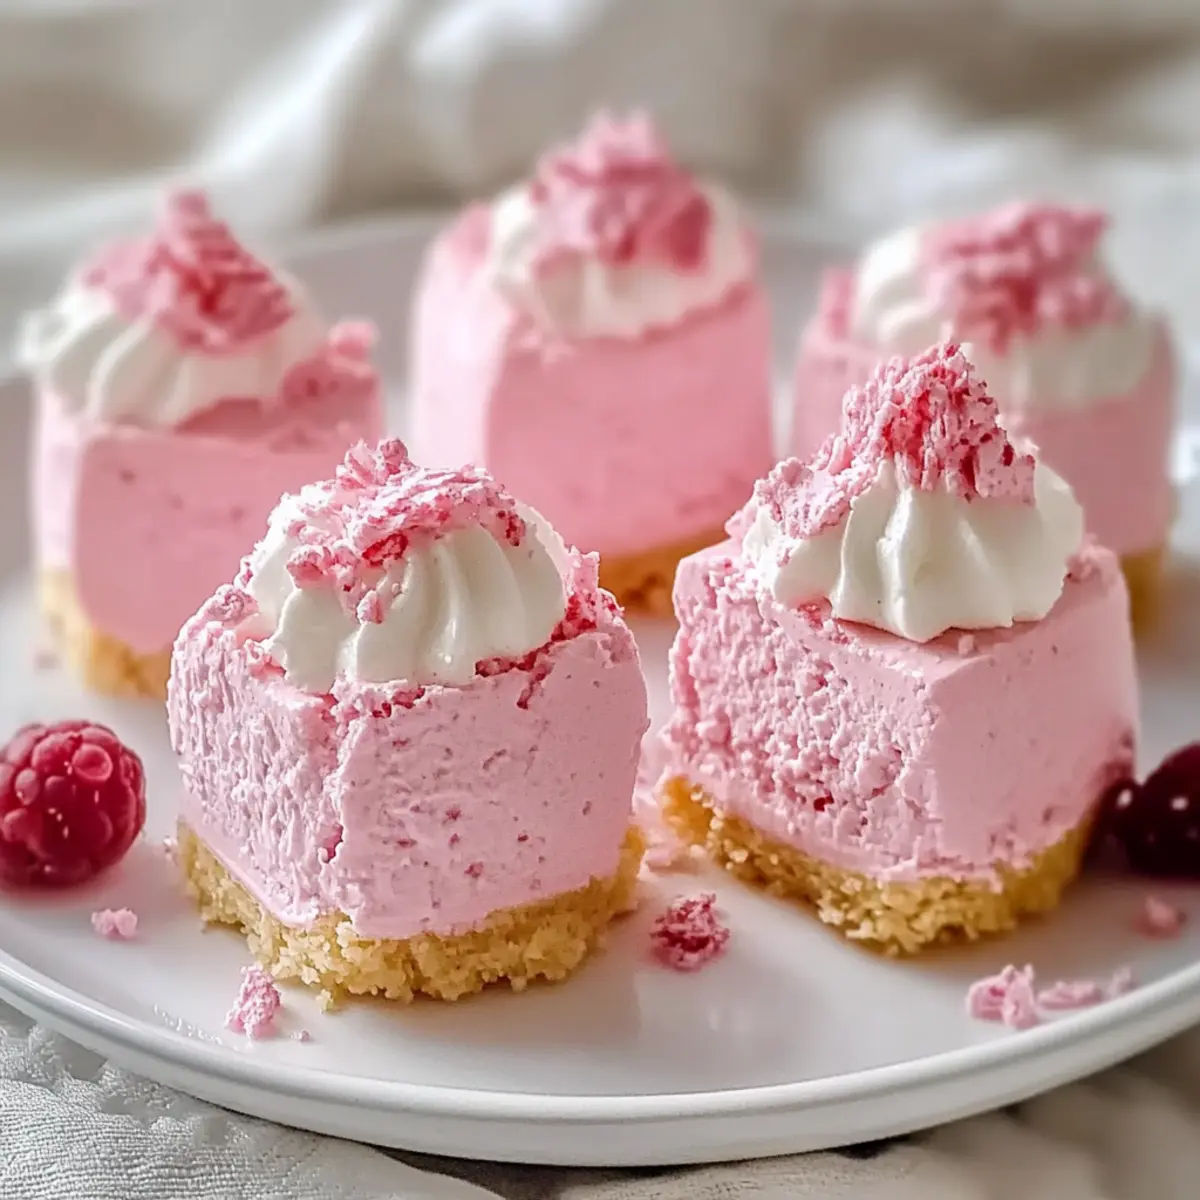
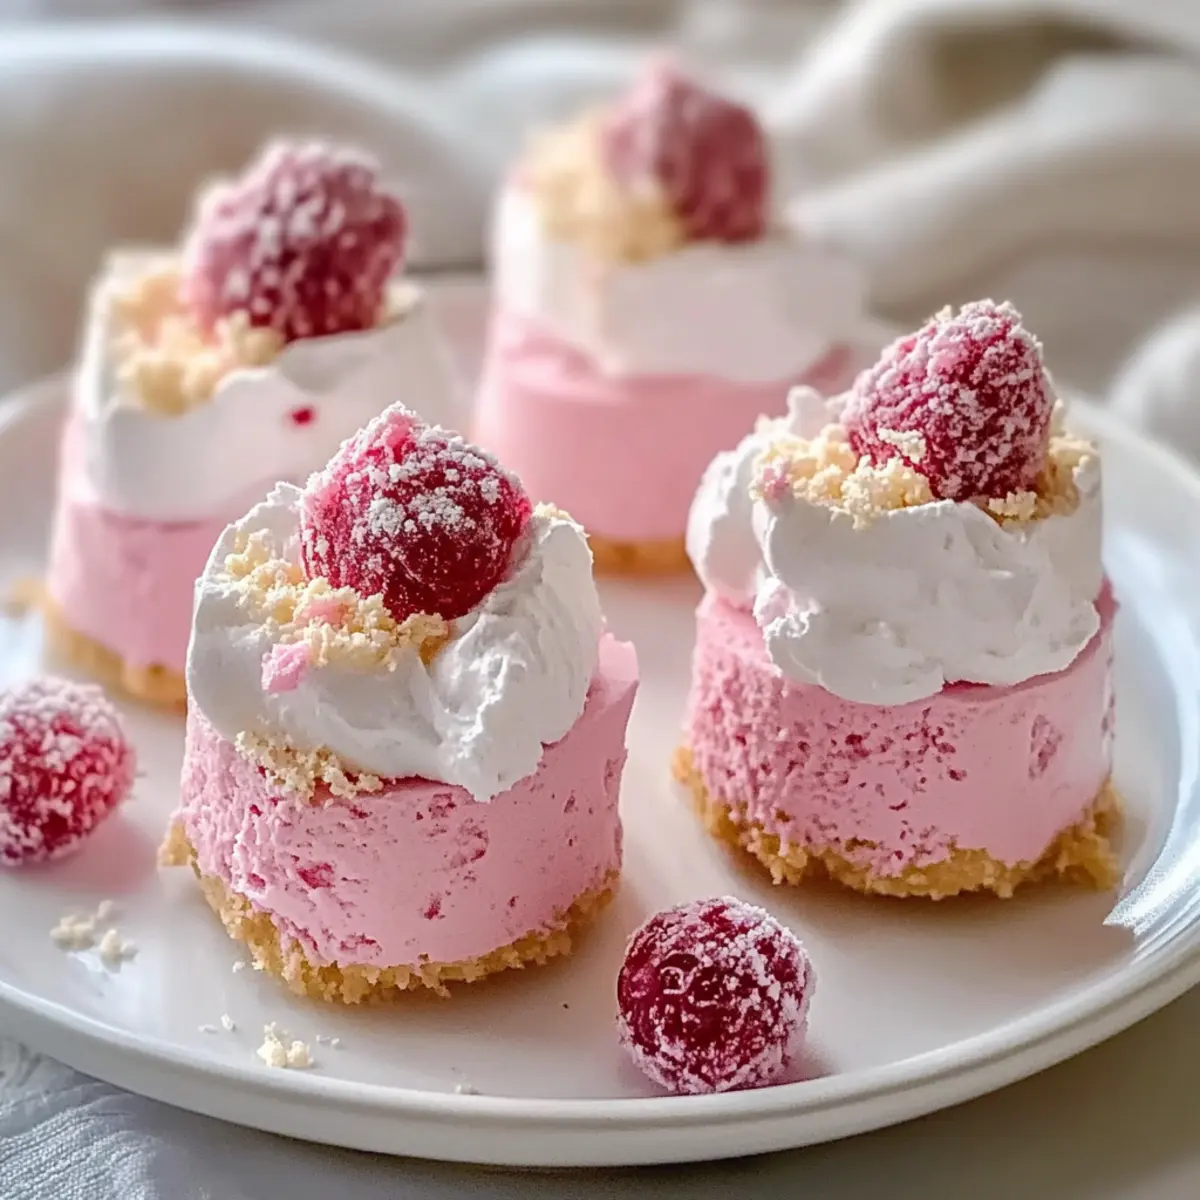
Once set, remove from the refrigerator and carefully cut into bite-sized squares. Arrange the No Bake Pink Velvet Cheesecake Bites on a decorative platter, garnished with fresh berries and mint leaves for a touch of elegance. Each bite promises to be a hit at your next gathering!
Expert Tips for No Bake Pink Velvet Cheesecake Bites
-
Room Temperature Cheese: Make sure your cream cheese is at room temperature before mixing; it ensures a smoother, creamier filling without lumps.
-
Gentle Folding: When incorporating the whipped cream into the filling, fold gently to keep it airy. Overmixing will deflate the mixture, impacting the light texture of your cheesecake bites.
-
Color Gradation: Add your pink food coloring gradually and mix until you achieve your desired shade, testing along the way for the perfect pastel hue.
-
Crust Alternatives: If you’re looking for a flavor twist, consider swapping the graham cracker crust for an Oreo crust for a chocolatey variation that’s simply irresistible.
-
Proper Chilling: Don’t rush the chilling step! Allowing the bites to set for at least 4 hours in the refrigerator ensures that the flavors meld beautifully and that each bite holds its shape.
-
Presentation Tips: For an elegant touch, garnish the bites with fresh mint leaves and berries before serving, turning your dessert into a stunning centerpiece on any table.
What to Serve with No Bake Pink Velvet Cheesecake Bites?
Indulging in these sweet bites opens the door to a dazzling dessert spread that elevates any occasion.
-
Fresh Berries: A medley of strawberries, blueberries, and raspberries adds a burst of brightness and freshness, balancing the creamy cheesecake with natural tartness. Arrange them artistically around the bites for a beautiful presentation.
-
Whipped Cream: A dollop of homemade whipped cream on the side offers a delightful contrast in texture and enhances the sweetness of the cheesecake bites. Plus, who can resist an extra fluff of creamy goodness?
-
Chocolate Drizzle: Drizzling a rich chocolate sauce over the bites transforms them into an indulgent treat, adding a luxurious layer of flavor. This combination is a hit for chocolate lovers, creating a harmonious blend of sweet and creamy.
-
Mint Leaves: Fresh mint leaves not only add a pop of color to your dessert platter but also bring a refreshing aroma that complements the rich cheesecake. Their vibrant green looks stunning alongside the pink bites, making your presentation even more inviting.
-
Mini Fruit Tarts: Serve alongside mini fruit tarts for a delightful contrast; both desserts are sweet, yet each has its unique flavors and textures to keep your guests coming back for more.
-
Sparkling Lemonade: A chilled glass of sparkling lemonade provides a bubbly refreshment that cuts through the creaminess of the bites perfectly. Its zesty citrus flavor brightens the entire dessert experience.
-
Chocolate-Covered Strawberries: Pairing these bites with chocolate-dipped strawberries creates an exquisite dessert combination; the sweet chocolate and the rich cheesecake filling offer a sublime treat for the senses.
-
Iced Coffee: For a sophisticated touch, pair your bites with a glass of iced coffee. The bittersweet flavor of the coffee complements the sweetness of the cheesecake, creating a delightful dessert-and-drink pairing.
-
Coconut Sorbet: Serve with a scoop of coconut sorbet for a tropical twist; the cool, creamy sorbet acts as a refreshing counterpoint to the cheesecake bites, enriching the overall deliciousness of your dessert table.
-
Vanilla Ice Cream: A scoop of classic vanilla ice cream beside the cheesecake bites adds a nostalgic touch while the ice cream’s coolness contrasts beautifully with the creamy desserts. The combination is simply irresistible!
Make Ahead Options
These No Bake Pink Velvet Cheesecake Bites are ideal for meal prep, allowing you to enjoy a delicious dessert without the last-minute rush. You can prepare the cheesecake filling up to 24 hours in advance and store it in an airtight container in the refrigerator. For the crust, consider assembling it 1-2 days ahead and keeping it refrigerated until you’re ready to fill. To maintain their creamy texture and vibrant color, cover the bites with plastic wrap while chilling them. When it’s time to serve, simply scoop the chilled filling into the crust, let it set for a few minutes, and garnish with berries and mint. With this prep, your treats will remain just as delightful!
How to Store and Freeze No Bake Pink Velvet Cheesecake Bites
Fridge: Store the cheesecake bites in an airtight container in the refrigerator for up to 5 days, ensuring they remain fresh and delicious.
Freezer: For longer storage, place the bites in an airtight container separated by parchment paper and freeze for up to 2 months. Thaw in the fridge overnight before serving.
Reheating: These bites are best served chilled and do not require reheating; simply enjoy them directly from the fridge for that creamy texture.
Make Ahead: You can prepare these delightful No Bake Pink Velvet Cheesecake Bites a day in advance. Just be sure to chill them well for optimal taste and texture!
No Bake Pink Velvet Cheesecake Bites Variations
Feel free to let your creativity shine as you explore these fun twists and substitutions for the recipe!
- Dairy-Free: Substitute cream cheese and whipping cream with vegan versions to make this dessert accessible for everyone.
- Fruit-Infused: Fold in crushed strawberries or raspberries into the cheesecake filling for a burst of fresh fruit flavor. The delightful tang from the berries will elevate your bites to a whole new level!
- Gluten-Free: Use a gluten-free graham cracker crust or crushed nuts for those who are sensitive to gluten, allowing everyone to indulge without worry.
- Color Play: Experiment with different food colorings to create vibrant shades for any occasion. From lavender to mint green, the possibilities are endless!
- Nutty Crunch: Add a handful of chopped nuts, like pecans or walnuts, into the crust for an extra layer of texture. This will provide a delightful crunch that beautifully contrasts the creamy filling.
- Chocolate Lovers: Swap the graham cracker crust for an Oreo crust for a chocolatey taste that impresses every sweet tooth. Who can resist the combination of chocolate and cheesecake?
- Cheesecake Bites with Heat: For a twist, sprinkle in a pinch of cayenne or chili powder for a surprising kick that enhances the sweetness. It’s an adventurous way to keep things exciting!
- Mini Cupcakes: Instead of bites, pipe the filling into mini cupcake liners for individual servings. This not only makes for a fun presentation but also allows for easy grab-and-go enjoyment!
Feel encouraged to mix and match these variations to suit your taste! For more inspiring dessert alternatives, check out our roundup on easy no-bake treats.
No Bake Pink Velvet Cheesecake Bites Recipe FAQs
How do I select the best cream cheese for my cheesecake bites?
Absolutely! Look for full-fat cream cheese for the richest, creamiest texture. Check for any dark spots or discoloration on the packaging—these can indicate it’s past its prime. Always ensure it’s at room temperature before mixing for the best results.
What is the best way to store leftover cheesecake bites?
Store your No Bake Pink Velvet Cheesecake Bites in an airtight container in the fridge for up to 5 days. This keeps them fresh while preserving their delightful creamy texture. If you’re making them in advance, they can be prepared a day ahead—just cover them well to avoid any fridge odors!
Can I freeze these cheesecake bites for later?
Certainly! To freeze your cheesecake bites, start by cutting them into individual pieces. Place them in a single layer in an airtight container, separated by parchment paper to prevent sticking. They can be frozen for up to 2 months! When you’re ready to enjoy, simply thaw them in the fridge overnight. This gentle method helps maintain their creamy consistency.
What if my whipped cream doesn’t reach soft peaks?
Very! If your whipped cream isn’t reaching soft peaks after 3-4 minutes of mixing, check to ensure the bowl and beaters are completely clean and chilled, as any residue can affect its ability to whip. Also, be sure not to overwhip, as this can turn it into butter. If it still doesn’t whip, you might want to switch to a new batch, as sometimes the cream can be the culprit!
Are there any dietary considerations I should keep in mind?
Yes, indeed! This recipe can easily cater to your friends with dietary restrictions. Substitute the cream cheese with a vegan cream cheese for a dairy-free option, and choose coconut cream instead of whipping cream. Also, to make the crust gluten-free, opt for a gluten-free graham cracker alternative. That way, everyone can delight in these scrumptious bites!
Is there any way to adjust the sweetness of the cheesecake filling?
Certainly! If you prefer a less sweet filling, simply adjust the powdered sugar to your liking. Start with about half the recommended amount, mix it in, and then taste. You can always add more sugar gradually until it hits your sweet spot! Be sure to balance it with the tanginess of the cream cheese for a harmonious flavor.
No Bake Pink Velvet Cheesecake Bites: Easy, Creamy Indulgence
Ingredients
Equipment
Method
- Prepare the Cream Cheese Filling by beating cream cheese until smooth.
- Sweeten the Mixture by adding powdered sugar and mix until fluffy.
- Whip the Cream until soft peaks form.
- Combine Cream and Cheesecake Mixture by folding in whipped cream gently.
- Add Color to the Filling by mixing in pink food coloring until desired hue.
- Fill the Crust with the pink cheesecake filling evenly and smooth the top.
- Chill to Set by covering with plastic wrap and refrigerate for at least 4 hours.
- Serve and Enjoy by cutting into squares and garnishing before serving.