


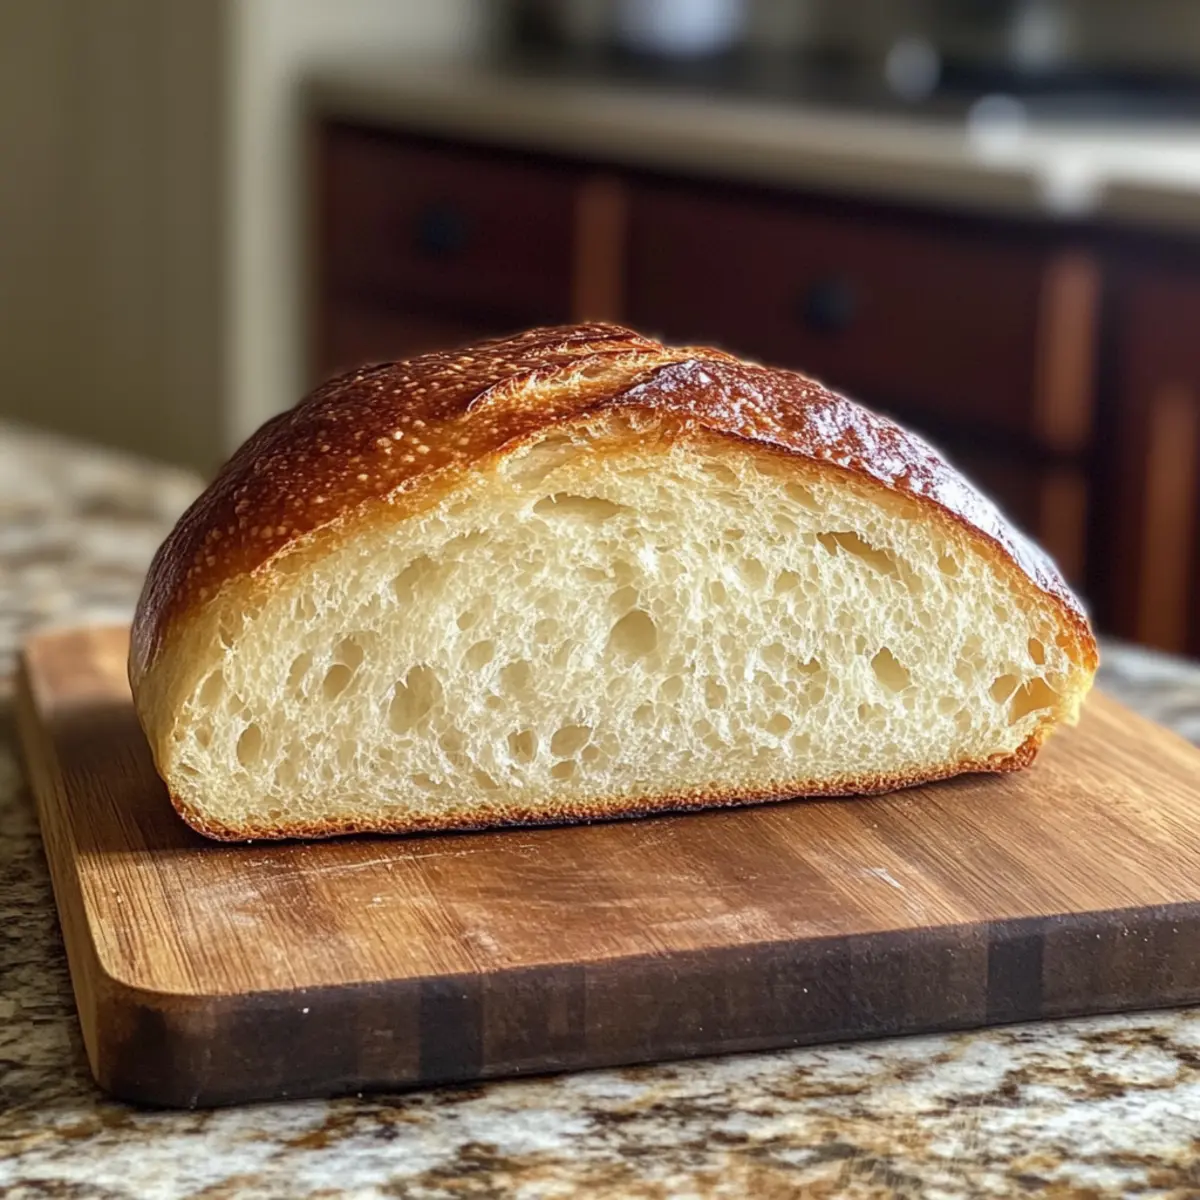
The aroma of freshly baked bread is an invitation to gather around the kitchen, isn’t it? There’s something magical about turning simple ingredients into a warm loaf that brings everyone together. With my Easy Homemade Italian Bread with a Crispy Crust, you’ll soon forget the days of store-bought bread. This recipe not only produces a delightful contrast of a crunchy exterior and soft, airy interior but also allows you to play with ingredients, making it perfect for both the eager novice and the seasoned chef. In just a few simple steps, you can create a delectable homemade bread that elevates any meal—ideal for sandwiches or as a side to your favorite soup. Ready to fill your home with the comforting scent of baking bread? Let’s get started!
Why is homemade bread a must-try?
Simplicity at Its Finest: This recipe requires just a handful of simple ingredients, making it accessible for everyone, from novice cooks to experienced chefs.
Delightful Aroma: Imagine the warm, inviting scent of freshly baked bread wafting through your home—it’s pure comfort!
Versatile Creation: Feel free to get creative by adding herbs or even nuts for a personalized touch.
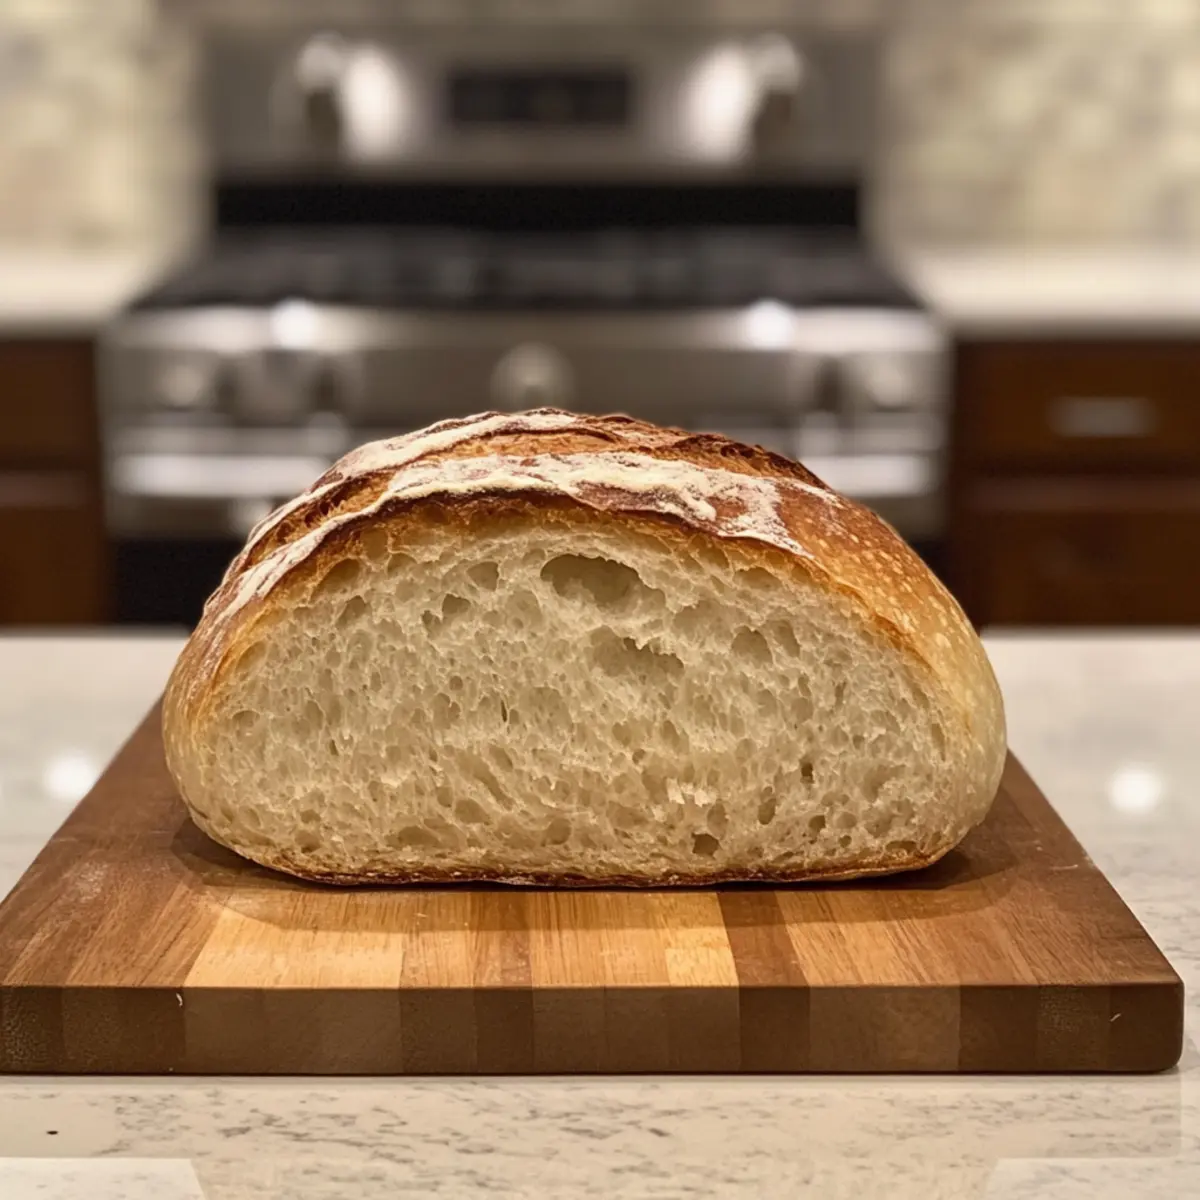
Crispy Crust: Achieving that perfect crunchy crust is easier than you think, and it’s what sets this bread apart.
Nourishing Choice: With no added sugars, this bread is a wholesome alternative to commercial options, perfect for a guilt-free indulgence.
Meal Enhancer: Whether for sandwiches or as a side, this bread elevates every meal. Don’t forget to check out my tips on storing homemade bread to keep it fresh longer!
Easy Italian Bread Ingredients
• Prepare to craft your own delicious loaf!
For the Dough
- Flour – Essential for structure; measure 480g by weight for the best outcome.
- Yeast – 2 ¼ teaspoons of instant yeast is a reliable leavener that doesn’t require proofing.
- Filtered Water – 1 ½ cups to activate the yeast without any chlorine interference.
- Olive Oil – 2 tablespoons add richness; consider avocado oil for a dairy-free alternative.
- Salt – 2 teaspoons enhance the flavor while moderating yeast activity.
Optional Add-ins
- Herbs, Seeds, or Nuts – Fold in ½ to ¾ cup of your choice for added texture and flavor, perfect for a unique twist on your homemade Italian bread!
This Easy Italian Bread recipe showcases simple ingredients to create a heavenly homemade loaf that rivals any bakery!
Step‑by‑Step Instructions for Easy Homemade Italian Bread with a Crispy Crust
Step 1: Mix Ingredients
In a large mixing bowl, combine 480g of flour, 2 ¼ teaspoons of instant yeast, and 2 teaspoons of salt. Drizzle in 2 tablespoons of olive oil, and gradually add in 1 ½ cups of filtered water. Use a wooden spoon or your hands to mix until a shaggy dough forms, ensuring all the dry ingredients are moistened.
Step 2: Knead Dough
Turn the dough out onto a lightly floured surface. Knead by hand for about 8-10 minutes, or until the dough becomes smooth and elastic, avoiding excessive flour to maintain the desired texture. If using a stand mixer with a dough hook, knead on medium speed for about 5-7 minutes. The dough should feel slightly tacky but not sticky.
Step 3: First Rise
Place the kneaded dough in a lightly oiled bowl, cover it with a damp kitchen towel or plastic wrap, and let it rise in a warm area for approximately 1 hour. The dough should double in size during this time, becoming puffy and airy. This step is essential for developing that light, soft interior of your Easy Homemade Italian Bread.
Step 4: Shape Loaf
Once the dough has risen, gently punch it down to release the air. Turn it out onto a floured surface and shape it into a loaf by folding in the edges and rolling it tightly. Place the shaped loaf into a prepared baking sheet or a greased loaf pan, ensuring it’s snug but not too compressed.
Step 5: Second Rise
Cover the shaped loaf with a clean kitchen towel and allow it to rise again for 30-45 minutes. During this time, it will expand and puff up, indicating it’s ready for baking. Keep it in a warm environment, free from drafts, to ensure optimal rising conditions for the crusty loaf.
Step 6: Preheat Oven
About 20 minutes before the second rise is complete, start preheating your oven to 450°F (230°C). Place an empty baking pan on the bottom rack of the oven, which will be filled with water later to create steam, contributing to that beautifully crispy crust you’re aiming for with your Easy Homemade Italian Bread.
Step 7: Bake
When ready, carefully score the top of the loaf with a sharp knife to allow steam to escape. Place the bread in the oven and pour hot water into the preheated pan on the bottom rack. Bake for 25-30 minutes until the crust is golden brown and sounds hollow when tapped on the bottom.
Step 8: Cool
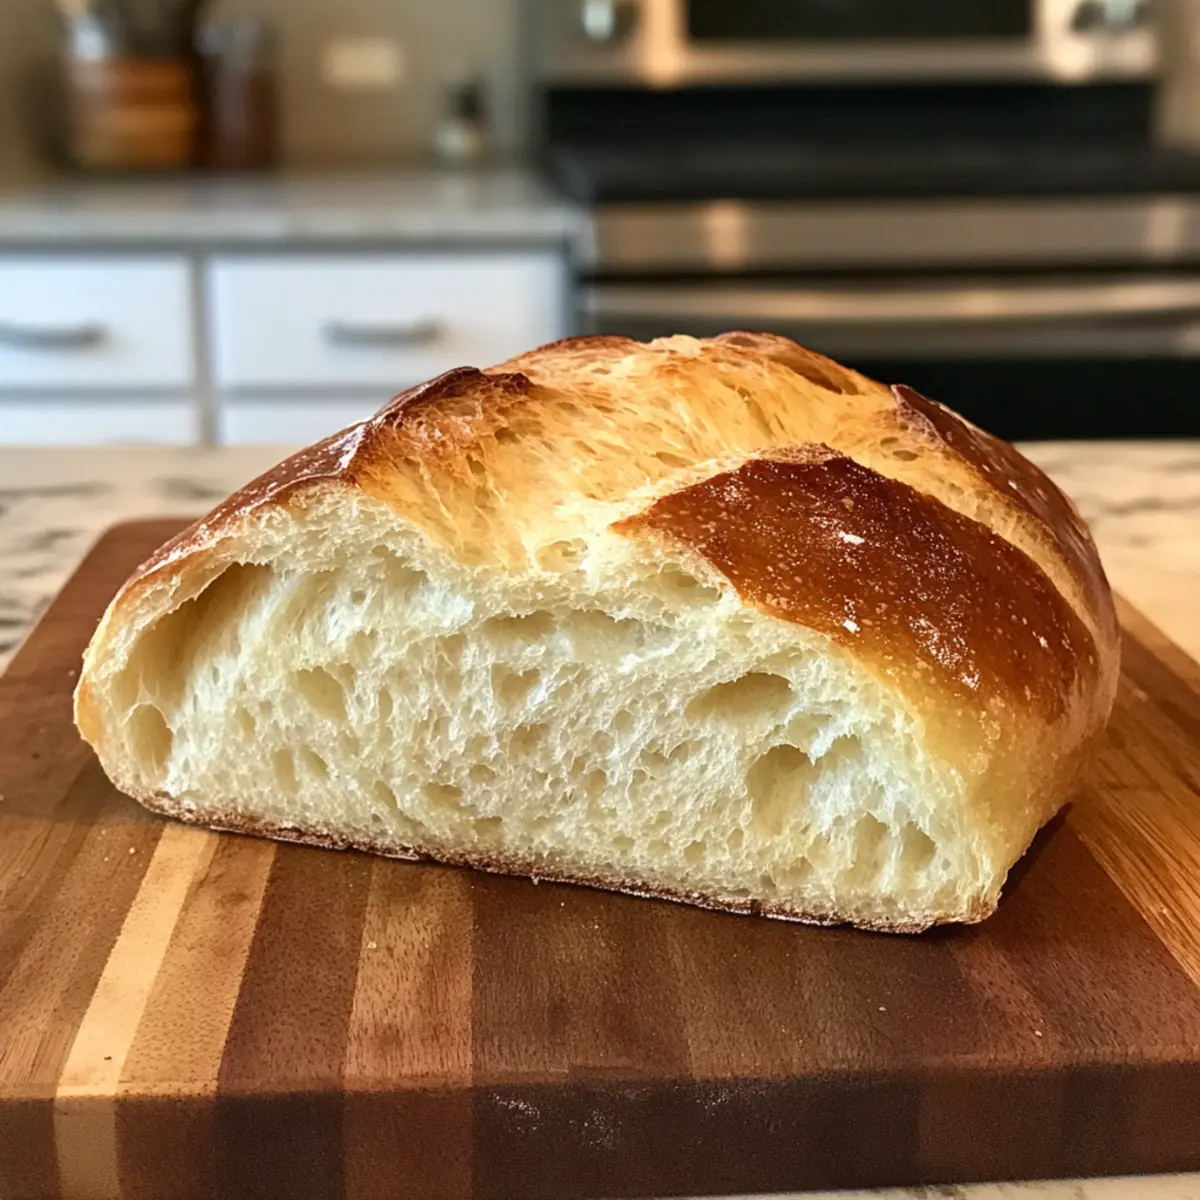
Once baked, remove the bread from the oven and let it cool on a wire rack. Allow it to cool completely before slicing. This cooling process helps avoid a gummy texture, giving you the perfect slice to enjoy your homemade Italian bread!
What to Serve with Easy Homemade Italian Bread?
Nothing elevates a meal quite like the comforting aroma of freshly baked bread, inviting joy and warmth into your dining experience.
- Creamy Tomato Soup: The acidity of tomatoes beautifully contrasts the bread’s soft texture, creating a delightful harmony in every bite.
- Garlic Herb Butter: A simple spread that adds richness and a burst of flavor; perfect for slathering on warm slices.
- Caprese Salad: Fresh mozzarella, tomatoes, and basil drizzled with balsamic complement the bread’s rustic charm and enhance the Italian theme.
- Olive Oil and Balsamic Vinegar: Dipping your bread into a mix of these two elevates even the simplest meals, amplifying flavors and textures.
- Hearty Stews: The bread serves as a perfect vessel for soaking up rich sauces, offering a satisfying end to every bowl.
- Cheese Platter: A variety of cheeses pairs wonderfully, allowing the bread to shine alongside different flavors and textures.
- Red Wine: A glass of hearty Italian red brings out the depth of flavors in the bread, enhancing your dining experience.
- Fresh Fruit Tart: A sweet ending to your meal, the tart’s sweetness contrasts beautifully with the savory bread.
- Roasted Vegetable Medley: The caramelized flavors of roasted vegetables bring out the earthiness of the bread, making each bite a treat.
Expert Tips for Easy Italian Bread
-
Measure Accurately: Use a kitchen scale for flour, ensuring 480g for a well-structured dough. Too much flour can lead to a dry loaf.
-
Water Temperature: The ideal water temperature for activating yeast is around 110°F (43°C). Using hot water can kill the yeast, so check with a thermometer!
-
Knead Thoroughly: Kneading is crucial for gluten development. Aim for a smooth, elastic dough that is slightly tacky but not overly sticky for the best texture in your homemade bread.
-
Steam Matters: For a crispy crust, don’t skip the steam! If you forget the water pan, you’ll miss that delightful crunch that sets your Easy Italian Bread apart.
-
Cooling Time: Patience is key! Allow the bread to cool completely on a rack before slicing to prevent a gummy texture in the center.
How to Store and Freeze Easy Italian Bread
Room Temperature: Store your Easy Italian Bread in an airtight container or wrapped in plastic wrap at room temperature for up to 3 days to maintain freshness.
Fridge: If you live in a humid climate, you can refrigerate the bread in an airtight container for up to a week, but this may alter the texture slightly.
Freezer: For longer storage, slice the bread and freeze the pieces in freezer-safe bags for up to 3 months. This way, you can enjoy a slice whenever you crave homemade goodness!
Reheating: To revive frozen slices, toast them directly from the freezer or warm them in a preheated oven (350°F) for about 10 minutes for a crispy exterior.
Easy Italian Bread Variations Await
Discover how you can let your creativity shine by customizing this delightful Italian bread recipe to suit your family’s taste!
- Gluten-Free: Swap regular flour for a gluten-free blend and add 1 teaspoon of xanthan gum to maintain texture.
- Herb-Infused: Elevate flavors by adding 1 tablespoon of dried herbs—like rosemary or oregano—right into the dough for an aromatic twist.
- Cheesy Delight: Fold in ½ cup of shredded cheese (like Parmesan or Mozzarella) before shaping for a creamy, savory filling that melts beautifully.
- Sweet Twist: Mix in ¼ cup of honey or maple syrup and a pinch of cinnamon for a subtly sweet bread perfect for breakfast.
- Seed Crunch: Sprinkle ½ cup of mixed seeds (like sunflower or pumpkin) on top before the second rise for added texture and nutty flavor.
- Nutty Flavor: Fold in ½ cup of chopped walnuts or hazelnuts for a delicious crunch that complements the soft interior.
- Spicy Kick: Mix in 1-2 teaspoons of red pepper flakes for a lovely heat, making it a fantastic partner to Italian dishes.
- Flavorful Oils: Use flavored olive oil, like garlic or lemon-infused, in place of regular olive oil to impart an extra dimension of taste.
Feel free to experiment, and don’t hesitate to check out my suggestions on how to store homemade bread effectively to keep that fresh taste alive!
Make Ahead Options
These Easy Homemade Italian Bread preparations are a lifesaver for busy weeknights! You can mix your dough and let it rise for the first time up to 24 hours in advance. Simply store the covered bowl in the refrigerator to slow the fermentation process, which enhances the flavor. When you’re ready to bake, take the dough out and allow it to come to room temperature before shaping and proceeding with the second rise. Alternatively, shape the loaf, let it rise, and then refrigerate it for up to 3 days before baking. Just remember to cover the dough adequately to prevent drying out, ensuring it remains just as delicious when it’s time to serve!

Easy Homemade Italian Bread with a Crispy Crust Recipe FAQs
How do I choose ripe ingredients for this recipe?
Absolutely! For the best results, use high-quality flour that is fresh and free from clumps. When selecting yeast, make sure it’s within its expiration date for optimal rise. Water should be filtered to avoid chlorine, which can hinder yeast activation.
What’s the best way to store leftover Easy Italian Bread?
To keep your Easy Homemade Italian Bread fresh, store it in an airtight container at room temperature for up to 3 days. If it begins to stale, don’t worry! Repurpose it into delightful garlic bread or a comforting bread pudding to reduce waste.
Can I freeze the Easy Italian Bread, and what’s the process?
Yes, you can definitely freeze your bread! After the loaf cools completely, slice it and wrap each slice individually in plastic wrap, then place them in a freezer-safe bag. This method maintains quality for up to 3 months. When ready to enjoy, simply toast the slices straight from the freezer or warm them in a preheated oven at 350°F for about 10 minutes.
What should I do if my bread doesn’t rise?
If your dough doesn’t rise as expected, check two things: the temperature of your water and the freshness of your yeast. Water that is too hot can kill the yeast, while cold water may not stimulate it enough. If your yeast seems unresponsive, it may be expired. Use a kitchen thermometer to ensure your water is around 110°F, optimal for yeast activation.
Is this recipe suitable for gluten-free diets?
While this Easy Homemade Italian Bread recipe is traditionally made with wheat flour, you can experiment with a gluten-free flour blend that includes xanthan gum for texture. Keep in mind, the results may not be identical to the original, but with the right blend, you can achieve a tasty alternative!
Can I give this bread to my pet?
It’s best to avoid giving bread to pets, especially if it contains ingredients like salt or olive oil, which aren’t suitable for them in excess. Always check with your veterinarian before sharing human food with your furry friends to ensure it’s safe for their diet!
Easy Italian Bread: Crispy Crust Perfection at Home
Ingredients
Equipment
Method
- In a large mixing bowl, combine flour, yeast, and salt. Drizzle in olive oil, and gradually add filtered water to form a shaggy dough.
- Turn the dough onto a floured surface and knead for about 8-10 minutes until smooth and elastic.
- Place the kneaded dough in a lightly oiled bowl, cover, and let it rise in a warm area for about 1 hour.
- Once risen, punch down the dough and shape it into a loaf. Place it into a greased loaf pan.
- Cover and let the shaped loaf rise for 30-45 minutes until expanded.
- Preheat the oven to 450°F (230°C) about 20 minutes before the second rise is complete.
- Score the top of the loaf with a sharp knife, place in the oven, and add hot water to the preheated pan below.
- Bake for 25-30 minutes until golden brown and hollow sounding.
- Remove and let cool on a wire rack before slicing.