


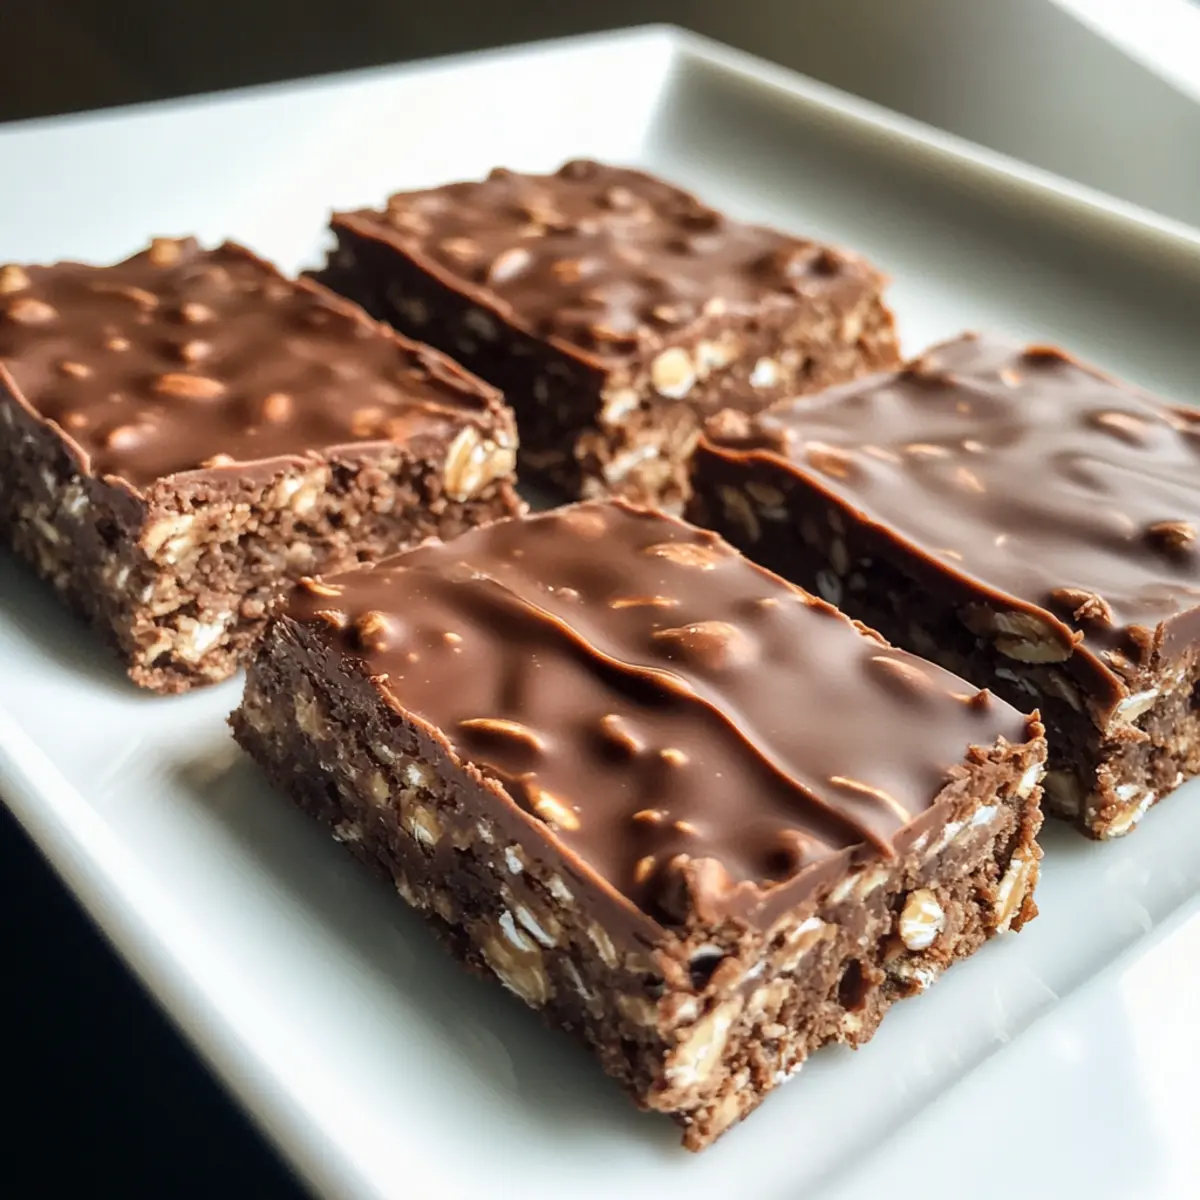
The gentle crunch of oats mingled with a rich chocolatey aroma fills my kitchen, instantly whisking me away to cozy afternoons spent indulging in homemade treats. Today, I’m excited to share my No-Bake Chocolate Oat Bars, a delightful snack that’s both satisfying and simple to whip up. With only a handful of wholesome ingredients, these bars fit easily into any busy schedule while offering a nutritious alternative to store-bought snacks. They’re gluten-free, customizable, and perfect for mini-meals on the go. Plus, the best part is that they require no baking—just mix, chill, and enjoy! Curious about how to make these irresistible treats that can also satisfy every sweet craving? Let’s dive in!
Why Are No-Bake Chocolate Oat Bars So Loved?
Simplicity: With just a few easy steps, you’ll have a delicious treat ready to chill in no time. No baking means less mess and stress!
Healthy Indulgence: Packed with wholesome oats and nut butter, they provide a nourishing snack without compromising on flavor.
Customizable: Add your favorite nuts or dried fruits for a personal touch. Whether you like it sweet or nutty, these bars can transform to fit your cravings!
Perfect Snack: These bars are great for busy mornings or as a pre-workout boost, making them a versatile addition to your snack repertoire.
Crowd-Pleaser: Kids and adults alike will love the fudgy, chewy goodness—they’re sure to become a favorite in your household!
Try these alongside my Protein-Packed Smoothie for a balanced meal or as a complement to your afternoon tea!
No-Bake Chocolate Oat Bars Ingredients
For the Base
- Rolled Oats – Provides a hearty structure and chewy texture; swap for gluten-free oats if needed.
- Nut Butter (e.g., almond butter) – Adds healthy fats and binds the mixture; any nut or seed butter works as a great substitute.
- Cocoa Powder – Infuses a rich chocolate flavor; consider Dutch-processed cocoa for a milder taste.
- Honey or Maple Syrup – Serves as a natural sweetener and binder; use maple syrup for a vegan alternative.
- Salt – Enhances overall flavor; opt for sea salt for a touch of refinement.
Optional Add-ins
- Nuts – Provides extra crunch and flavor; try walnuts, almonds, or pecans to customize your bars.
- Seeds – Great for added nutrition; chia seeds or pumpkin seeds can enhance the health benefits.
- Dried Fruit – Adds natural sweetness; consider raisins, cranberries, or chopped dates for a chewy texture.
These no-bake chocolate oat bars are not only scrumptious but also a quick and healthy snack option!
Step‑by‑Step Instructions for No-Bake Chocolate Oat Bars
Step 1: Combine Dry Ingredients
In a large mixing bowl, combine 2 cups of rolled oats, ½ cup of unsweetened cocoa powder, and ¼ teaspoon of salt. Mix well, ensuring there are no clumps and the cocoa powder is evenly distributed throughout the oats. This dry mixture will serve as the hearty base for your No-Bake Chocolate Oat Bars.
Step 2: Mix Wet Ingredients
In a separate bowl, combine ½ cup of nut butter and ⅓ cup of honey or maple syrup. Microwave the mixture for about 15-20 seconds until just warm, then stir until creamy and smooth. Be sure to mix thoroughly; this step will help ensure that all the flavors blend seamlessly into your chocolate oat bars.
Step 3: Combine Wet and Dry Mixtures
Pour the warm nut butter mixture into your dry ingredients and stir until everything is well combined. Use a spatula to scrape down the sides of the bowl, ensuring no dry oats are left uncoated. The mixture should be sticky and hold together well, providing the perfect texture for your No-Bake Chocolate Oat Bars.
Step 4: Add Optional Ingredients
If desired, fold in any optional add-ins such as chopped nuts, seeds, or dried fruit. This is your chance to personalize the bars! Stir until the optional ingredients are evenly distributed throughout the mixture, enhancing both the flavor and texture of your No-Bake Chocolate Oat Bars.
Step 5: Press into Baking Dish
Line an 8×8-inch baking dish with parchment paper for easy removal. Pour the chocolate oat mixture into the dish and use a spatula to press it down firmly, ensuring it’s an even layer. The more compact the mixture, the better your bars will hold together once chilled.
Step 6: Chill and Set
Refrigerate the baking dish for at least 30 minutes, allowing the No-Bake Chocolate Oat Bars to set properly. The cold temperature will help firm up the mixture, making it easier to slice into bars. Avoid skipping this step to ensure your bars achieve the perfect chewy texture.
Step 7: Slice and Store
Once set, remove the bars from the dish by lifting the parchment paper. Use a sharp knife to cut them into squares or rectangles, depending on your preference. Store the bars in an airtight container in the refrigerator for up to a week, and enjoy this healthy snack whenever cravings strike!
Expert Tips for No-Bake Chocolate Oat Bars
-
Press Firmly: Ensure you press the mixture into the baking dish firmly. This prevents your bars from crumbling apart when sliced.
-
Chill Time: Allow the bars to chill for at least 30 minutes. This step is crucial for solidifying the texture of your no-bake chocolate oat bars.
-
Optional Flavor Boost: Experiment by adding vanilla extract or a pinch of cinnamon for extra flavor. It enhances the overall taste without overpowering the chocolatey goodness.
-
Proper Storage: Store your bars in an airtight container in the refrigerator. They stay fresher for about a week, maintaining their delightful texture and taste.
-
Add-ins Consideration: When adding nuts or dried fruits, chop them into smaller pieces for better distribution, ensuring every bite is full of flavor!
Make Ahead Options
These No-Bake Chocolate Oat Bars are perfect for meal prep enthusiasts! You can mix the dry ingredients (2 cups of rolled oats, ½ cup of cocoa powder, and ¼ teaspoon of salt) and store them in an airtight container for up to 3 days. Additionally, you can prepare the wet mixture (½ cup of nut butter and ⅓ cup of honey or maple syrup) and refrigerate it for up to 24 hours. When you’re ready to assemble, simply combine everything and press the mixture into the baking dish. Chill for at least 30 minutes before slicing, and you’ll have delicious bars on hand for busy days, just as satisfying as freshly made!
No-Bake Chocolate Oat Bars Variations
Feel free to make these No-Bake Chocolate Oat Bars your own with these enticing variations and substitutions!
- Gluten-Free: Use certified gluten-free oats to keep these bars suitable for those with gluten sensitivities while maintaining their delicious taste.
- Nut-Free: Swap nut butter with sunbutter or soy nut butter for a nut-free version that still packs a punch of flavor and healthy fats.
- Protein-Packed: Substitute cocoa powder with your favorite protein powder for an added nutritional boost; it won’t compromise the taste!
- Heavenly Sweetness: Toss in a handful of dark chocolate chips for an extra layer of sweetness—you can never have too much chocolate, right?
- Fruity Twist: Add chopped dried fruits like apricots or figs for a chewy texture that plays perfectly with the fudgy base.
- Spice It Up: A dash of cinnamon or a pinch of chili powder can elevate the flavor profile, giving your bars a warm, spiced kick.
- Coconut Delight: Stir in shredded coconut for a tropical twist—this addition adds a fascinating texture and hints of richness.
- Crunchy Add-Ins: Include pumpkin or sunflower seeds for a delightful crunch that enhances both the texture and nutritional value.
Feeling inspired to mix things up? Consider pairing your bars with a refreshing Protein-Packed Smoothie for a wholesome snack that fuels your day!
What to Serve with No-Bake Chocolate Oat Bars
Elevate your snacking experience with delightful pairings that will bring out the rich flavors of these chocolatey treats.
-
Fresh Fruit Salad: Offers a refreshing contrast to the bars’ sweetness, adding lightness and a burst of vitamins to your snack time.
-
Greek Yogurt: A protein-packed counterpart that adds creaminess. Try a dollop with a drizzle of honey to enhance your treat.
-
Nutty Trail Mix: This crunchy blend complements the chewy oats, providing an additional layer of textures that will keep your taste buds excited.
-
Herbal Tea: A warm cup of chamomile or mint tea calms and balances the richness of the bars, turning your snack into a cozy ritual.
-
Dark Chocolate Drizzle: Elevate your bars with a simple drizzle of melted dark chocolate, adding a luscious touch that chocolate lovers will adore.
-
Caramel Dipping Sauce: For those moments when you want to indulge a bit more, a dollop of caramel provides decadent sweetness that pairs beautifully with the chocolate.
Savor the satisfaction of a balanced snack by mixing and matching these ideas for an afternoon treat that feels special!
How to Store and Freeze No-Bake Chocolate Oat Bars
Fridge: Store in an airtight container in the refrigerator for up to 1 week to keep these tasty bars fresh and chewy.
Freezer: If you’d like to enjoy them later, freeze the bars by wrapping them individually in plastic wrap and placing them in a zip-top bag. They can last up to 3 months in the freezer.
Thawing: To enjoy frozen bars, simply take them out of the freezer and allow them to thaw at room temperature for about 10-15 minutes before eating.
Portioning: For convenience, consider cutting the bars into individual portions before storing. This way, you can grab a healthy snack on-the-go whenever the craving strikes!
No-Bake Chocolate Oat Bars Recipe FAQs
What kind of oats should I use for No-Bake Chocolate Oat Bars?
Absolutely! For the No-Bake Chocolate Oat Bars, using rolled oats is ideal as they provide the perfect texture and structure. If you need a gluten-free option, make sure to choose certified gluten-free rolled oats. Quick oats can also work, but they may result in a softer texture.
How should I store my No-Bake Chocolate Oat Bars?
To keep your bars fresh, store them in an airtight container in the refrigerator for up to 1 week. They’ll maintain their chewy texture and flavor in the fridge, making them the perfect snack for those busy days!
Can I freeze No-Bake Chocolate Oat Bars?
Very! If you want to enjoy your bars later, you can freeze them. Wrap each bar individually in plastic wrap and place them in a zip-top bag. They’ll stay good for up to 3 months! When you’re ready to eat, just take them out and let them thaw at room temperature for about 10-15 minutes.
What if my mixture is too crumbly?
If you find that your mixture is a bit too crumbly and not holding together, it may be due to insufficient binding. Try adding a bit more nut butter or a splash of honey or maple syrup—just a tablespoon at a time—until the mixture sticks together. Be sure to mix thoroughly to ensure the ingredients combine!
Are No-Bake Chocolate Oat Bars suitable for kids?
Absolutely! These bars are a hit with both kids and adults, providing a healthier alternative to sugary snacks. Just double-check that no one has nut allergies, especially if you’re using nut butter. You can also customize the recipe with dried fruits or chocolate chips, catering to your family’s taste preferences!
Can I make the bars vegan?
Yes! To make these No-Bake Chocolate Oat Bars vegan, simply swap honey for maple syrup, which acts as a natural sweetener and binder without any animal products. Enjoy making these delicious treats for anyone following a plant-based diet!
No-Bake Chocolate Oat Bars: Healthy, Easy, and Delicious!
Ingredients
Equipment
Method
- Combine dry ingredients in a mixing bowl: rolled oats, cocoa powder, and salt.
- Mix wet ingredients in a separate bowl: nut butter and honey or maple syrup.
- Combine wet and dry mixtures until well combined.
- Fold in any optional add-ins such as nuts, seeds, or dried fruit.
- Press the mixture into an 8x8-inch baking dish lined with parchment paper.
- Chill the mixture in the refrigerator for at least 30 minutes.
- Slice into bars and store in an airtight container.