


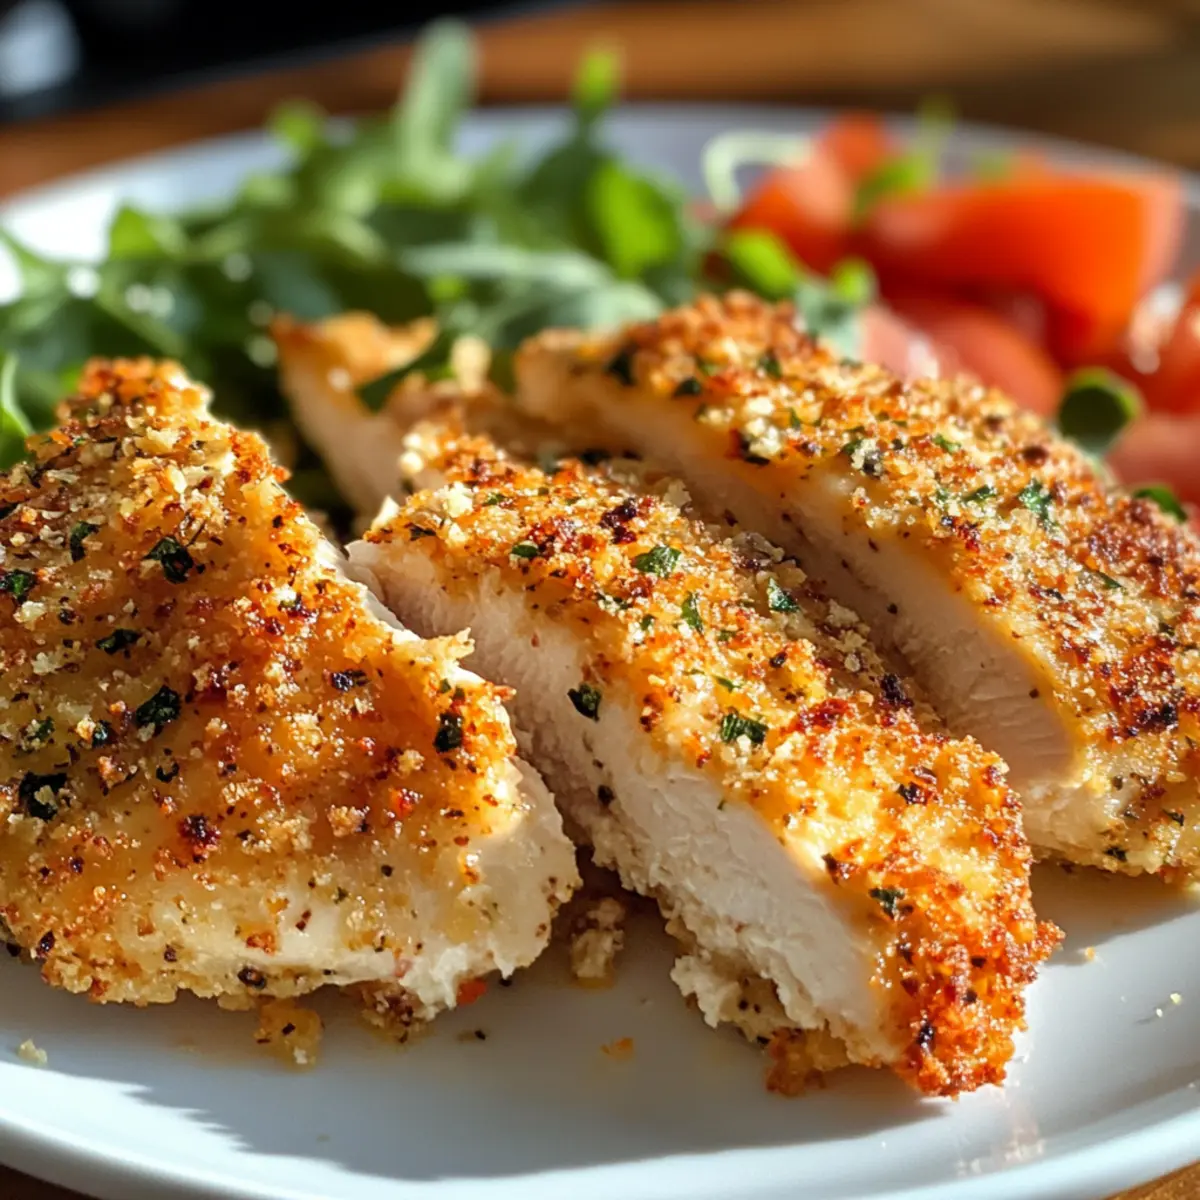
The moment I took my first bite of Crispy Baked Ranch Chicken, I knew I had stumbled upon a weeknight miracle. This easy dinner recipe transforms simple chicken breasts into a mouthwatering sensation, perfectly coated in a crunchy Parmesan-Panko crust that complements the savory ranch seasoning beautifully. Not only does this dish promise a delightful crunch, but it’s also a family-friendly favorite that even picky eaters will devour without hesitation. Imagine serving up this golden goodness and watching everyone’s face light up with joy—it’s truly a win-win! Are you ready to dive into this delicious twist on a classic?
Why is this chicken recipe a must-try?
Irresistible Flavor: The savory ranch seasoning combined with a hint of garlic makes every bite burst with flavor.
Quick & Easy: This recipe is a time-saver, pulling together in just 30 minutes, perfect for busy weeknights.
Crowd-Pleasing: Even the pickiest eaters will fall in love with this crunchy, juicy chicken, making it a family favorite.
Versatile Options: Easily switch up the flavors with different seasoning blends or serve alongside fresh veggies for a balanced meal.
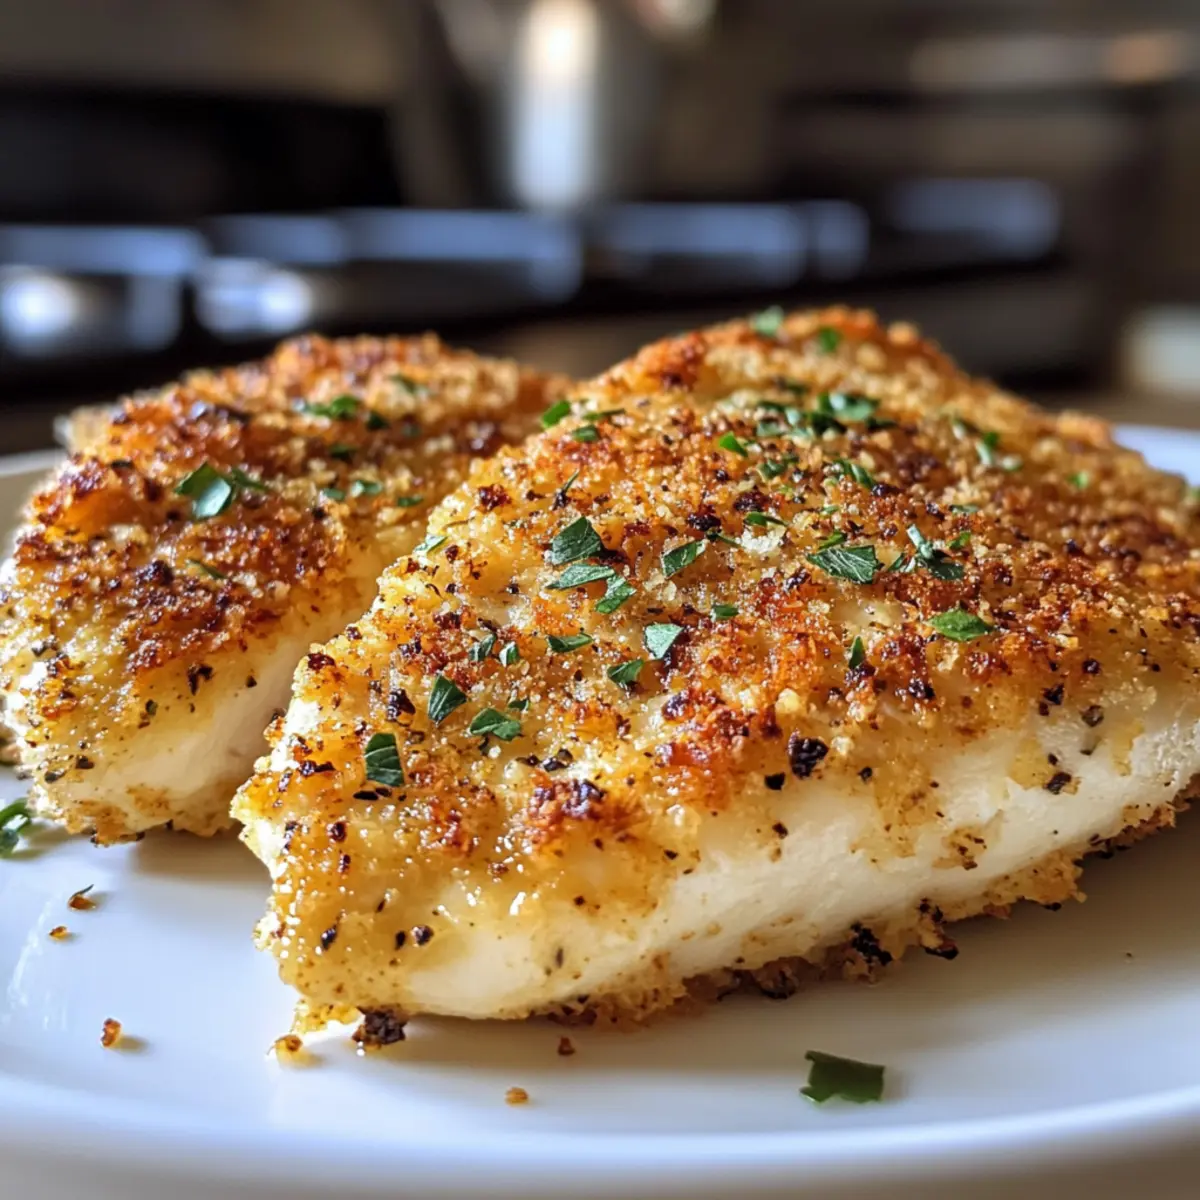
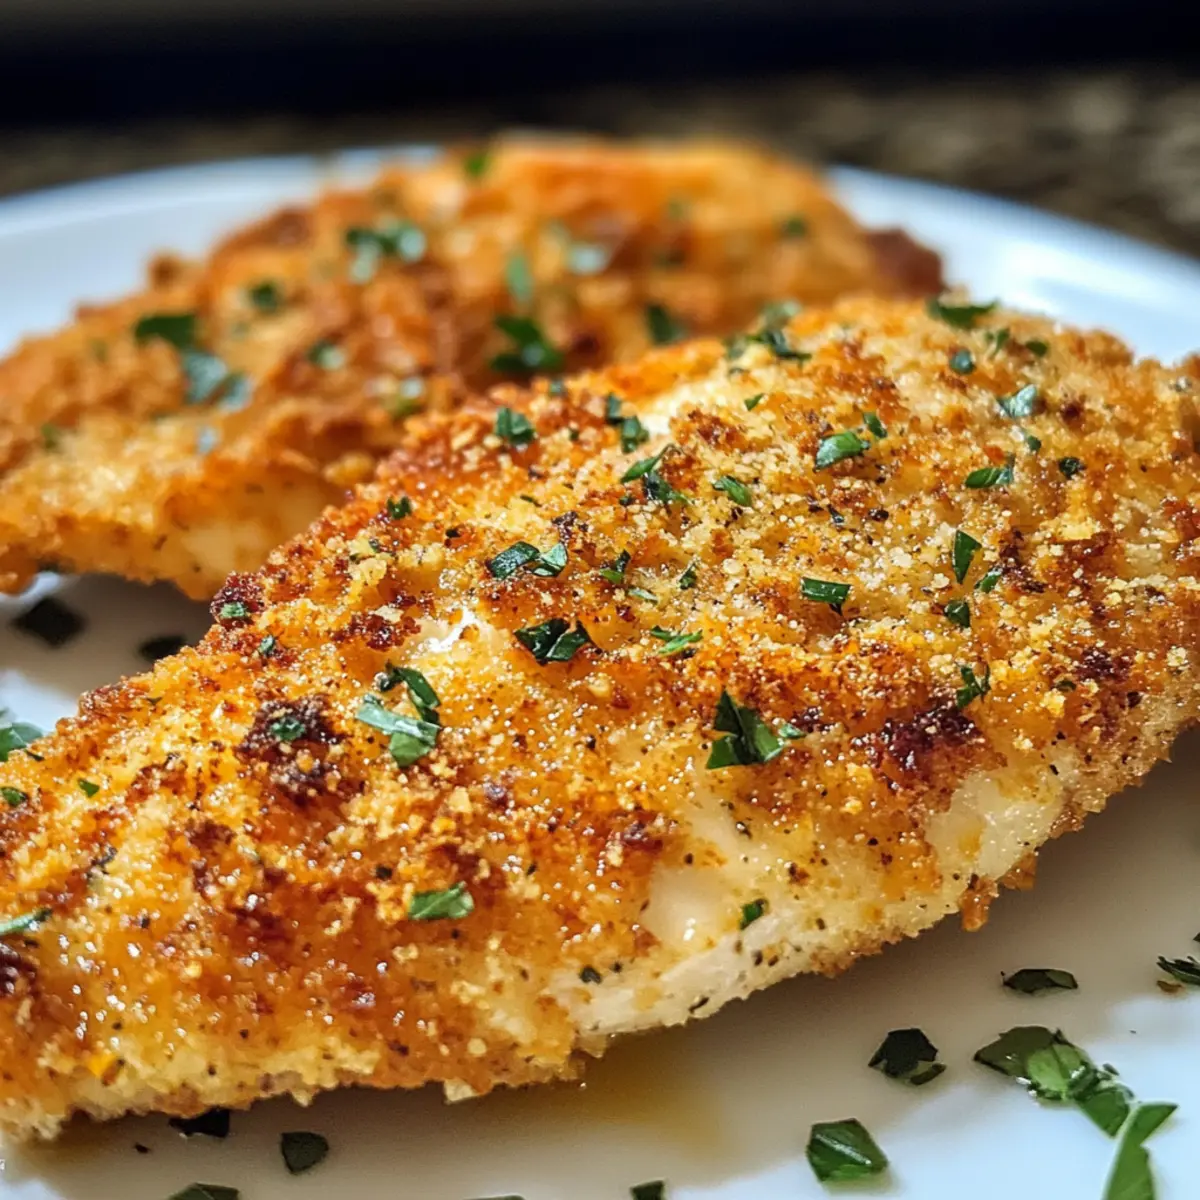
Crispy Texture: Enjoy a delicious crunch from the Parmesan-Panko crust that rivals takeout while being much healthier.
For more ideas on sides, consider pairing it with a fresh salad or your favorite roasted vegetables to complete your meal!
Crispy Baked Ranch Chicken Ingredients
• Get ready to gather your essentials for this delightful dish!
For the Batter
- Ranch Seasoning Mix – Provides the dominant ranch flavor; use homemade ranch seasoning for a fresher taste.
- Dill Weed – Adds aromatic herbal notes; substitute with parsley if unavailable.
- Onion Powder – Enhances savory depth; garlic powder can be used as an alternative.
- Ground Black Pepper – For mild heat and flavor; adjust quantity for taste preference.
- Salt – Basic seasoning; use sea salt for a different flavor profile.
- Garlic Cloves (grated) – Offers fresh garlic flavor; use garlic powder as a last resort but adjust the amount.
- Mayonnaise – Acts as a binding agent and keeps the chicken moist; Greek yogurt can be a lighter alternative.
For the Crunchy Coating
- Panko Bread Crumbs – Provides the crispy coating; regular breadcrumbs can be used but may lead to less crunch.
- Grated Parmesan Cheese – Adds flavor and helps achieve a golden crust; use nutritional yeast for a dairy-free alternative.
- Unsalted Butter (melted) – Enhances flavor and aids browning; olive oil can replace butter for a lighter option.
For the Chicken
- Boneless, Skinless Chicken Breasts – The primary protein source, sliced for even cooking; use thighs for a juicier result.
This Crispy Baked Ranch Chicken not only promises irresistible flavor but also brings joy to your family dinner table! Enjoy cooking!
Step‑by‑Step Instructions for Crispy Baked Ranch Chicken
Step 1: Preheat Oven
Begin by preheating your oven to 425°F (220°C). This high temperature ensures that your Crispy Baked Ranch Chicken develops that irresistible golden crust. While the oven warms up, gather your baking sheet and parchment paper to set the stage for your chicken.
Step 2: Mix Seasonings
In a medium-sized mixing bowl, whisk together your ranch seasoning mix, dill weed, onion powder, black pepper, salt, grated garlic, and mayonnaise until combined. This creamy mixture will be the perfect coating to infuse your chicken with bold flavor. Set this mixture aside, allowing those flavors to meld.
Step 3: Prepare Coating
Take another bowl and combine your Panko breadcrumbs, grated Parmesan cheese, and melted butter. Stir until the breadcrumbs are evenly coated in butter, which will create that crispy layer on your chicken. This crunchy coating is key to achieving the desired texture of your Crispy Baked Ranch Chicken.
Step 4: Coat Chicken
Now, take your boneless, skinless chicken breasts and dip each piece into the mayonnaise mixture, ensuring they’re fully coated. Then, dredge each chicken fillet in the breadcrumb mixture, pressing lightly to help the crumbs adhere. This double-coating process is what gives your chicken that satisfying crunch.
Step 5: Arrange for Baking
Carefully place the coated chicken fillets on a parchment-lined baking sheet, ensuring they are spaced apart to promote even cooking. This step is crucial for getting that delectable crispy texture on all sides of each piece of chicken.
Step 6: Bake
Now it’s time to bake your Crispy Baked Ranch Chicken! Place the baking sheet in the oven and cook for 12-15 minutes. Check for doneness by ensuring the chicken reaches an internal temperature of at least 165°F (74°C). When the coating is golden and crunchy, it’s ready to be savored.
Variations & Substitutions for Baked Ranch Chicken
Feel free to let your creativity shine with these variations that take the classic Baked Ranch Chicken to new heights!
-
Spicy Twist: Add cayenne pepper or chili powder to the mayonnaise mixture for a spicy kick that will awaken your taste buds.
-
Herb-Infused: Mix in fresh herbs like thyme or rosemary to the Panko coating for an aromatic flavor boost that makes your dish sing.
-
Cheesy Delight: Incorporate shredded mozzarella or cheddar into the breadcrumb mixture for an extra cheesy crust that melts in your mouth.
-
Nutty Crunch: Swap half of the Panko for crushed nuts, such as almonds or pecans, for an unexpected crunch and a delightful nutty flavor.
-
Zesty Citrus: Add lemon or lime zest to the mayonnaise mixture to brighten up the flavors with a citrusy zing that’s refreshing and vibrant.
For more delicious options to enliven your meals, consider pairing this chicken with a crunchy Greek salad or creamy mash potatoes. They’ll round out your dinner perfectly!
-
Vegetable Lovers: Top your chicken with sautéed spinach or roasted red peppers before baking for a colorful and nutritious addition.
-
Kid-Friendly: Use a BBQ sauce glaze instead of mayonnaise for a sweeter flavor that kids will love, making it even more appealing to the little ones.
Now grab your apron and let these variations inspire your weeknight dinners!
What to Serve with Crispy Baked Ranch Chicken
Transform your dinner table into a delightful feast with these complementary sides and treats that elevate your meal experience!
- Creamy Mashed Potatoes: The silky texture and buttery flavor enhance the crunch of the chicken while offering a comforting balance to the dish.
- Garlic-Roasted Broccoli: This vibrant green side adds a nutritious crunch and pairs beautifully with the rich flavors of the ranch chicken. The roasted garlic adds depth that makes it irresistible.
- Caesar Salad: Crisp romaine lettuce dressed in tangy Caesar dressing provides freshness and a delightful contrast to the crispy chicken. Top it with croutons for an extra crunch!
- Sweet Potato Fries: These sweet, crispy delights bring a unique combination of sweetness and texture that complements the savory nature of the ranch seasoning. They are the perfect side for family-friendly flair.
- Corn on the Cob: Juicy, sweet corn coated in butter pairs harmoniously with the chicken, adding a summertime vibe that makes every bite feel like a treat.
- Sparkling Lemonade: This refreshing drink cuts through the richness of the chicken and invigorates your palate, making it the ideal beverage for a fun dinner gathering.
- Chocolate Mousse: Finish off your meal with a light and airy dessert that provides a luscious, sweet contrast to the savory main dish. Its decadent flavor will leave everyone smiling.
Make Ahead Options
These Crispy Baked Ranch Chicken fillets are perfect for meal prep enthusiasts! You can coat the chicken up to 24 hours in advance by following the initial steps: prepare the mayonnaise mixture and the Panko coating, then fully coat the chicken and store them covered in the refrigerator. This ensures the flavors meld beautifully while keeping the chicken moist. When you’re ready to bake, simply preheat your oven and place the chicken on a parchment-lined sheet. Bake according to the recipe instructions for a deliciously crispy finish, saving you time on busy weeknights while delivering just as delicious results!
Expert Tips for Crispy Baked Ranch Chicken
• Perfecting the Coating: Ensure the chicken is patted dry before coating; this will help the crunchy Panko breadcrumbs adhere better.
• Crispiness Boost: For an extra crispy texture, lightly spray the chicken with cooking oil before baking to enhance browning.
• Temperature Accuracy: Always check the chicken’s internal temperature with an instant-read thermometer; it should reach at least 165°F (74°C) for safe consumption.
• Flavor Variations: Don’t hesitate to switch the ranch seasoning for your favorite spice blend—it can transform this easy dinner recipe into exciting new flavors.
• Even Cooking: Position the baking tray on the middle or upper rack of the oven for optimal heat circulation, yielding perfectly cooked results all around.
Storage Tips for Crispy Baked Ranch Chicken
Refrigerator: Store in an airtight container for up to 4 days. This will help maintain the chicken’s juiciness and flavor while keeping it safe for your next meal.
Freezer: Freeze in a freezer-safe container for up to 3 months. Make sure to separate layers with parchment paper to prevent sticking, and thaw in the fridge before reheating.
Reheating: For best results, reheat in the oven at 350°F (175°C) for 10-15 minutes, or until heated through. This keeps the Panko crust crispy and delicious, just like when you first made the crispy Baked Ranch Chicken.
Leftovers: Enjoy leftover chicken cold in salads or wraps for a quick lunch, adding versatility to your meals while reducing food waste.
Crispy Baked Ranch Chicken Recipe FAQs
How do I choose the right chicken for this recipe?
Absolutely! For the best results, opt for boneless, skinless chicken breasts for their ease of cooking and delicious texture. If you’re looking for a juicier option, you can also use boneless, skinless chicken thighs. Look for chicken that is pale pink and firm to the touch, avoiding any that has dark spots or an off odor.
What’s the best way to store Crispy Baked Ranch Chicken?
You can store your leftover Crispy Baked Ranch Chicken in an airtight container in the refrigerator for up to 4 days. Make sure it’s completely cooled before sealing to preserve its moisture. This way, you can enjoy it again as a quick and convenient meal!
Can I freeze leftover chicken, and how do I do it?
Yes, you can freeze it! To freeze your Crispy Baked Ranch Chicken, make sure it’s fully cooled, then place it in a freezer-safe container. To prevent sticking, I recommend adding a layer of parchment paper between pieces. It’ll stay fresh for up to 3 months. When you’re ready to enjoy it, thaw it in the refrigerator overnight and reheat in the oven for best results.
Why is my coating not sticking to the chicken?
Great question! If you find the coating isn’t sticking, ensure that your chicken is dried well before applying the mayonnaise mixture. Moisture can prevent the coating from adhering. Pat your chicken dry with paper towels then dip it into the mayo, followed by the breadcrumb mixture. Press lightly to help the crumbs stick securely.
Are there any dietary considerations for this recipe?
Very! If you have allergies, you can easily adapt this recipe. Use gluten-free Panko breadcrumbs and ensure your ranch seasoning contains no gluten or dairy (or opt for homemade mixes). If you’re cooking for pets, avoid giving them seasoned chicken as it can contain salts and spices that might upset their stomachs. Always check labels for any specific allergens!

Crispy Baked Ranch Chicken for a Family-Favorite Dinner
Ingredients
Equipment
Method
- Preheat your oven to 425°F (220°C).
- In a medium-sized mixing bowl, whisk together the ranch seasoning mix, dill weed, onion powder, black pepper, salt, grated garlic, and mayonnaise until combined.
- In another bowl, combine your Panko breadcrumbs, grated Parmesan cheese, and melted butter. Stir until the breadcrumbs are evenly coated.
- Dip each piece of chicken into the mayonnaise mixture, ensuring they're fully coated, then dredge each chicken fillet in the breadcrumb mixture.
- Place the coated chicken fillets on a parchment-lined baking sheet, ensuring they are spaced apart.
- Bake for 12-15 minutes, checking for doneness with an internal temperature of at least 165°F (74°C).