


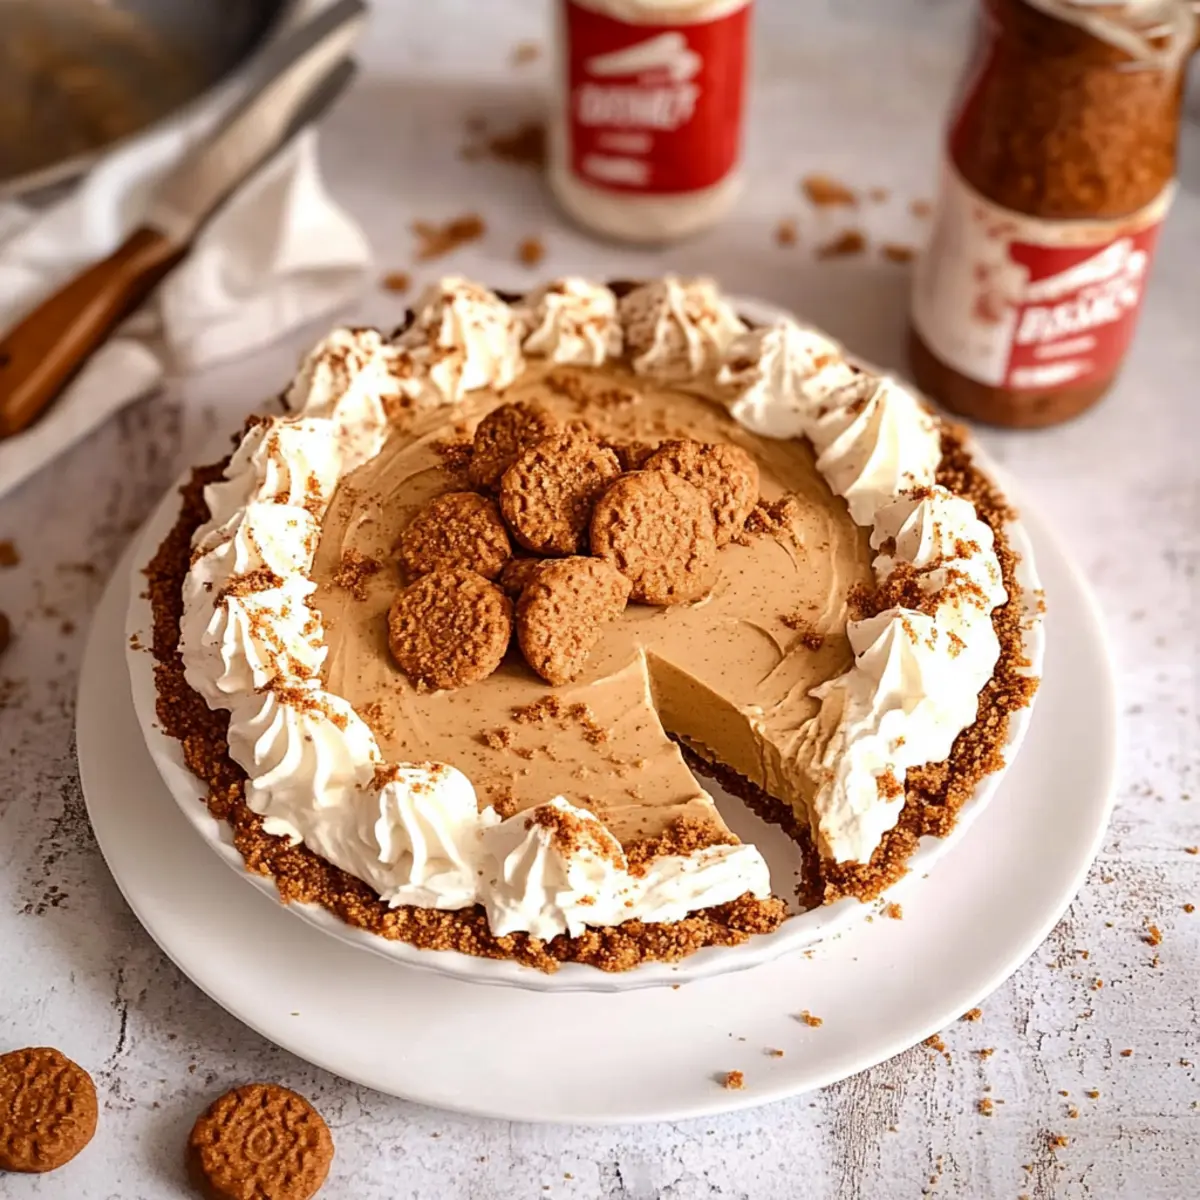
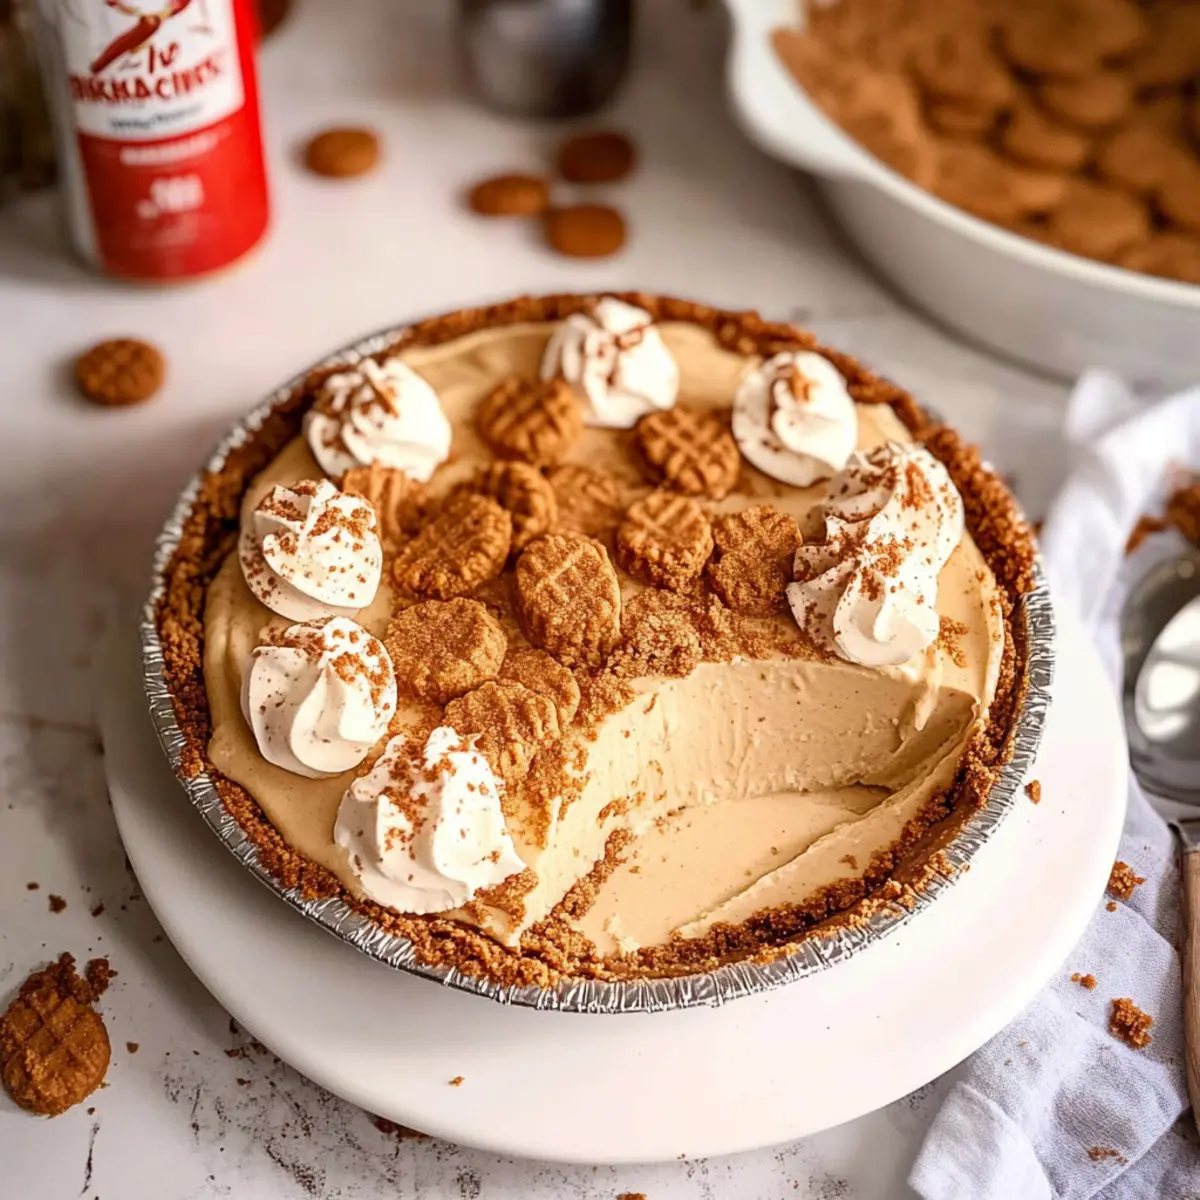
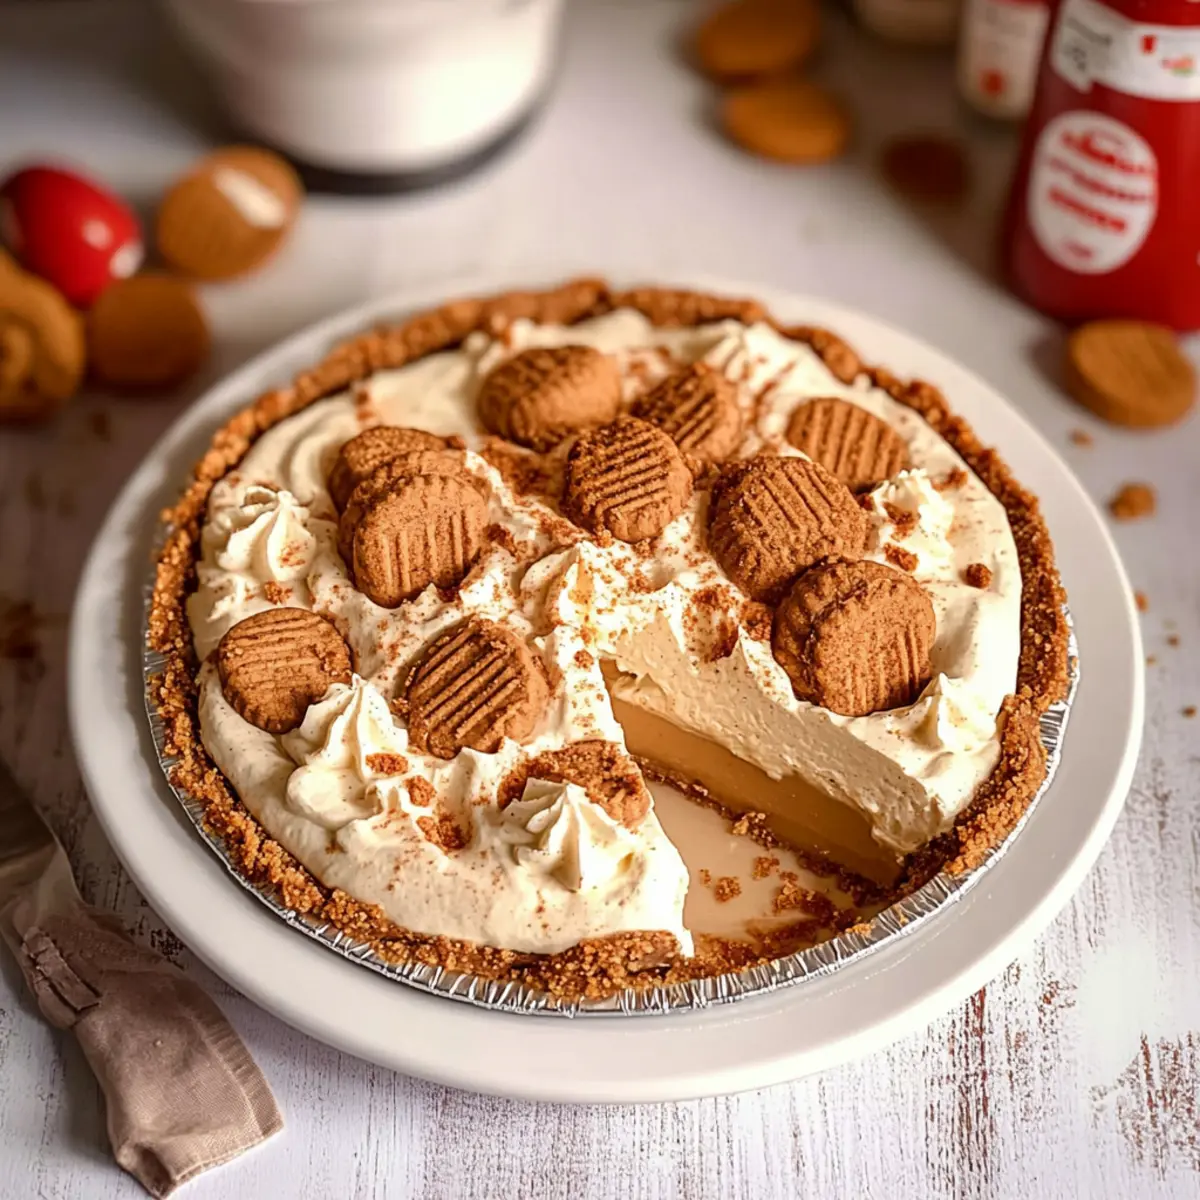
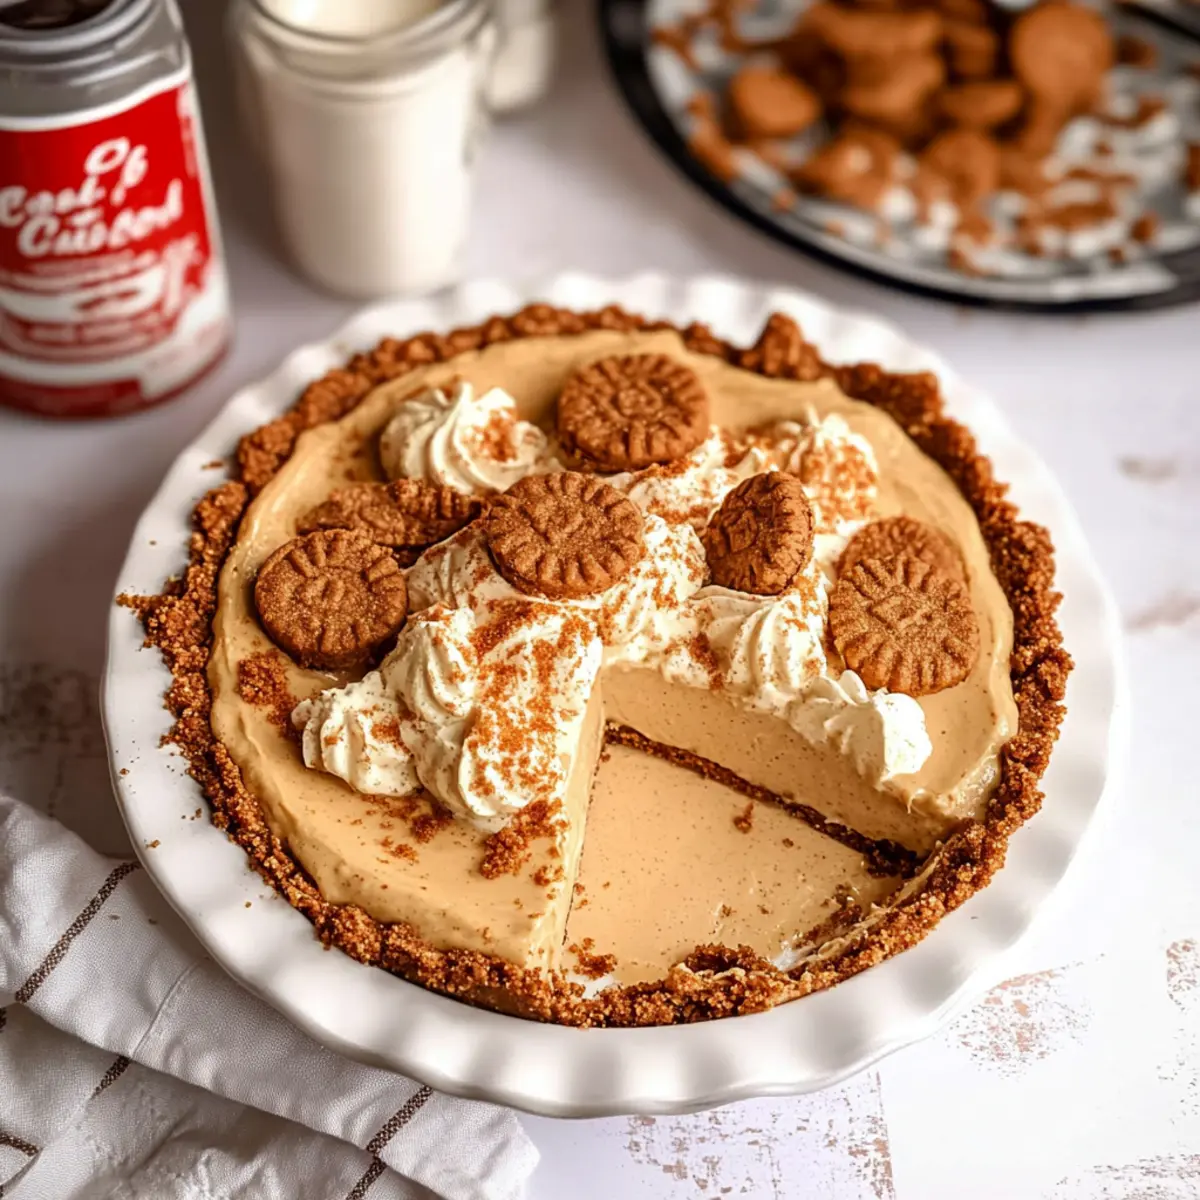
As I stood in my kitchen, heavy summer heat stretching the day into a languid haze, a brilliant idea popped into my head: a no-bake treat that would let me escape the sweltering oven while still indulging my sweet tooth. Enter the No-Bake Creamy Cookie Butter Pie with Biscoff Crust! This easy dessert combines the delightful flavors of spiced cookie butter and rich cream cheese, all encased in a perfectly crunchy cookie crust. It’s the ultimate summer dessert that requires minimal time and effort, making it a fantastic option for those lazy afternoons or last-minute gatherings. Imagine serving something this delicious without breaking a sweat in the kitchen! Curious how to whip up this dreamy pie? Let’s dive in!
Why is this pie a must-try?
Indulgent Flavors: The rich, creamy blend of spiced cookie butter and cream cheese creates a dessert that delights every palate.
Quick and Easy: No-bake means no oven hassle, making it perfect for those hot summer days when you crave something sweet without heating up the kitchen.
Crowd-Pleasing Treat: Perfect for gatherings, it’s a showstopper that impresses your family and friends, leaving them asking for seconds!
Versatile Options: Easily adaptable, this pie allows you to swap cookie butter for nut butter or add fresh fruit, catering to various taste preferences.
Time-Saving Delight: Prep this recipe in under an hour, and let it chill while you relax, giving you more time to enjoy life. Don’t forget to check out more easy dessert ideas to keep your summer sweet!
No-Bake Cookie Butter Pie Ingredients
For the Crust
- Biscoff Cookies – Provides a sweet and spiced cookie crust. Substitution: Any similar speculoos or ginger snap cookies.
- Salt – Enhances the flavor of the crust. Use sea salt or table salt.
- Unsalted Butter – Binds the crust together. Substitution: Margarine could be used, but will change flavor slightly.
For the Filling
- Heavy Whipping Cream – Creates a stable whipped cream for filling and garnish. You may use Cool Whip as a shortcut.
- Powdered Sugar – Sweetens both the filling and whipped cream. Granulated sugar may be used but might result in a grittier texture.
- Vanilla Extract – Adds flavor depth to the whipped cream. No substitute needed; optional for flavor preference.
- Cookie Butter – Main ingredient for the pie filling, adds unique flavor. Substitution: Nut butters (like almond or peanut butter) could be used but alter the flavor profile.
- Cream Cheese – Adds creaminess to the filling and stabilizes it. Ensure it is softened for ease of mixing.
- Prepared Whipped Cream – Used in the filling and for garnish to enhance texture. Store-bought options are available; just ensure they are not overly sweetened.
For Garnishing
- Crushed Biscoff Cookies – For garnish, adds texture and flavor. Reserve a few whole cookies for garnish.
- Cookie Butter Drizzle – Optional topping for added richness and presentation.
With all these delightful ingredients, you’re just steps away from creating an unforgettable no-bake dessert that will surely impress your loved ones!
Step‑by‑Step Instructions for No-Bake Creamy Cookie Butter Pie with Biscoff Crust
Step 1: Prepare the Crust
Begin by placing Biscoff cookies and salt in a food processor, pulsing them until finely crushed. Melt unsalted butter and combine it with the cookie crumbs, stirring until fully incorporated. Press this mixture evenly into the bottom and up the sides of a 9-inch pie plate. For best results, place the crust in the freezer while you prepare the filling, allowing it to set for about 10 minutes.
Step 2: Make the Whipped Cream
In a mixing bowl, add heavy whipping cream, powdered sugar, and vanilla extract. Using an electric mixer, beat on medium to high speed until stiff peaks form, which should take about 3-5 minutes. This fluffy whipped cream will add lightness to the filling. Once ready, set aside half of the whipped cream for later piping and garnish.
Step 3: Mix the Filling
In another large bowl, beat together the creamy cookie butter and softened cream cheese until smooth. Gradually add in the powdered sugar, mixing until fully incorporated. Gently fold in half of the prepared whipped cream into the cookie butter mixture, ensuring it remains light and airy. This will create the luscious filling for your No-Bake Creamy Cookie Butter Pie.
Step 4: Combine
Take the chilled crust out of the freezer and carefully pour the filling into it, using a spatula to smooth the top. Make sure it’s evenly spread for a beautiful finish. Cover the pie with plastic wrap and refrigerate for at least 2 hours, allowing it to set properly. You can also freeze it for up to 1 hour if you’re short on time.
Step 5: Garnish and Serve
After the pie has set, it’s time to add the finishing touches. Pipe the reserved whipped cream around the edge of the pie for a decorative border. Drizzle cookie butter over the top for extra richness and sprinkle crushed Biscoff cookies to elevate its appearance. Now your No-Bake Creamy Cookie Butter Pie is ready to impress family and friends!
Storage Tips for No-Bake Cookie Butter Pie
-
Room Temperature: It’s best served chilled, but if left out for short periods, this pie can sit at room temperature for up to 2 hours.
-
Fridge: Keep any leftovers in an airtight container in the fridge for up to 3 days. This will maintain its creamy texture and flavor.
-
Freezer: You can freeze the pie for up to 1 month. Just make sure it’s well-wrapped to prevent freezer burn, and thaw in the refrigerator before serving.
-
Reheating: Since this is a no-bake pie, there’s no need to reheat. Just serve it cold, and enjoy every delicious bite!
Expert Tips for No-Bake Cookie Butter Pie
-
Chill the Crust: Keep the crust in the freezer for at least 10 minutes after pressing it into the pie plate; this helps it firm up beautifully.
-
Room Temperature Cream Cheese: Ensure your cream cheese is softened to prevent lumps in the filling; this makes mixing easier and yields a creamy texture.
-
Whipping Cream Perfection: Beat the heavy whipping cream until stiff peaks form for a light filling; don’t overbeat to avoid a grainy texture.
-
Layering Flavors: For added depth, consider mixing in a splash of espresso or a pinch of cinnamon to your filling; just don’t overpower the cookie butter.
-
Storage Secrets: Keep your No-Bake Cookie Butter Pie refrigerated until serving for the best texture, but it can also be frozen for up to a week if wrapped properly.
This no-bake dessert is a showstopper you won’t want to miss!
Make Ahead Options
This No-Bake Creamy Cookie Butter Pie is perfect for busy home cooks looking to save time! You can prepare the crust and filling up to 24 hours in advance. Simply follow the initial steps by making the cookie crust and the filling, then store them separately in airtight containers in the refrigerator. This keeps the crust crisp and the filling fresh. When you’re ready to serve, just assemble the pie by pouring the filling into the crust, allowing it to set for about 2 hours. For an even quicker option, you can freeze the pie for up to 3 days and then refrigerate it a couple of hours before serving—all with delicious results that are just as delightful!
Variations & Substitutions for No-Bake Cookie Butter Pie
Embrace your creativity in the kitchen as you explore delightful twists on this creamy pie!
-
Nut Butter: Swap cookie butter for almond or peanut butter for a nutty flavor that still delights.
-
Fresh Berries: Layer in fresh strawberries or raspberries within the filling for a refreshing burst of sweetness. This adds a lovely tartness that complements the rich filling beautifully.
-
Flavored Cream Cheese: Try using a flavored cream cheese, like vanilla or cinnamon, to introduce an extra dimension of flavor. It’s a simple swap that transforms the taste.
-
Dairy-Free Option: Use coconut cream in place of heavy whipping cream for a dairy-free alternative while keeping the texture luscious.
-
Spiced Variants: Add a pinch of cinnamon or nutmeg to the filling to enhance its warm flavor profile. Spice can make the pie feel cozy and perfect for all seasons.
-
Chocolate Drizzle: Elevate indulgence by drizzling melted chocolate over the top. This adds a layer of decadence that chocolate lovers will adore!
-
Coconut Crust: For a tropical twist, use crushed graham crackers mixed with shredded coconut for the crust. The coconut brings a delightful flavor combination with the filling.
-
Chili Heat: If you dare to be different, sprinkle a hint of chili powder in the whipped cream for a surprising kick that marries perfectly with the sweetness.
Don’t forget to check out more easy dessert ideas for inspiration that will keep your summer sweet!
What to Serve with No-Bake Creamy Cookie Butter Pie?
This delightful no-bake treat is perfect for warm summer days, and it deserves a few charming companions to elevate the experience.
-
Fresh Berries: Juicy strawberries or raspberries add a burst of freshness, creating a lovely contrast to the creamy richness of the pie.
-
Vanilla Ice Cream: Scoop of creamy vanilla ice cream pairs beautifully with the pie’s textures, providing a delightful, cool balance.
-
Minty Fruit Salad: A mix of diced melon, kiwi, and mint gives a refreshing touch that complements the sweet, spiced flavors of the cookie butter pie.
-
Chocolate Drizzle: A drizzle of melted chocolate adds an indulgent flair, enhancing the overall decadence of this dessert.
-
Iced Coffee: A chilled cup of iced coffee with a splash of cream serves as a vibrant counterpart to the sweet richness of the pie.
-
Lemonade Spritzers: Citrus-based drinks like lemonade or sparkling lemonade offer a zesty kick that cuts through the creaminess, making each bite even more enjoyable.
With these delightful pairings, your No-Bake Creamy Cookie Butter Pie will turn into an unforgettable feast for the senses!
No-Bake Creamy Cookie Butter Pie Recipe FAQs
How do I know if my cookie butter is fresh?
Absolutely! Look for jars without dark spots and a smooth consistency. If it’s separated, give it a good stir. Always check for expiration dates to ensure it’s fresh and flavorful.
What’s the best way to store leftovers?
Very! Place any leftover pie in an airtight container in the fridge and enjoy it within 3 days. This will help maintain its creamy texture and delicious flavor.
Can I freeze this pie, and if so, how?
Definitely! To freeze, wrap the pie tightly in plastic wrap followed by aluminum foil for added protection. It can be frozen for up to 1 month. When you’re ready to serve, thaw in the refrigerator for about 3-4 hours before enjoying!
What if my whipped cream isn’t forming stiff peaks?
If your whipped cream isn’t thickening, it might be too warm. Try chilling your mixing bowl and beaters for a few minutes before whipping. Make sure to use cold heavy cream, and for added stability, consider adding a pinch of cornstarch or a splash of vanilla pudding mix to help it hold its shape.
Is there a substitute for cream cheese if I have dairy allergies?
You bet! For a dairy-free option, you can use a block of vegan cream cheese or blended silken tofu to maintain that creamy texture. Just ensure to add a touch of sweetener or lemon juice for balance, as they’re typically less sweet.
How long will this pie keep in the fridge after it’s made?
Very! This pie can last up to 3 days in the fridge if stored in an airtight container. However, it’s best enjoyed fresh for optimal texture and flavor. If you can, try to serve it within 1-2 days!
Irresistible No-Bake Cookie Butter Pie for Sweet Summer Bliss
Ingredients
Equipment
Method
- Place Biscoff cookies and salt in a food processor, pulsing until finely crushed. Melt unsalted butter and combine with the cookie crumbs. Press this mixture into a 9-inch pie plate and freeze for 10 minutes.
- In a bowl, add heavy whipping cream, powdered sugar, and vanilla extract. Beat until stiff peaks form, about 3-5 minutes. Reserve half for later piping.
- In a bowl, beat cookie butter and cream cheese until smooth. Gradually add powdered sugar. Fold in half of the prepared whipped cream.
- Pour the filling into the chilled crust and smooth the top. Cover with plastic wrap and refrigerate for at least 2 hours.
- Pipe reserved whipped cream around the edge, drizzle cookie butter on top, and sprinkle crushed Biscoff cookies.