


As I stood in my kitchen, the sweet aroma of melting ice cream and rich chocolate cake wafted through the air, instantly taking me back to my childhood summer parties. This Colorful Layered Homemade Ice Cream Cake is not only a nostalgic treat but also a no-bake delight that brings smiles to everyone around the table. With endless possibilities for flavor combinations and the added bonus of being customizable for family dietary preferences, this cake has quickly become a go-to for any celebration. Just imagine the joy of sharing this stunning masterpiece with loved ones, all while keeping your kitchen cool and stress-free. Ready to dive into creating this colorful confection? Let’s scoop up some fun!
Why Is This Ice Cream Cake a Must-Try?
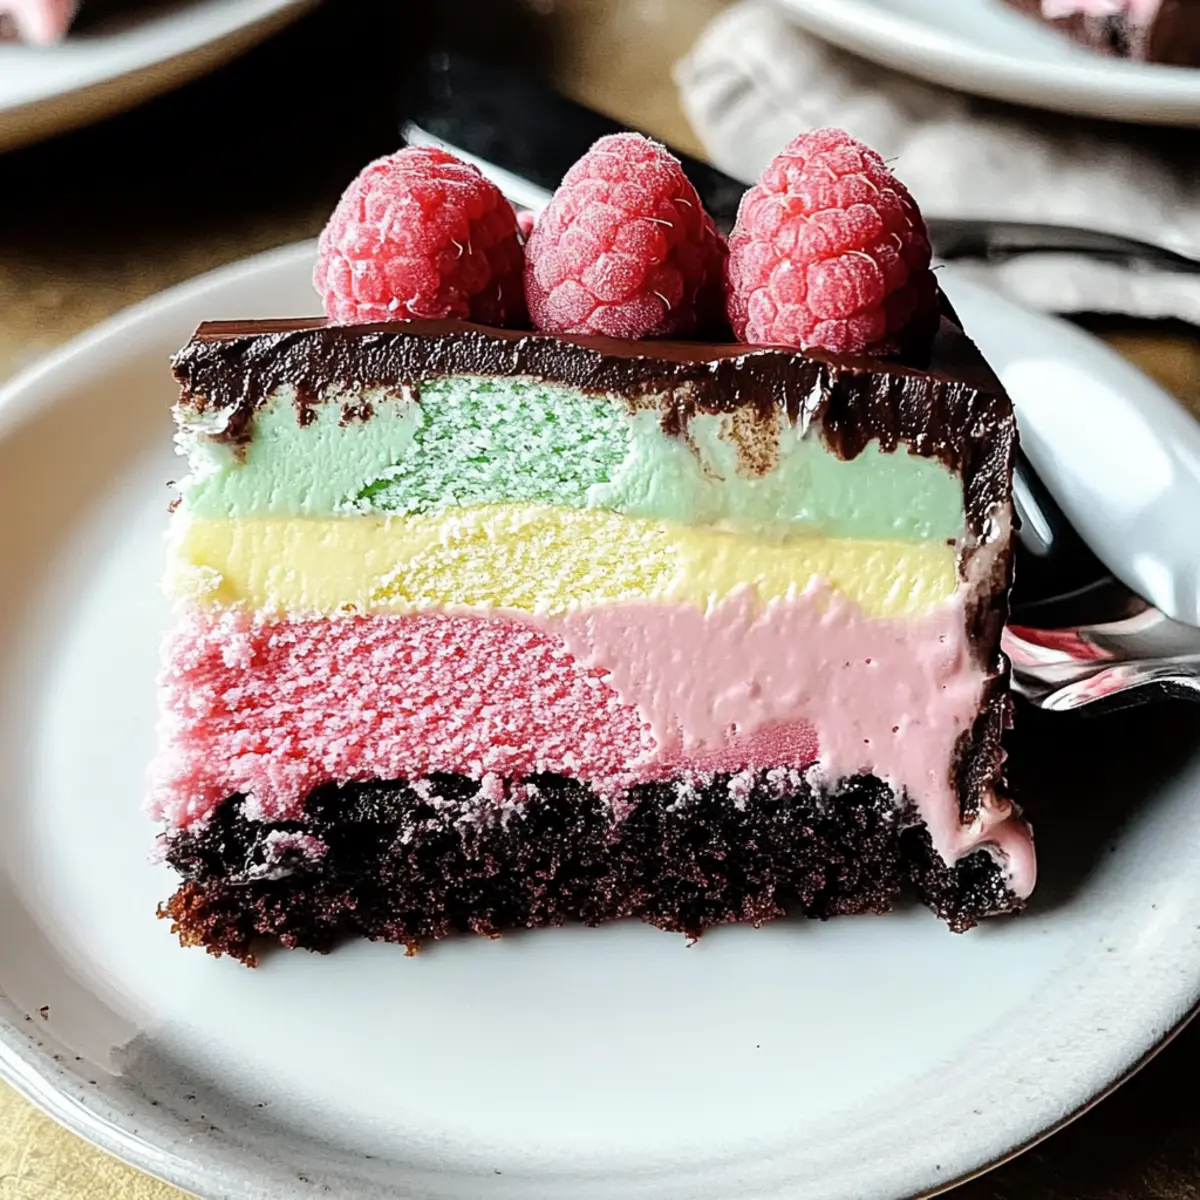
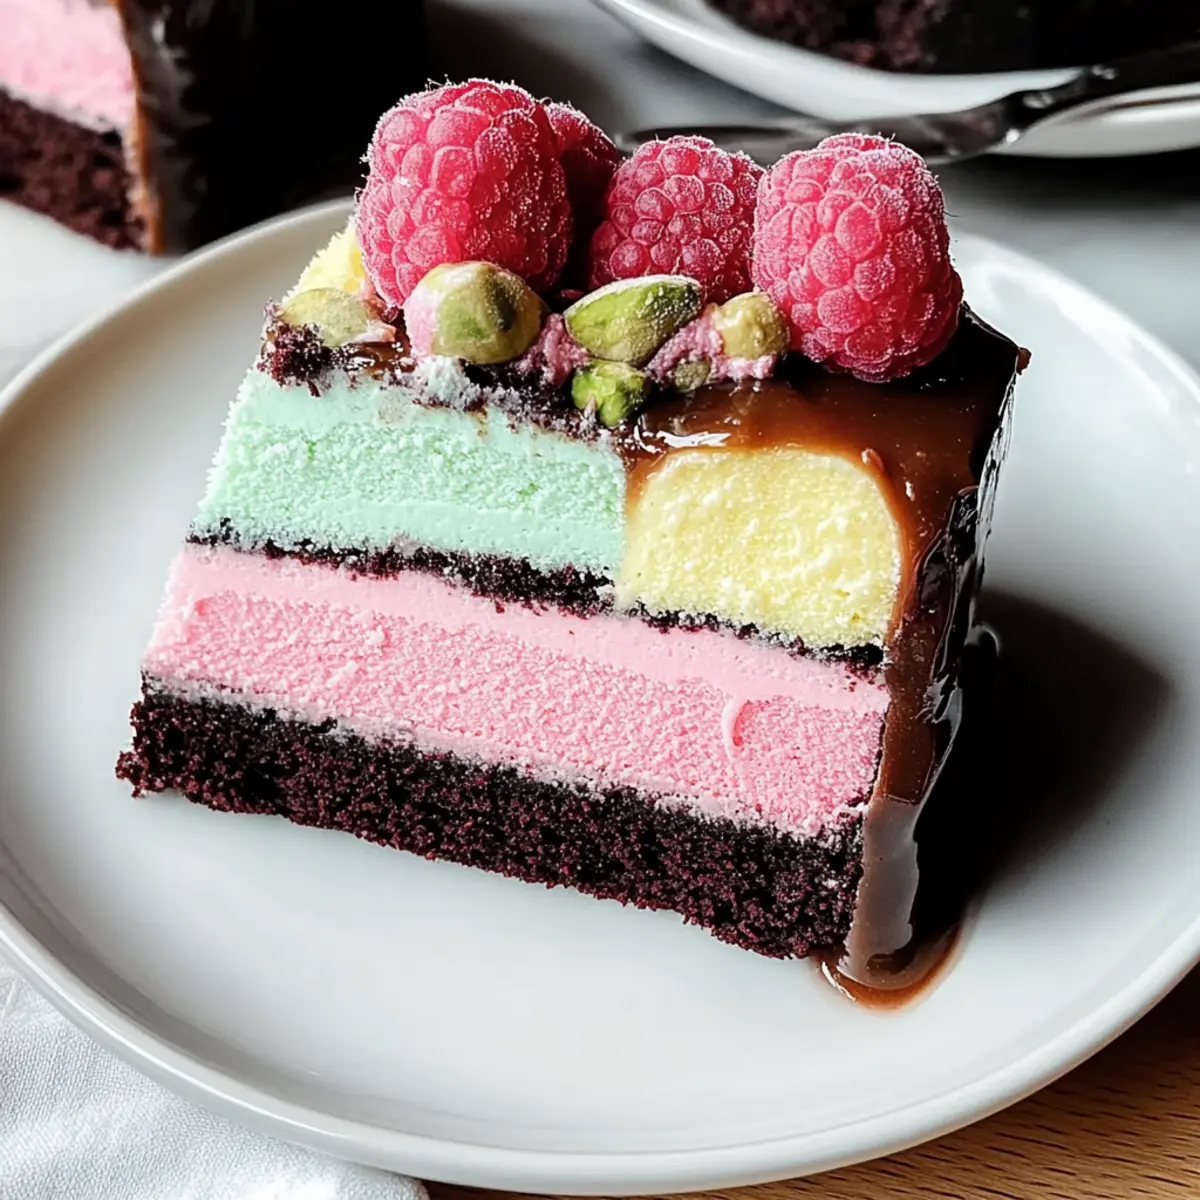
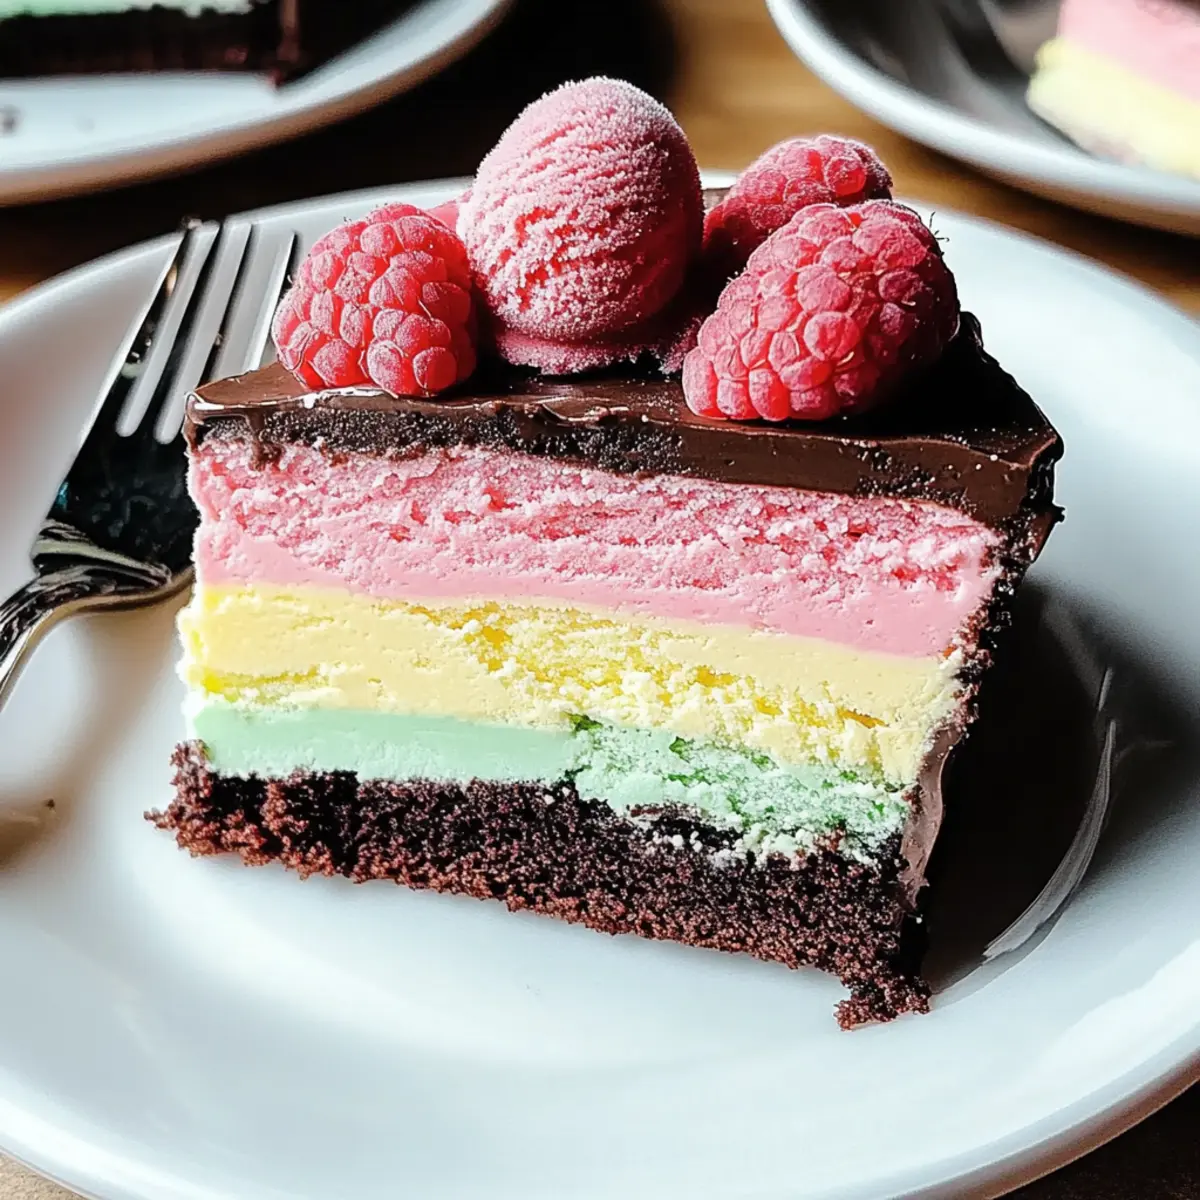
Colorful Layers: This cake takes dessert to a new level with its visually appealing and vibrant layers, making it a standout centerpiece for summer gatherings.
No-Bake Simplicity: Say goodbye to oven time! With a no-bake method, you can assemble it without heating up your kitchen.
Family-Friendly: Perfect for all ages, this dessert will impress kids and adults alike, making it a hit at any event.
Endless Customization: Whether you prefer a vegan chocolate cake base or a light sponge, the flavor combinations are endless. Discover your perfect mix!
Make-Ahead Delight: Prep it a day in advance for a stress-free serving experience. It’s frozen and ready to go when you are!
Each smile you receive while serving this cake is a reminder of why it’s a must-try, especially on hot summer days. So, why not take a step further and explore other family-friendly desserts to keep the fun going?
Colorful Layered Ice Cream Cake Ingredients
• Get ready to create a delightful masterpiece with these essential ingredients for your Colorful Layered Ice Cream Cake!
For the Cake Base
- Vegan Chocolate Cake – Provides a rich foundation; feel free to substitute with any chocolate cake recipe or store-bought vegan option.
For the Ice Cream Layers
- Pistachio Gelato – Adds a creamy, nutty flavor; any nut-based gelato works as a delightful substitute.
- Salted Caramel Ice Cream – Delivers a sweet and salty balance; if unavailable, regular caramel ice cream will do just fine.
- Raspberry Sorbet – Offers a refreshing fruity tang; swap it for any fruity sorbet or sherbet according to your taste.
For Decoration
- Fresh Raspberries – Perfect for decoration and a burst of freshness; you can mix in other berries or edible flowers for a colorful touch.
Step-by-Step Instructions for Colorful Layered Ice Cream Cake
Step 1: Prepare the Chocolate Cake Base
Preheat your oven to 350°F (175°C). Grease a 9×5-inch loaf pan and pour in your vegan chocolate cake batter. Bake for 18-22 minutes, or until a toothpick inserted into the center comes out clean. Let the cake cool completely in the pan to ensure it holds its shape, making it ready for the next delicious layer.
Step 2: Freeze the Base
Once cooled, carefully remove the chocolate cake from the pan and line it with parchment paper. This step makes for easy removal later. Place the chocolate cake back into the freezer and let it freeze for at least 3 hours. You want the cake to be firm to provide a stable base for your colorful layers.
Step 3: Add Pistachio Gelato Layer
After the cake has frozen, take the pistachio gelato out of the freezer and let it soften for about 10 minutes. Once it’s spreadable, evenly spread the gelato over the frozen chocolate cake layer. Return the cake to the freezer and let it freeze for an additional 4 hours to solidify this delightful layer.
Step 4: Layer Salted Caramel Ice Cream
Now, soften the salted caramel ice cream for around 10 minutes until it’s easy to scoop. Spread this over the pistachio gelato layer, smoothing it out for an even finish. After you’ve achieved a lovely layer of salted caramel, freeze the cake again for another 4 hours, allowing the flavors to meld beautifully.
Step 5: Add Raspberry Sorbet Layer
Next, gently soften the raspberry sorbet for about 10 minutes to make it spreadable. Carefully scoop and spread this over the salted caramel layer, ensuring it’s even and smooth. Once done, return the cake to the freezer for an overnight freeze to set all the layers together perfectly.
Step 6: Serve
When you’re ready to serve your colorful layered ice cream cake, take it out of the freezer and let it sit at room temperature for about 5 minutes. This softening will ease slicing. Invert the cake onto a baking sheet, then use a hot knife to slice through the vibrant layers effortlessly. Enjoy this summer delight!
Expert Tips for Colorful Layered Ice Cream Cake
-
Layer Freezing: Ensure each ice cream layer is completely frozen before adding the next. This prevents mixing and keeps your colorful layers distinct and beautiful.
-
Use a Hot Knife: For the best slicing experience, run a knife under hot water for a few seconds before cutting the cake; it creates clean, neat cuts through the frozen layers.
-
Flavor Variations: Don’t hesitate to customize your cake with different ice creams or gelatos. Explore unique combinations to match your family’s tastes and preferences for this no-bake treat.
-
Storing Leftovers: If you have any cake left, store slices in an airtight container in the fridge for up to 3 days, or wrap and freeze for up to 3 months.
-
Avoid Overmixing: While prepping the layers, gently fold ingredients to maintain a light and fluffy texture. This ensures optimal creaminess in your ice cream layers.
Make Ahead Options
These Colorful Layered Homemade Ice Cream Cakes are a dream for busy home cooks! You can prepare the chocolate cake base and freeze it up to 24 hours ahead, ensuring a stress-free assembly when you’re ready. The gelato and ice cream layers can also be softened and spread in advance; just make sure to freeze them for at least 4 hours after adding each layer to maintain that perfect texture. For the best taste, assemble the entire cake the day before serving, letting it freeze overnight for blissfully creamy results. When it’s time to enjoy, simply pull it from the freezer, let it sit for 5 minutes to soften a bit, and then slice it with a hot knife for beautiful, clean cuts and no melting mishaps!
Colorful Layered Ice Cream Cake Variations
Customize your ice cream cake experience with these delightful and accessible twists that will excite your taste buds!
-
Nut-Free Version: Use nut-free gelato and ice cream, such as vanilla or fruity options, to keep it allergy-friendly. This ensures everyone can savor a slice without worry!
-
Different Cake Bases: Replace the chocolate cake with a light, fluffy sponge cake for a different texture. Each bite will be airy, allowing the ice cream layers to shine!
-
Berry Swaps: Swap raspberries for strawberries or blueberries for a seasonal flair. Each fruit brings a unique freshness that brightens the cake beautifully.
-
Add Crunch: Mix in crushed nuts into the ice cream layers for added texture. This delightful crunch contrasts the creaminess, making each slice an exciting treat!
-
Flavor Infusions: Infuse your gelato with a hint of coffee or mint for a fresh twist. These flavorful enhancements elevate the cake, tantalizing your guests’ taste buds.
-
Chocolate Drizzle: Top your cake with a chocolate or caramel drizzle before serving. It not only adds a touch of elegance but also enhances the rich flavors in each bite.
-
Herbal Touch: Incorporate fresh mint or basil into the fruit layers for a surprising flavor pop. The herbal notes create a refreshing experience that dances on your palate!
-
Layer Variation: Alternate the order of the layers for a fun surprise. Whether you wish to start with sorbet or ice cream, every combination will yield a delicious result.
Feel free to explore additional options and discover other family-friendly desserts that can complement your vibrant creation! Your tasty journey has just begun!
What to Serve with Colorful Layered Homemade Ice Cream Cake
As the colorful layers of ice cream cake shimmer under the sun, let’s explore delightful pairings that will elevate your summer gathering.
-
Fresh Berries: The burst of sweetness and acidity from fresh strawberries and blueberries beautifully balances the cake’s richness, adding a refreshing touch.
-
Mint-Infused Whipped Cream: Light and airy, this whipped cream adds a delightful minty flavor that dances on your tongue alongside the creamy layers.
-
Chocolate Sauce Drizzle: A sweet, chocolatey addition promises to evoke even more indulgence, making every slice even more irresistible.
-
Coconut Macaroons: These chewy treats offer a satisfying contrast in texture, and their coconut flavor pairs wonderfully with the ice cream.
-
Lemon Sorbet: The refreshing citrus notes of lemon sorbet cleanse the palate between bites, making it the perfect companion for your layered delight.
-
Sparkling Wine: A chilled glass of bubbly complements the cake’s colors and flavors, adding a layer of elegance and celebration to your dessert spread.
-
Brownie Bites: Dense and fudgy, these chocolatey bites bring out the cake’s chocolate base, intensifying the dessert experience with every bite.
-
Fruit Skewers: Brightly colored tropical fruits on a stick not only look appealing but also add juicy freshness, contrasting delightfully with the ice cream.
Indulge in these pairings for a complete taste adventure that makes your ice cream cake shine at any occasion!
How to Store and Freeze Colorful Layered Ice Cream Cake
Fridge: Store slices in an airtight container in the fridge for up to 3 days to maintain freshness and flavor.
Freezer: Wrap any leftover cake tightly in plastic wrap and then aluminum foil, storing it in the freezer for up to 3 months.
Serving: When ready to enjoy, pull the cake from the freezer and let it sit at room temperature for about 5 minutes before slicing.
Reheating: There’s no need to reheat this delightful no-bake ice cream cake; simply enjoy it straight from the freezer!
Colorful Layered Ice Cream Cake Recipe FAQs
How do I select the right ingredients for my ice cream cake?
Absolutely! Choose ripe and fresh fruits, like raspberries, that are plump and free from dark spots; they should look vibrant and inviting. For ice cream, opt for high-quality brands with natural ingredients for the best flavor. If you’re going vegan, make sure to check the labels for suitable options. A fun tip is to taste each layer before putting them together to ensure everything harmonizes beautifully!
How should I store leftover ice cream cake?
I recommend placing slices in an airtight container before refrigerating. They’ll stay fresh for up to 3 days in the fridge. If you have more leftovers, wrap the entire cake snugly in plastic wrap and then aluminum foil to keep it fresh in the freezer for up to 3 months. Just remember, for best results, slice only what you’re ready to enjoy!
Can I freeze layers of this ice cream cake separately?
Very! To freeze layers individually, use these steps: After preparing each layer, spread it out in a flat dish and put it in the freezer for about 2 hours until solid. Once frozen, wrap each layer in plastic wrap. You can store them separately for up to 3 months. When assembling your cake, simply layer them as directed, ensuring they’re softly thawed for easier handling.
What if my ice cream layers start to mix together?
Oh no, mixing can be a problem! To fix this, quickly check if the layer was fully frozen before adding the next. If you notice mixing, don’t worry—chill the cake back in the freezer, ensuring each layer freezes solid for at least 4 hours before adding more. Using a hot knife also helps maintain clean layers when you slice into it later.
Are there any dietary considerations for my ice cream cake?
Definitely! This cake can easily accommodate dietary preferences and allergies. To cater to nut allergies, simply substitute nut-based gelato with fruit sorbets or dairy-free ice creams. Always be sure to read labels for allergens if you’re using store-bought items. And if you’re making it for pets, remember that ice cream is usually not suitable for them due to lactose—focus on pet-safe frozen treats instead!
Can I prepare this cake in advance?
Absolutely! This no-bake delight is perfect for make-ahead preparations. You can assemble the entire cake a day before your celebration and keep it in the freezer until ready to serve. Just make sure you give it a bit of time at room temperature before slicing to get those beautiful layers to show. Enjoy a stress-free serving experience—what a treat!
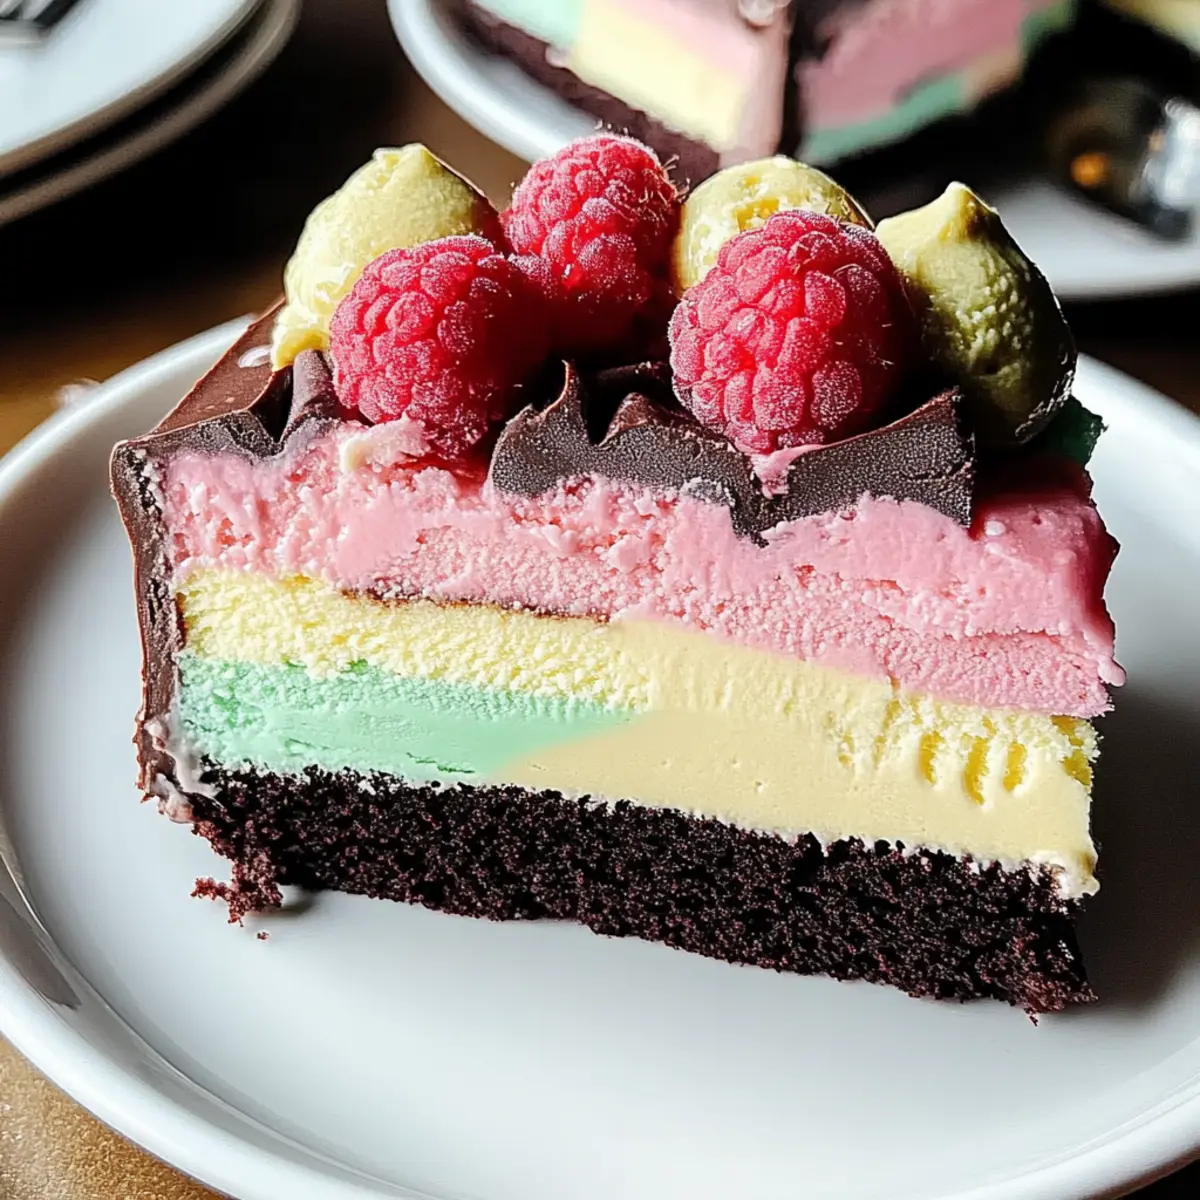
Colorful Layered Ice Cream Cake: Your No-Bake Summer Treat
Ingredients
Equipment
Method
- Preheat your oven to 350°F (175°C). Grease a 9x5-inch loaf pan and pour in your vegan chocolate cake batter. Bake for 18-22 minutes, or until a toothpick inserted into the center comes out clean. Let the cake cool completely in the pan.
- Once cooled, carefully remove the chocolate cake from the pan and line it with parchment paper. Place the chocolate cake back into the freezer and let it freeze for at least 3 hours.
- After the cake has frozen, take the pistachio gelato out of the freezer and let it soften for about 10 minutes. Spread the gelato evenly over the frozen chocolate cake layer and return the cake to the freezer for an additional 4 hours.
- Soften the salted caramel ice cream for around 10 minutes and spread it over the pistachio gelato layer. Freeze the cake again for another 4 hours.
- Gently soften the raspberry sorbet for about 10 minutes and spread it over the salted caramel layer. Freeze the cake overnight to set all the layers together.
- When you're ready to serve, take the cake out of the freezer and let it sit at room temperature for about 5 minutes. Invert the cake onto a baking sheet and use a hot knife to slice through the layers.