

As I prepared dinner the other evening, the warmth of freshly baked bread swept through my kitchen, making my heart race with anticipation. These Ultimate Bacon & Cheese Rolls with Garlic Butter are a delightful twist on traditional rolls, elevating any meal into something special. Each soft yeast dough roll is lovingly stuffed with mouthwatering bacon and gooey cheese, then finished with a luscious garlic butter glaze that promises to melt in your mouth. They’re not just a delicious snack; these rolls are freezer-friendly and perfect for serving at gatherings, making them a go-to recipe when you want to impress. Ready to discover how to create this ultimate comfort food? Let’s dive into the recipe and awaken your inner baker!
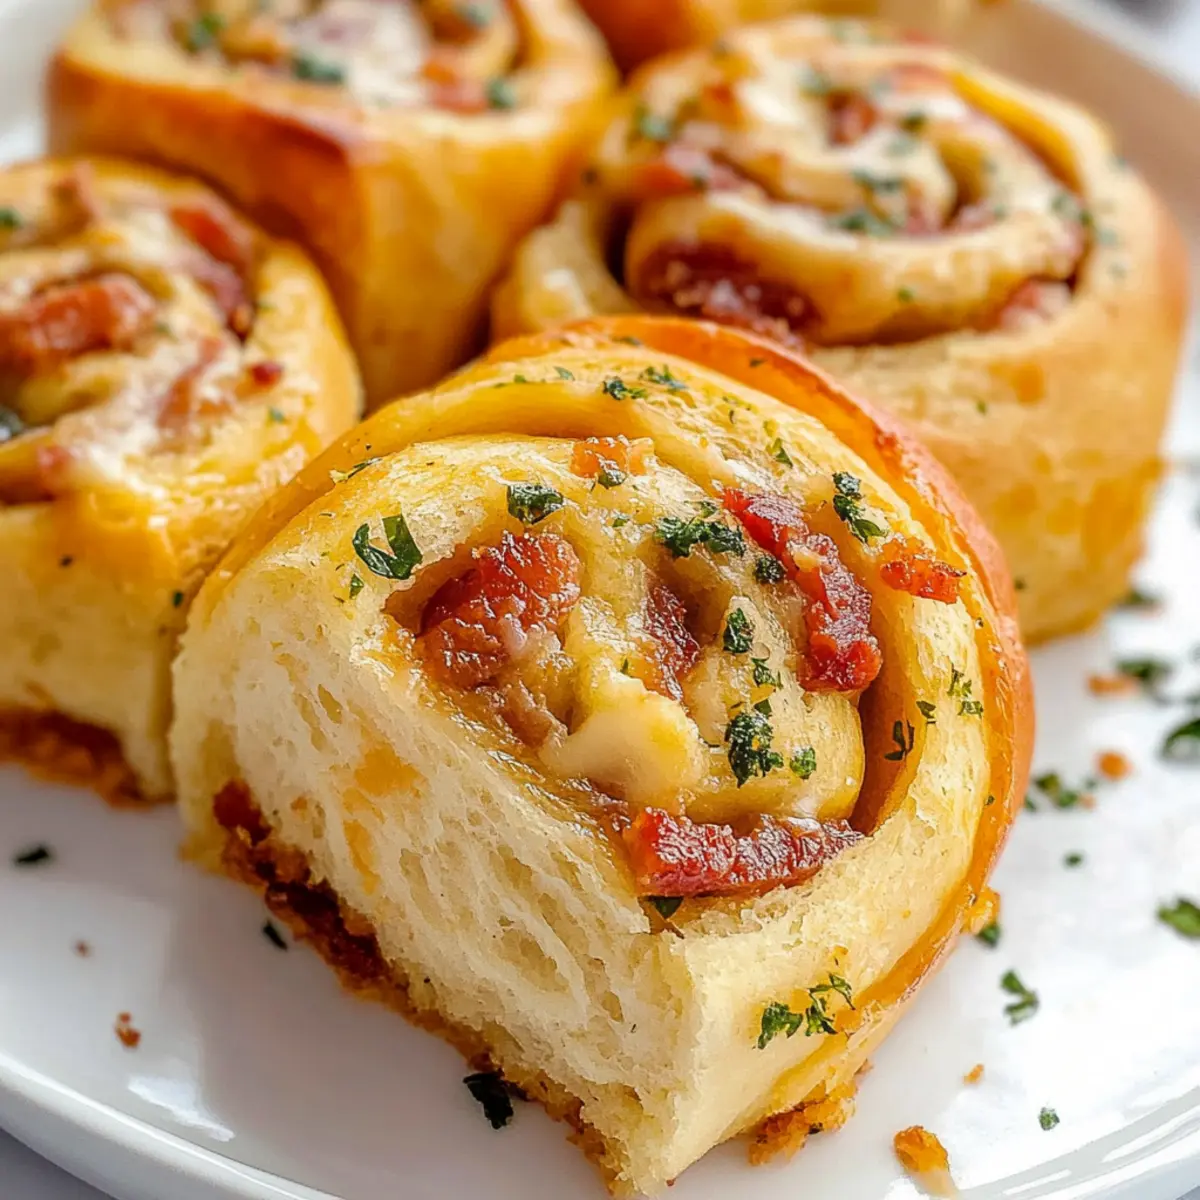
Why are these rolls irresistible?
Heavenly Flavors: Bacon, cheese, and garlic come together for a flavor explosion that will have everyone reaching for seconds.
Easy Preparation: With simple steps, even novice bakers can create fluffy rolls packed with savory goodness.
Versatile Delight: These rolls pair beautifully with any meal, from hearty soups to elegant dinners.
Make-Ahead Magic: Prepare ahead of time and freeze for a quick dinner solution or surprise guests with fresh-baked treats.
Crowd-Pleaser: Whether at a party or family dinner, these rolls are guaranteed to impress and please in every bite.
Bacon & Cheese Rolls Ingredients
For the Dough
- Whole Milk – Provides moisture and helps activate yeast; substitute with almond milk for a non-dairy option.
- Dry Active Yeast – Essential for leavening the dough; ensure it’s fresh for optimal rise.
- White Granulated Sugar – Feeds the yeast to promote rising; can substitute with brown sugar for a slight molasses flavor.
- Sea Salt – Enhances flavor; do not omit as it’s necessary for crust and taste.
- Butter (melted) – Adds richness and flavor to both dough and filling; use unsalted butter to control sodium content.
- Eggs – Contributes structure and richness; for vegan, use flax eggs or applesauce as a binding agent.
- All-Purpose Flour – Provides structure to the dough; can substitute part with whole wheat flour or gluten-free flour blend.
For the Filling
- Smoked Bacon (diced) – Adds savory flavor; use turkey bacon for a lighter version or to suit preferences.
- Cheddar Cheese – Provides melting properties and a delicious flavor; substitute with gouda for added smokiness.
- Parmesan Cheese – Adds nuttiness; can use pecorino for a sharper taste.
- Dried Spices (smoked paprika, garlic, onion, basil, oregano) – Enhance flavor complexity; adjust to your taste preferences.
- Fresh Parsley & Dill – Offer freshness; can substitute with chives or cilantro for a different flavor profile.
- Chopped Green Onions – Adds a mild onion flavor; can omit or replace with shallots for a subtle twist.
For the Garlic Butter Topping
- Garlic – Infuses savory garlic flavor; if fresh isn’t available, use garlic powder.
- More Butter – Melted and mixed with garlic for brushing on hot rolls; use unsalted to manage sodium content.
Step-by-Step Instructions for Ultimate Bacon & Cheese Rolls with Garlic Butter
Step 1: Prepare Yeast Dough
Heat 1 cup of whole milk to a temperature of 120-130°F using a thermometer to ensure precision. In a mixing bowl, combine the warm milk, 2 and ¼ teaspoons of dry active yeast, and 2 tablespoons of white granulated sugar. Allow this mixture to sit for about 5 minutes until it’s foamy, indicating that the yeast is active and ready to work its magic in your soft yeast dough.
Step 2: Make the Dough Mixture
Next, add 4 tablespoons of melted unsalted butter, 1 large egg, and 1 teaspoon of sea salt to the yeast mixture. Whisk everything together until it’s well mixed. Gradually stir in 3 to 3 and ½ cups of all-purpose flour, a little at a time, until a smooth dough forms. You want the dough to be slightly tacky but not too sticky; this will ensure that the rolls turn out fluffy.
Step 3: Knead the Dough
Transfer the dough onto a floured surface, and knead it by hand for about 5-6 minutes. Use the heel of your hand to push the dough away from you, then fold it over itself. The dough should become smooth and elastic. If it’s too sticky, sprinkle in a little more flour. This kneading process develops the structure needed for your ultimate bacon and cheese rolls.
Step 4: First Proofing
Shape the kneaded dough into a ball and place it in a greased bowl, turning it to coat the surface with oil. Cover the bowl with a clean kitchen towel or plastic wrap, and let it rise in a warm place for about 1 hour, or until it has doubled in size. You’ll know it’s ready when you gently poke the dough and it springs back quickly.
Step 5: Cook Bacon
While the dough is rising, cook 6 ounces of diced smoked bacon in a skillet over medium heat. Fry until the bacon is crispy, about 7-10 minutes. Once cooked, transfer the bacon to a plate lined with paper towels to drain excess fat and cool completely. This step adds an irresistible savory element to your rolls filled with delicious bacon!
Step 6: Prepare Filling
In a large mixing bowl, combine 1 cup of grated cheddar cheese, ½ cup of grated parmesan cheese, and the cooled bacon. Add in 1 teaspoon of smoked paprika, 1 teaspoon of garlic powder, and 1 teaspoon of onion powder, along with a dash of salt and pepper. Mix well until the cheeses and spices are evenly distributed throughout the bacon, creating a decadent filling for your rolls.
Step 7: Shape Rolls
Once the dough has risen, punch it down gently to release air. Roll it out on a floured surface into a large 20″x20″ square. Spread 4 tablespoons of softened butter on top of the dough, then evenly spread your savory bacon and cheese filling over the buttered surface. Carefully roll the dough into a log shape, ensuring to keep it tight for perfectly shaped rolls.
Step 8: Cut Rolls
Using a sharp knife, slice the log into 12 equal pieces, about 1½ inches thick. Place these rolls cut side up in a greased or lined casserole dish, ensuring they are spaced a bit apart to allow for rising. This arrangement will help your bacon rolls bake evenly and rise beautifully without sticking together.
Step 9: Second Proofing
Cover the casserole dish with a clean towel and let the rolls rise for another 30-45 minutes. You’ll know they’re ready to bake once they puff up and look fluffy. This second proofing step is crucial as it allows the air pockets to expand in the dough, resulting in soft, airy rolls when baked.
Step 10: Bake
Preheat your oven to 350°F. Once heated, place the casserole dish in the oven and bake the rolls for 35-40 minutes or until they turn a beautiful golden brown on top. The aroma of the baking cheese and bacon will fill your kitchen, promising an irresistible snack to come.
Step 11: Garlic Butter Application
While the rolls are baking, prepare the garlic butter by melting 4 tablespoons of unsalted butter in a small saucepan. Once melted, stir in 2 cloves of minced garlic and 2 tablespoons of chopped fresh parsley. After the rolls are baked, immediately brush the warm garlic butter generously over the tops of the rolls for an extra burst of flavor that will make these ultimate bacon and cheese rolls truly special.
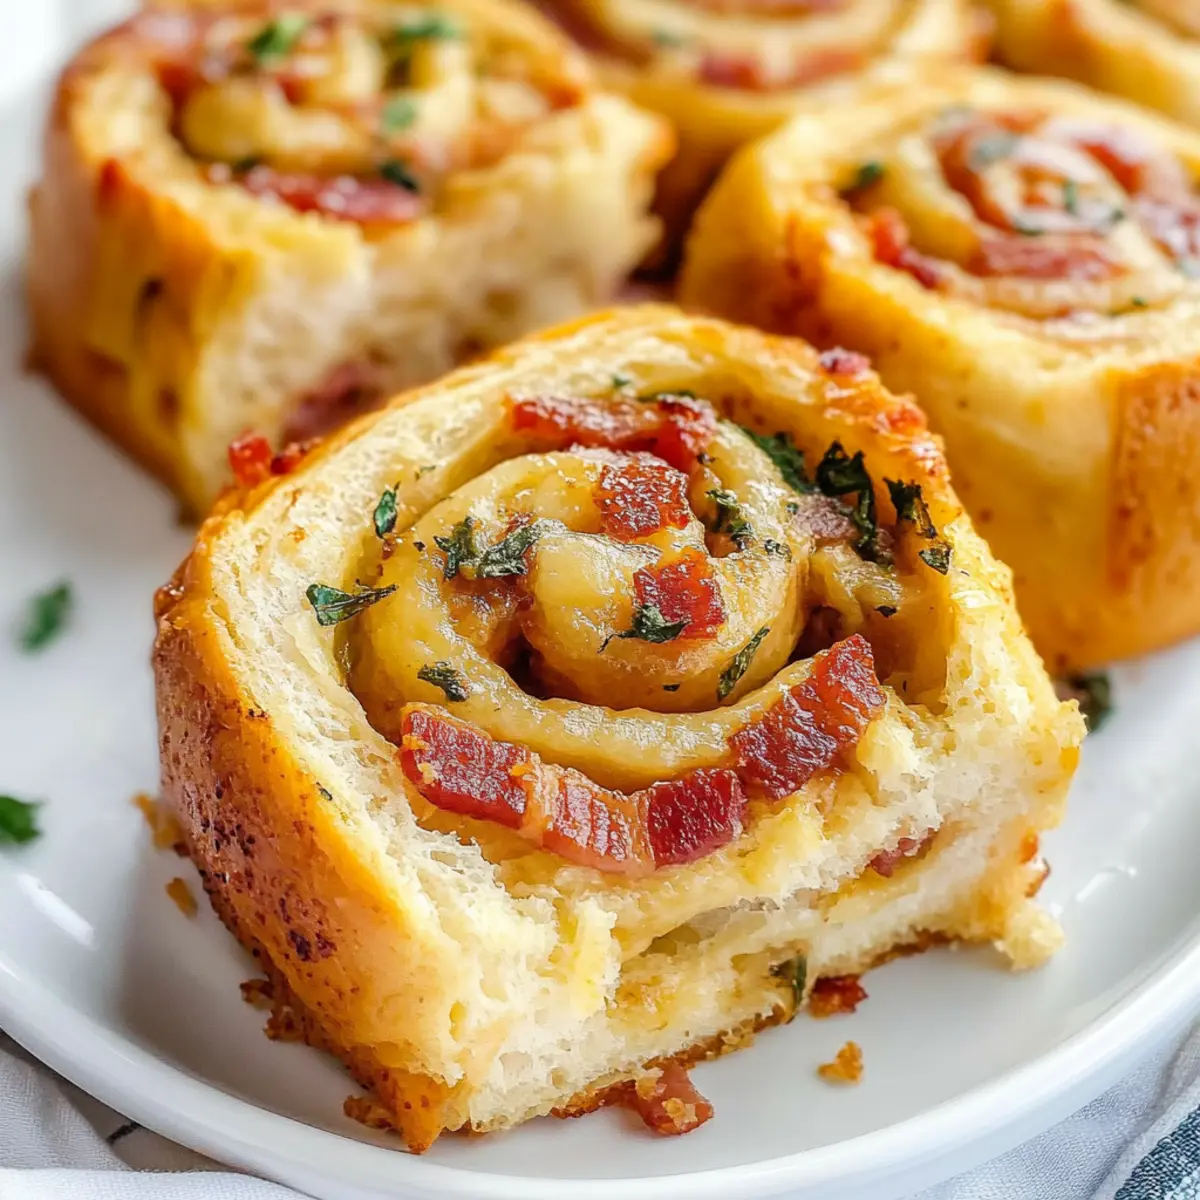
How to Store and Freeze Bacon & Cheese Rolls
Room Temperature: Store leftover rolls at room temperature in an airtight container for up to 3 days to maintain their soft texture and flavor.
Fridge: If you need to keep them longer, place the rolls in the refrigerator for up to 7 days. Reheat in the oven for a few minutes to restore freshness before serving.
Freezer: For long-term storage, freeze the uncooked bacon and cheese rolls before the second proofing. Wrap them tightly in plastic wrap and foil for up to 3 months; thaw in the refrigerator before baking.
Reheating: To enjoy refrigerated or frozen rolls, simply heat your oven to 350°F, then warm for 10-15 minutes until heated through and enjoy the mouthwatering bacon rolls fresh out of the oven!
Expert Tips for Bacon & Cheese Rolls
- Perfect Milk Temperature: Ensure the milk is between 120-130°F for optimal yeast activation, avoiding hot milk that can kill the yeast.
- Don’t Rush Proofing: Always allow both proofing stages; skipping the second will result in denser rolls lacking that soft, fluffy texture essential for bacon rolls.
- Knead Gently: Knead until the dough is smooth and slightly tacky. Over-flouring can result in tough, dense rolls instead of light, airy ones.
- Generous Butter Application: Brush garlic butter generously while the rolls are hot for maximum flavor absorption and a glossy finish that elevates each bite.
- Use Fresh Ingredients: Fresh yeast and quality bacon make a significant difference in taste. Always check the expiration date of your ingredients before baking!
Make Ahead Options
These Ultimate Bacon & Cheese Rolls with Garlic Butter are perfect for busy home cooks looking to save time! You can prepare the rolls up to 24 hours in advance by shaping them and placing them in a greased casserole dish, then covering and refrigerating them. When you’re ready to bake, simply let them come to room temperature for about 30 minutes while your oven preheats to 350°F, then proceed with the baking instructions. Alternatively, you can freeze the shaped rolls before the second proofing; thaw overnight in the refrigerator, let rise for about 45 minutes, and bake as directed. This ensures your rolls stay fresh and just as delicious when served!
What to Serve with Ultimate Bacon & Cheese Rolls with Garlic Butter
The aroma of these fluffy, savory rolls will have everyone gathered around the table, making mealtime feel like a celebration.
- Creamy Tomato Soup: This classic pairing adds a luscious, tangy complement to the savory rolls, enhancing their cheesy goodness.
- Mixed Green Salad: Fresh greens bring a crunchy, refreshing contrast to the rich flavors of the rolls, balancing the meal perfectly.
- Garlic Butter Mushrooms: These tender, garlicky delight shower the table in a robust flavor, echoing the irresistible garlic butter topping on the rolls.
- Roasted Vegetables: A medley of roasted veggies adds a touch of sweetness and nutty complexity, making it a wholesome choice alongside your rolls.
- Crispy Potato Wedges: Seasoned with herbs and spices, these wedges provide a hearty, crunchy side that pairs beautifully with the soft rolls.
- Apple Cider: A glass of chilled apple cider or warm spiced cider brings comforting autumn vibes, complementing the rolls’ cozy essence.
- Chocolate Chip Cookies: For dessert, serve warm cookies that introduce a delightful sweetness following those savory bites—it’s a comforting finish!
Bacon Rolls Substitutions & Variations
Feel free to make these rolls your own with fun twists and swaps that cater to your taste buds!
- Dairy-Free: Substitute whole milk with almond or oat milk and use a dairy-free butter alternative for a similar texture.
- Herb-Infused: Add finely chopped fresh herbs like thyme or rosemary into the dough for an aromatic boost in flavor.
- Add Greens: Toss in a handful of fresh spinach or chopped kale into the filling for a touch of color and nutrition.
- Spicy Kick: Incorporate diced jalapeños or a sprinkle of red pepper flakes in the filling for a delightful heat that will elevate your rolls.
- Smoky Goodness: Swap smoked bacon for crumbled sausage or diced, smoked chicken for a different protein-packed filling that’s equally delicious.
- Extra Cheese: Mix in a blend of your favorite cheeses, like pepper jack or mozzarella, for a gooey, melty surprise in every bite.
- Sundried Tomatoes: Add chopped sundried tomatoes to the filling for a tangy flavor punch that complements the cheesy goodness beautifully.
- Garlic Lovers: Increase the garlic in your butter topping or add roasted garlic to the filling for a deeper, savory depth that garlic fans will adore.
These simple variations will keep your bacon & cheese rolls fresh and exciting, perfect for impressing friends at gatherings! If you’re looking for more creative pairings, consider trying them alongside a delightful dip like creamy avocado dip or served with a refreshing salad, making this dish not only a treat but a wonderful centerpiece for any meal.
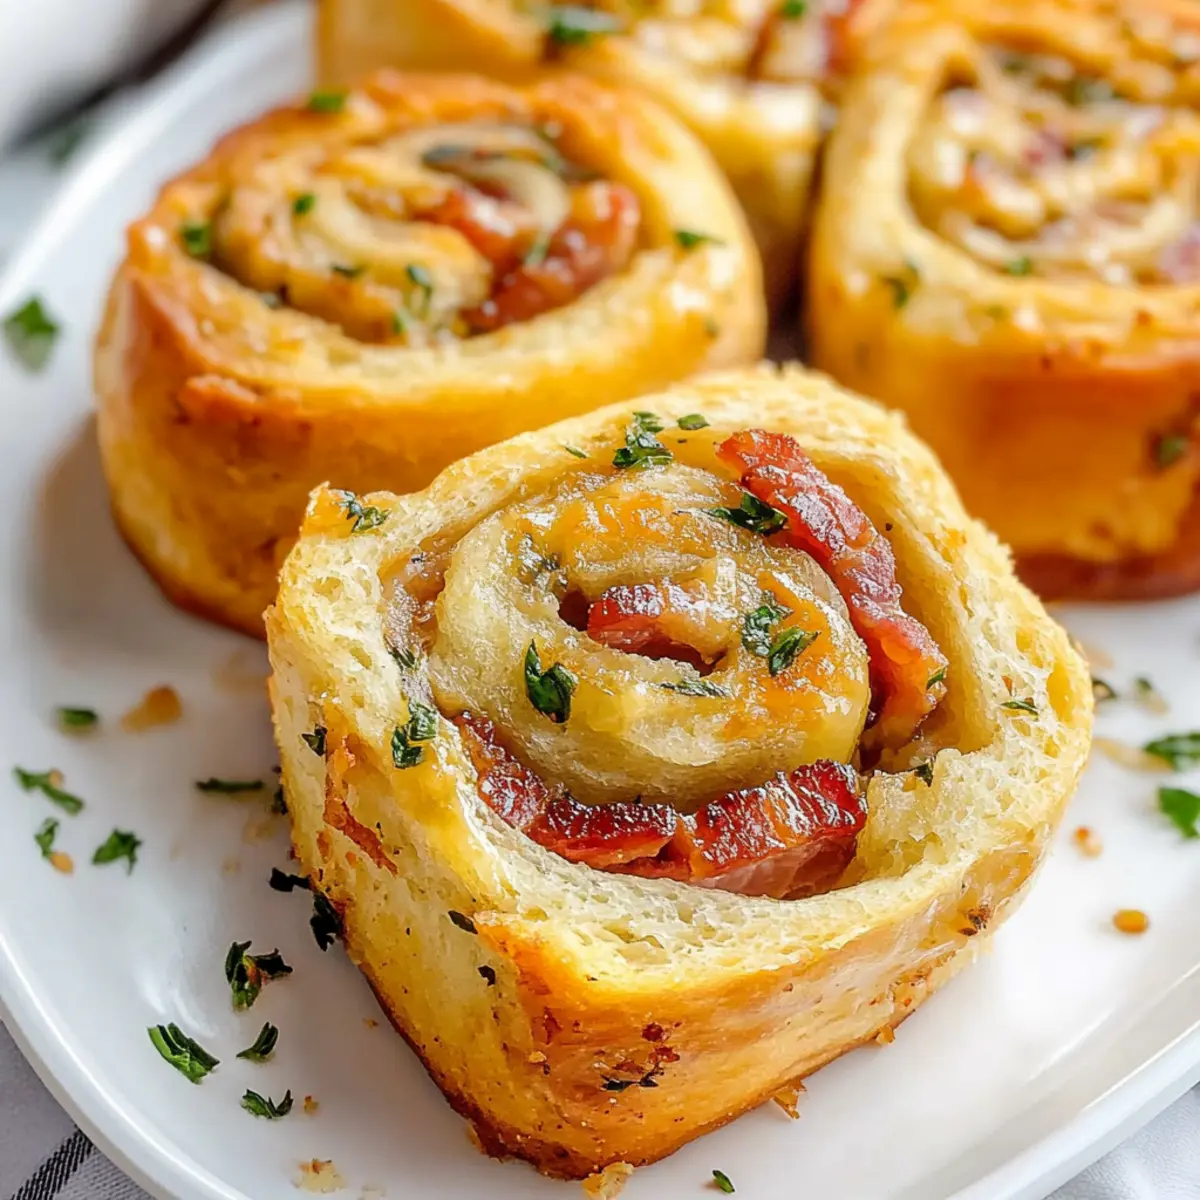
Ultimate Bacon & Cheese Rolls with Garlic Butter Recipe FAQs
How can I choose the best bacon for these rolls?
Absolutely! Look for thick-cut smoked bacon, as it adds a rich flavor and crispy texture. You can also use turkey bacon for a lighter option, ensuring it’s cooked until crispy but not burnt to avoid greasiness in the rolls.
What’s the best way to store leftover rolls?
For optimal freshness, store leftover rolls at room temperature in an airtight container for up to 3 days. If you want to keep them longer, you can refrigerate them for up to 7 days. Just remember to reheat them in the oven at 350°F for a few minutes to restore that delightful softness!
Can I freeze the bacon and cheese rolls?
Definitely! To freeze these rolls, shape them and place them directly in the freezer before the second proofing. Wrap each roll tightly in plastic wrap, then foil, and freeze for up to 3 months. When you’re ready to bake, simply thaw them in the refrigerator overnight and allow them to rise for 30-45 minutes before baking.
What should I do if my dough isn’t rising properly?
If your dough isn’t rising, check if the yeast is fresh and active. You may try proofing the yeast in a warm spot, and ensure your milk was at the correct temperature (120-130°F). If it still doesn’t rise, knead a little more to incorporate air and let it proof in a warmer area, ideally around 80°F for better results!
Can these rolls be made vegan?
Very! To adapt the recipe for a vegan option, substitute whole milk with almond or oat milk and use flax eggs (1 tablespoon of ground flaxseed mixed with 2.5 tablespoons water for each egg) instead of chicken eggs. Replace the butter with a plant-based alternative, and enjoy these scrumptious rolls without any animal products!
Is there a gluten-free version of these rolls?
Absolutely! You can use a gluten-free flour blend designed for baking. Make sure to mix in additional binding agents like xanthan gum, as per the package instructions, to achieve that delightful soft texture characteristic of these delicious bacon rolls. Happy baking!
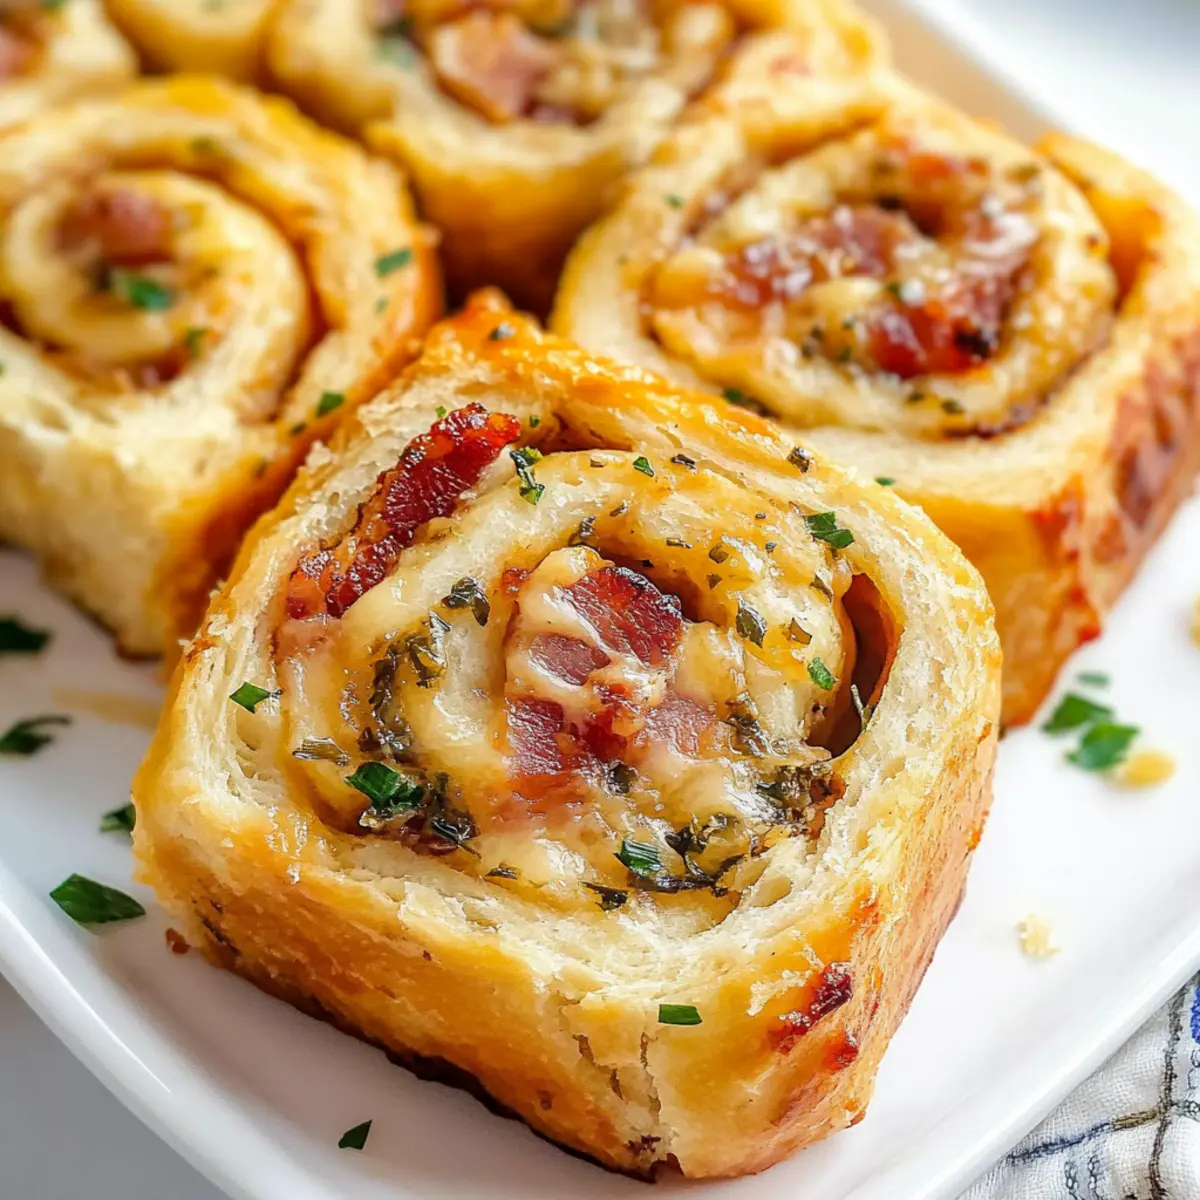
Mouthwatering Bacon Rolls with Cheesy Garlic Butter Bliss
Ingredients
Equipment
Method
- Heat 1 cup of whole milk to a temperature of 120-130°F. Combine warm milk, 2 and ¼ teaspoons of dry active yeast, and 2 tablespoons of sugar. Let sit for 5 minutes until foamy.
- Add 4 tablespoons of melted unsalted butter, 1 large egg, and 1 teaspoon of sea salt to the yeast mixture. Whisk then gradually stir in 3 to 3 and ½ cups of flour until a smooth dough forms.
- Knead the dough on a floured surface for 5-6 minutes until smooth and elastic.
- Shape into a ball, place in a greased bowl, cover, and let rise for 1 hour until doubled in size.
- Cook 6 ounces of diced bacon in a skillet over medium heat until crispy, about 7-10 minutes. Drain fat and cool.
- In a bowl, combine grated cheddar, grated parmesan, cooled bacon, smoked paprika, garlic powder, onion powder, salt, and pepper. Mix well.
- Punch down the risen dough, roll into a 20"x20" square. Spread 4 tablespoons of softened butter on top, then the filling. Roll tightly into a log.
- Cut the log into 12 equal pieces, placing them in a greased or lined casserole dish with cut sides up.
- Cover the dish and let rolls rise for 30-45 minutes until puffed.
- Preheat the oven to 350°F. Bake rolls for 35-40 minutes until golden brown.
- Prepare garlic butter by melting 4 tablespoons of butter in a saucepan, mixing in 2 minced garlic cloves and 2 tablespoons of parsley. Brush the baked rolls with garlic butter.