


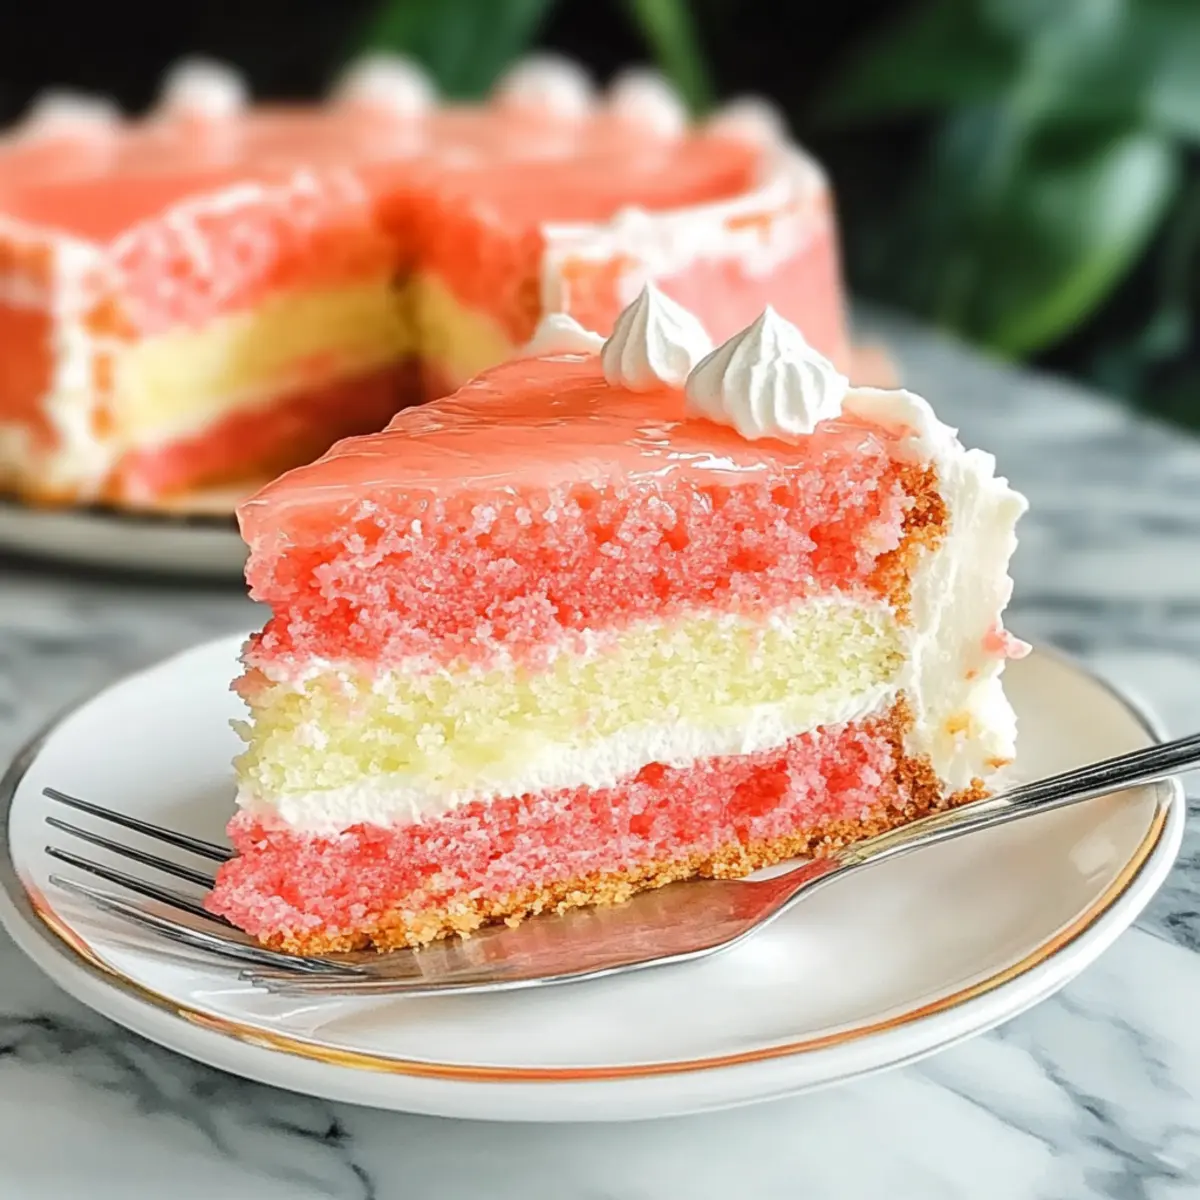
As I sifted through my fridge, a colorful bottle of guava juice caught my eye and instantly transported me to the Hawaiian shores. That’s how this Hawaiian Guava Cake was born—an easy tropical dessert that promises not just a taste of paradise but also a delightful experience in your kitchen. With its light, fluffy texture and creamy coconut layer, this cake is not only simple to whip up but also a guaranteed crowd-pleaser. Plus, you can make it gluten-free if you prefer! Treat your loved ones to a slice of this blissful cake, and watch their faces light up with joy. Wouldn’t you want to add it to your dessert repertoire?
Why Will You Adore This Cake?
Easy Preparation: The steps are a breeze, making it ideal for both novice and seasoned bakers alike. Simply mix, bake, and layer!
Tropical Flavor Explosion: Bursting with guava nectar and creamy coconut, this cake delivers a vacation to your taste buds with every bite.
Crowd-Pleaser: Perfect for gatherings, parties, or a soothing dessert for yourself—everyone loves a slice of this paradise.
Gluten-Free Option: With a simple swap to gluten-free cake mix, this dessert meets various dietary needs while retaining all its delicious flavors.
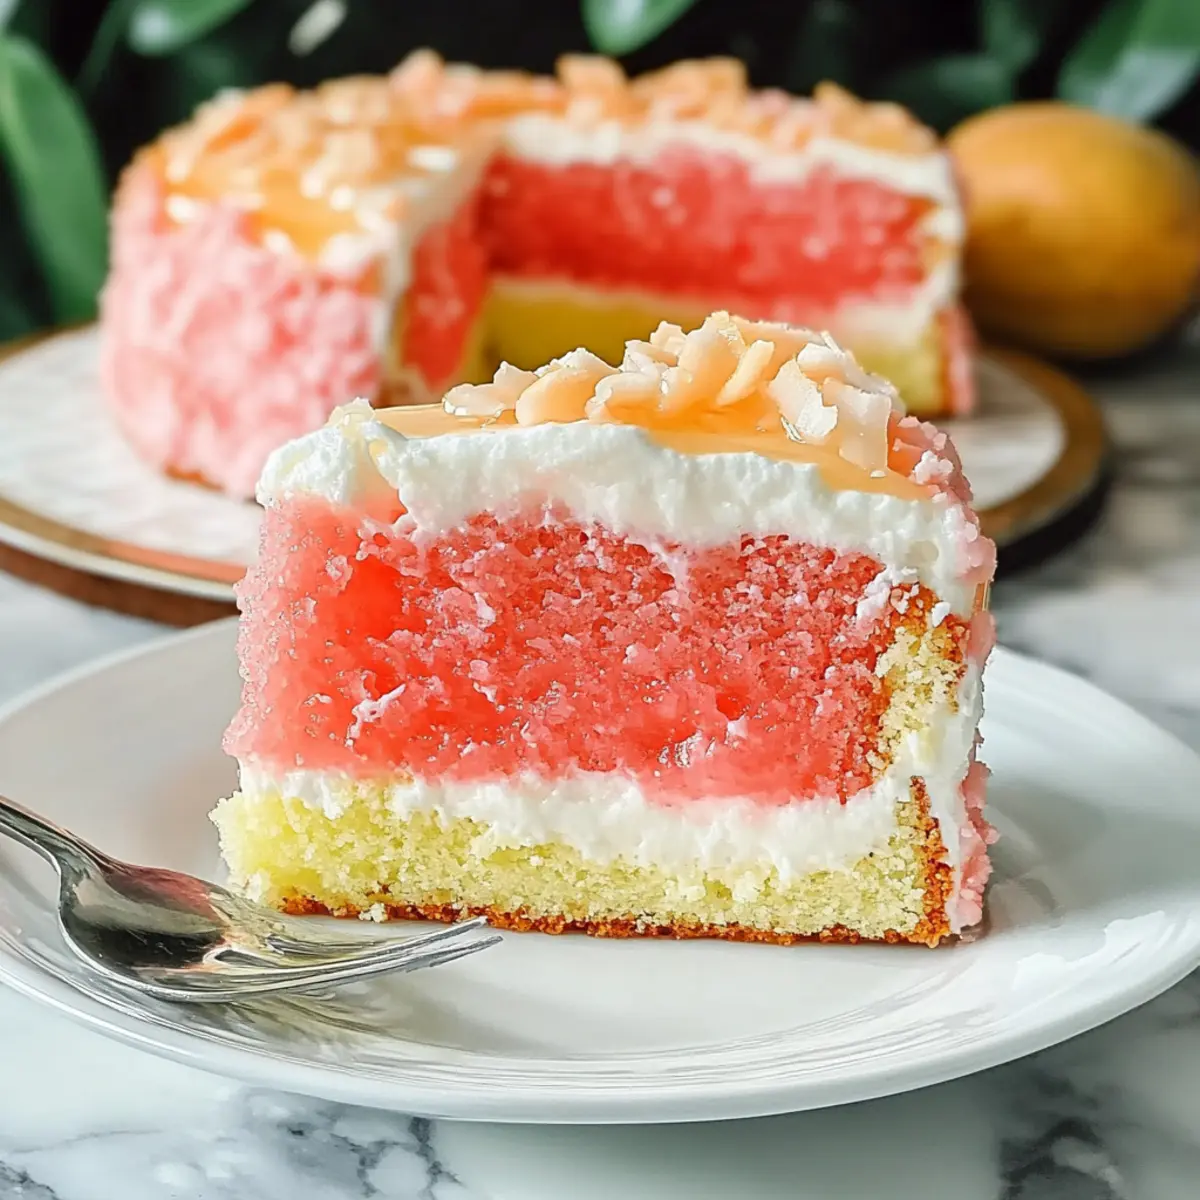
Visually Striking: Topped with glossy guava gel and coconut flakes, it’s not just a treat for the palate, but a feast for the eyes too.
As you savor each bite, you might even want to explore other delightful options like dairy-free whipped topping for more variations!
Hawaiian Guava Cake Ingredients
For the Cake
• Strawberry Cake Mix – This serves as the base flavor; swap for gluten-free cake mix if needed.
• Guava Nectar or Juice – Adds vibrant tropical sweetness; fresh juice offers the best flavor.
• Eggs – Essential for moisture and rising; use room temperature eggs for optimal mixing.
• Coconut Oil – Provides richness; you can use vegetable oil as a substitute if necessary.
For the Cream Cheese Layer
• Cream Cheese – Introduces a creamy tanginess; ensure it’s at room temperature for easy mixing.
• Granulated Sugar – Sweetens the cream cheese mixture; feel free to reduce the amount for less sweetness.
• Vanilla Extract – Elevates the flavor profile; opt for pure vanilla extract for the best taste.
• Cool Whip – Creates a light texture; try dairy-free whipped topping for a dairy-free version.
For the Guava Gel
• Cornstarch – Crucial for thickening the guava gel; ensure it’s well mixed to avoid lumps.
• Guava Juice – Provides the base for the glaze; use the same fresh guava juice as the cake.
For Topping
• Sweetened Coconut Flakes – Optional but adds delightful texture; enhances the tropical feel of the cake.
Step‑by‑Step Instructions for Decadent Hawaiian Guava Cake
Step 1: Preheat the Oven and Prepare the Baking Dish
Begin by preheating your oven to 350°F (175°C). While it’s heating, grab a 13 x 9-inch baking dish and generously coat it with vegetable spray. This will ensure that your Hawaiian Guava Cake slides out effortlessly once baked, creating a beautifully presented dessert for your loved ones.
Step 2: Mix the Batter
In a large mixing bowl, combine the Strawberry Cake Mix, Guava Juice, eggs, and melted Coconut Oil. Use an electric mixer to blend on low speed for about 30 seconds, just until the ingredients start to combine. Then, increase to medium-high speed and whip it for 2 minutes until the batter is smooth and creamy, capturing the fruity essence of guava.
Step 3: Bake the Cake
Pour the vibrant batter into your prepared baking dish, smoothing it out to ensure even baking. Slide the dish into your preheated oven and bake for 24-26 minutes. To check for doneness, insert a toothpick into the center; it should come out clean when the Hawaiian Guava Cake is perfectly baked and ready to cool.
Step 4: Cool the Cake
Once baked, remove the cake from the oven and allow it to cool in the baking dish for about 10 minutes. Then, transfer it to a wire rack to cool completely. This step is essential to ensure the cream cheese layer sets perfectly on top without melting when added.
Step 5: Prepare the Cream Cheese Layer
While the cake cools, in a mixing bowl, beat the Cream Cheese until fluffy, about 2-3 minutes. Gradually mix in the Granulated Sugar and Vanilla Extract, blending until smooth. Carefully fold in the Cool Whip until fully incorporated, creating a light and airy cream cheese layer that adds richness to your Hawaiian Guava Cake.
Step 6: Spread the Cream Cheese Mixture
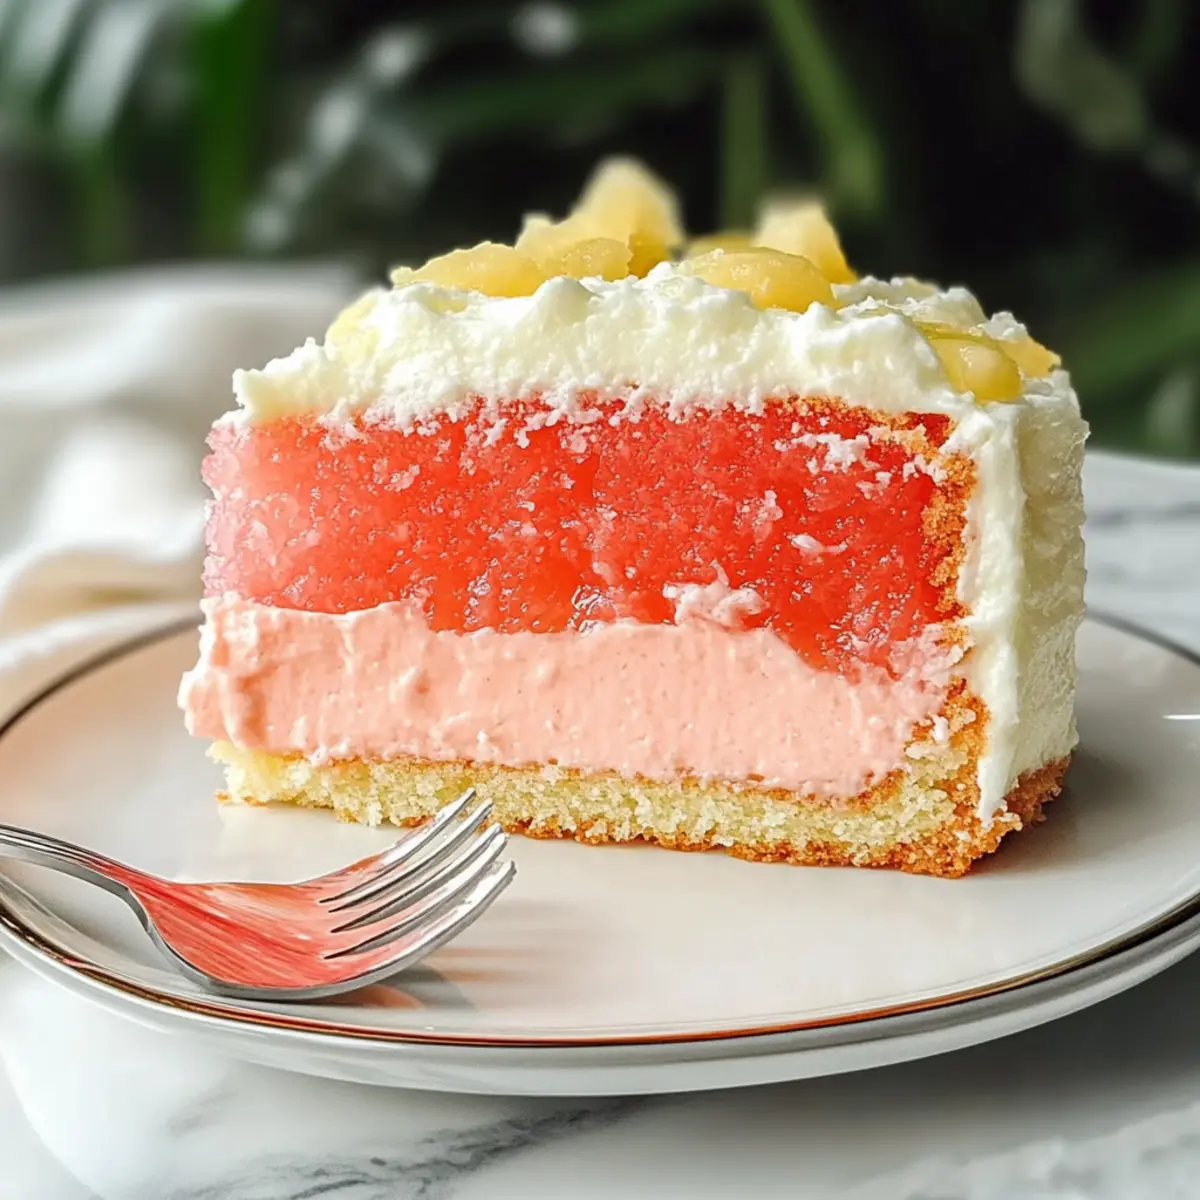
Once your cake is completely cool, evenly spread the cream cheese mixture over the top. Use a spatula for a smooth finish, then place the cake in the refrigerator to chill for at least 30 minutes, allowing the flavors to meld beautifully as you prepare the final touches.
Step 7: Make the Guava Gel
For the guava gel, bring Guava Juice and sugar to a low boil in a saucepan over medium heat. While it’s heating, whisk together cornstarch and a bit of water in a separate bowl to create a slurry. When the juice mixture is boiling, whisk in the slurry, continuing to cook for about 1 minute until it thickens, creating a glossy glaze for your cake.
Step 8: Cool and Glaze the Cake
Allow the Guava Gel to cool slightly before glazing the top of the cream cheese layer with it. Pour it gently over the cream cheese layer, ensuring an even coverage. Return the cake to the refrigerator for at least another hour to let the guava gel set, ensuring a delightful presentation when served.
Step 9: Garnish and Serve
Before serving your Decadent Hawaiian Guava Cake, sprinkle sweetened coconut flakes on top for an added touch of tropical flair. Cut into squares and watch as everyone delights in your delicious creation, perfect for any gathering or dessert treat that promises a slice of paradise.
What to Serve with Decadent Hawaiian Guava Cake?
Imagine the delight of pairing your slice of tropical heaven with accompaniments that enhance its luscious flavors.
-
Tropical Fruit Salad: Bright, fresh fruits like pineapple, mango, and kiwi add a refreshing, juicy contrast to the rich cake. This vibrant salad complements the guava’s sweetness beautifully.
-
Coconut Whipped Cream: Luxurious and fluffy, this coconut-infused topping brings an extra layer of creaminess, echoing the coconut flavors in the cake while providing a light texture.
-
Vanilla Ice Cream: The classic choice! A scoop of creamy vanilla ice cream pairs perfectly with the warm guava gel, creating a delightful temperature contrast that enhances every bite.
-
Pineapple Coconut Mocktail: Bursting with tropical vibes, this refreshing drink combines pineapple juice, coconut water, and a splash of lime—an effortless way to elevate your dessert experience.
-
Chocolate Drizzle: A light drizzle of rich dark chocolate offers a surprising twist and depth that rounds out the sweetness of the guava. It adds a bit of indulgence to each slice of your cake!
-
Mango Sorbet: Light and fruity, mango sorbet lends a burst of contrasting flavor and a cooling sensation that balances the richness of the cake, making it a delightful palate cleanser.
-
Lemonade: A zesty, refreshing homemade lemonade cuts through the sweetness, offering a perfect complement to the tropical flavors of the guava cake.
-
Coconut Macaroons: For a more textured addition, coconut macaroons provide chewy goodness that echoes the cake’s flavors while giving a delightful crunch alongside every rich bite.
Expert Tips for Hawaiian Guava Cake
• Room Temperature Ingredients: Ensure your eggs and cream cheese are at room temperature for a smoother batter and creamer.
• Cool Completely: Let the cake cool before adding the cream cheese layer; this prevents it from melting into a gooey mess.
• Mix Cornstarch Well: When preparing the Guava Gel, mix the cornstarch slurry thoroughly to avoid lumps in your delicious glaze.
• Tropical Enhancements: Consider adding fresh pineapple or mango pieces to the batter to elevate the Hawaiian flavors even more!
• Storing Leftovers: Keep any leftover cake in an airtight container in the fridge for up to 3 days to maintain its freshness and flavor.
• Gluten-Free Swap: If needed, substitute gluten-free cake mix to cater to dietary restrictions while still enjoying this irresistibly delicious Hawaiian Guava Cake!
How to Store and Freeze Hawaiian Guava Cake
Fridge: Store any leftover Hawaiian Guava Cake in an airtight container in the refrigerator for up to 3 days to maintain its freshness and flavor.
Freezer: For longer storage, wrap individual slices in plastic wrap and place them in a freezer-safe bag. The cake can be frozen for up to 2 months.
Thawing: To enjoy your frozen Hawaiian Guava Cake, remove it from the freezer and let it thaw in the fridge overnight. This keeps it moist and delicious.
Reheating: If preferred, you can gently reheat slices in the microwave for about 10-15 seconds to enjoy the cake warm with its creamy topping!
Variations & Substitutions for Hawaiian Guava Cake
Feel free to mix things up with these delightful twists that cater to your taste buds and dietary needs!
- Gluten-Free Option: Swap the Strawberry Cake Mix for a gluten-free cake mix to keep the deliciousness without the gluten.
- Dairy-Free Delight: Use dairy-free cream cheese and a whipped topping for a scrumptious dairy-free version everyone can enjoy.
- Citrus Zing: Incorporate fresh lemon zest into the cream cheese layer for a refreshing citrus lift that complements the guava beautifully.
- Nutty Texture: Fold in crushed macadamia nuts into the batter for a delightful crunch and an extra island flair.
- Tropical Fusion: Combine diced fresh pineapple or mango with the cake batter for an exciting blend of tropical fruits in every bite.
- Less Sweet: Reduce the granulated sugar in the cream cheese layer for a lighter sweetness that lets the guava flavor shine.
- Berry Bliss: Add a handful of fresh strawberries or blueberries on top of the cream cheese layer for a colorful and fruity twist.
- Spicy Kick: If you’re feeling adventurous, sprinkle in a pinch of cayenne pepper to the batter for a unique warming kick to your cake!
With these simple variations, you can infuse your Hawaiian Guava Cake with flavors that speak to you! Explore further options like dairy-free whipped topping for more tasty alternatives!
Make Ahead Options
These Decadent Hawaiian Guava Cakes are perfect for meal prep enthusiasts looking to save time! You can bake the cake itself up to 24 hours in advance; just cool it completely, wrap it tightly in plastic wrap, and refrigerate to maintain its moist texture. The cream cheese layer can also be made ahead—mix it and store it in the fridge for up to 3 days before spreading it over the cake. The guava gel can be prepared and refrigerated for an additional 2-3 days. When ready to serve, simply layer the cream cheese on the cooled cake, top with the guava gel, and garnish with sweetened coconut flakes for a delightful finish that’s just as delicious as a fresh bake!
Hawaiian Guava Cake Recipe FAQs
What type of guava juice should I use for the Hawaiian Guava Cake?
I recommend using fresh guava nectar or juice for the best flavor. Look for juices without added sugars or preservatives to capture the authentic tropical sweetness that will elevate your cake.
How do I store leftovers of Hawaiian Guava Cake?
To keep your cake fresh, store any leftovers in an airtight container in the refrigerator for up to 3 days. This will help maintain its moist texture and creamy topping.
Can I freeze Hawaiian Guava Cake?
Absolutely! You can freeze the cake by wrapping individual slices in plastic wrap and placing them in a freezer-safe bag. It will stay fresh in the freezer for up to 2 months. When you’re ready to enjoy it, simply thaw the slices in the refrigerator overnight.
What if my guava gel doesn’t thicken correctly?
If your guava gel turns out runny, check that you whisked the cornstarch slurry thoroughly before adding it to the heated juice. If it still seems too thin, bring it back to a boil for another minute while stirring continuously until it thickens. If lumps form, you can strain the mixture before using it as a glaze.
Is this Hawaiian Guava Cake suitable for gluten-free diets?
Yes, indeed! You can easily make this cake gluten-free by substituting the standard strawberry cake mix with a gluten-free option. Just make sure the other ingredients, like the guava juice and cream cheese, are gluten-free as well.
How can I enhance the tropical flavors of the Hawaiian Guava Cake?
To give your cake an extra tropical flair, consider folding in some diced fresh pineapple or mango pieces into the batter before baking. Additionally, adding a touch of lemon zest to the cream cheese layer can brighten the flavors even more, making this dessert an irresistible tropical delight.
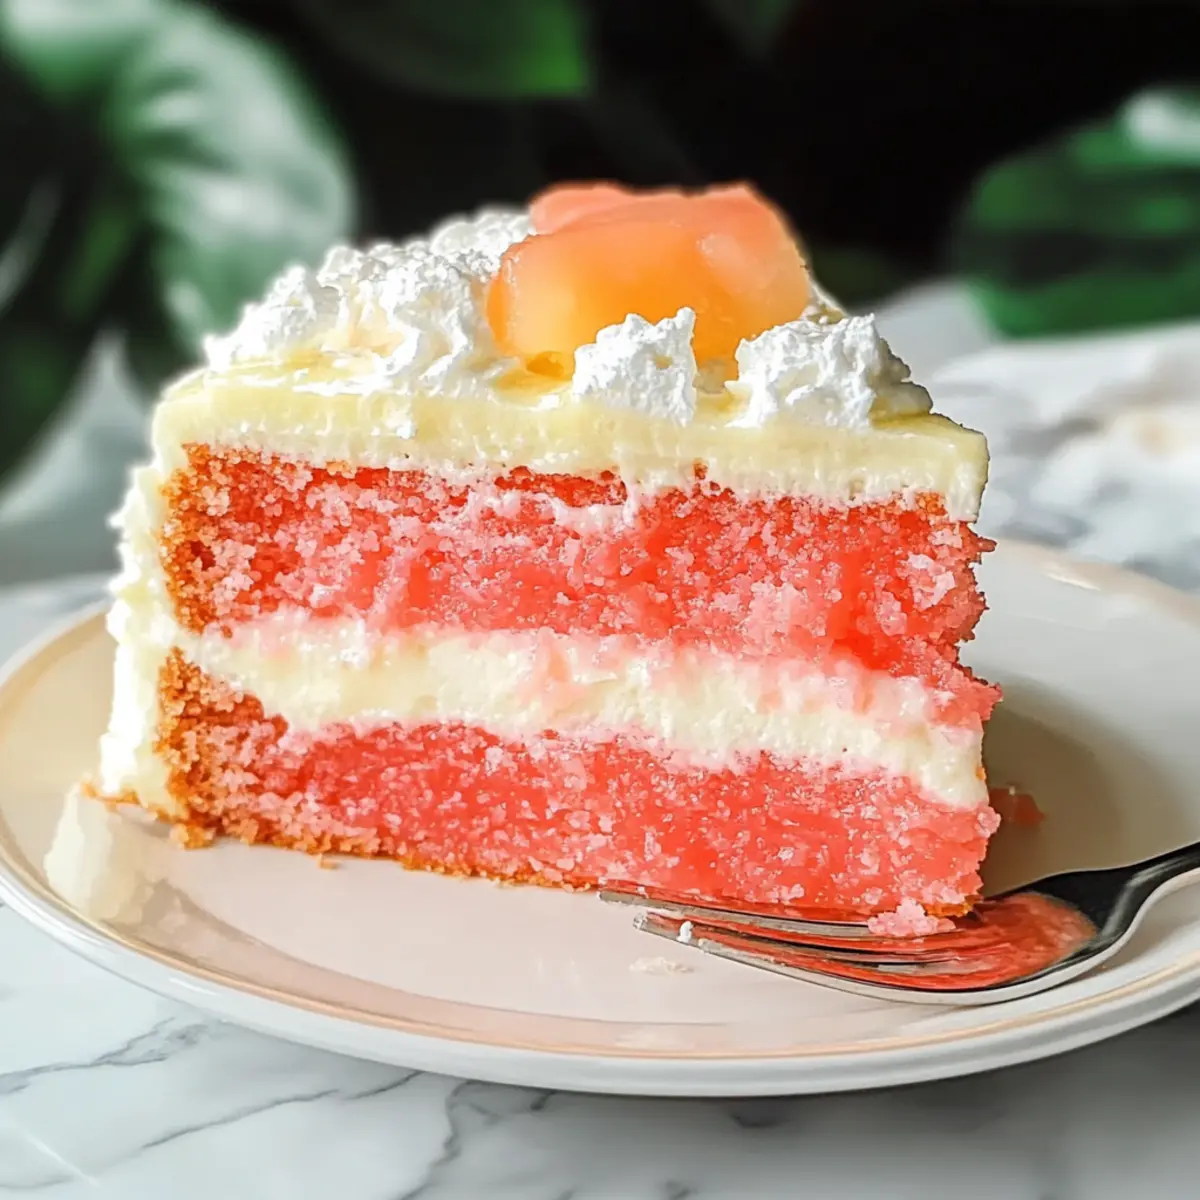
Irresistible Hawaiian Guava Cake that Everyone Will Love
Ingredients
Equipment
Method
- Preheat your oven to 350°F (175°C) and prepare a 13 x 9-inch baking dish with vegetable spray.
- In a large mixing bowl, combine the Strawberry Cake Mix, Guava Juice, eggs, and melted Coconut Oil. Blend on low for about 30 seconds, then whip on medium-high for 2 minutes until smooth.
- Pour the batter into the prepared baking dish and bake for 24-26 minutes. Check doneness with a toothpick.
- Cool the cake in the baking dish for 10 minutes, then transfer to a wire rack to cool completely.
- In a mixing bowl, beat the Cream Cheese until fluffy. Gradually mix in Sugar and Vanilla, then fold in Cool Whip.
- Spread the cream cheese mixture evenly over the cooled cake and refrigerate for at least 30 minutes.
- For the guava gel, bring Guava Juice and sugar to a low boil. Mix cornstarch with water to create a slurry, then whisk into the juice mixture until thickened.
- Cool the Guava Gel slightly before pouring it over the cream cheese layer. Refrigerate for at least another hour.
- Before serving, sprinkle sweetened coconut flakes on top. Cut into squares and enjoy!