


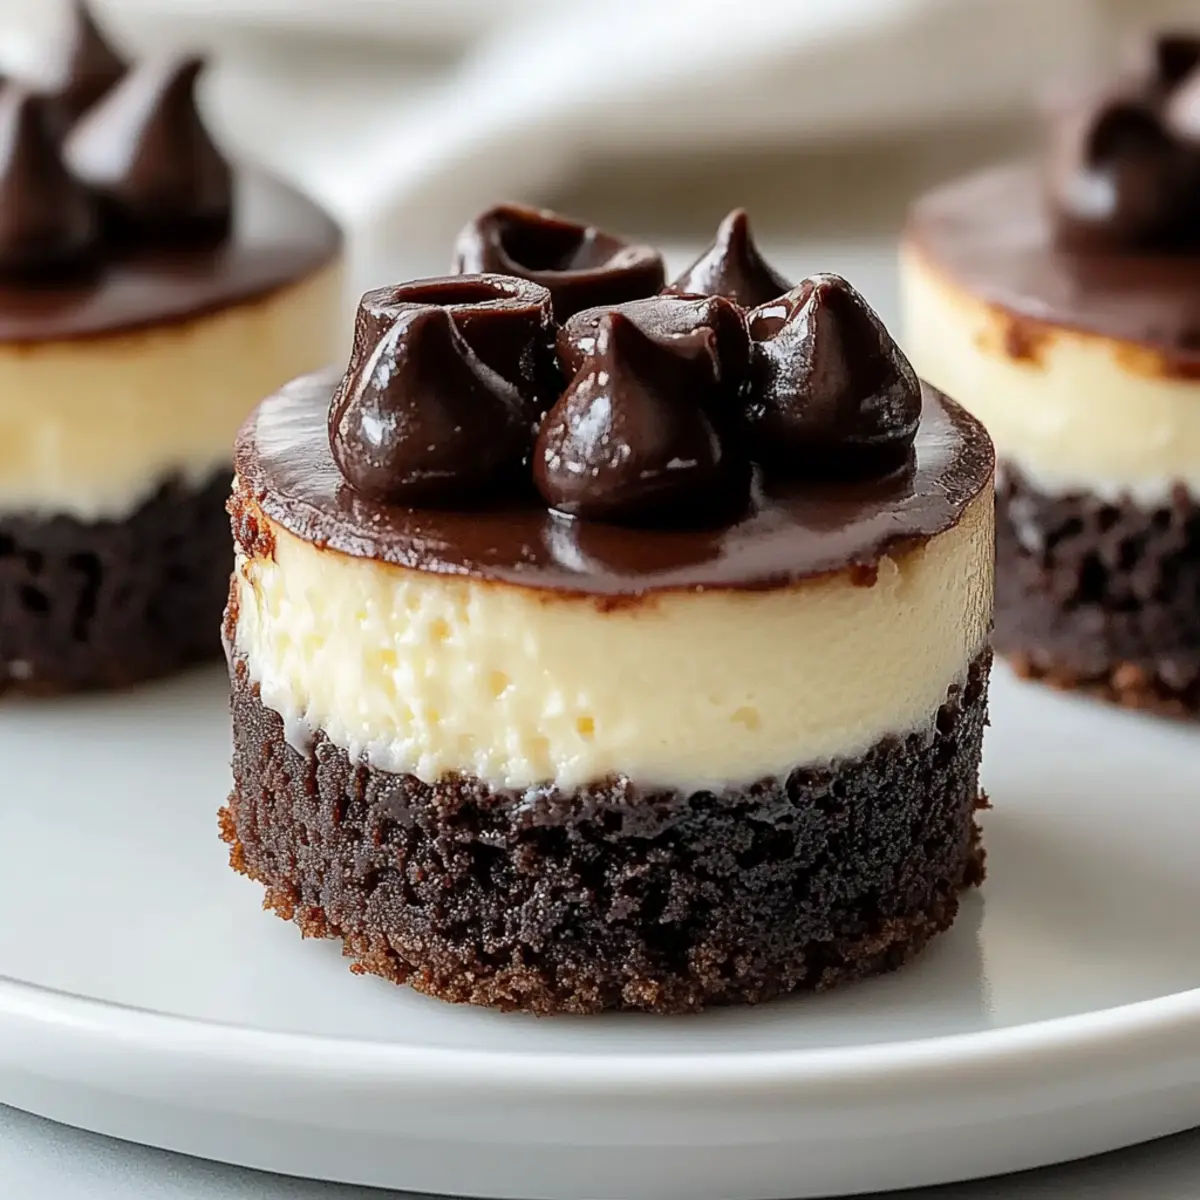
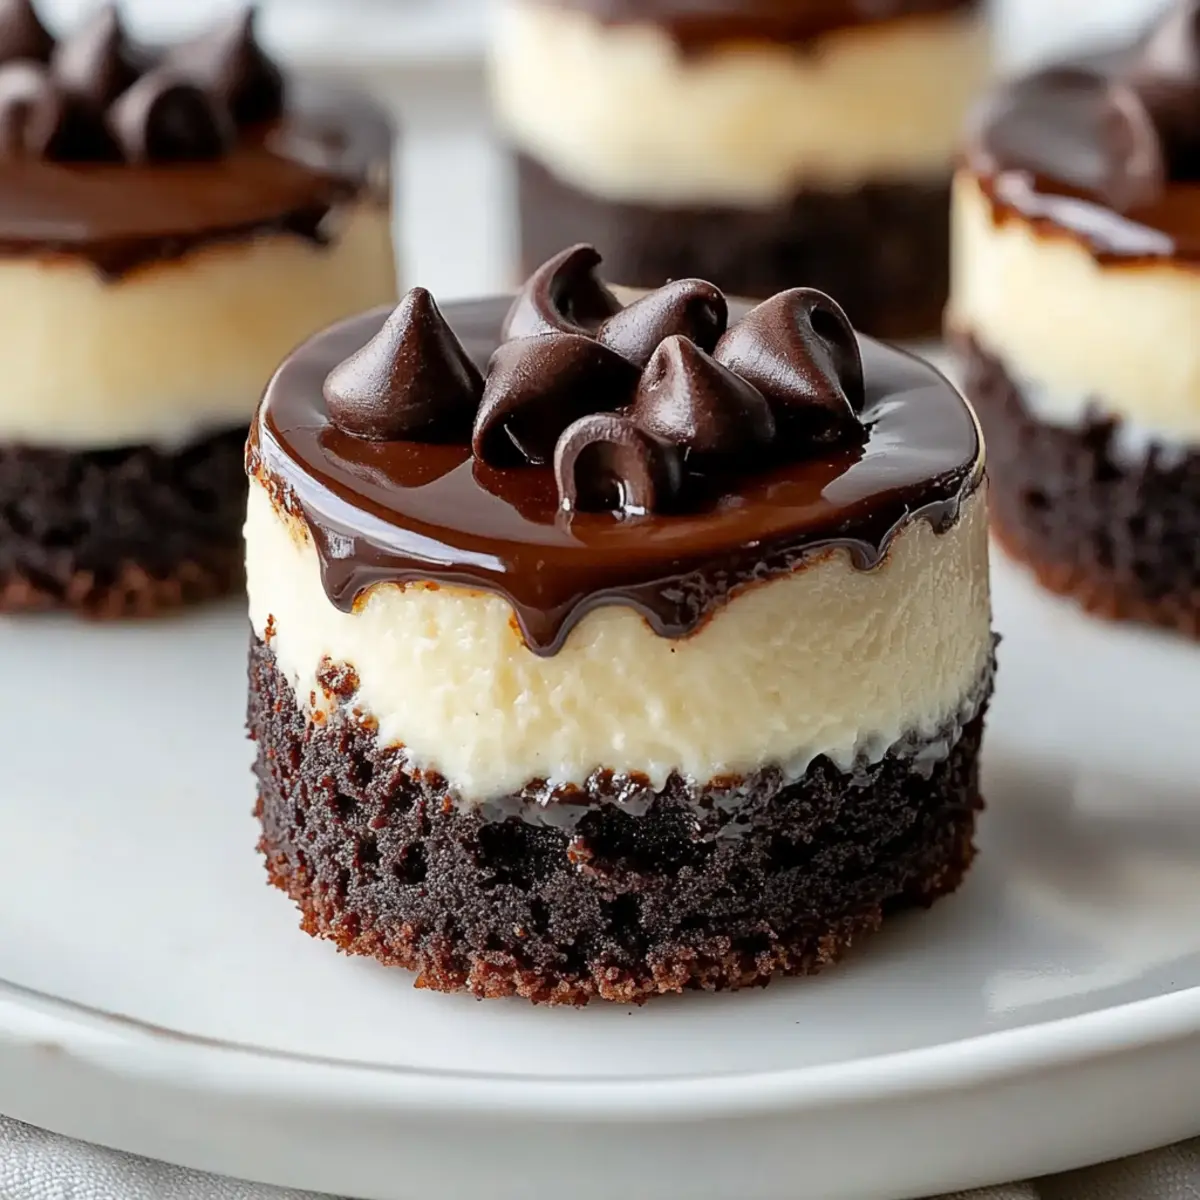
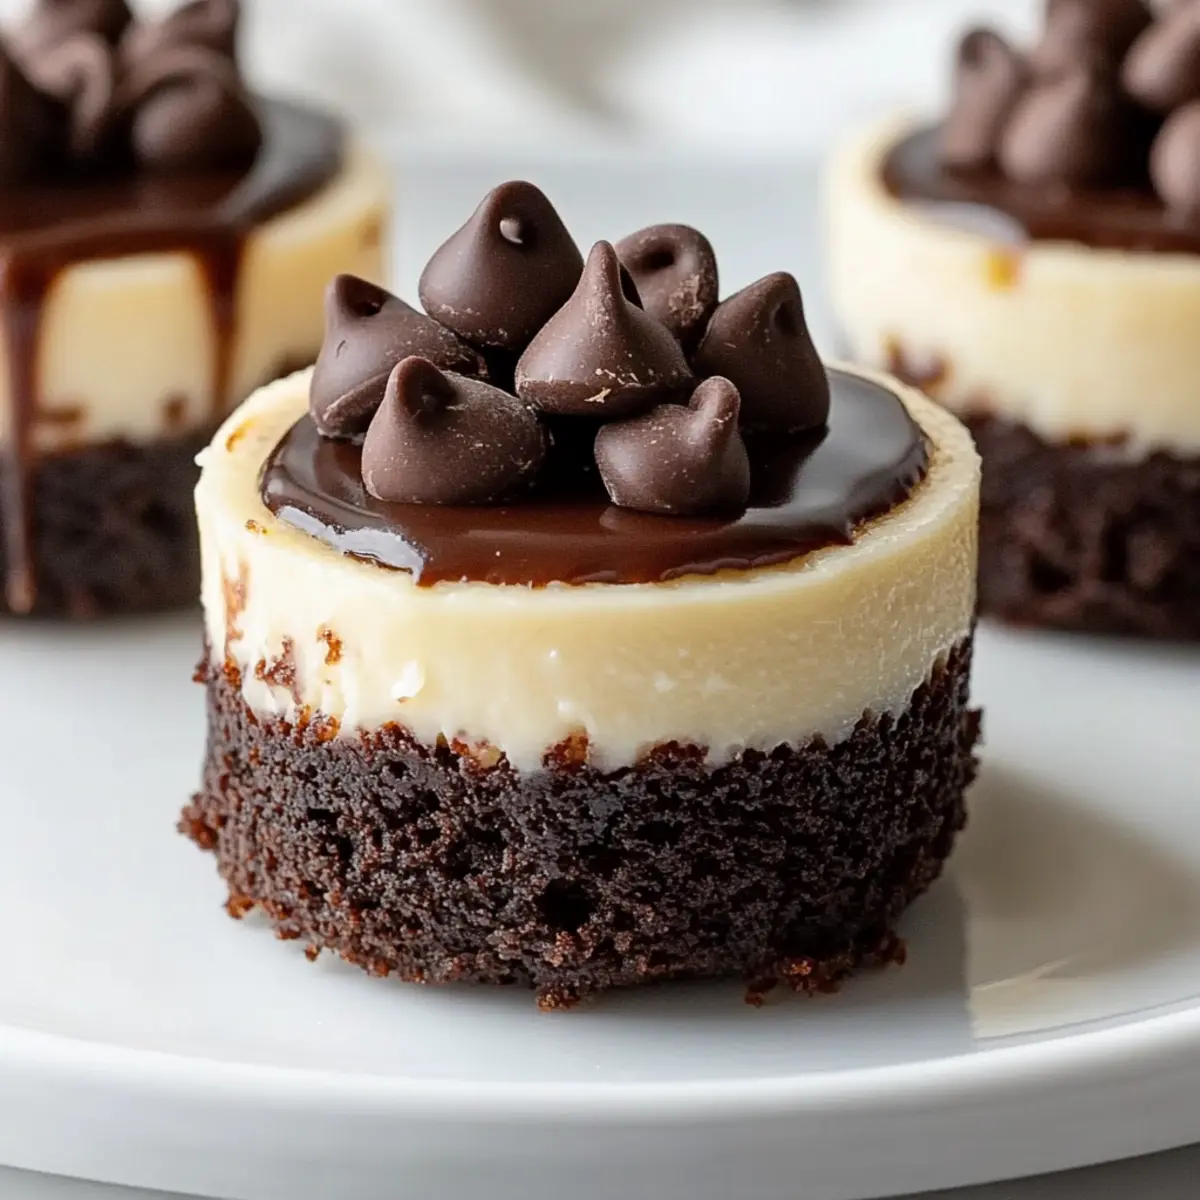
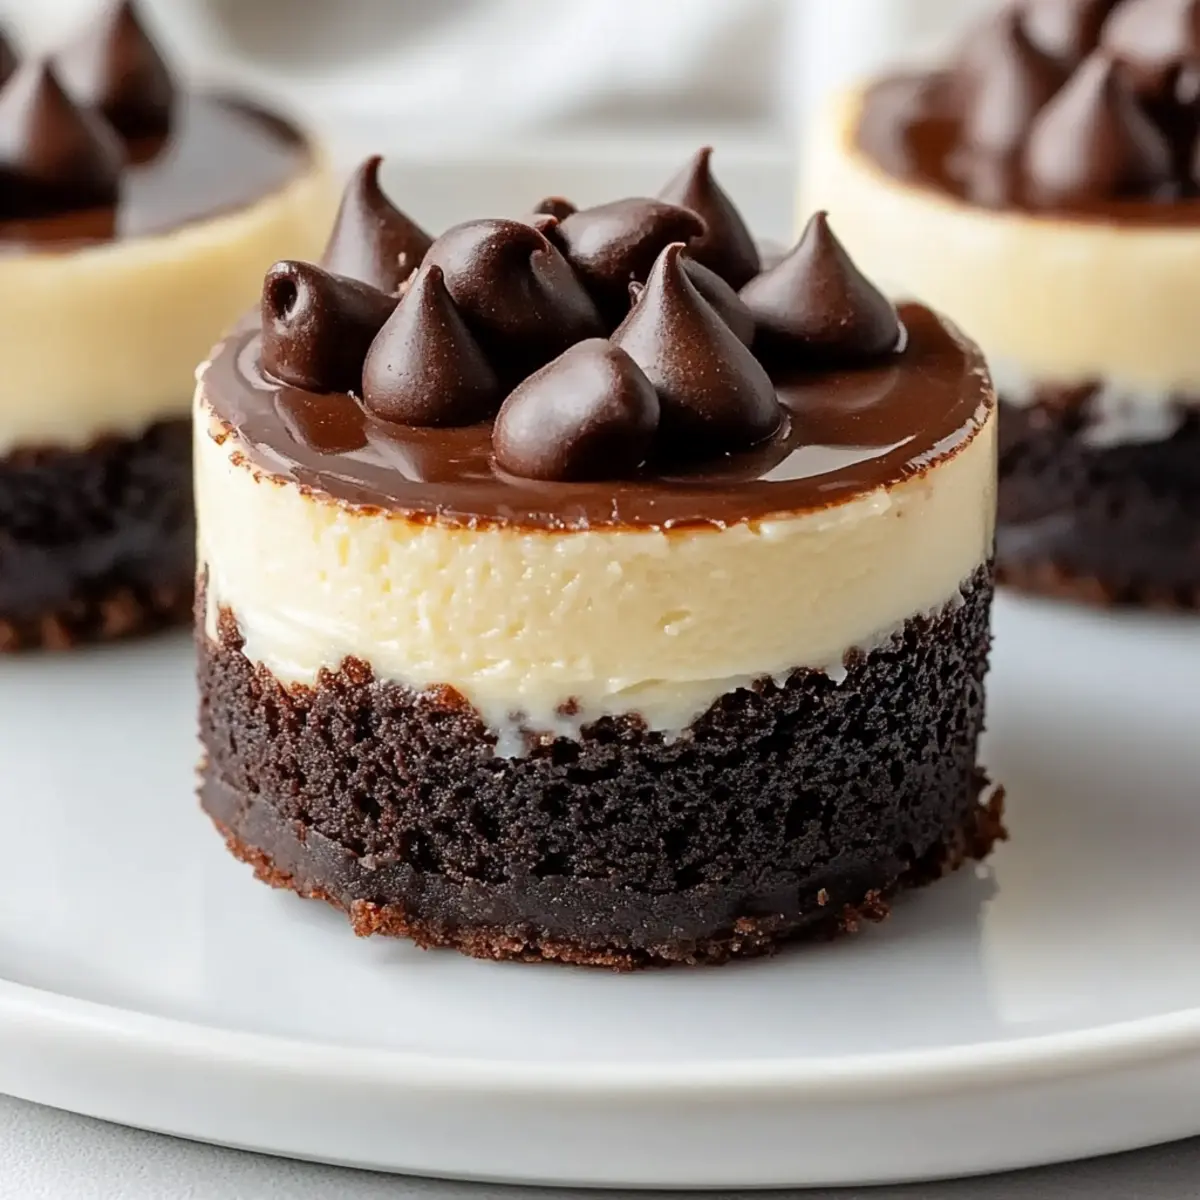
There’s something magical about the first bite of a dessert that perfectly balances rich chocolate and creamy sweetness. Enter my Brownie Bottom Mini Cheesecakes, a delightful fusion that can transform an ordinary occasion into a memorable feast. With a fudgy brownie base and smooth cheesecake filling, these miniature treats are not just visually stunning; they’re also incredibly easy to prepare, making them the ideal party dessert or a cozy night in indulgence. Plus, they can be prepped in advance, freeing up your time to enjoy with loved ones. Are you ready to learn how to whip up your new favorite sweet treat?
Why are mini cheesecakes the perfect dessert?
Irresistible Combination: The fusion of fudgy brownie base and creamy cheesecake filling creates a symphony of flavors that will leave everyone craving more.
Effortless Preparation: With simple ingredients, this easy dessert is perfect for those who want to impress without spending hours in the kitchen.
Make Ahead Convenience: These mini treats can be prepared in advance, allowing you to enjoy time with guests or simply relax after a meal.
Crowd-Pleasing Appeal: Whether it’s a party or a cozy night in, these mini cheesecakes can cater to everyone’s sweet tooth and are sure to be a hit!
Serve with Flair: Garnish them with a dollop of whipped cream and fresh berries for a pop of color, as suggested in my serving tips.
Enjoy creating something special with these delicious bites!
Brownie Bottom Mini Cheesecake Ingredients
For the Brownie Base
• Unsalted Butter – Adds richness and moisture to the brownie base; can substitute with margarine or coconut oil for a dairy-free option.
• Granulated Sugar – Sweetens the brownie and cheesecake, balancing the bitterness from cocoa; can be substituted with brown sugar for a more complex flavor.
• Egg – Provides structure and binds the ingredients together; use a flax egg for a vegan alternative.
• All-Purpose Flour – Creates structure in the brownie; almond flour can be used for a gluten-free version.
• Unsweetened Cocoa Powder – Imparts a rich chocolate flavor; Dutch-processed cocoa can be used for a smoother taste.
• Vanilla Extract – Enhances the flavors of both the brownie and cheesecake; can substitute with almond extract for a different flavor profile.
• Salt – Balances sweetness and enhances flavors; kosher salt is recommended but table salt can be used in the same quantity.
For the Cheesecake Filling
• Cream Cheese – Key for a rich, creamy cheesecake filling; ensure it’s at room temperature for smooth mixing and can use vegan cream cheese as a substitute.
• Granulated Sugar – Sweetens the cheesecake filling; can use powdered sugar for a smoother texture.
• Egg – Binds the filling together; choose a room temperature egg for best results.
• Sour Cream – Adds tanginess and a creamy texture; plain Greek yogurt can be used as a healthier alternative.
• Vanilla Extract – Enhances the flavors of the filling; consider using flavored extracts for a unique twist.
Embrace the deliciousness of brownie base cheesecake in each bite with these ingredients!
Step‑by‑Step Instructions for Brownie Bottom Mini Cheesecakes
Step 1: Preheat and Prepare
Start by preheating your oven to 350°F (175°C). While the oven warms up, line a 12-cup muffin tin with paper liners. This will create the perfect cups for your brownie bottom mini cheesecakes, ensuring easy removal after baking. The smell of baking will fill your kitchen soon, setting the stage for this delightful dessert.
Step 2: Make the Brownie Batter
In a medium bowl, whisk together melted unsalted butter and granulated sugar until combined. Next, add in one egg and a splash of vanilla extract, mixing until smooth and creamy. In a separate bowl, combine all-purpose flour, unsweetened cocoa powder, and salt. Gradually fold the dry ingredients into the wet mixture until just combined, creating a rich brownie batter.
Step 3: Fill the Muffin Tin
Distribute approximately 1 tablespoon of the brownie batter into each lined muffin cup. Use your fingers or a small spatula to press the batter evenly into the bottom of each cup, which will form the decadent base for your mini cheesecakes. Once done, bake in the preheated oven for 10-12 minutes, or until the edges are set and the tops appear slightly firm.
Step 4: Prepare the Cheesecake Filling
While the brownie bottoms bake, prepare your cheesecake filling. In a large mixing bowl, beat the softened cream cheese with an electric mixer until smooth and fluffy. Gradually add granulated sugar while continuing to mix. Follow with one egg, sour cream, and a dash of vanilla extract, mixing on low speed until fully incorporated. Ensure the mixture is smooth for the ultimate cheesecake experience.
Step 5: Assemble and Fill
Once your brownie base has finished baking, remove the muffin tin from the oven and let it cool slightly. Spoon the cheesecake filling over each brownie layer, filling each cup about three-quarters full. This will allow room for the cheesecakes to rise slightly during baking, ensuring a perfect brownie bottom mini cheesecake.
Step 6: Bake the Mini Cheesecakes
Return the filled muffin tin to the oven and bake for 15-18 minutes. The edges should be set, while the centers will have a slight jiggle when you gently shake the pan. This texture is key to achieving that creamy cheesecake consistency. Keep an eye on them to avoid overbaking for the best results.
Step 7: Cool and Chill
After baking, turn off the oven and crack the door open to let some heat escape. Allow the mini cheesecakes to cool in the oven for about 1 hour to avoid temperature shock. After an hour, remove them from the oven and let them cool completely at room temperature, then refrigerate for at least 4 hours. This chilling process helps firm up the texture and enhance flavors.
Expert Tips for Brownie Bottom Mini Cheesecakes
-
Room Temperature Ingredients: Ensure your cream cheese, sour cream, and egg are at room temperature for a smooth, lump-free cheesecake filling.
-
Prevent Cracks: Avoid overmixing the cheesecake batter to maintain its integrity; mixing just until combined will help create a smooth surface.
-
Cool Gradually: Letting the mini cheesecakes cool down gradually in the oven prevents sudden temperature changes that could cause cracks.
-
Use Muffin Liners: Don’t skip the paper liners; they make for easy removal and add a charming touch to your brownie base cheesecake presentation.
-
Check for Doneness: The centers should jiggle slightly when you shake the pan; this indicates a creamy texture rather than an overbaked filling.
-
Storage Tips: Store leftovers in an airtight container in the fridge for up to 5 days. These treats stay delicious for days!
How to Store and Freeze Brownie Bottom Mini Cheesecakes
Fridge: Keep your mini cheesecakes in an airtight container in the refrigerator for up to 5 days. This will maintain their creamy texture and rich flavor, allowing you to savor each bite.
Freezer: For longer storage, freeze the cheesecake bites individually in airtight containers or freezer-safe bags for up to 3 months. This way, you can enjoy them later whenever a sweet craving hits!
Thawing: To enjoy frozen mini cheesecakes, simply transfer them to the refrigerator for a few hours to thaw. Avoid using the microwave, as it may alter their texture.
Reheating: If you prefer them slightly warm, allow them to sit at room temperature for 10-15 minutes before serving. This won’t compromise their deliciousness but will bring out the brownie base cheesecake flavor.
What to Serve with Brownie Bottom Mini Cheesecakes
Indulging in these delightful bites opens the door to a world of delicious pairings that enhance their rich and creamy allure.
-
Fresh Berries: A medley of strawberries, blueberries, and raspberries adds a fresh, tart contrast to the sweetness.
-
Whipped Cream: A dollop of lightly sweetened whipped cream adds a luxurious touch that balances the fudgy base perfectly.
-
Chocolate Sauce: Drizzling warm chocolate sauce over these mini cheesecakes elevates them to a decadent treat that chocolate lovers will adore.
-
Ice Cream: Serve alongside a scoop of vanilla or salted caramel ice cream for a delightful temperature contrast.
-
Espresso or Coffee: The bold flavors of espresso or a rich cup of coffee create a beautiful balance with the sweetness of the cheesecakes.
-
Nutty Toppings: Sprinkle with crushed nuts, like walnuts or pecans, for added texture that complements the creamy filling.
-
Caramel Sauce: A drizzle of homemade or store-bought caramel adds a rich, buttery flavor that enhances every bite.
-
Mint Leaves: Garnishing each cheesecake with a sprig of fresh mint not only brightens the presentation but also adds a refreshing note.
-
Sparkling Water or Prosecco: For drinks, serve with sparkling water or a light Prosecco to keep the celebration light and bubbly!
Each of these pairings invites you to create memorable moments around this irresistibly delightful dessert.
Make Ahead Options
These Brownie Bottom Mini Cheesecakes are perfect for busy home cooks looking to save time! You can prepare the brownie base up to 24 hours in advance; simply bake, cool, and then store it in an airtight container in the refrigerator to maintain its fudgy texture. The cheesecake filling can be made ahead as well and stored separately for up to 3 days in the fridge—just be sure to keep it in a tightly sealed container to prevent drying out. When you’re ready to serve, spoon the filling over the brownie base and bake as instructed. This way, your delicious mini cheesecakes will be just as delightful with minimal effort!
Brownie Bottom Mini Cheesecake Variations
Feel free to get creative with these delightful mini cheesecakes, elevating their flavors and textures to suit your taste buds!
-
Add Texture: Mix in chocolate chips or chopped nuts into the brownie layer for an extra crunch, blending beautifully into the fudgy base. You’ll enjoy the contrast of creamy and crunchy in every bite.
-
Decadent Drizzle: Top your cheesecake with chocolate ganache or salted caramel sauce just before serving. It adds a luscious finish—perfect for any sweet tooth seeking that extra indulgence!
-
Flavored Extracts: Swap out regular vanilla for specialty extracts like almond or hazelnut to bring unique twists to the cheesecake filling. These subtle notes can transform the flavor profile entirely.
-
Fruit Enhance: Top with fresh fruit or fruit compote for a burst of natural sweetness. Strawberries, raspberries, or blueberries add color and a refreshing contrast, making it an eye-catching dessert.
-
Cocoa Variation: Use Dutch-processed cocoa powder instead of standard unsweetened cocoa for a smoother chocolate flavor. It creates a richer taste that chocolate lovers will adore.
-
Gluten-Free Twist: For a gluten-free option, replace all-purpose flour with almond flour or an all-purpose gluten-free blend. These alternatives maintain the texture without compromising flavor.
-
Dairy-Free Delight: Substitute cream cheese with vegan cream cheese and sour cream with plain Greek yogurt for a delightful, dairy-free treat. They’re just as creamy and satisfying!
Feel free to mix and match these variations to create a mini cheesecake experience that’s uniquely yours! If you want serving suggestions, check out my what to serve with section for lovely pairings.
Brownie Bottom Mini Cheesecakes Recipe FAQs
How do I know if my ingredients, like cream cheese, are ripe for the best results?
Absolutely! For the creamiest cheesecake filling, always ensure your cream cheese is at room temperature before mixing. This helps avoid lumps and promotes a smooth texture. Take it out of the fridge at least 30 minutes before you start preparing. The same goes for your eggs and sour cream—room temperature is key!
How should I store leftover mini cheesecakes?
You’ll want to keep your mini cheesecakes in an airtight container in the refrigerator for up to 5 days. This will help maintain their delightful flavors and creamy texture. Just make sure they’re completely cool before sealing them up!
Can I freeze the brownie bottom mini cheesecakes?
Yes, you can freeze these delightful treats! Individually wrap each mini cheesecake in plastic wrap and place them in an airtight container or freezer-safe bag. They can last up to 3 months in the freezer. When you’re ready to enjoy, just transfer them to the refrigerator for a few hours before serving. This gentle thawing will help maintain their wonderful texture.
What should I do if my mini cheesecakes crack while baking?
Very! If you notice cracks forming, it could be due to overmixing the batter, which incorporates too much air. Always mix the cheesecake filling until just combined. To help prevent cracks, let your mini cheesecakes cool in the oven (with the door cracked) for about an hour after baking. This gradual change in temperature minimizes the risk of cracking.
Are there any dietary considerations I should be aware of?
Certainly! If you have guests with dietary restrictions, you can easily adapt this recipe. For a dairy-free option, use vegan cream cheese and coconut oil instead of butter. If someone is gluten-sensitive, almond flour can replace all-purpose flour. Always inform your guests about any ingredients that could trigger allergies, such as eggs or nuts if you decide to add them to the brownie base.
How can I make my mini cheesecakes taste even more indulgent?
To elevate your brownie bottom mini cheesecakes, consider drizzling them with a homemade chocolate ganache or salted caramel sauce right before serving. You can even mix chocolate chips into the brownie layer for a delightful surprise! This little touch adds a gourmet feel to your already amazing dessert and will surely impress your guests.
Brownie Bottom Mini Cheesecakes for Sweet, Irresistible Bites
Ingredients
Equipment
Method
- Preheat your oven to 350°F (175°C) and line a 12-cup muffin tin with paper liners.
- In a medium bowl, whisk melted unsalted butter with granulated sugar. Add egg and vanilla extract, then mix until smooth.
- In a separate bowl, combine all-purpose flour, unsweetened cocoa powder, and salt. Gradually fold the dry mix into the wet ingredients.
- Distribute approximately 1 tablespoon of brownie batter into each muffin cup and press evenly.
- Bake for 10-12 minutes, until edges are set.
- In a large bowl, beat softened cream cheese until smooth, then mix in granulated sugar, egg, sour cream, and vanilla extract until fully incorporated.
- Spoon cheesecake filling over each brownie base, filling about three-quarters full.
- Bake for 15-18 minutes, until centers jiggle slightly.
- Turn off the oven, crack the door open, and let cool in the oven for about 1 hour.
- After cooling, refrigerate for at least 4 hours.