


As I stood in my kitchen, the tantalizing scent of garlic buttery goodness wafted through the air, taking me back to cherished family dinners filled with laughter. Today, I’m excited to share my easy Chicken Kiev recipe—a heartwarming dish that makes homemade comfort food effortlessly elegant. Imagine juicy chicken breasts enveloping a fragrant garlic-herb butter, ready to burst with every slice. What I love most about this recipe is how it simplifies the traditional method, allowing you to whip up this classic in no time without compromising on taste! Plus, it’s a definite crowd-pleaser, perfect for impressing guests or treating your family to something special. Are you ready to elevate your dinner game with this delightful dish? Let’s dive in!
Why You’ll Adore This Chicken Kiev Recipe
Simplicity, this easy Chicken Kiev recipe streamlines traditional methods, making it accessible even for novice cooks. Flavorful, the rich garlic-herb butter infuses the chicken, creating a dish that bursts with taste. Crowd-friendly, it’s perfect for impressing guests or serving a family dinner. Versatile, try different herbs or spices to suit your palate! Best of all, it pairs wonderfully with dishes like our Sheet Pan Chicken or a fresh salad. Get ready for an irresistible meal that will make you the star of your kitchen!
Chicken Kiev Ingredients
• A delightful mix of flavors awaits!
-
For the Garlic Butter
-
Unsalted Butter – Allows you to control the saltiness and ensures a rich filling.
-
Garlic Clove – Use fresh garlic for a robust, aromatic kick that elevates your Chicken Kiev.
-
Lemon Juice – Adds a bright acidity, enhancing the overall flavor profile.
-
Chopped Fresh Parsley – Incorporates a fresh, vibrant touch; dried parsley can be used if fresh isn’t on hand.
-
Salt – Enhances taste; opt for sea salt for the best results.
-
Black Pepper – Freshly ground pepper contributes a warm, nuanced flavor.
-
For the Chicken
-
Large Chicken Breasts – The star of the dish, tender and juicy when cooked right.
-
For Breading
-
Eggs – Serves as a binder to help the breadcrumbs adhere.
-
All-Purpose Flour – A crucial step in creating a crispy coating by helping the egg stick.
-
Panko Bread Crumbs – These are essential for achieving that light, crunchy texture—avoid regular breadcrumbs for this recipe!
-
For Frying
-
Extra Light Olive Oil – Ideal for frying, adding a subtle flavor; canola oil is another suitable alternative.
This Chicken Kiev recipe is not just about comfort but also adventure in the kitchen—get ready to impress!
Step‑by‑Step Instructions for Easy Garlic Butter Chicken Kiev Recipe
Step 1: Prepare Garlic Butter
In a mixing bowl, mash room-temperature unsalted butter with minced garlic, fresh lemon juice, chopped parsley, salt, and black pepper until thoroughly combined. You want a smooth, blended mixture that’s aromatic and vibrant. Set this garlic butter aside to allow the flavors to meld together while preparing the chicken for your Chicken Kiev.
Step 2: Prepare Chicken
Take large chicken breasts and carefully cut them in half horizontally, creating a pocket without slicing all the way through. Stuff each pocket generously with the prepared garlic butter, then seal the opening by pressing the edges together firmly. Season the outside of the chicken with a sprinkle of salt and pepper to enhance its flavor during cooking.
Step 3: Set Up Breading Station
Create a breading station by placing all-purpose flour on one plate, beaten eggs in a second, and panko breadcrumbs on a third. This arrangement will ensure easy and efficient coating of the stuffed chicken. Make sure to have these ingredients ready close at hand as you will quickly move through the breading process.
Step 4: Bread the Chicken
Dredge each stuffed chicken breast in the flour, ensuring it’s fully coated. Next, dip it into the beaten eggs, allowing any excess to drip off, before finally rolling it in panko breadcrumbs to achieve a crunchy texture. Press the breadcrumbs onto the surface firmly for better adherence, and place the breaded chicken on a clean plate to rest before frying.
Step 5: Fry Chicken
In a large skillet, heat extra light olive oil over medium-high heat until it reaches about 350°F. Gently place the breaded chicken into the hot oil, frying for about 4 minutes on each side or until the chicken is golden brown and crispy. Use a meat thermometer to verify that the internal temperature has reached 165°F for safe consumption.
Step 6: Serve
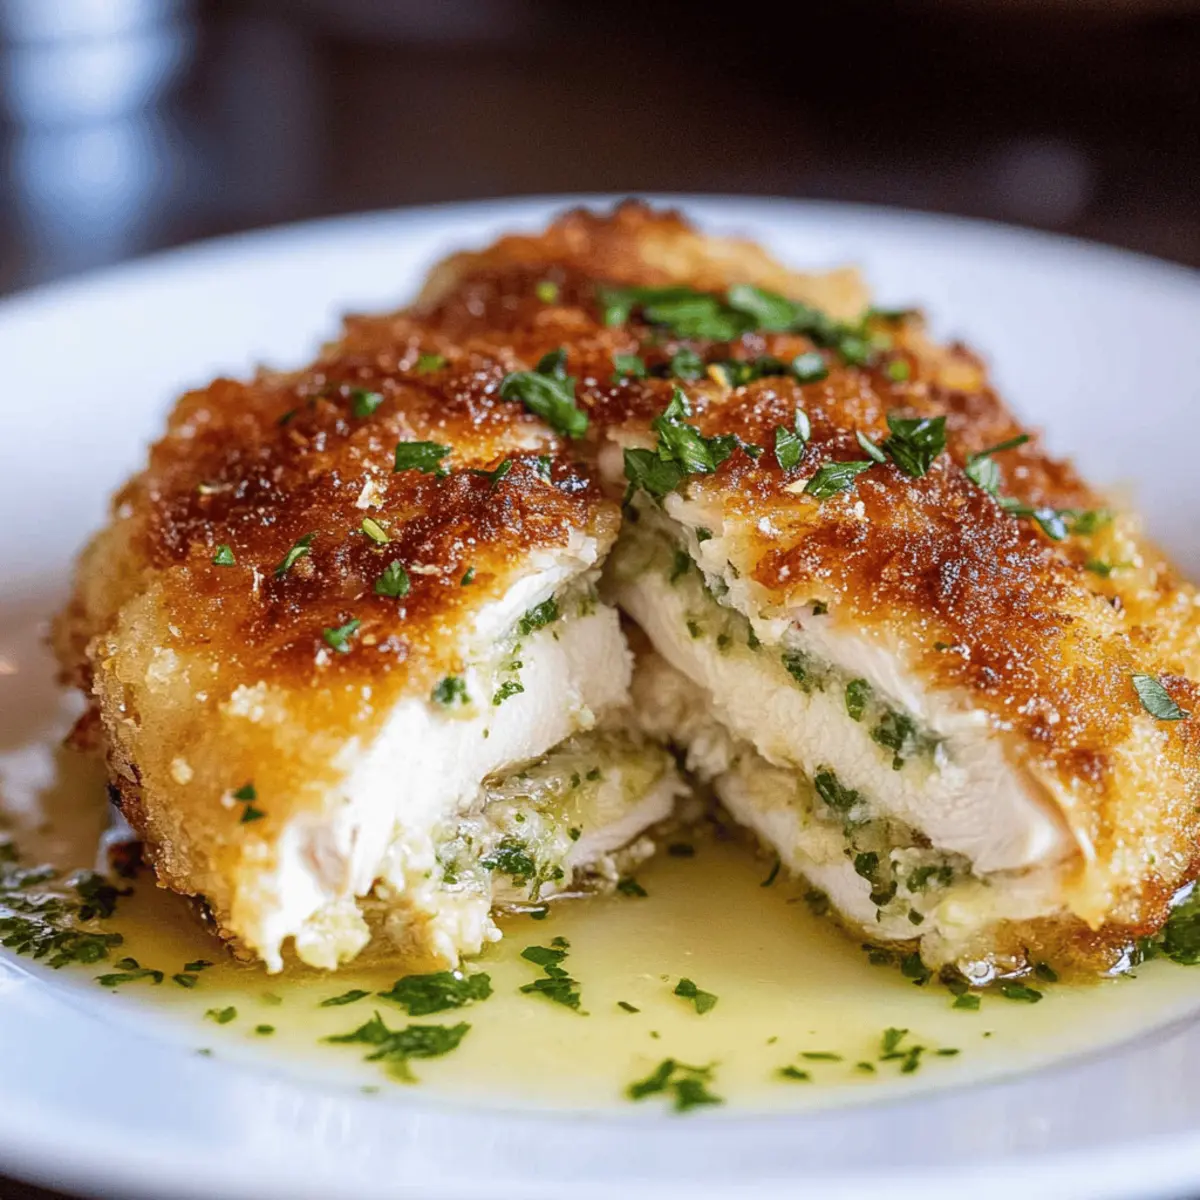
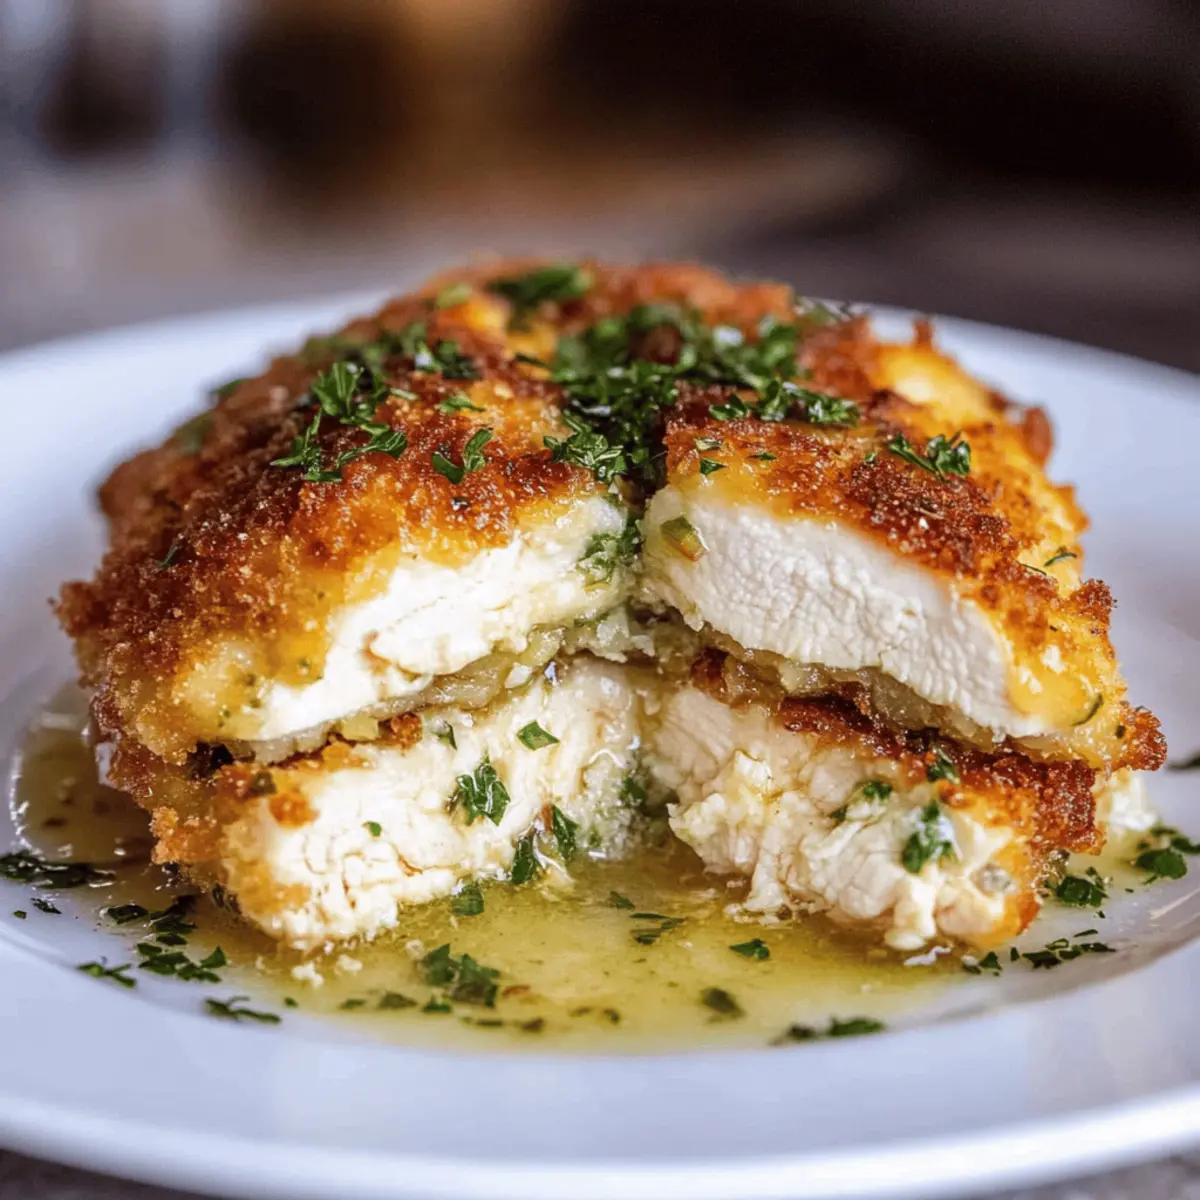
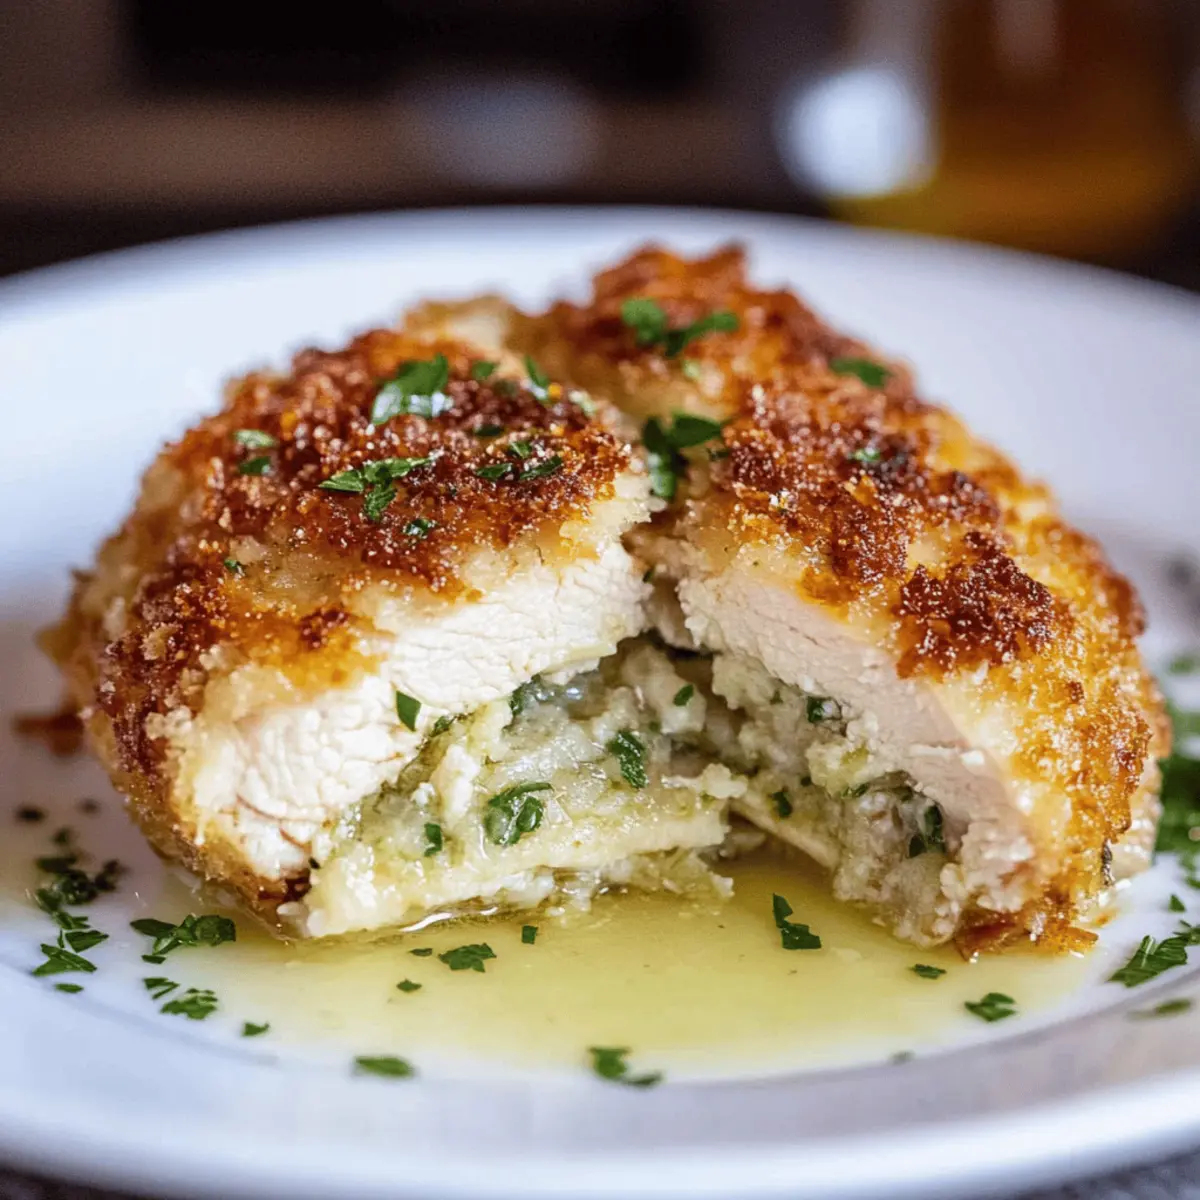
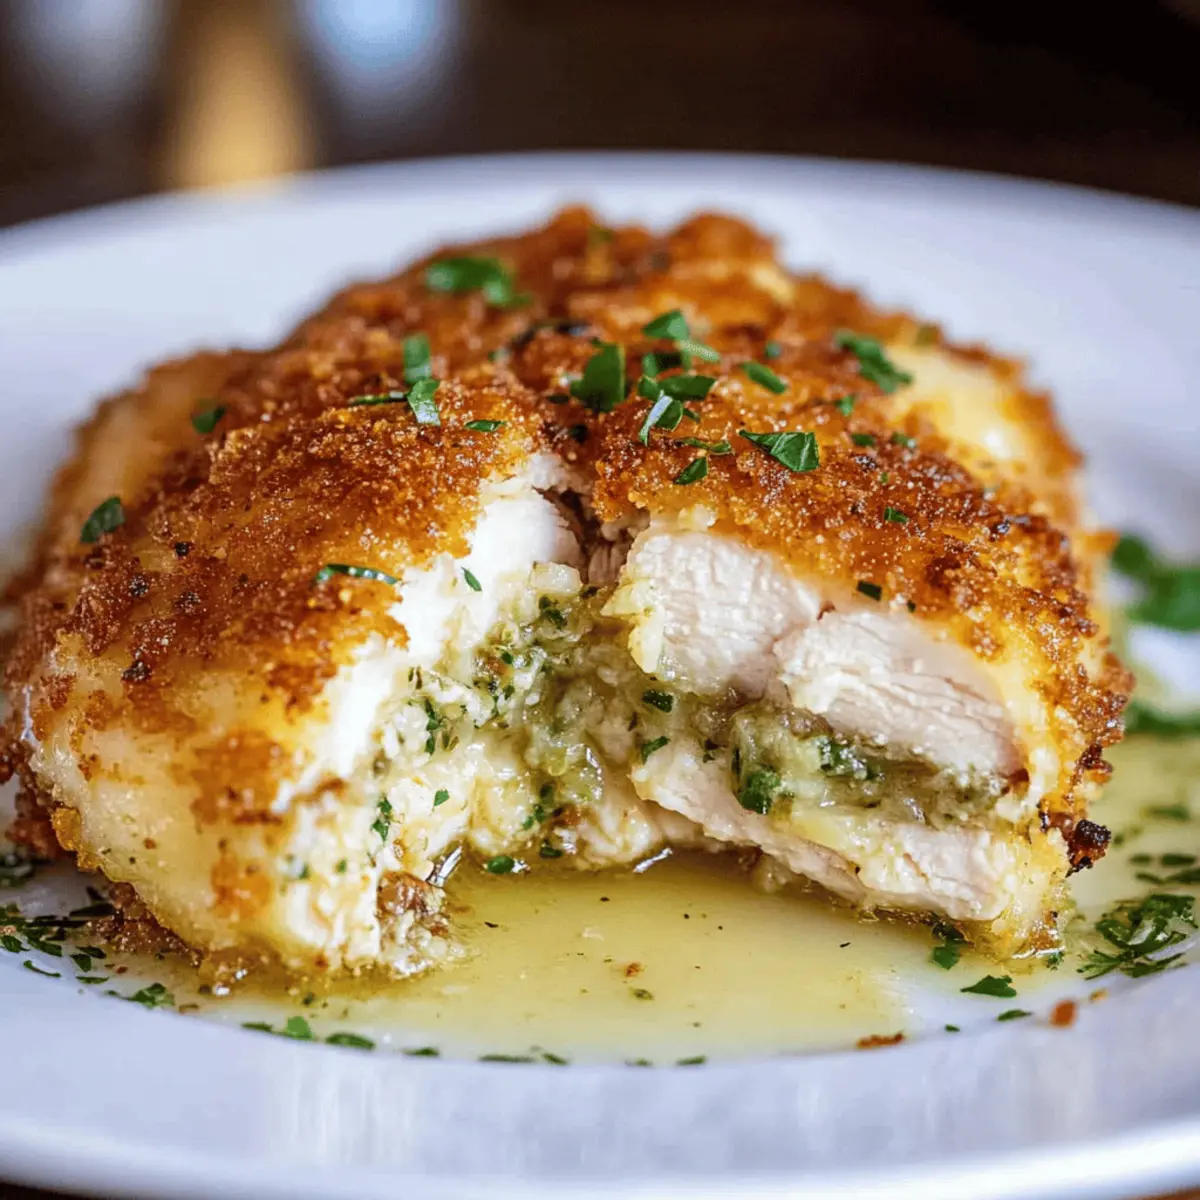
Once fried to perfection, remove the Chicken Kiev from the skillet and let it drain on a paper towel-lined plate. Serve hot, garnished with additional chopped parsley and lemon wedges. Cutting into the chicken will reveal the melted garlic butter, adding an irresistible touch to your delightful meal that everyone will love!
Chicken Kiev Recipe Variations
You can easily tailor this Chicken Kiev recipe to match your taste buds and dietary preferences. Let your creativity shine!
-
Herb Swap: Try using tarragon or oregano instead of parsley for a unique herb twist that transforms the flavor.
-
Spicy Kick: Add a pinch of red pepper flakes to the garlic butter for those who enjoy a bit of heat—it’s a flavor explosion!
-
Thigh Upgrade: Swap chicken breasts for thighs for a juicier and more flavorful experience; you’ll never look back!
-
Cheesy Delight: Incorporate shredded cheese like mozzarella or cheddar into the garlic butter—melty goodness awaits!
-
Whole Wheat Panko: For a healthier crunch, use whole wheat panko breadcrumbs to give an added nutritional boost without sacrificing taste.
-
Gluten-Free Version: Swap all-purpose flour and panko crumbs with almond flour and gluten-free breadcrumbs for a deliciously crispy alternative.
-
Garlic Lover’s Dream: Increase the number of garlic cloves for an even more intense garlicky goodness; it’s a sure win for those who can’t get enough!
-
Air-Fried Option: For a lighter take, consider air-frying the chicken at 400°F for 8-10 minutes for a crispy texture without the excess oil. This way, you can enjoy your Chicken Kiev guilt-free!
Get ready to dive into gourmet home cooking, and don’t forget to check out our scrumptious Sweet Chili Chicken for more culinary inspiration! Your kitchen adventure is just getting started!
Storage Tips for Chicken Kiev Recipe
- Fridge: Store leftover Chicken Kiev in an airtight container for up to 5 days. Always allow it to cool before refrigerating to maintain its flavor and texture.
- Freezer: Uncooked, breaded Chicken Kiev can be frozen for up to 3 months. Wrap each piece individually to prevent freezer burn, and thaw overnight in the fridge before cooking.
- Reheating: For best results, reheat fried Chicken Kiev in a preheated oven at 350°F for about 10-15 minutes. This helps restore its crispy coating while warming the filling thoroughly.
- Make-Ahead: You can prepare and bread the Chicken Kiev a day in advance, storing it in the fridge until you’re ready to fry. This makes it an ideal option for stress-free meal prepping!
Make Ahead Options
These Chicken Kievs are perfect for busy weeknights and meal prep enthusiasts! You can prepare the garlic butter filling and stuff the chicken breasts up to 24 hours in advance, sealing them tightly to prevent drying out. Just store them in an airtight container in the refrigerator. The breading can also be done a day ahead; simply bread the chicken and refrigerate until you’re ready to fry. When you’re ready to serve, heat the oil and fry as instructed until golden and crispy. This way, you can enjoy all the delicious flavors of Chicken Kiev without the last-minute rush, allowing your family to savor a comforting, homemade meal effortlessly!
What to Serve with Easy Garlic Butter Chicken Kiev
Imagine spreading warmth and joy around the dinner table with exciting flavors and vibrant colors as you create a delightful meal.
- Creamy Mashed Potatoes: The buttery, smooth texture makes a perfect canvas for soaking up the rich garlic butter from your Chicken Kiev.
- Fresh Garden Salad: A crisp salad with seasonal greens and a tangy vinaigrette adds a refreshing contrast to the savory chicken, balancing the meal beautifully.
- Roasted Vegetables: Caramelized root vegetables or asparagus bring out earthy, sweet notes that complement the garlic flavor, adding both color and nutrition.
- Garlic Bread: For the true garlic lover, crispy garlic bread served alongside your Chicken Kiev can enhance the buttery goodness and provide a delightful crunch.
- Steamed Broccoli: Tender broccoli adds a pop of green color that brightens the plate and provides a nutritious touch that contrasts with the richness of the chicken.
- Lemon Wedges: Serving lemon wedges on the side allows guests to add a splash of citrus brightness that elevates the flavors in every bite, making the dish even more inviting.
- Chardonnay: A chilled glass of Chardonnay, with its buttery notes and crisp acidity, pairs beautifully with your Chicken Kiev and enriches the dining experience.
- Chocolate Mousse: For dessert, a light and airy chocolate mousse rounds off the meal perfectly, satisfying sweet cravings without overpowering the rich main course.
- Baking Soda Bread: This rustic bread gives a comforting feel while being perfect for dipping into any leftover garlic butter.
- Cucumber Gazpacho: A chilled cucumber gazpacho provides a refreshing start to the meal, offering a light, zesty flavor that invigorates the palate.
Expert Tips for Chicken Kiev Recipe
- Oil Temperature: Ensure your oil reaches 350°F before adding chicken to prevent soggy breading; a cooking thermometer can help you get it just right.
- Cutting Technique: When creating a pocket in the chicken, be careful not to slice through completely; if you do, patch it by pressing the flap back together.
- Flavor Boost: For a twist on this Chicken Kiev recipe, feel free to experiment with herbs; tarragon or oregano can give a unique flavor to your garlic butter.
- Crisp Factor: Make sure to press the panko breadcrumbs firmly onto the chicken to ensure they adhere well, achieving that delightful crunch we all adore.
- Reheating Leftovers: If you have leftovers, reheat in the oven instead of the microwave to maintain the crispy texture without making it soggy.
- Healthier Cooking: For a lighter version, air-fry the chicken at 400°F for 6-8 minutes, flipping halfway for even cooking; this version is both delicious and health-conscious.
Easy Garlic Butter Chicken Kiev Recipe FAQs
What type of chicken should I use for Chicken Kiev?
I recommend using large chicken breasts as they offer a tender and juicy result. If you prefer more flavor, you can also swap them for chicken thighs, which will be just as delightful!
How can I tell if my garlic is fresh for the Chicken Kiev?
Absolutely! Fresh garlic should be firm, with no dark spots or sprouting. If it has any soft spots or starts to smell off, it’s best to choose a new head for that vibrant flavor in your Garlic Butter.
What’s the best way to store leftover Chicken Kiev?
Leftover Chicken Kiev should be stored in an airtight container in the refrigerator for up to 5 days. To prevent losing its delicious crunch, allow it to cool completely before sealing it up—trust me, it makes all the difference in maintaining flavor and texture!
Can I freeze Chicken Kiev?
Yes, you can freeze uncooked, breaded Chicken Kiev for up to 3 months. To freeze, wrap each piece tightly in plastic wrap and then place them in a freezer bag to prevent freezer burn. When you’re ready to cook, thaw them overnight in the refrigerator before frying for the best results.
How can I reheat Chicken Kiev without losing the crispiness?
For reheating, I suggest placing your fried Chicken Kiev in a preheated oven at 350°F for about 10-15 minutes. This method ensures the coating stays crunchy while the filling warms through beautifully—definitely a game-changer!
Can my dog eat Chicken Kiev?
While it’s tempting to share, I’d recommend against giving your dog Chicken Kiev. The garlic and butter can be harmful to pets in large quantities. It’s best to stick to plain, unseasoned chicken if you’re looking to treat your furry friend!
Irresistibly Easy Chicken Kiev Recipe You’ll Love
Ingredients
Equipment
Method
- Prepare Garlic Butter: In a mixing bowl, mash room-temperature unsalted butter with minced garlic, fresh lemon juice, chopped parsley, salt, and black pepper until combined. Set aside.
- Prepare Chicken: Cut large chicken breasts in half horizontally to create a pocket. Stuff with garlic butter and seal edges. Season with salt and pepper.
- Set Up Breading Station: Place flour, beaten eggs, and panko breadcrumbs on separate plates for easy breading.
- Bread the Chicken: Dredge stuffed chicken in flour, dip in eggs, then coat with panko breadcrumbs. Let sit on a plate.
- Fry Chicken: Heat olive oil in a skillet over medium-high heat. Fry chicken for about 4 minutes on each side until golden brown and crispy.
- Serve: Drain on paper towels and serve hot, garnished with parsley and lemon wedges.