


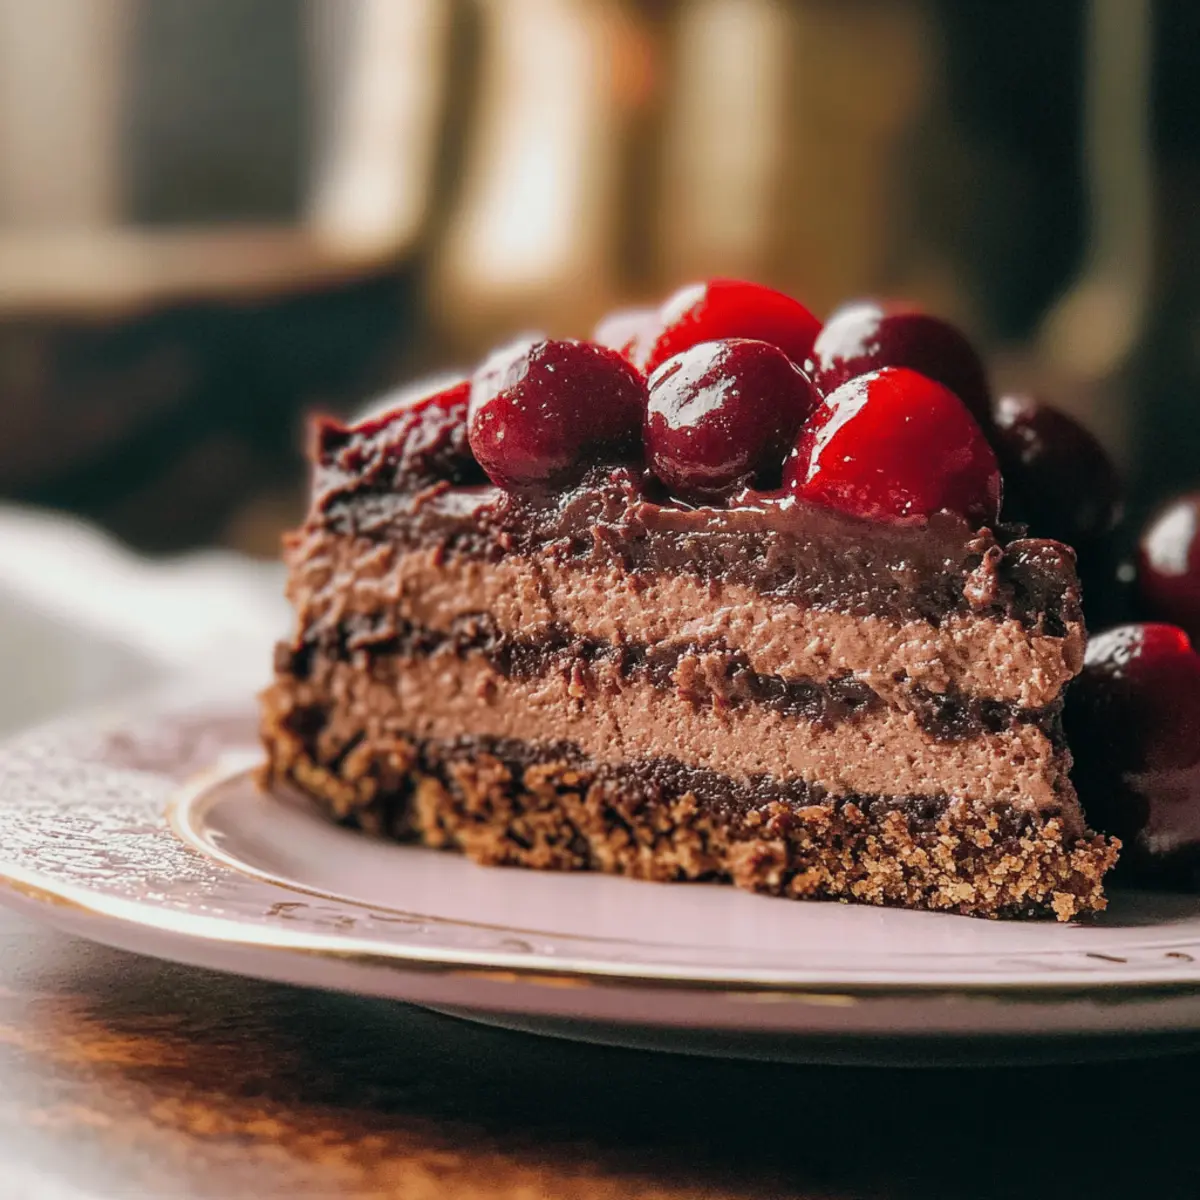
There’s something truly magical about a dessert that comes together effortlessly—like this no-bake Chocolate Cherry Cheesecake! One slice transports you to a blissful state where rich, creamy chocolate meets the tart kiss of cherries. This delightful treat not only satisfies your sweet tooth but also saves you time in the kitchen, making it a gem for both casual gatherings and special occasions. With minimal prep, you’ll be amazed at how quickly you can whip up a decadent dessert that’s as impressive as it is delicious. Ready to treat yourself and your loved ones? Let’s dive into this easy recipe that’s sure to become a staple in your home!
Why is This Cheesecake So Irresistible?
Decadence at Its Finest: This no-bake Chocolate Cherry Cheesecake offers an indulgent escape that doesn’t require a baking marathon.
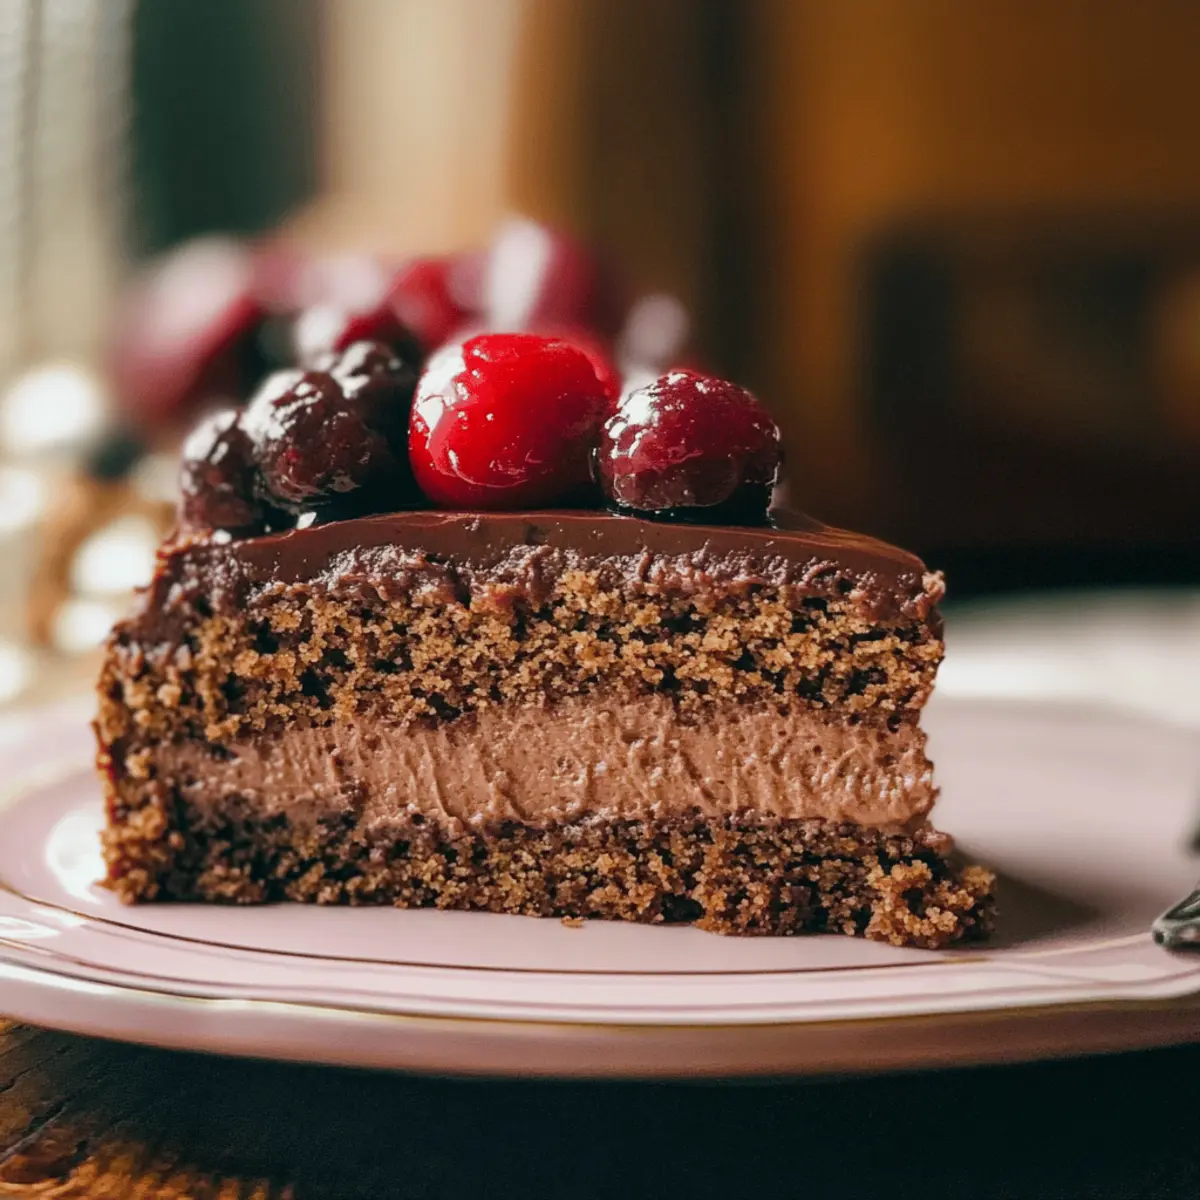
Stunning Presentation: The vibrant cherry topping against a rich chocolate base is visually striking, guaranteed to impress your guests.
Easy and Quick: With simple ingredients, you can create a restaurant-quality dessert in no time.
Flavor Burst: The combination of creamy chocolate and tangy cherries will make your taste buds dance with delight.
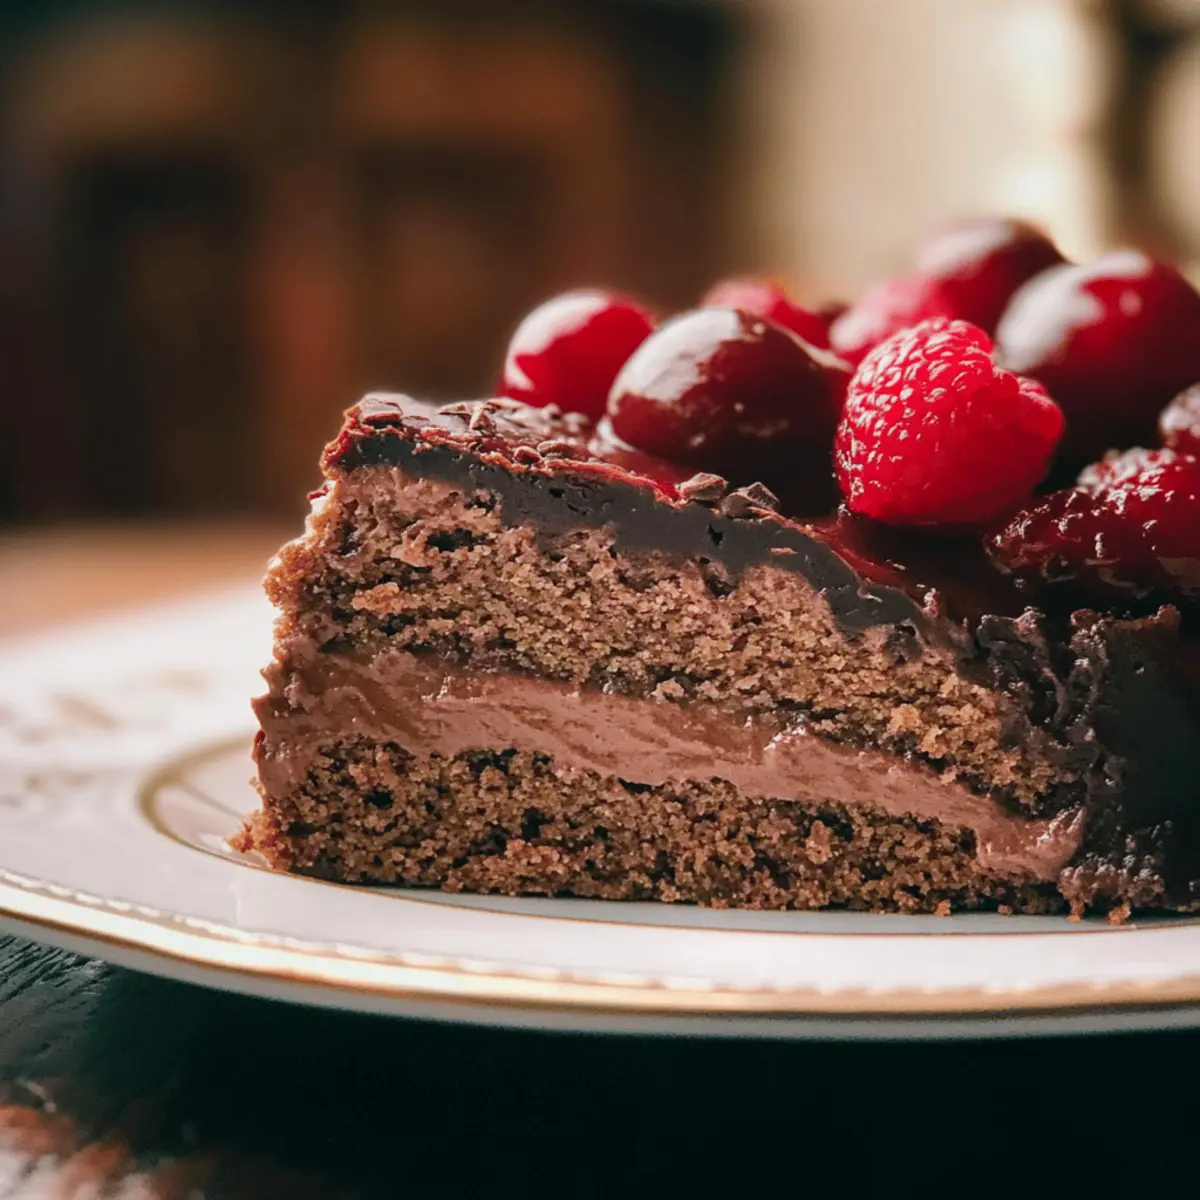
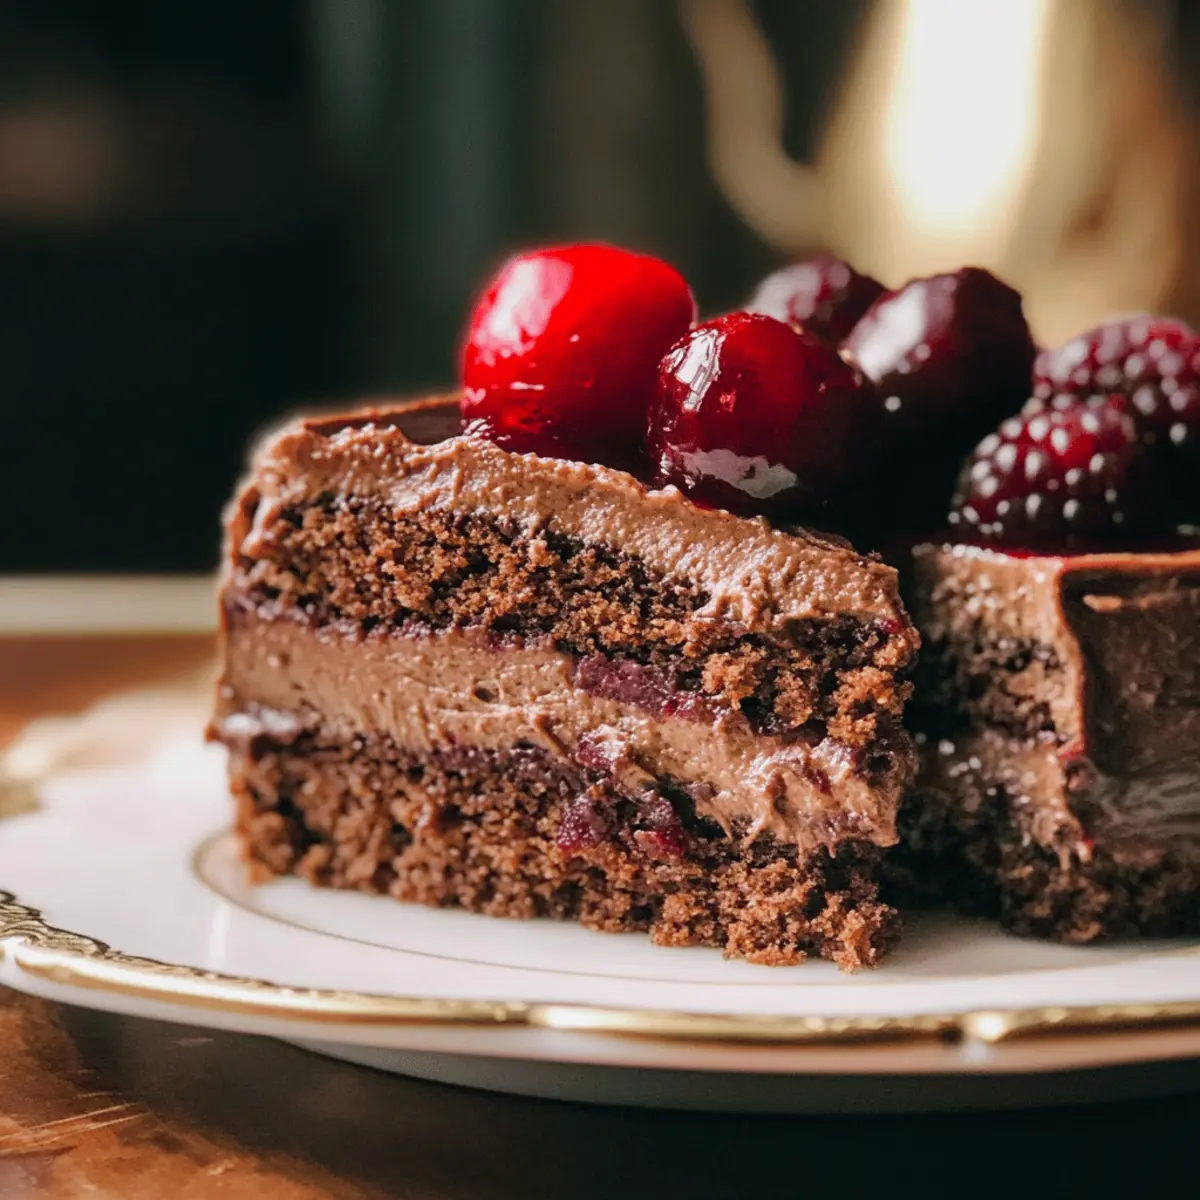
Versatile Choice: Change up the fruit with raspberries or strawberries for a custom touch, or try a Chocolate Fudge Cupcake as an alternative dessert!
Your gatherings will never be the same after this showstopper.
Chocolate Cherry Cheesecake Ingredients
For the Crust
- Chocolate Cookie Crumbs – Provides a chocolatey, crunchy base; substitute with graham cracker crumbs for a milder flavor.
- Melted Butter – Binds the crust ingredients together; ensure it’s unsalted for better flavor control.
- Sugar – Sweetens the crust; adjust the amount based on your preferred sweetness level.
For the Cheesecake Filling
- Cream Cheese (softened) – Forms the creamy filling; make sure it’s at room temperature for a smooth mix.
- Granulated Sugar – Enhances sweetness of the cheesecake filling; can be refined sugar or replaced with a sweetener of choice.
- Unsweetened Cocoa Powder – Adds delicious chocolate flavor and richness; ensure it’s pure cocoa for the best taste.
- Eggs – Provide structure to the filling; use a commercial egg substitute for a vegetarian option if desired.
- Vanilla Extract – Adds depth of flavor; pure extract is recommended for a more robust taste.
- Sour Cream – Contributes to the tangy flavor and creamy texture; plain yogurt can be used as a substitute.
- Melted Dark Chocolate – Increases the chocolate intensity of the filling; opt for high-quality chocolate for the richest flavor.
For the Cherry Topping
- Fresh or Canned Cherries (pitted) – Offers a fruity topping; fresh provides vibrant flavor while canned can be more convenient.
- Sugar (for cherry topping) – Sweetens the cherry mix; adjust as necessary based on the tartness of the cherries used.
- Cornstarch – Thickens the cherry sauce for a pleasing consistency; arrowroot powder is a suitable alternative.
- Lemon Juice – Adds acidity to balance the sweetness of cherries; using fresh lemon juice is highly recommended.
Step‑by‑Step Instructions for Chocolate Cherry Cheesecake
Step 1: Prepare the Crust
Begin by preheating your oven to 325°F (163°C). In a mixing bowl, combine chocolate cookie crumbs, melted unsalted butter, and sugar until evenly moistened. Press this mixture firmly into the bottom of a springform pan, creating an even layer. Bake for 10 minutes or until set, then remove from the oven and allow it to cool completely before adding the filling.
Step 2: Make the Cheesecake Filling
In a large mixing bowl, beat the softened cream cheese and granulated sugar together with an electric mixer until smooth and creamy. Gradually add the unsweetened cocoa powder, mixing well. Next, incorporate the eggs one at a time, mixing thoroughly after each addition. Stir in vanilla extract, sour cream, and melted dark chocolate until fully combined, ensuring a velvety texture for your Chocolate Cherry Cheesecake.
Step 3: Bake the Cheesecake
Pour the luscious cheesecake filling over the cooled crust in the springform pan, spreading it evenly. To prevent cracking, place a shallow pan filled with water below the Cheesecake in the oven. Bake for 55-60 minutes or until the edges are set but the center slightly wobbles. Turn off the oven and let the cheesecake cool inside for 1 hour to help retain moisture and maximize creaminess.
Step 4: Prepare the Cherry Topping
While the cheesecake is cooling, prepare the cherry topping by combining fresh or canned pitted cherries, sugar, and lemon juice in a saucepan. Cook over medium heat, stirring occasionally, until the mixture begins to simmer. In a small bowl, mix cornstarch with a bit of water to create a slurry, then stir this into the cherry mixture. Continue cooking for about 5 minutes until thickened, then remove from heat and allow to cool.
Step 5: Chill & Assemble
Once the cheesecake has cooled, transfer it to the refrigerator to chill for at least 4 hours, preferably overnight. This chilling process allows the flavors to meld beautifully. When you’re ready to serve, gently top the cheesecake with the cooled cherry mixture, allowing excess sauce to cascade down the sides. Slice your decadent Chocolate Cherry Cheesecake and prepare to delight your guests!
How to Store and Freeze Chocolate Cherry Cheesecake
Fridge: Store your no-bake Chocolate Cherry Cheesecake in the refrigerator, tightly covered, for up to 2 days. This will keep it fresh and delicious for your next dessert craving.
Freezer: For longer storage, freeze the cheesecake for up to 2 months. Wrap it tightly in plastic wrap and then in aluminum foil to prevent freezer burn.
Reheating: If desired, thaw the cheesecake in the refrigerator overnight before serving. For a treat, you can also gently warm individual slices in the microwave for about 15 seconds.
Storage Tip: To maintain the fresh cherry topping’s vibrancy and flavor, add it just before serving if you plan to store leftovers!
Make Ahead Options
These no-bake Chocolate Cherry Cheesecake treats are perfect for meal prep! You can prepare the crust and filling up to 24 hours in advance; simply store them separately in the refrigerator to maintain freshness and prevent the crust from becoming soggy. Additionally, the cherry topping can be made up to 3 days ahead and kept in a sealed container. When you’re ready to serve, just assemble the cheesecake by pouring the chilled filling onto the crust and topping it with the cooled cherry sauce. This makes for an effortlessly delicious dessert that will impress your guests while saving you time during busy weeknights!
Chocolate Cherry Cheesecake Variations
Feel free to make this delightful dessert your own by exploring these fun variations, sure to tantalize your taste buds!
-
Fruit Swap: Experiment with different fruits, like raspberries or strawberries, to give your cheesecake a unique twist. Each berry brings its own delightful flavor to the party!
-
Dairy-Free: Use vegan cream cheese and coconut milk instead of traditional dairy ingredients for a rich, dairy-free version that everyone can enjoy.
-
Sugar-Free: Substitute granulated sugar with your favorite sugar alternative, like Stevia or erythritol, for a lower-calorie option without sacrificing sweetness!
-
Chocolate Lovers: Add extra melted dark chocolate into the filling for a more intense chocolate experience. This little addition will leave every chocolate lover in bliss!
-
Whipped Cream Top: Layer fresh whipped cream over the cherry topping for an airy texture and a fluffy look. This delightful touch will make your cheesecake extra decadent!
-
Nutty Base: Swap the chocolate cookie crumbs for ground nuts, such as almonds or pecans, for a wholesome and crunchier crust. The nuttiness adds incredible depth to flavors.
-
Spicy Kick: Incorporate a pinch of cayenne or chili powder into the filling for a surprising, warm spice that enhances the chocolate’s richness. It’s an unexpected flavor adventure!
-
Layered Delight: Create a layered dessert by alternating between cheesecake and layers of chocolate pudding or mousse. The added textures elevate this dessert experience, making it even more memorable.
Ready to dive into delicious creativity? And if you’re in the mood for more delightful sweetness, why not check out this tempting Chocolate Fudge Cupcake or explore a refreshing Strawberry Cheesecake option? The only limit is your imagination!
What to Serve with No-Bake Chocolate Cherry Cheesecake
Looking to elevate your dessert experience? Here are delightful accompaniments that will transform your cheesecake into a memorable meal.
- Whipped Cream: Adds a light, airy touch that complements the creamy cheesecake beautifully; bonus points for a hint of vanilla!
- Fresh Berries: A medley of strawberries, blueberries, and raspberries brings a burst of freshness that brightens each rich bite.
- Chocolate Sauce: Drizzling luscious chocolate sauce over the cheesecake enhances the chocolate flavor and adds a touch of decadence.
For an unforgettable pairing, consider a lightly brewed espresso or rich coffee. They create a stunning contrast to the sweetness of the cheesecake.
- Mint Leaves: A sprinkle of fresh mint can invigorate the senses, providing a pop of color and a cooling effect.
- Caramel Sauce: Swirl warm caramel over the cheesecake for a sweet, buttery flavor that pairs excellently with chocolate.
- Ice Cream: A scoop of vanilla or cherry ice cream on the side amplifies the dessert’s indulgence and offers a delightful temperature contrast.
- Fruit Tart: Serve alongside a light fruit tart for an elegant dessert trio that balances flavors and textures wonderfully.
- Chilled Wine: A glass of sweet dessert wine, like Port, enhances the rich notes of the cheesecake while harmonizing with the cherries.
Expert Tips for No-Bake Chocolate Cherry Cheesecake
-
Smooth Struggle: Always beat your cream cheese until it’s completely smooth. This helps avoid pesky lumps in your creamy filling, creating a velvety texture.
-
Chill Time Matters: Make sure to chill your cheesecake adequately before serving. This step allows the flavors to intensify and ensures the texture sets perfectly.
-
Crack Prevention: Utilize a water bath while baking your cheesecake. This simple trick not only prevents cracking but also delivers a luxuriously creamy texture.
-
Cherry Choices: Fresh cherries provide a vibrant flavor, but if you’re short on time, canned cherries work great too. Just adjust the sugar to taste based on the type of cherries you choose.
-
Flavor Adjustments: For a custom touch, feel free to swap out the cherries for other fruits like raspberries or strawberries, keeping the spotlight on the Chocolate Cherry Cheesecake!
Chocolate Cherry Cheesecake Recipe FAQs
What type of cherries should I use?
You can use either fresh or canned cherries for this recipe. Fresh cherries will provide a vibrant and juicy flavor, while canned cherries are convenient and still taste great. Just remember to adjust the sugar level when using canned cherries, depending on how sweet or tart they are.
How long can I store the Chocolate Cherry Cheesecake in the fridge?
Your no-bake Chocolate Cherry Cheesecake can be stored in the refrigerator for up to 2 days when tightly covered. Make sure to keep it well-wrapped to prevent any odors from other foods affecting its delicious flavor!
Can I freeze the Chocolate Cherry Cheesecake?
Absolutely! To freeze your cheesecake, wrap it tightly in plastic wrap and then in aluminum foil to prevent freezer burn. It can be stored for up to 2 months. When you’re ready to enjoy it, thaw it in the fridge overnight for the best texture and flavor.
How can I prevent my cheesecake from cracking?
Using a water bath is key to a creamy texture and cracking prevention! To do this, place a shallow pan filled with hot water beneath your cheesecake in the oven. This gentle heat helps keep the moisture level consistent and results in a beautiful, crack-free top.
Can I make this cheesecake gluten-free?
Certainly! To make a gluten-free Chocolate Cherry Cheesecake, simply choose gluten-free chocolate cookie crumbs for the crust. Ensure that all other ingredients, including dark chocolate and vanilla extract, are labeled gluten-free. Now, everyone can enjoy this decadent dessert!
Decadent Chocolate Cherry Cheesecake to Impress Your Guests
Ingredients
Equipment
Method
- Preheat your oven to 325°F (163°C). In a mixing bowl, combine chocolate cookie crumbs, melted unsalted butter, and sugar until evenly moistened. Press firmly into the bottom of a springform pan, then bake for 10 minutes or until set. Let it cool completely.
- In a large mixing bowl, beat softened cream cheese and granulated sugar together until smooth. Gradually add unsweetened cocoa powder, incorporating each egg one at a time. Stir in vanilla extract, sour cream, and melted dark chocolate until fully combined.
- Pour the cheesecake filling over the cooled crust, spreading it evenly. Bake for 55-60 minutes until the edges are set but the center slightly wobbles. Let cool inside the oven for 1 hour.
- Prepare the cherry topping by combining cherries, sugar, and lemon juice in a saucepan. Cook until simmering, then mix cornstarch with water and stir into the cherry mixture. Cook for about 5 minutes until thickened, then cool.
- Transfer the cheesecake to the refrigerator to chill for at least 4 hours. Top with cooled cherry mixture just before serving.