


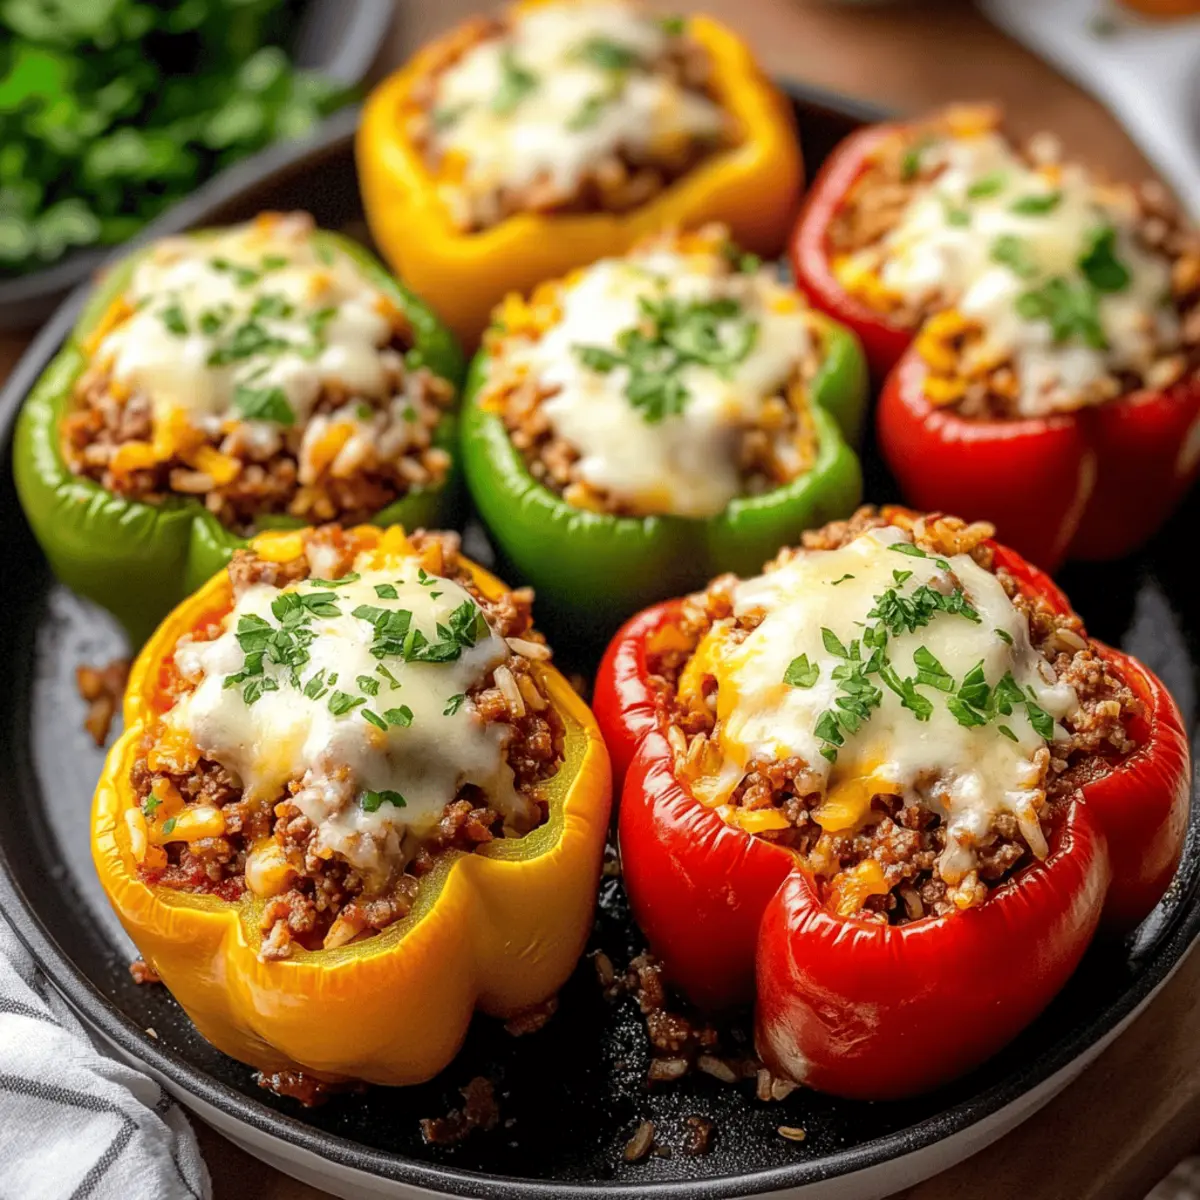
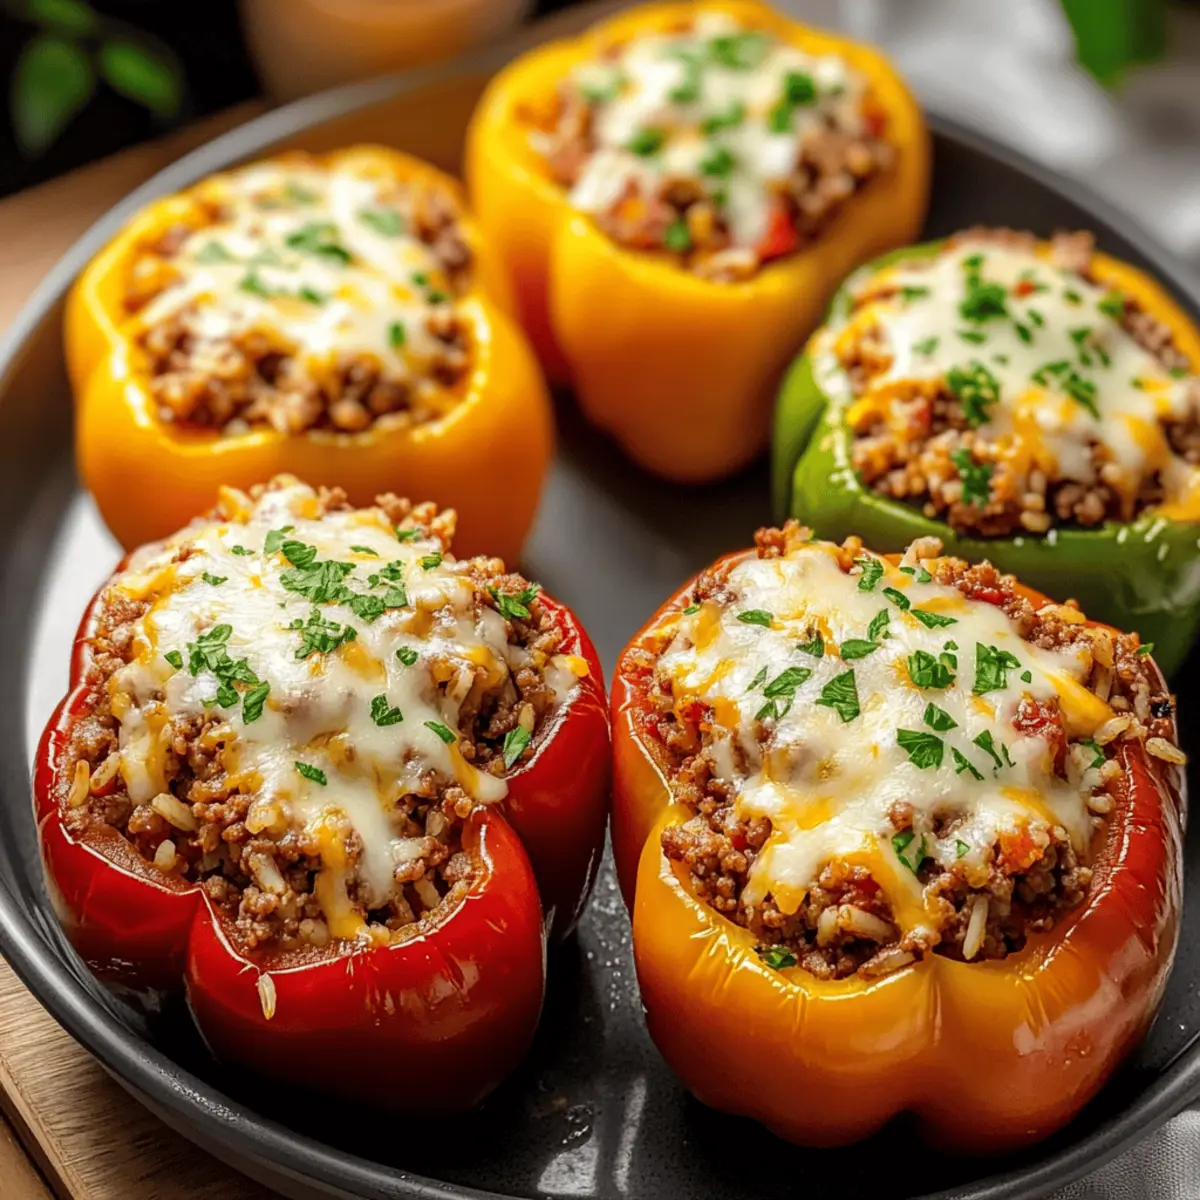
The aroma of bubbling cheese and savory spices wafts through the kitchen, evoking memories of cozy family dinners. My go-to meal for those busy weeknights is none other than Classic Stuffed Peppers. These vibrant bell peppers serve as edible bowls, brimming with a hearty and nutritious filling of ground beef and rice, perfectly complemented by a splash of zesty tomato sauce. What I love most about this easy, beginner-friendly recipe is that it can be prepared in just 20 minutes, making it a fantastic option for those craving a comforting homemade dinner without hours of fuss. Plus, not only is it a crowd-pleaser, but it can also be customized in countless ways to suit every palate. Curious about the simple steps to create this delightful dish? Let’s dive in!
Why are Classic Stuffed Peppers a must-try?
Comforting flavors come alive when you bite into these warm, cheesy stuffed peppers. Quick prep ensures that even novice cooks can whip up this delightful dish in just 20 minutes. Customizable options allow you to experiment with fillings—from traditional ground beef to plant-based mixes, making it suitable for everyone. Wholesome nourishment shines through with each colorful pepper packed full of nutritious ingredients. And better yet, these stuffed beauties are perfect for meal prep; leftovers can be refrigerated or frozen for future quick dinners. Don’t miss out on transforming those family meals with this classic dish!
Classic Stuffed Peppers Ingredients
• Get ready to create a comforting classic!
For the Filling
- Large Bell Peppers – Acts as an edible container; substitute poblano for a spicy kick or zucchini for a low-carb choice.
- Ground Beef – Provides a rich and hearty flavor; ground turkey or a plant-based mix works well here too.
- Cooked Rice – Binds the filling and adds texture; quinoa is a great alternative if you’re looking for something different.
- Onion (finely chopped) – Adds sweetness and depth when sautéed; shallots make for a lovely substitute.
- Garlic (minced) – Enhances the flavor profile; if you’re short on fresh, garlic powder can step in.
- Tomato Sauce – Keeps the filling moist and adds a tangy flavor; marinara or salsa can also bring unique twists.
- Diced Tomatoes (drained) – Adds juiciness and acidity; feel free to swap in fresh tomatoes for a burst of freshness.
- Italian Seasoning – Infuses classic Mediterranean flavors; a mix of oregano, basil, and thyme will do the trick.
- Salt & Black Pepper – Essential seasonings to enhance all the flavors.
For the Topping
- Mozzarella Cheese (shredded) – Melts beautifully for a gooey finish; try cheddar or Monterey Jack for something different.
- Parmesan Cheese (grated) – Introduces a salty and nutty layer; can be omitted for a lighter dish.
For Cooking
- Olive Oil – Used to sauté veggies for added flavor; feel free to use any cooking oil you prefer.
For Garnish
- Fresh Parsley (chopped) – Adds a pop of color and freshness; cilantro can also work well if you prefer its flavor.
Ready to make your own Classic Stuffed Peppers? Let’s bring this hearty meal to life!
Step‑by‑Step Instructions for Classic Stuffed Peppers
Step 1: Preheat the Oven
Begin by preheating your oven to 375°F (190°C). This will prepare the oven for baking your Classic Stuffed Peppers, ensuring they cook evenly and thoroughly. While the oven heats up, you can start preparing your bell peppers.
Step 2: Prepare the Bell Peppers
Carefully slice the tops off the large bell peppers and remove the seeds and membranes inside. Rinse them under cool water to wash away any remaining bits. This creates an edible container for your rich filling. Set the prepared peppers upright in a baking dish, ready to be filled.
Step 3: Sauté the Aromatics
In a large skillet, heat a tablespoon of olive oil over medium heat. Once the oil is hot and shimmering, sauté the finely chopped onion and minced garlic for about 3-4 minutes until the onion becomes translucent and aromatic. This step builds the base flavors of your Classic Stuffed Peppers, making them even more delicious.
Step 4: Brown the Ground Beef
Add the ground beef to the skillet and use a spatula to break it apart. Cook for about 5-7 minutes, stirring occasionally, until the meat is fully browned and no pink remains. This ensures that your filling is safe and flavorful, ready to be combined with the other ingredients.
Step 5: Combine the Filling Ingredients
Stir in the cooked rice, tomato sauce, drained diced tomatoes, Italian seasoning, and a pinch of salt and pepper into the skillet. Allow this mixture to simmer for about 5 minutes, allowing the flavors to blend. The filling for your Classic Stuffed Peppers should be hearty and robust, perfect for stuffing.
Step 6: Fill the Peppers
Carefully spoon the beef-and-rice mixture into each bell pepper, packing it gently for an even filling. Ensure each pepper is generously filled, as this will maximize flavor in every bite. Don’t be afraid to let the filling mound slightly over the tops!
Step 7: Arrange in the Baking Dish
Place the stuffed peppers upright in a baking dish. If necessary, trim a small amount off the bottoms to ensure they stand securely. The arrangement should be snug, which helps the peppers cook evenly and retains moisture.
Step 8: Add Water for Moisture
Pour about 1/4 inch of water into the bottom of the baking dish. This will create steam as the peppers bake, keeping them juicy and preventing the filling from drying out. It’s a simple yet effective trick for perfectly tender Classic Stuffed Peppers.
Step 9: Bake Covered
Cover the baking dish tightly with aluminum foil and place it in the preheated oven. Bake for 35 minutes. During this time, the peppers will soften and the filling will meld together beautifully.
Step 10: Add Cheese and Finish Baking
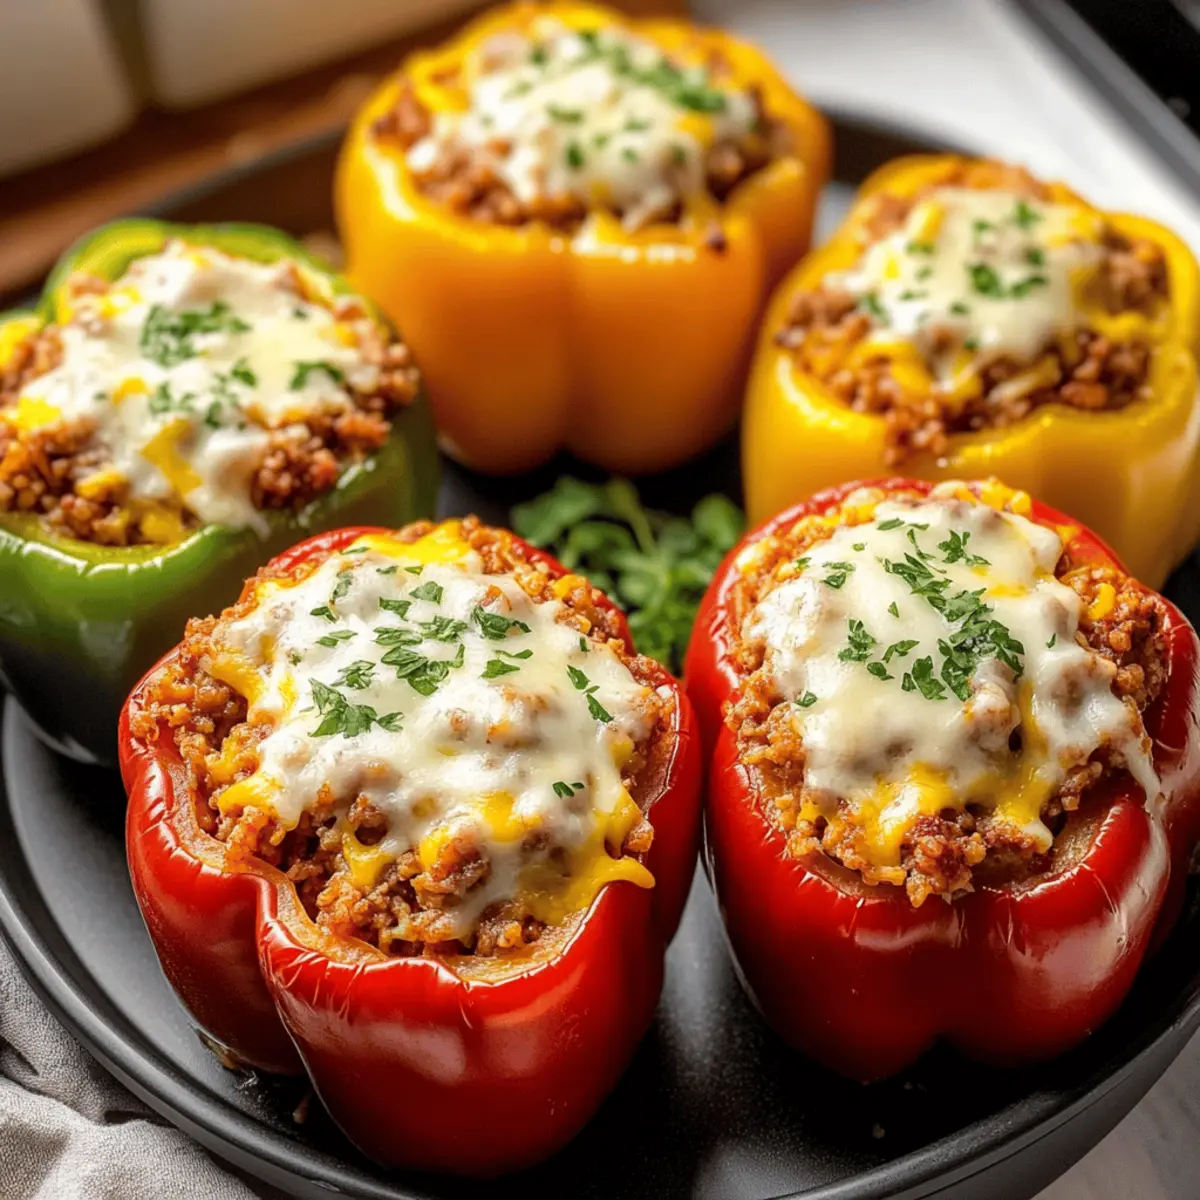
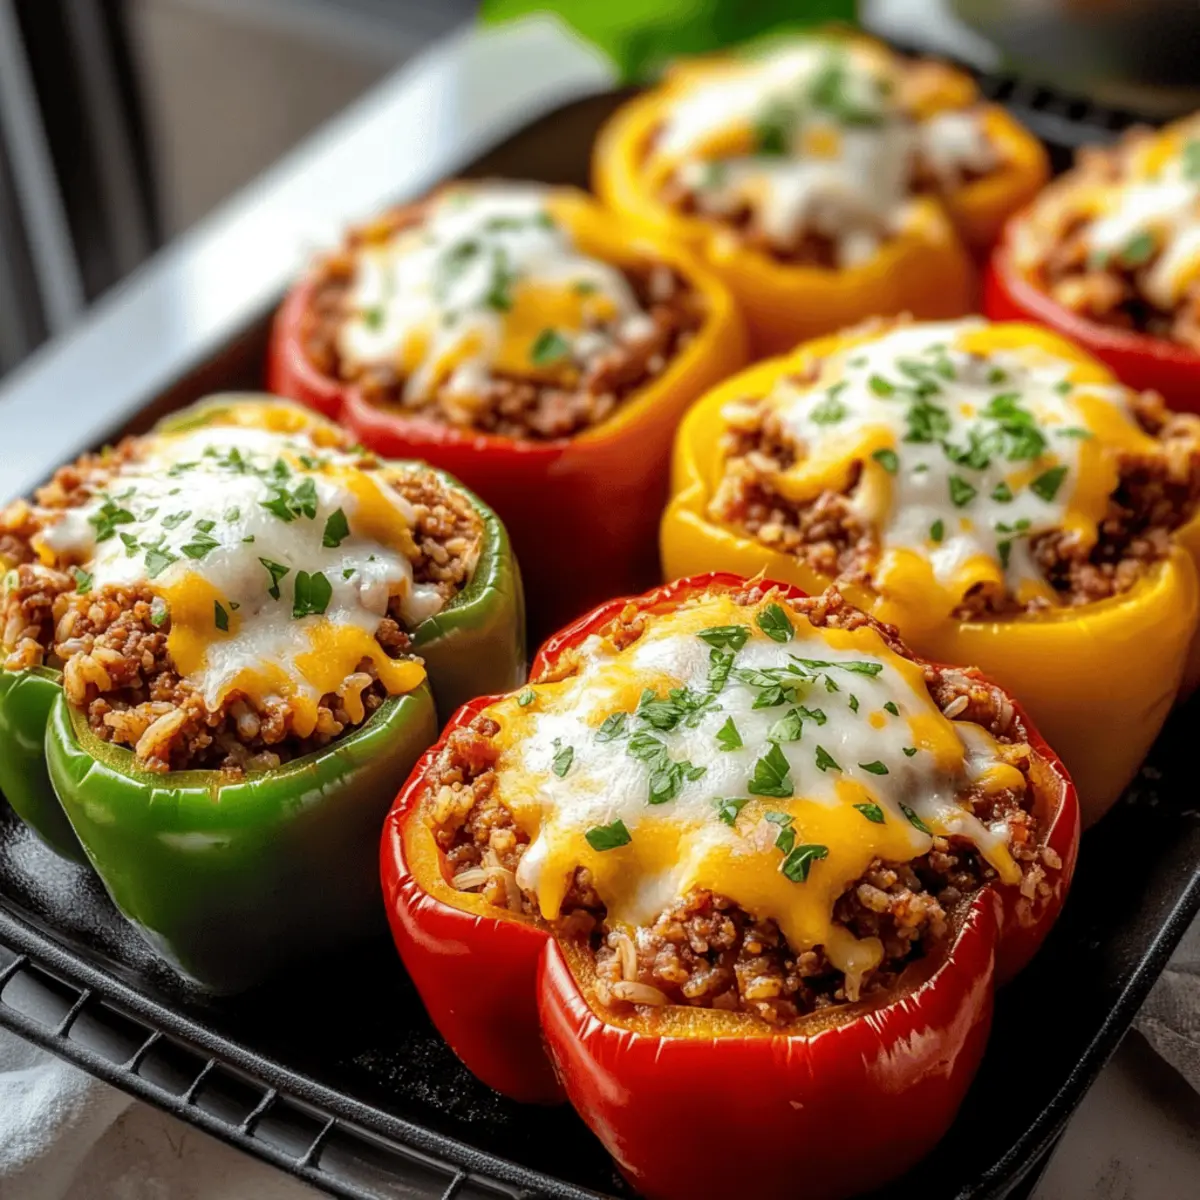
After 35 minutes, remove the foil and sprinkle the shredded mozzarella and grated Parmesan cheese generously on top of each pepper. Return them to the oven and bake uncovered for an additional 10-15 minutes, until the cheese is bubbly and golden. This step creates that mouthwatering, gooey layer on top.
Step 11: Cool Before Serving
Once the cheese is beautifully melted, take the baking dish out of the oven and let the stuffed peppers cool for about 10 minutes. This resting period allows the filling to set slightly, making them easier to serve.
Step 12: Garnish and Serve
Before serving, sprinkle chopped fresh parsley over the top for a vibrant finish. This touch not only enhances the presentation of your Classic Stuffed Peppers but also adds a fresh flavor contrast. Enjoy your comforting meal!
Classic Stuffed Peppers Variations
Feel free to get creative and customize your stuffed peppers for a delightful meal experience everyone will love!
- Colorful Peppers: Use various bell pepper colors for a vibrant presentation—red, yellow, green, and orange can all shine on your dinner table.
- Plant-Based Option: Swap ground beef for lentils or a hearty plant-based meat mix for a delicious vegetarian version.
- Quinoa Base: Instead of cooked rice, try quinoa to add a nutty flavor and extra protein, making these peppers even more nutritious.
- Cheesy Twist: Mix in cream cheese or ricotta with the filling for an extra creamy texture; it adds a lovely richness everyone will enjoy.
- Zesty Kick: Spice things up by adding diced jalapeños or a dash of hot sauce! This alteration will elevate the heat level, making it a treat for spice lovers.
- Veggie Boost: Incorporate additional veggies like chopped spinach or corn into the filling for added nutrition and flavor depth.
- Sauce Swap: Experiment with different sauces; try using salsas or unique BBQ sauce for a distinctive twist that compliments your filling.
- Smoky Flavor: Use smoked paprika in your seasoning to impart a rich, smoky depth that takes comfort food to the next level.
For a charming accompaniment, why not serve these delicious peppers with a crisp side salad or some of my fabulous Comforting Charm Croissants? It creates a complete and wholesome family meal!
How to Store and Freeze Classic Stuffed Peppers
Fridge: Store leftover Classic Stuffed Peppers in an airtight container for up to 3 days. This keeps them fresh, maintaining their vibrant flavors for quick reheating.
Freezer: For longer storage, freeze individually wrapped peppers in plastic wrap, then place them in a resealable freezer bag. They can be stored for up to 2 months.
Reheating: To reheat, simply place the frozen peppers in a baking dish, cover with foil, and bake at 350°F (175°C) until heated through—about 30-35 minutes. Adding a splash of water helps keep them moist while warming.
Make-Ahead Option: You can prepare the entire stuffed peppers dish ahead of time and freeze before baking. This allows for an easy-to-cook meal on those busy nights!
Make Ahead Options
Classic Stuffed Peppers are perfect for meal prep, allowing you to enjoy a homemade dinner without the last-minute rush! You can prepare the filling—browning the ground beef, sautéing the onions and garlic, and combining the rice and spices—up to 24 hours in advance, refrigerating it in an airtight container. You can also stuff the peppers and refrigerate them for up to 3 days. To ensure quality, always cover them tightly, and right before serving, bake the peppers at 375°F (190°C) for about 40 minutes, adding cheese in the final few minutes to achieve that gooey melty goodness. Enjoy your delicious family meal with minimal effort!
Expert Tips for Classic Stuffed Peppers
-
Prep Ahead: Prepare the filling and stuff the peppers a day in advance, keeping them in the fridge overnight to save time on busy weeknights.
-
Filling Variations: Don’t hesitate to experiment with different proteins or grains. Ground turkey, lentils, or quinoa are great substitutes for a nutritious twist on classic stuffed peppers.
-
Watch Cooking Time: To avoid overcooking, check on your stuffed peppers during the baking process. If they feel very soft before the recommended time, they may be done.
-
Moisture Matters: Always add water to the baking dish; this steam helps prevent the filling from drying out. Skipping this step can result in a less flavorful dish.
-
Garnish for Flavor: Fresh herbs elevate your classic stuffed peppers! A sprinkle of parsley or basil adds not just visual appeal but enhances the taste, too.
What to Serve with Classic Stuffed Peppers
Indulge in a delightful symphony of flavors that pairs beautifully with these vibrant, cheesy-filled peppers.
- Crisp Side Salad: Fresh greens tossed with a lemony vinaigrette provide a refreshing contrast to the warm peppers. The crunch enhances the overall texture of your meal.
- Garlic Bread: A crusty loaf slathered in garlic butter is perfect for soaking up the delightful juices of the stuffed peppers, making every bite more enjoyable.
- Roasted Vegetables: Seasonal veggies roasted to caramelized perfection add depth and an earthy note, balancing the hearty filling of the peppers nicely.
- Creamy Coleslaw: A tangy, creamy coleslaw adds a cool crunch that complements the warm, melty cheese in the peppers, creating a delightful contrast.
- Quinoa Salad: Nutty quinoa mixed with herbs and citrus brightens the meal, while its lightness offsets the richness of the stuffed peppers beautifully.
- Red Wine: A medium-bodied red, like a Merlot, pairs wonderfully, enhancing the savory flavors of the beef and tomato sauce while elevating your dining experience.
- Homemade Cornbread: Slightly sweet and buttery cornbread rounds out the meal, offering a charming comfort food touch that brings everyone to the table.
- Lemon Sorbet: For dessert, a refreshing lemon sorbet cleanses the palate post-meal, leaving a light, zesty aftertaste that lingers pleasantly.
- Fruit Compote: Serve a warm fruit compote over yogurt for a light yet sweet finish, balancing the savory notes of your main course beautifully.
Classic Stuffed Peppers Recipe FAQs
Why are ripe bell peppers important for this recipe?
Absolutely! Choosing ripe bell peppers enhances the sweetness and flavor of your Classic Stuffed Peppers. Look for peppers that are firm, shiny, and have vibrant colors without dark spots. A good bell pepper should feel heavy for its size. If your peppers have wrinkled skin or any signs of soft spots, it’s best to pick fresher ones.
How long can I store leftover stuffed peppers?
Leftover Classic Stuffed Peppers can be kept in the fridge for up to 3 days. Just place them in an airtight container to maintain their flavor and moisture. If you want to make them last longer, freezing is a great option!
Can I freeze stuffed peppers, and how do I do it properly?
Yes! You can freeze Classic Stuffed Peppers to enjoy later. To do this, allow them to cool completely first. Wrap each stuffed pepper individually in plastic wrap and then place them inside a resealable freezer bag. This way, they’ll last for up to 2 months. When you’re ready to eat, simply remove from the freezer, unwrap, and bake in a covered dish at 350°F (175°C) until heated through—about 30-35 minutes works wonders!
What should I do if my filling seems dry after baking?
If you find your filling dry, it may be due to over-baking or insufficient moisture during cooking. Be sure to add that crucial 1/4 inch of water to the baking dish before covering it with foil. When reheating, you can also add a splash of tomato sauce or broth to the peppers to restore moisture, which can create a lovely sauce at the bottom too!
Are there dietary considerations I should keep in mind?
Definitely! If you’re preparing Classic Stuffed Peppers for a family with dietary restrictions, consider the ingredients you choose. For those sensitive to gluten, make sure you use gluten-free rice or quinoa. If anyone has allergies, keep an eye on the cheese you select or try plant-based options. Always ask your guests about specific allergies before cooking, just to be safe!
Classic Stuffed Peppers that Transform Family Dinners
Ingredients
Equipment
Method
- Preheat your oven to 375°F (190°C).
- Carefully slice the tops off the large bell peppers and remove the seeds and membranes inside. Rinse them under cool water.
- In a large skillet, heat a tablespoon of olive oil over medium heat and sauté the finely chopped onion and minced garlic for about 3-4 minutes until translucent.
- Add the ground beef to the skillet and cook for about 5-7 minutes, stirring occasionally, until fully browned.
- Stir in the cooked rice, tomato sauce, drained diced tomatoes, Italian seasoning, and a pinch of salt and pepper into the skillet and simmer for about 5 minutes.
- Carefully spoon the beef-and-rice mixture into each bell pepper, packing it gently.
- Place the stuffed peppers upright in a baking dish. Trim a small amount off the bottoms to ensure they stand securely.
- Pour about 1/4 inch of water into the bottom of the baking dish.
- Cover the baking dish tightly with aluminum foil and bake for 35 minutes.
- Remove the foil and sprinkle the shredded mozzarella and grated Parmesan cheese on top of each pepper. Bake uncovered for an additional 10-15 minutes.
- Once the cheese is beautifully melted, let the stuffed peppers cool for about 10 minutes.
- Before serving, sprinkle chopped fresh parsley over the top.