


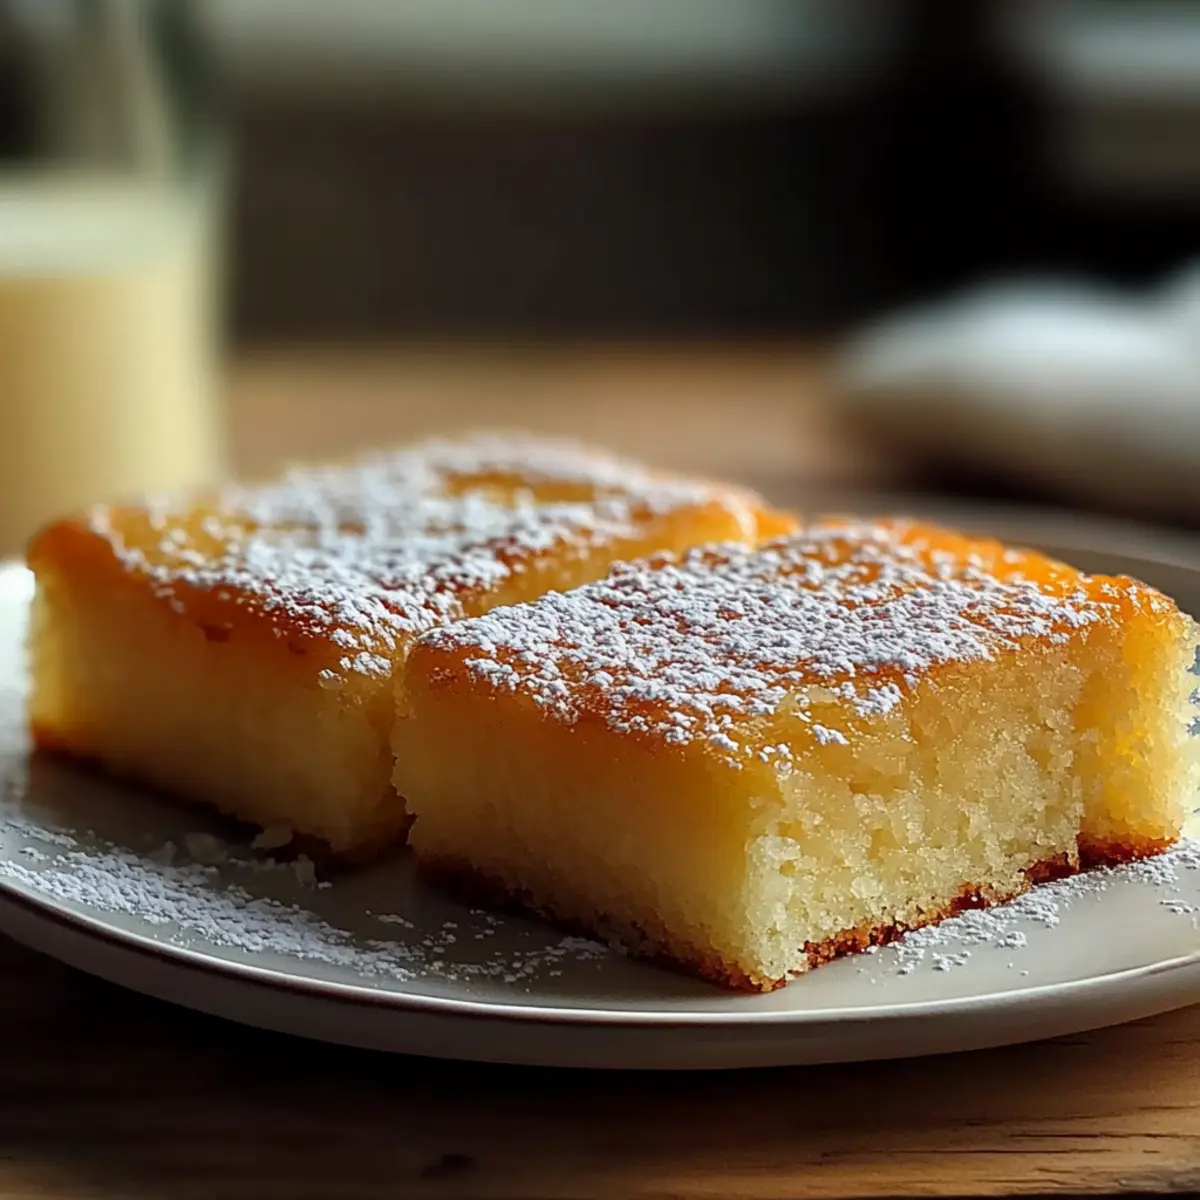
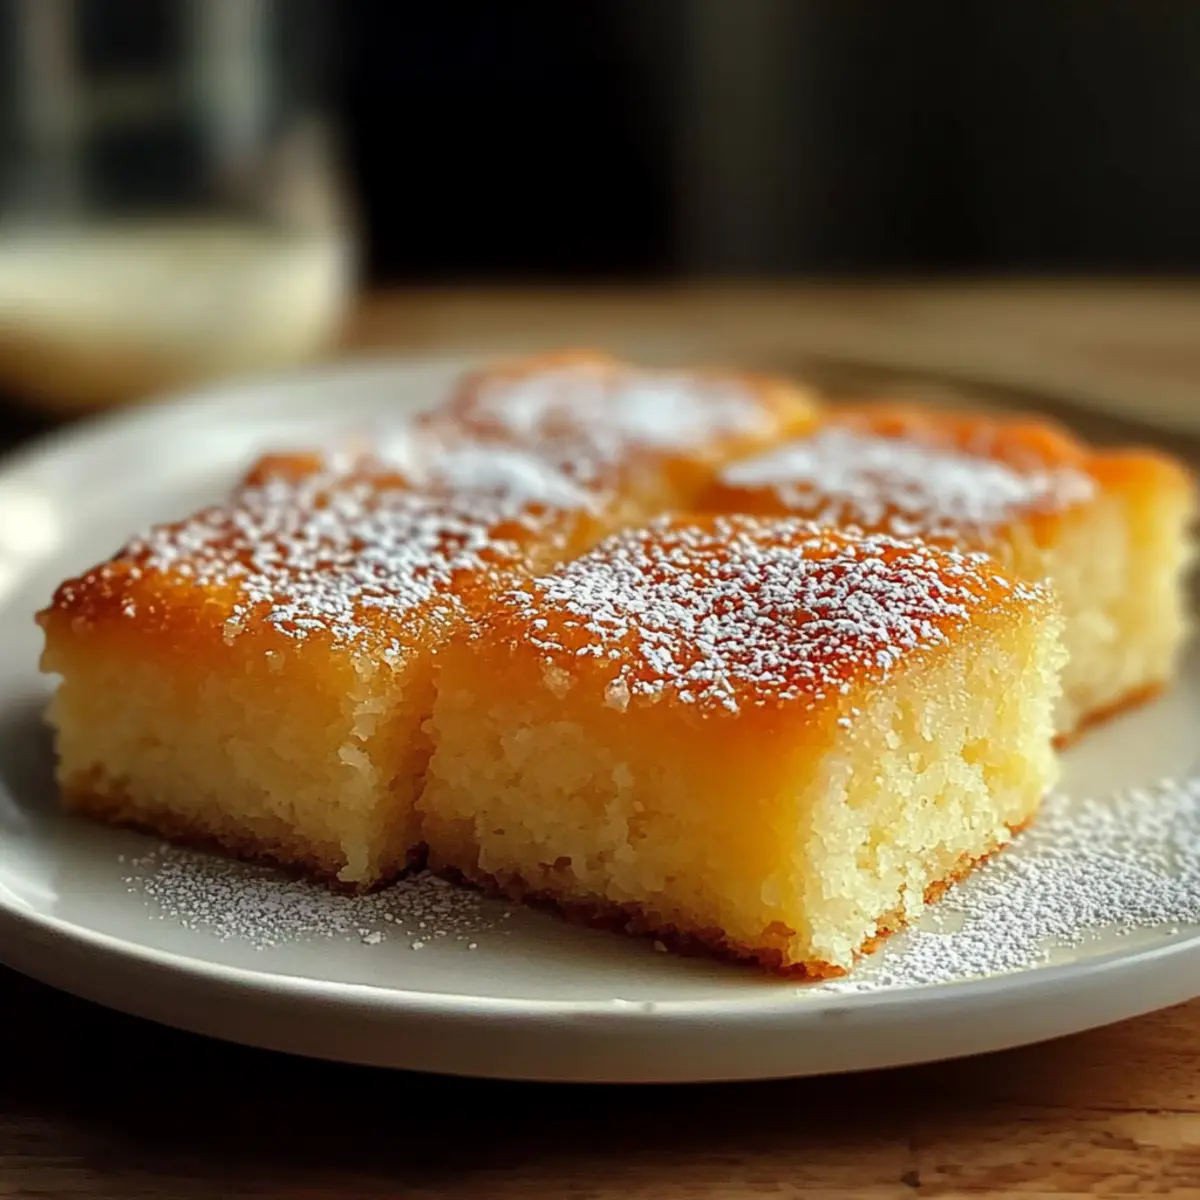
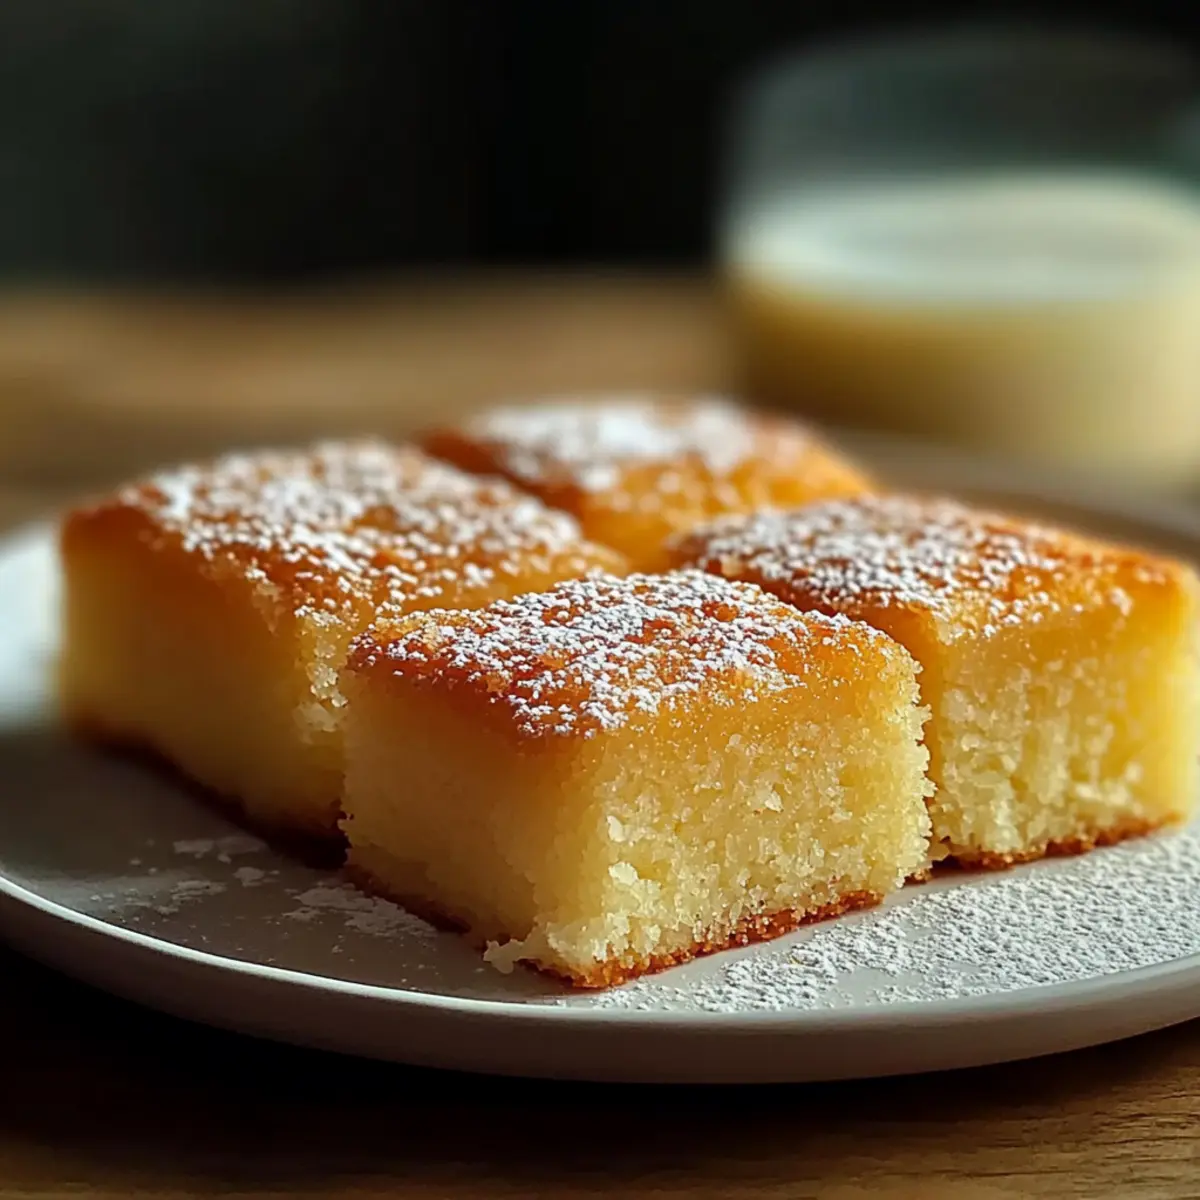
A waft of coconut fills the air as I pull this Easy Coconut Milk Snack Cake from the oven, and I can’t help but smile, knowing I’m about to share a slice of bliss with friends and family. This delightful cake is not only a budget-friendly treat but also dairy-free, making it perfect for those of us looking to indulge without the guilt. With just a handful of pantry staples and a straightforward process, it comes together quickly, making it an ideal option for busy days or last-minute gatherings. Whether you’re hosting a potluck or simply craving a tender, moist snack, this cake is sure to be a hit. What’s your favorite way to enjoy a slice—plain or dressed up?
Why Choose This Coconut Milk Snack Cake?
Simplicity: This recipe shines with its easy-to-follow steps, perfect for novice bakers and busy home chefs alike.
Moist & Tender: Thanks to the full-fat coconut milk, each bite offers a luscious, moist texture that you’ll crave again and again.
Dairy-Free Delight: Perfect for those avoiding dairy, this cake allows everyone to indulge without a second thought.
Endless Variations: Feeling adventurous? Add pineapple or lime zest for a tropical twist, or swap in almond slivers for an extra crunch!
Budget-Friendly: Using basic pantry staples means you can whip up this treat without breaking the bank. Serve it warm with yogurt or alongside fresh berries for brunch; it’s versatile enough for any occasion!
Coconut Milk Snack Cake Ingredients
For the Cake
- Full-Fat Canned Coconut Milk – Provides essential creaminess and moisture for a rich texture; avoid light versions for best results.
- Coconut Oil – Adds moisture and deepens the coconut flavor; can be swapped with vegetable oil if needed.
- Sugar – Sweetens the cake wonderfully; feel free to reduce for a less sweet treat.
- Eggs – Help bind ingredients and improve texture; substitute with unsweetened applesauce for a delightful egg-free option.
- Vanilla Extract – Elevates the flavor profile; using pure vanilla extract enhances the cake’s overall taste.
- All-Purpose Flour – Serves as the main structure; consider a gluten-free baking blend if necessary for a gluten-free version.
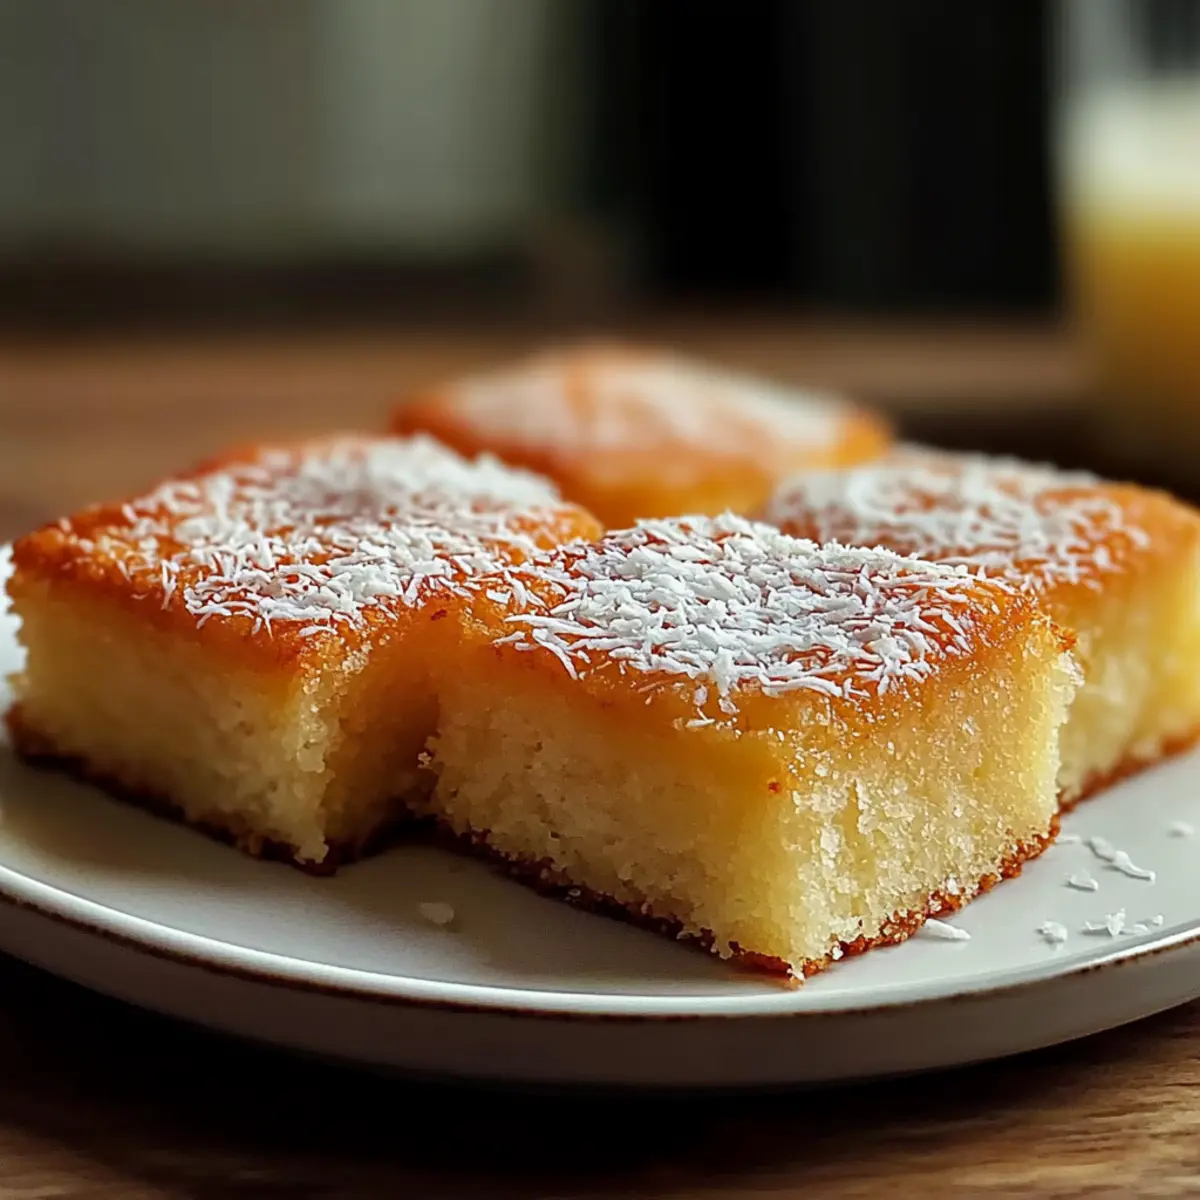
- Shredded Coconut – Infuses that lovely coconut texture and flavor; toasting beforehand can add a delicious nuttiness.
- Baking Powder – This leavening agent is key to making the cake rise; ensure it’s fresh for optimal fluffiness.
Optional Toppings
- Whipped Cream – A delicious addition if you want to elevate the cake into a dessert; it complements the coconut flavor beautifully.
- Lemon Glaze – Drizzle this glaze on top for a zesty touch; it adds an exciting contrast to the sweetness of the cake.
This Coconut Milk Snack Cake is a dairy-free delight that brings joy to every occasion. Don’t hesitate to explore the variations listed in the recipe for an extra layer of excitement!
Step-by-Step Instructions for Easy Coconut Milk Snack Cake
Step 1: Prepare Wet Ingredients
Start by ensuring your canned coconut milk is well mixed. In a large mixing bowl, whisk together the full-fat coconut milk, melted coconut oil, eggs, sugar, and vanilla extract until smooth and fully combined, about 2-3 minutes. The mixture should appear creamy and cohesive, making it the perfect foundation for your Coconut Milk Snack Cake.
Step 2: Combine Dry Ingredients
In another medium-sized bowl, sift together the all-purpose flour, shredded coconut, and baking powder. This process incorporates air and ensures even distribution of the leavening agent. Take a moment to appreciate the texture and aroma of the shredded coconut. Set this mixture aside as you prepare to combine it with your wet ingredients.
Step 3: Mix Together
Gently fold the dry ingredients into the wet mixture using a spatula, being careful not to overmix. Stop as soon as you no longer see any streaks of flour; the batter should be slightly lumpy but well blended, which is crucial for a tender Coconut Milk Snack Cake. This step enhances the cake’s moist texture without compromising its delicate structure.
Step 4: Bake
Pour your batter into an 8×8 inch baking pan, spreading it evenly in the pan. Preheat your oven to 350°F (175°C) and bake for 30-40 minutes, or until the top is golden brown and a toothpick inserted into the center comes out clean. Keep an eye on it towards the end of the baking time; if you see a light golden crust, it’s nearly ready!
Step 5: Cool Completely
Once baked, remove the Coconut Milk Snack Cake from the oven and allow it to cool in the pan for about 10 minutes. Then, transfer the cake to a wire rack to cool completely. This cooling step is essential; it allows the flavors to settle and ensures easier slicing without crumbling. Enjoy the delightful aroma filling your kitchen as it cools!
Dairy-Free Coconut Milk Snack Cake Variations
Feel free to let your creativity shine with these delicious twists on the classic recipe!
-
Tropical Twist: Add 1/2 cup diced pineapple for a refreshing tropical flavor that dances on your palate.
-
Citrus Zing: Incorporate lime zest to brighten the flavors, giving your cake an invigorating lift. It beautifully complements the sweetness!
-
Nutty Crunch: Replace shredded coconut with toasted almond slivers for an inviting crunch and new texture. A wonderful crunchy surprise awaits in every bite!
-
Berry Bliss: Fold in 1 cup of fresh or frozen berries like blueberries or raspberries for a burst of juicy goodness that contrasts the cake’s sweetness.
-
Creamy Topping: Serve with whipped coconut cream or yogurt for a decadent treat. An added touch that enhances your cake experience!
-
Zesty Glaze: Drizzle a lemon glaze over the cooled cake for a tangy finish that brightens every slice. This is a deliciously simple upgrade!
-
Chocolate Lover: Stir in mini dairy-free chocolate chips for a rich, chocolatey version that pairs perfectly with the coconut base.
Experimenting with these variations not only customizes your cake to suit your desires but creates new family favorites for years to come! Don’t forget, a dash of creativity can transform your Coconut Milk Snack Cake into a delightful masterpiece. And if you’re looking for even more delightful twists, check out our Dairy-Free Baking Ideas for inspiration. Happy baking!
Make Ahead Options
These Easy Coconut Milk Snack Cake preparations are perfect for busy home cooks! You can mix the wet ingredients (coconut milk, coconut oil, eggs, sugar, and vanilla) up to 24 hours in advance and store them in the refrigerator. For the dry ingredients, combine the flour, shredded coconut, and baking powder, and keep them in an airtight container at room temperature for up to 3 days. This not only saves time but also allows the flavors to meld beautifully. When you’re ready to bake, simply combine the wet and dry mixtures, pour into your pan, and bake as directed. Follow these steps, and you’ll enjoy a delicious cake with minimal effort, ready to impress your family and friends!
How to Store and Freeze Coconut Milk Snack Cake
Room Temperature: Store the cooled cake in an airtight container at room temperature for up to 1 week. This keeps it moist and easy to grab as a snack.
Freezer: For longer storage, freeze individual slices wrapped tightly in plastic wrap and then in aluminum foil. They can last up to 3 months without losing flavor or texture.
Thawing: To enjoy frozen slices, remove them from the freezer and let them thaw in the refrigerator overnight or at room temperature for a couple of hours.
Reheating: If you prefer your cake warm, gently reheat in the microwave for about 10-15 seconds or enjoy it cold with a dollop of yogurt for an easy dairy-free treat!
Expert Tips for Coconut Milk Snack Cake
Mix Just Enough: Avoid overmixing the batter to maintain the cake’s tender texture. Stop once the dry ingredients are just combined with the wet.
Check Freshness: Ensure your baking powder is fresh; expired powder will result in a dense cake that doesn’t rise beautifully.
Cooling Time Matters: Allow your cake to cool completely before slicing. This helps it set, making each piece easy to serve without crumbling.
Customize Flavor: Feel free to sprinkle in lime zest or stir in crushed pineapple for a tropical spin. Explore variations to make this coconut milk snack cake your own!
Storage Savvy: Store leftovers in an airtight container at room temperature for up to a week, or freeze slices for delicious later treats.
What to Serve with Easy Coconut Milk Snack Cake?
Imagine the warm, inviting scents of coconut and sugar wafting through your kitchen, creating a cozy atmosphere for loved ones to gather.
- Fresh Berries: Juicy strawberries or raspberries add a burst of color and bright acidity that beautifully balance the cake’s sweetness.
- Whipped Coconut Cream: A dollop of light, fluffy coconut cream adds a luscious, tropical twist that enhances the cake’s flavor without dairy.
- Vanilla Ice Cream: This classic pairing creates a delightful contrast in temperature and texture, making each bite a creamy, dreamy experience.
- Coconut Yogurt: For those seeking a dairy-free option, coconut yogurt provides a tangy, creamy contrast that complements the cake’s moistness perfectly.
- Pineapple Salsa: Fresh, zesty pineapple salsa brings tropical vibes to your table and elevates the cake with an exciting burst of flavor.
- Tea or Coffee: A warm cup of herbal tea or rich coffee enhances the cake’s delicate flavors, making it a perfect afternoon treat.
- Lemon Glaze: Drizzling a tangy lemon glaze over the cake adds a bright citrusy kick that contrasts wonderfully with the sweet coconut.
- Almond Slivers: Toasted almond slivers sprinkled on top introduce a lovely crunch, enriching the cake’s texture while tying together the coconut flavor.
- Chocolate Drizzle: For a decadent finish, a warm chocolate drizzle not only looks enticing but will make each slice a rich indulgence.
Coconut Milk Snack Cake Recipe FAQs
What kind of coconut milk should I use?
I recommend using full-fat canned coconut milk for the best creaminess and moisture in your cake. Avoid light versions, as they can alter the texture, making it less rich. If you’re uncertain, check the label—look for the “full-fat” distinction to ensure a luscious result!
How should I store leftover Coconut Milk Snack Cake?
To keep your cake fresh, wrap it tightly in plastic wrap or store it in an airtight container at room temperature for up to one week. This helps maintain its moisture while making it easy to grab as a quick snack when cravings hit!
Can I freeze Coconut Milk Snack Cake?
Absolutely! To freeze, slice the cake and wrap each piece tightly in plastic wrap, followed by aluminum foil. This double-layering prevents freezer burn and keeps the cake delicious for up to 3 months. When you’re ready to enjoy, just thaw at room temperature or in the fridge overnight.
What if my cake doesn’t rise properly?
If your Coconut Milk Snack Cake doesn’t rise, the culprit may be expired baking powder. Always check the freshness—if your baking powder is past its prime, it won’t help the cake rise as it should. Also, ensure you’re not overmixing the batter, as that can lead to denser results!
Is this cake suitable for people with dairy allergies?
Yes, this Coconut Milk Snack Cake is dairy-free and a great option for anyone avoiding dairy products. The use of coconut milk makes it both flavorful and safe for those who have lactose intolerance or allergies, so everyone can indulge worry-free!
Can I add other flavors to the cake?
Very! Feel free to get creative. Adding half a cup of diced pineapple introduces a delightful tropical twist, or mixing in lime zest amps up the brightness. Nutty almond slivers or a drizzle of lemon glaze can elevate it further, so let your imagination run wild with flavors!
Dairy-Free Coconut Milk Snack Cake That's Moist and Delicious
Ingredients
Equipment
Method
- Start by ensuring your canned coconut milk is well mixed. In a large mixing bowl, whisk together the coconut milk, melted coconut oil, eggs, sugar, and vanilla extract until smooth.
- In another bowl, sift together all-purpose flour, shredded coconut, and baking powder.
- Gently fold the dry ingredients into the wet mixture using a spatula, being careful not to overmix.
- Pour your batter into an 8x8 inch baking pan, then bake in a preheated oven at 350°F (175°C) for 30-40 minutes.
- Once baked, allow the cake to cool in the pan for about 10 minutes then transfer it to a wire rack to cool completely.