


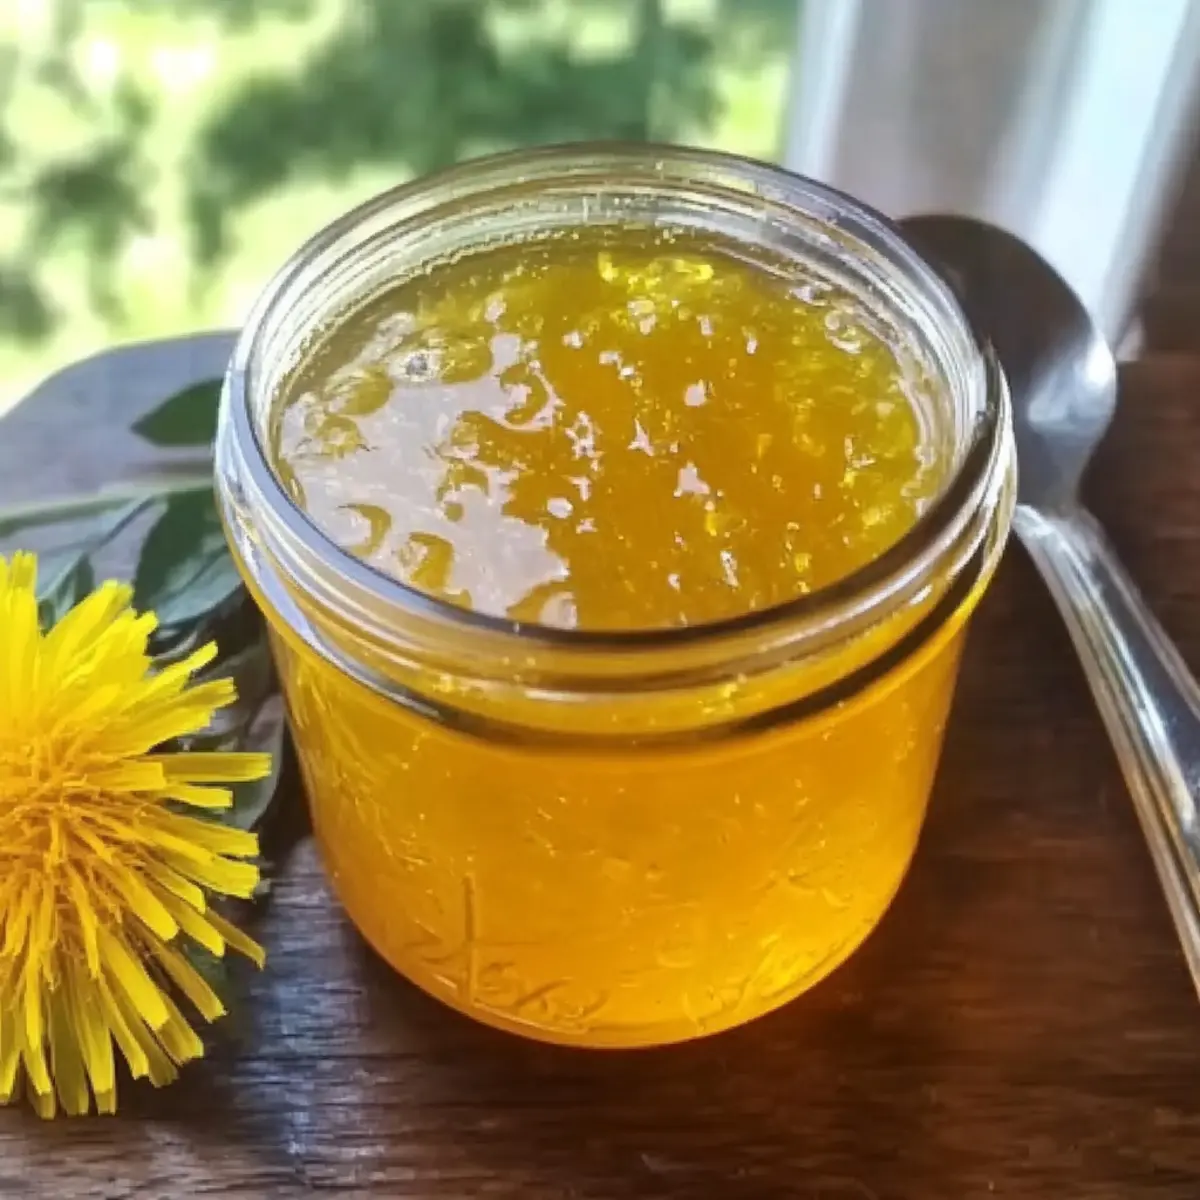
As I wandered through my backyard on a warm spring afternoon, I noticed the sun-drenched dandelions dancing in the breeze, an unexpected harbinger of culinary creativity. It may surprise you, but these vibrant blossoms can be transformed into a delightful homemade treat—Fresh Dandelion Jelly. This enchanting recipe not only elevates the humble dandelion into a sweet sensation but also introduces a unique, honey-like flavor that can brighten any breakfast table. With minimal effort, you’ll craft a stunning jelly that’s both low-calorie and packed with the essence of spring. Perfect for slathering on toast, drizzling over yogurt, or even glazing meats, this jelly is a celebration of nature’s bounty. Ready to embrace your foraging spirit and create something extraordinary? Let’s dive into the world of dandelion jelly together!
Why Is Dandelion Jelly So Special?
Unique Flavor: This jelly captures the essence of spring, providing a honey-like taste that’s both surprising and refreshing.
Foraging Fun: Embrace the thrill of foraging and transform ordinary dandelions into a gourmet delight in just a few simple steps.
Health-Conscious Treat: With approximately 50 calories per tablespoon, this low-calorie spread is perfect for those looking to indulge without the guilt.
Versatile Use: Great on toast, yogurt, or as a glaze on meats, this jelly is a delightful addition to any meal or cheese board.
Easy to Make: The process is straightforward, ensuring anyone can create this enchanting delicacy right at home. Let your creativity shine with potential flavor variations too!
Fresh Dandelion Jelly Ingredients
For the Jelly
- Dandelion Petals – The star ingredient, providing natural sweetness and a lovely floral flavor; ensure petals are free from green parts to avoid bitterness.
- Water – Acts as the solvent for extracting the delightful essence from the dandelion petals; using boiling water allows for a more flavorful infusion.
- Lemon Juice – Adds necessary acidity to activate pectin and balance the sweetness; fresh juice is best for vibrant flavor.
- Powdered Pectin – Essential for achieving the jelly’s ideal texture; follow the package instructions closely to ensure perfect results.
- Sugar – Key for sweetening and preserving the jelly, creating a delightful balance of flavors essential for Fresh Dandelion Jelly.
For Canning (if desired)
- Sterilized Jars – Use sterilized jars to store your jelly securely, ensuring freshness and longevity; leave 1/4 inch of headspace when filling.
- Water for Bathing – Necessary for processing jars in a water bath, sealing in flavors and ensuring safety for shelf-stable storage.
Step‑by‑Step Instructions for Fresh Dandelion Jelly
Step 1: Gather Dandelion Petals
Begin by carefully picking fresh dandelion flowers from a clean area, ensuring you collect at least 2 cups of yellow petals. Avoid the green bases, as they contribute bitterness. Rinse the petals gently to remove any dirt or insects, then set them aside as you prepare the infusion for your unique Fresh Dandelion Jelly.
Step 2: Steep the Petals
Boil 4 cups of water and pour it over the gathered dandelion petals in a large bowl. Cover the bowl and place it in the refrigerator, allowing the mixture to steep for 24 hours to extract the vibrant flavor. When ready, the water should take on a lovely golden hue, showcasing the essence of spring captured within the petals.
Step 3: Strain the Mixture
After steeping, retrieve the bowl from the fridge. Use a fine mesh strainer to separate the dandelion tea from the petals, pressing firmly to extract as much liquid as possible. You should yield around 3-4 cups of dandelion tea. This fragrant infusion will serve as the base for your Fresh Dandelion Jelly, bringing the floral notes directly to your spread.
Step 4: Prepare the Jelly Base
In a large pot, combine the dandelion tea, 1/4 cup of freshly squeezed lemon juice, and the required amount of powdered pectin according to the package instructions. Heat the mixture over medium heat while stirring, bringing it to a full rolling boil. Keep an eye on it, as a rapid boil is crucial for the jelly to achieve the right consistency.
Step 5: Incorporate Sugar
Once your mixture reaches a rolling boil, add all the sugar at once, stirring vigorously to dissolve. Continue boiling for an additional 1-2 minutes, maintaining that vigorous activity until the mixture has a steady, bubbling sound. When done, the jelly should appear glossy and thick, signaling it’s ready for the next stage in your Fresh Dandelion Jelly adventure.
Step 6: Skim Foam and Jar
Remove the pot from heat and skim off any foam from the surface of the jelly with a spoon to ensure a clear finish. Carefully ladle the hot jelly into sterilized jars, leaving about 1/4 inch of headspace at the top. If refrigeration is your goal, let the jars cool before sealing; otherwise, proceed to can them for longer storage options.
Step 7: Canning Process
If you choose to can your Fresh Dandelion Jelly, make sure the jars are fully sterilized. Lower the filled jars into a water bath, ensuring they are covered by at least an inch of water, and process them for 10 minutes. After processing, let the jars rest undisturbed for 24 hours on a clean towel, allowing them to seal properly and ensure your delightful jelly is ready for enjoyment.
What to Serve with Fresh Dandelion Jelly?
Imagine your breakfast table transformed into a springtime feast, bursting with delightful pairings that complement the floral sweetness of your homemade jelly.
- Creamy Yogurt: Its tartness balances the honey-like flavor, making for a delightful breakfast or snack option. Top a bowl of yogurt with a swirl of dandelion jelly for a dish that feels both refreshing and gourmet.
- Toasted Brioche: The buttery richness of brioche enhances the delicate notes of the jelly, creating a perfect harmony on your palate. Imagine sinking your teeth into warm, toasty brioche, the jelly melting into each delightful bite.
- Charcuterie Board: Elevate your cheese board by adding dandelion jelly alongside cheeses and cured meats, creating a stunning blend of sweet and savory flavors. The contrast not only pleases the eye but also the taste buds.
- Savory Meats: Use dandelion jelly as a glaze on roasted chicken or pork, where the floral notes beautifully accentuate the richness of the meat. Brush it on during the last few minutes of cooking for a glossy finish.
- Fresh Fruits: Pair with strawberries or apples for a sweet and bright contrast that truly showcases the spring essence of the jelly. The freshness of the fruit complements the depth of flavor in your dandelion jelly perfectly.
- Herbal Tea: A warm cup of herbal tea serves as a soothing beverage to enjoy alongside a toast slathered in jelly, enhancing the tranquil vibes of your spring breakfast. Choose mint or chamomile to add a refreshing touch.
- Gourmet Ice Cream: For a unique dessert experience, drizzle your jelly over vanilla or coconut ice cream for a floral twist to a classic treat. The coolness of the ice cream juxtaposed with the sweet jelly creates a tantalizing adventure for the senses.
Fresh Dandelion Jelly Variations & Substitutions
Feel free to play with flavors and ingredients in your Fresh Dandelion Jelly to truly make it your own!
-
Sweetener Swap: Use honey or maple syrup instead of sugar for a different sweetness profile. This can create a more complex flavor in your jelly.
-
Flavor Infusion: Consider adding vanilla extract or cinnamon towards the end of cooking for a warm, cozy twist. A hint of spice can elevate your jelly to a whole new level.
-
Herbal Accent: Incorporate fresh mint or basil into the dandelion tea during steeping for a refreshing herbal note. This unexpected adaptation will surprise and delight your taste buds.
-
Reduced Sugar: For a lighter jelly, reduce the amount of sugar or explore using a sugar substitute. Just remember, changes in sugar can affect texture, so adjust carefully.
-
Zesty Boost: Add more lemon zest or orange juice for a citrusy zing! The acidity will accentuate the floral undertones of the jelly, making each bite even brighter.
-
Chili Heat: If you’re feeling adventurous, sprinkle in some crushed red pepper flakes or finely chopped jalapeños for a spicy kick in your jelly. This unique combination can transform your spread into an exciting condiment for savory dishes.
-
Fruit Fusion: Mix in pureed fruits such as strawberries or raspberries for a fruity dandelion jelly. The addition brings vibrant color and a new layer of flavor to your creation!
-
Jarring Variance: If canning isn’t your style, feel free to store your jelly in airtight containers in the fridge for a fresh and easy alternative. This keeps it ready for quick use on toast or glaze for meats.
With these varied options, your Fresh Dandelion Jelly will surely be a conversation starter and a cherished addition to breakfast tables or cheese boards alike! Explore creativity in the kitchen and embrace the charm of foraging. If you’re looking for more culinary inspiration, try your hand at a delicious Herb-Infused Honey to pair perfectly with your jelly.
How to Store and Freeze Fresh Dandelion Jelly
Fridge: Store your Fresh Dandelion Jelly in the refrigerator for up to 6 months. Ensure jars are tightly sealed to maintain freshness and avoid any absorption of odors.
Freezer: If you want to store it longer, freeze the jelly in airtight containers for up to a year. Leave some space in each container to allow for expansion as it freezes.
Reheating: To use frozen jelly, thaw it in the fridge overnight or on the counter for a few hours. Avoid refreezing once thawed to preserve texture and flavor.
Canning: If you process your Fresh Dandelion Jelly in sterilized jars, it can be kept in a cool, dark place for up to a year. Make sure the seals are intact before storing for long-term use.
Expert Tips for Fresh Dandelion Jelly
Foraging Safely: Make sure to identify true dandelions and avoid look-alikes, ensuring you’re foraging safely for your jelly.
Strain Thoroughly: Press the petals while straining to maximize liquid extraction. This step is crucial for a flavorful dandelion jelly.
Watch the Boil: Monitor boiling time closely—too short may prevent setting, and too long can yield a sticky result.
Test for Doneness: Use the cold plate wrinkle test or sheeting test to check the jelly’s consistency before jarling; it’s a baker’s secret!
Adjusting Sweetness: If you prefer a lighter sweetness, feel free to experiment with honey or maple syrup as alternative sweeteners in your dandelion jelly recipe.
Make Ahead Options
These Fresh Dandelion Jelly preparations are ideal for busy home cooks looking to save time during the week! You can gather and steep the dandelion petals in boiling water up to 24 hours in advance. Simply follow the initial steps by collecting at least 2 cups of yellow petals and steeping them in 4 cups of boiling water, then refrigerate covered to extract maximum flavor. On the day you wish to make the jelly, strain the liquid and proceed with the remaining steps. For optimal results, always store the steeped tea in the refrigerator to maintain its quality. When you’re ready to serve, finish the recipe as directed, and you’ll have a stunning, homemade jelly with minimal last-minute effort!
Fresh Dandelion Jelly Recipe FAQs
How do I select the best dandelion petals for jelly?
Absolutely! When foraging for dandelion petals, look for vibrant yellow blooms without any green parts. The green bases can add bitterness to your jelly, so be sure to remove them completely. Ideally, pick the flowers in sunny weather for the best flavor and ensure the area hasn’t been treated with chemicals.
How should I store Fresh Dandelion Jelly?
You can store your Fresh Dandelion Jelly in the refrigerator for up to 6 months. Be sure to keep it in tightly sealed jars to maintain freshness and prevent it from absorbing any odors from the fridge. If you seal your jelly in sterilized jars after canning, it can last for up to a year in a cool, dark place.
Can I freeze Fresh Dandelion Jelly?
Very! Freezing is a great option if you want to extend the shelf life of your jelly. Pour it into airtight containers, leaving some space for expansion, and it can last up to a year. When you’re ready to use it, just thaw in the fridge overnight or on the counter for a few hours. Avoid refreezing once the jelly is thawed to keep its texture and flavor intact.
What if my jelly doesn’t set?
If your Fresh Dandelion Jelly does not set properly, don’t worry! You can enjoy it as a delightful syrup over pancakes or ice cream. Alternatively, if you’d prefer it to set, reprocess it by following these steps:
- Pour the jelly back into a pot and measure the liquid amount.
- For every quart (4 cups) of jelly, add 1 packet of powdered pectin.
- Bring the mixture to a rolling boil, stirring continuously for about 1-2 minutes.
- Then jar it again, and it should set beautifully this time!
Is Fresh Dandelion Jelly safe for pets?
While Fresh Dandelion Jelly is made from natural ingredients, it’s always good to be cautious! The jelly itself, with its sugar content, is not recommended for pets. However, the dandelion petals themselves are safe for dogs and cats in moderation. Always consult with your veterinarian if you’re unsure about including new foods in your pet’s diet.
Can I use other sweeteners instead of sugar?
Definitely! If you prefer a less refined option, feel free to substitute with honey or maple syrup in your Fresh Dandelion Jelly. However, be mindful that this variation may slightly change the consistency. Remember to adjust the sweetness according to your taste, keeping in mind that honey and maple syrup can have a stronger flavor than white sugar.
Fresh Dandelion Jelly: A Tasty Forage Adventure
Ingredients
Equipment
Method
- Gather fresh dandelion petals, ensuring to collect at least 2 cups, then rinse them gently.
- Boil 4 cups of water and pour it over the dandelion petals in a large bowl. Cover and steep in the refrigerator for 24 hours.
- Strain the mixture using a fine mesh strainer to separate the dandelion tea, pressing to extract as much liquid as possible.
- Combine the dandelion tea, 1/4 cup lemon juice, and powdered pectin in a large pot. Heat over medium, stirring until boiling.
- Add all the sugar at once to the rolling boil, stirring vigorously, then boil for an additional 1-2 minutes.
- Skim any foam from the jelly surface before carefully ladling it into sterilized jars.
- For canning, lower filled jars into a water bath, ensuring they are covered by 1 inch of water, and process for 10 minutes.