


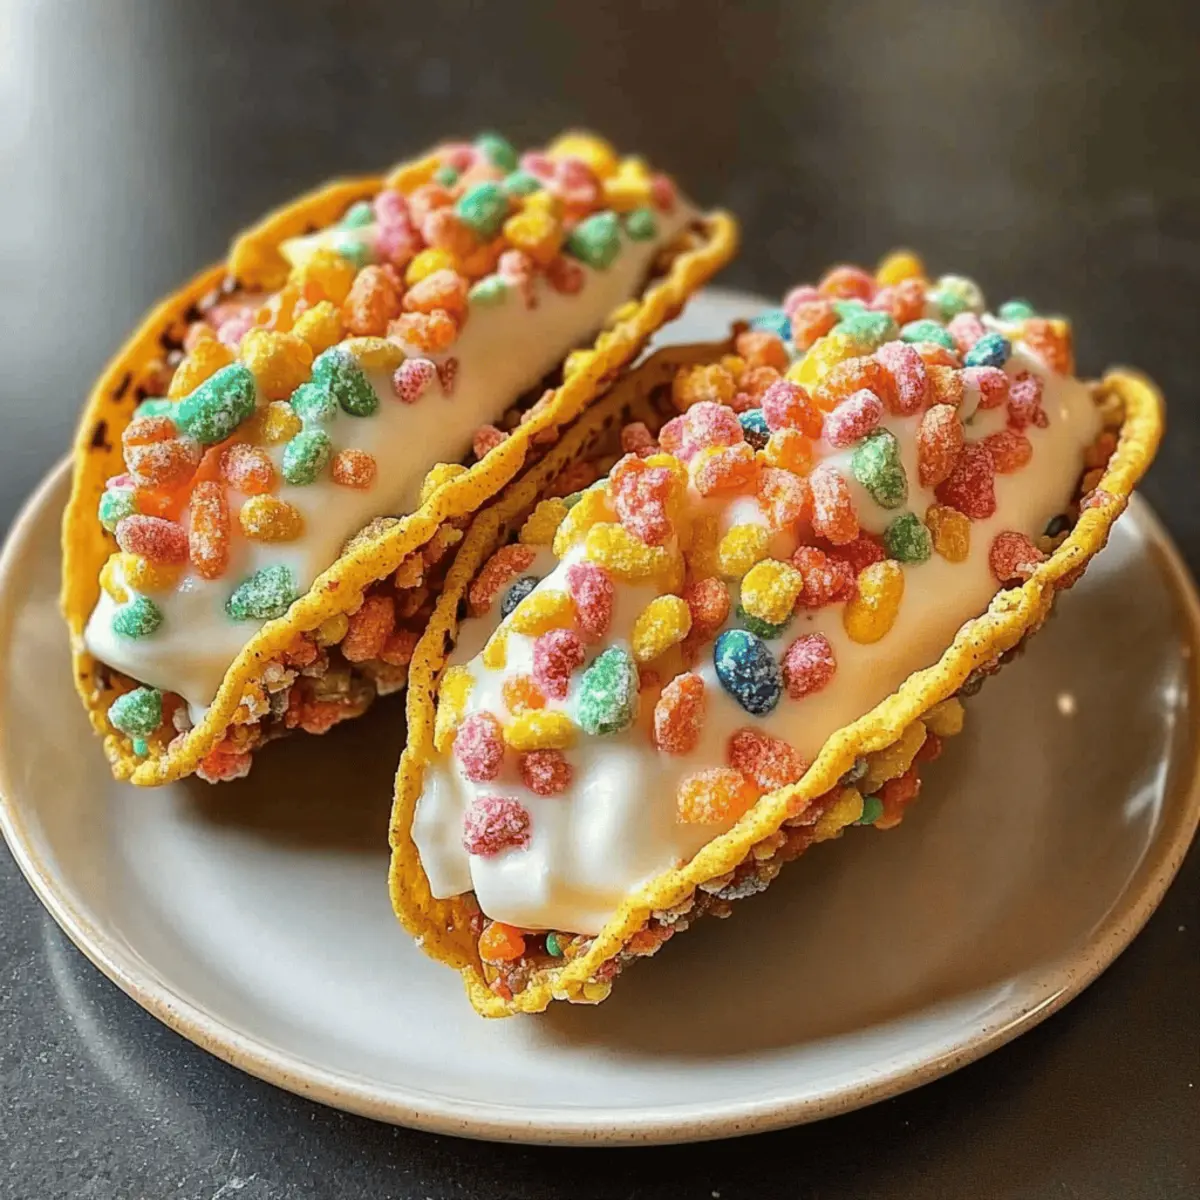
I had a mini crisis the other day when I ran out of ideas for a festive treat that would make both kids and adults smile. That’s when I stumbled upon the concept of Fruity Pebbles Cheesecake Tacos—a playful and colorful dessert that’s as delightful to make as it is to eat. Packed with vibrant textures, the crispy taco shell combines the sweet crunch of Fruity Pebbles with a creamy, dreamy cheesecake filling that’s sure to enchant everyone at the table. Ideal for parties or family gatherings, these tacos are quick to prepare and can even be a fun cooking project with your little ones. Are you ready to dive into this whimsical dessert adventure?
Why Choose Fruity Pebbles Cheesecake Tacos?
Playful Presentation: Each taco is a burst of color, making them an eye-catching addition to any dessert table.
Easy and Fun: Crafted in just a few steps, these tacos are perfect for involving kids in the kitchen.
Irresistible Flavor: The sweet crunch of Fruity Pebbles perfectly complements the creamy cheesecake filling.
Adaptable Recipe: Feel free to switch up the toppings or add your favorite flavors for endless variations. You can even explore options like Carrot Cake Cheesecake for more inspiration!
Guaranteed Crowd-Pleaser: These colorful treats are sure to delight both kids and adults alike, making them a hit at parties or family gatherings!
Fruity Pebbles Cheesecake Tacos Ingredients
For the Taco Shells
• Fruity Cereal – Adds texture and sweetness to the taco shells; ensure thorough coating with melted butter for optimal binding.
• Unsalted Butter – Provides moisture and richness for shell structure; use more if mixture crumbles during molding.
For the Cheesecake Filling
• Cream Cheese – Base for the cheesecake filling ensuring creaminess; must be at room temperature for easy mixing.
• Powdered Sugar – Sweetens and thickens the cheesecake; sift before use to avoid lumps.
• Pure Vanilla Extract – Enhances flavor, balancing the tartness of cream cheese with sweetness.
• Whipped Cream – Lightens the filling, giving it an airy texture; ensure stiff peaks are achieved for best results.
For Garnish
• Additional Fruity Cereal – Provides visual appeal and extra crunch on top; use additional toppings like sprinkles or chocolate if desired.
Step‑by‑Step Instructions for Fruity Pebbles Cheesecake Tacos
Step 1: Prepare Cereal Shells
In a mixing bowl, combine the Fruity Pebbles with melted unsalted butter until evenly coated. Firmly press this mixture into taco molds or greased muffin tins, ensuring they hold their shape. Place the molds in the refrigerator for at least 30 minutes to chill and set, allowing the shells to become crisp and sturdy.
Step 2: Make Cheesecake Filling
In a separate bowl, beat the softened cream cheese using a hand mixer until it’s light and fluffy, which should take about 2-3 minutes. Gradually sift in the powdered sugar and add the pure vanilla extract, mixing until thoroughly combined and smooth. Gently fold in whipped cream, ensuring not to deflate the mixture, creating a light, airy cheesecake filling for your Fruity Pebbles Cheesecake Tacos.
Step 3: Assemble Tacos
Once the cereal shells have set and become firm, it’s time to assemble! Generously spoon the cheesecake filling into each chilled taco shell, filling them to the brim for a delightful surprise. Smooth the top of the filling with a spatula or the back of a spoon, creating a visually appealing peak to showcase this colorful dessert.
Step 4: Garnish
To elevate your Fruity Pebbles Cheesecake Tacos, sprinkle extra Fruity Pebbles over the cheesecake filling. This adds a vibrant visual appeal and an extra crunch that complements the creamy texture. Feel free to get creative with additional toppings like sprinkles or a drizzle of chocolate for a fun finish.
Step 5: Serve
Serve your Fruity Pebbles Cheesecake Tacos immediately for the best crunch and freshness. Alternatively, if you prefer a firmer texture, allow the assembled tacos to chill in the refrigerator for an additional 15-20 minutes before serving. Enjoy this whimsical dessert with family and friends, and watch their faces light up with joy!
Fruity Pebbles Cheesecake Tacos Variations
Invite your creativity into the kitchen and let these delightful tacos transform to match your taste buds!
-
Vegan Twist: Swap cream cheese and whipped cream for dairy-free alternatives like coconut cream and cashew cream for a vegan delight. This way, everyone can join in on the fun without sacrificing flavor!
-
Fruity Infusion: Add a swirl of berry puree or a hint of citrus zest to the cheesecake filling for a refreshing twist. Just think of the blissful explosion of fruity flavors with every bite!
-
Chocolatey Indulgence: Mix in chocolate chips or a drizzle of chocolate ganache for a rich layer of flavor. Imagine the satisfying combination of sweet, creamy cheesecake with velvety chocolate – it’s pure joy!
-
Gourmet Textures: Toss in some crushed nuts or granola to the shell mixture for extra crunch. This will take your taco experience to a whole new level!
-
S’mores Style: Layer in a bit of toasted marshmallow fluff with the cheesecake for a fun s’mores-inspired twist. Who can resist that gooey, sweet contrast to the crunchy shell?
-
Flavorful Fusion: Try incorporating flavors like matcha or chai spices into the cheesecake filling for a unique taste adventure. These bold flavors will create an irresistible exotic vibe!
Feeling inspired? Maybe pair this treat with some Strawberry Cheesecake or perhaps some Birria Tacos Culinary for a delightful dessert feast!
What to Serve with Fruity Pebbles Cheesecake Tacos
Pairing the playful vibe of these tacos with complementary treats makes for an unforgettable dessert experience!
- Fresh Berries: Bright, juicy berries like strawberries or blueberries add a refreshing contrast, balancing the sweetness of the cheesecake. Their vibrant colors also enhance the visual appeal of the plate.
- Vanilla Ice Cream: A scoop of creamy vanilla ice cream elevates each bite, adding temperature contrast while harmonizing with the sweet flavors. It’s a classic pairing that never fails!
- Chocolate Drizzle: Drizzling warm chocolate sauce over the tacos creates a luscious combination of creamy, fruity, and chocolatey goodness. A chocolate lover’s dream!
- Whipped Cream: A dollop of extra whipped cream provides a light and airy addition that enhances the creamy texture of the filling, making every bite indulgent.
- Coconut Whipped Cream: For a tropical twist, top with coconut whipped cream! Its creamy consistency and subtle flavor complement the fruity notes beautifully.
- Lemon Zest Sprinkle: A sprinkle of fresh lemon zest adds a bright burst of citrus that balances the sweetness, giving the dessert a refreshing finish. This subtle touch is a game-changer!
- Sparkling Water: Serve with a bubbly sparkling water to cleanse the palate between bites, enhancing the flavors of the cheesecake without overpowering them.
- Creamy Fruit Dip: A side of creamy fruit dip achieves an interesting textural contrast, creating a fun way to enjoy additional fresh fruits alongside each taco.
- Caramel Sauce: Drizzling caramel sauce incorporates a rich and buttery element that resonates well with the sweetness of the tacos, making them irresistible.
Expert Tips for Fruity Pebbles Cheesecake Tacos
- Coat Well: Make sure the Fruity Cereal is thoroughly coated with melted butter; it’s crucial for creating sturdy taco shells that won’t crumble.
- Cream Cheese Temperature: Always use room temperature cream cheese to achieve a perfectly smooth cheesecake filling; chilled cream cheese can create lumps.
- Whip it Right: Ensure the whipped cream reaches stiff peaks; this will give your filling that light, airy texture while preventing it from becoming runny.
- Assembly Timing: For the best texture and presentation, assemble the Fruity Pebbles Cheesecake Tacos just before serving; this keeps the shells crisp and the filling fresh.
- Layering for Storage: If making ahead, store taco shells and cheesecake filling separately to maintain freshness; use parchment paper between layers to prevent sticking.
How to Store and Freeze Fruity Pebbles Cheesecake Tacos
Room Temperature: These tacos are best enjoyed fresh; store any leftovers in a cool, dry place for up to 2 hours to maintain crunch.
Fridge: If you need to store assembled tacos, place them in an airtight container in the fridge for up to 3 days; use parchment paper between layers to prevent sticking and sogginess.
Freezer: For longer storage, freeze the taco shells separately from the cheesecake filling for up to 1 month. Let shells cool completely, then place in a freezer-safe bag.
Reheating: When ready to enjoy, allow the taco shells to defrost in the fridge overnight and assemble with fresh cheesecake filling just before serving for the best texture.
Make Ahead Options
These Fruity Pebbles Cheesecake Tacos are perfect for meal prep enthusiasts looking to save time on busy days! You can prepare the cereal taco shells up to 24 hours in advance; simply press the mixture into molds and refrigerate them to set. For the cheesecake filling, mix it and keep it refrigerated for up to 3 days in an airtight container, ensuring it’s well-sealed to maintain its creamy texture. When you’re ready to serve, simply fill the chilled taco shells with the cheesecake and garnish with more Fruity Pebbles for that extra crunch. With these make-ahead tips, you can whip up a whimsical dessert without the last-minute rush!

Fruity Pebbles Cheesecake Tacos Recipe FAQs
What is the best way to choose Fruity Pebbles for this recipe?
Absolutely! When selecting Fruity Pebbles cereal, look for boxes that are fresh and intact without any signs of damage. A visual cue is to check for bright, vibrant colors without any dark spots or fading; fresher cereal will provide the best crunch and flavor in your taco shells.
How should I store leftover Fruity Pebbles Cheesecake Tacos?
To maintain their delightful crunch, store any assembled tacos in an airtight container in the fridge for up to 3 days. I suggest using parchment paper between layers to prevent sticking and keep the shells from becoming soggy. If you have unassembled shells and filling, store them separately for best results!
Can I freeze Fruity Pebbles Cheesecake Tacos?
Yes, you can! For optimal results, freeze the taco shells separately from the cheesecake filling. Allow the shells to cool completely, then place them in a freezer-safe bag labeled with the date. They can be stored for up to 1 month. When ready to enjoy, thaw the shells in the refrigerator overnight, then assemble with fresh cheesecake filling right before serving.
What if my cheesecake filling ends up runny?
Very! If your filling is runny, first ensure that your cream cheese is completely softened before mixing; chill it in warm water for a smooth texture. Also, be sure to whip the cream to stiff peaks. If it’s still too runny, you can always refrigerate the assembled tacos for about 15-20 minutes to firm up the filling before serving.
Are there any dietary considerations for these tacos?
Of course! For a dairy-free option, substitute cream cheese and whipped cream with plant-based alternatives. Additionally, if you are creating these for children, be mindful of potential allergies to ingredients like dairy or nuts. Always check ingredient labels to ensure they align with dietary needs, and feel free to customize flavors, like adding fruit purees, for those with specific preferences!
Fruity Pebbles Cheesecake Tacos: A Fun, Colorful Dessert Delight
Ingredients
Equipment
Method
- In a mixing bowl, combine the Fruity Pebbles with melted unsalted butter until evenly coated. Firmly press this mixture into taco molds or greased muffin tins, ensuring they hold their shape. Place the molds in the refrigerator for at least 30 minutes to chill and set, allowing the shells to become crisp and sturdy.
- In a separate bowl, beat the softened cream cheese using a hand mixer until it’s light and fluffy, which should take about 2-3 minutes. Gradually sift in the powdered sugar and add the pure vanilla extract, mixing until thoroughly combined and smooth. Gently fold in whipped cream, ensuring not to deflate the mixture, creating a light, airy cheesecake filling.
- Once the cereal shells have set and become firm, generously spoon the cheesecake filling into each chilled taco shell, filling them to the brim for a delightful surprise. Smooth the top of the filling with a spatula.
- Sprinkle extra Fruity Pebbles over the cheesecake filling for visual appeal and added crunch. Get creative with additional toppings if desired.
- Serve your Fruity Pebbles Cheesecake Tacos immediately for the best crunch and freshness. Alternatively, chill for 15-20 minutes for a firmer texture.