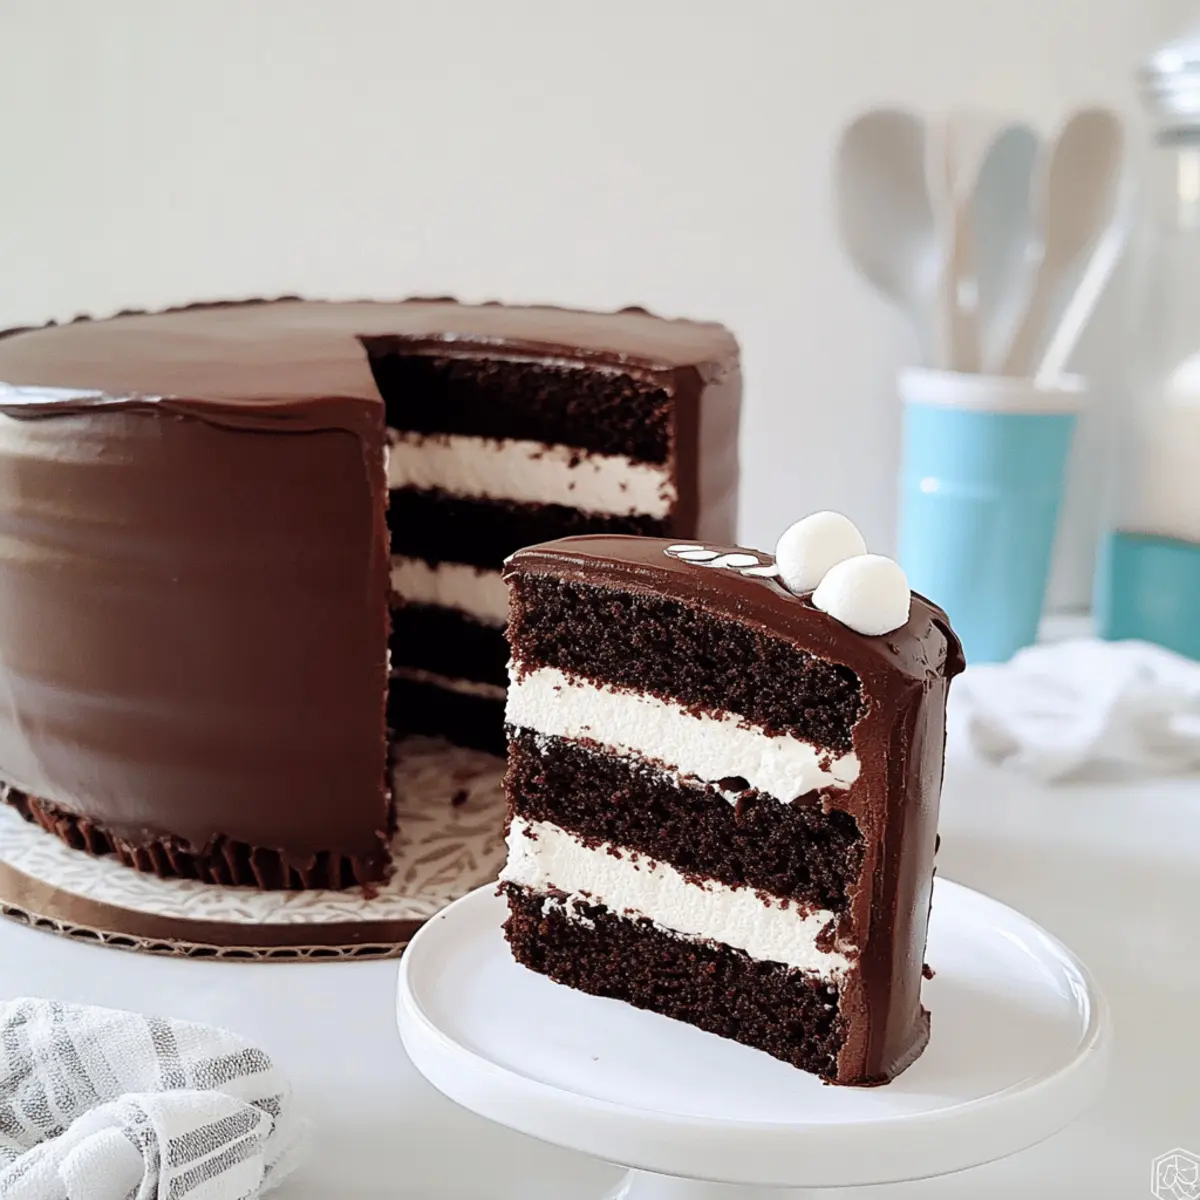
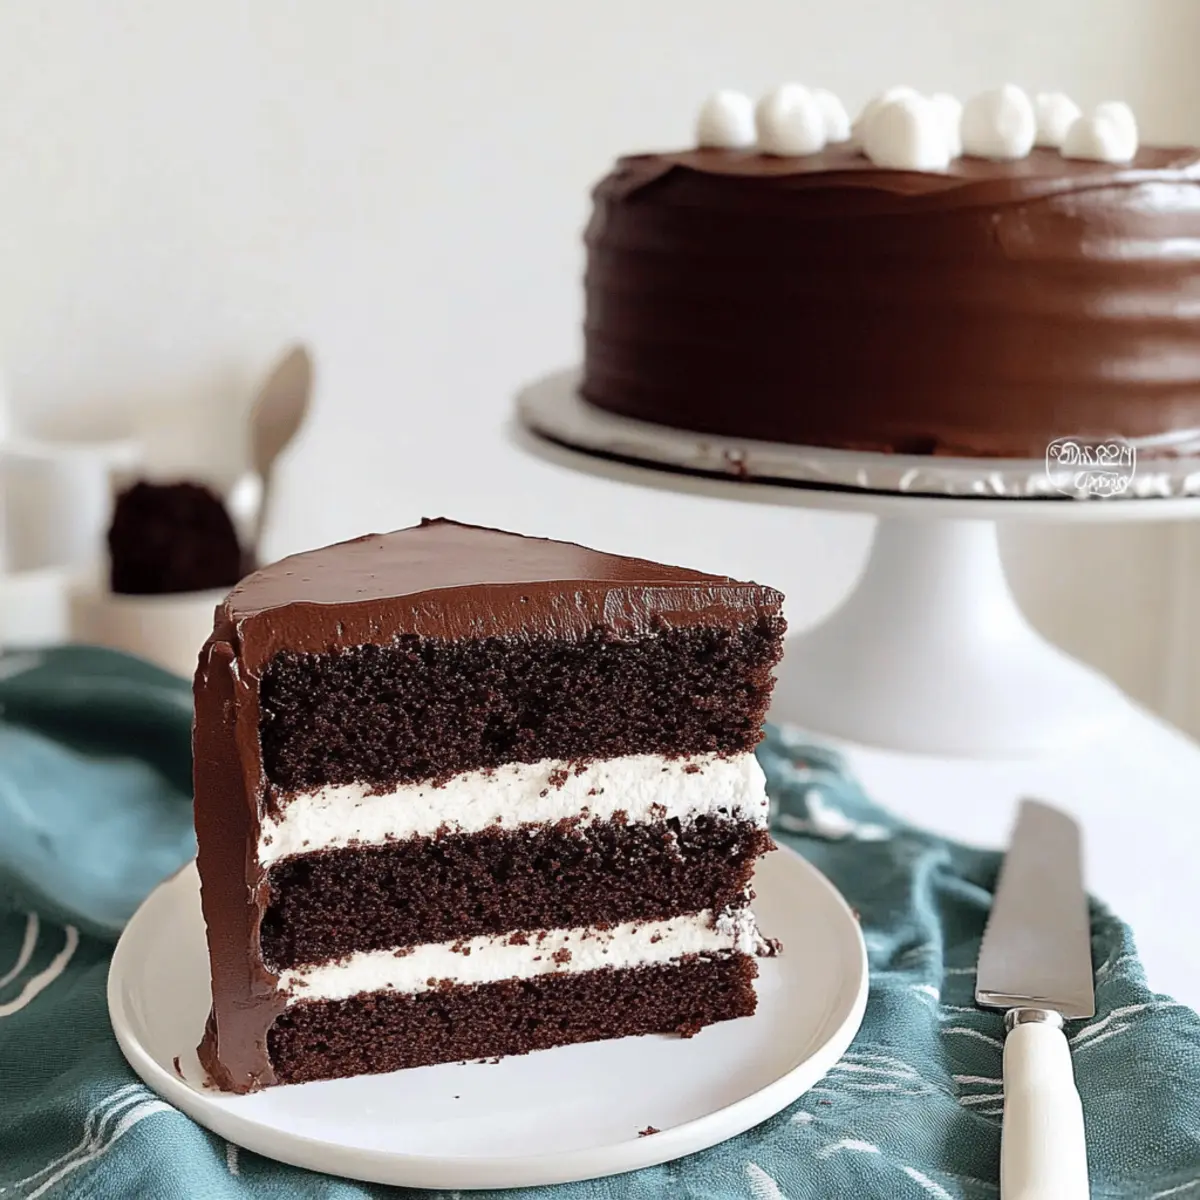
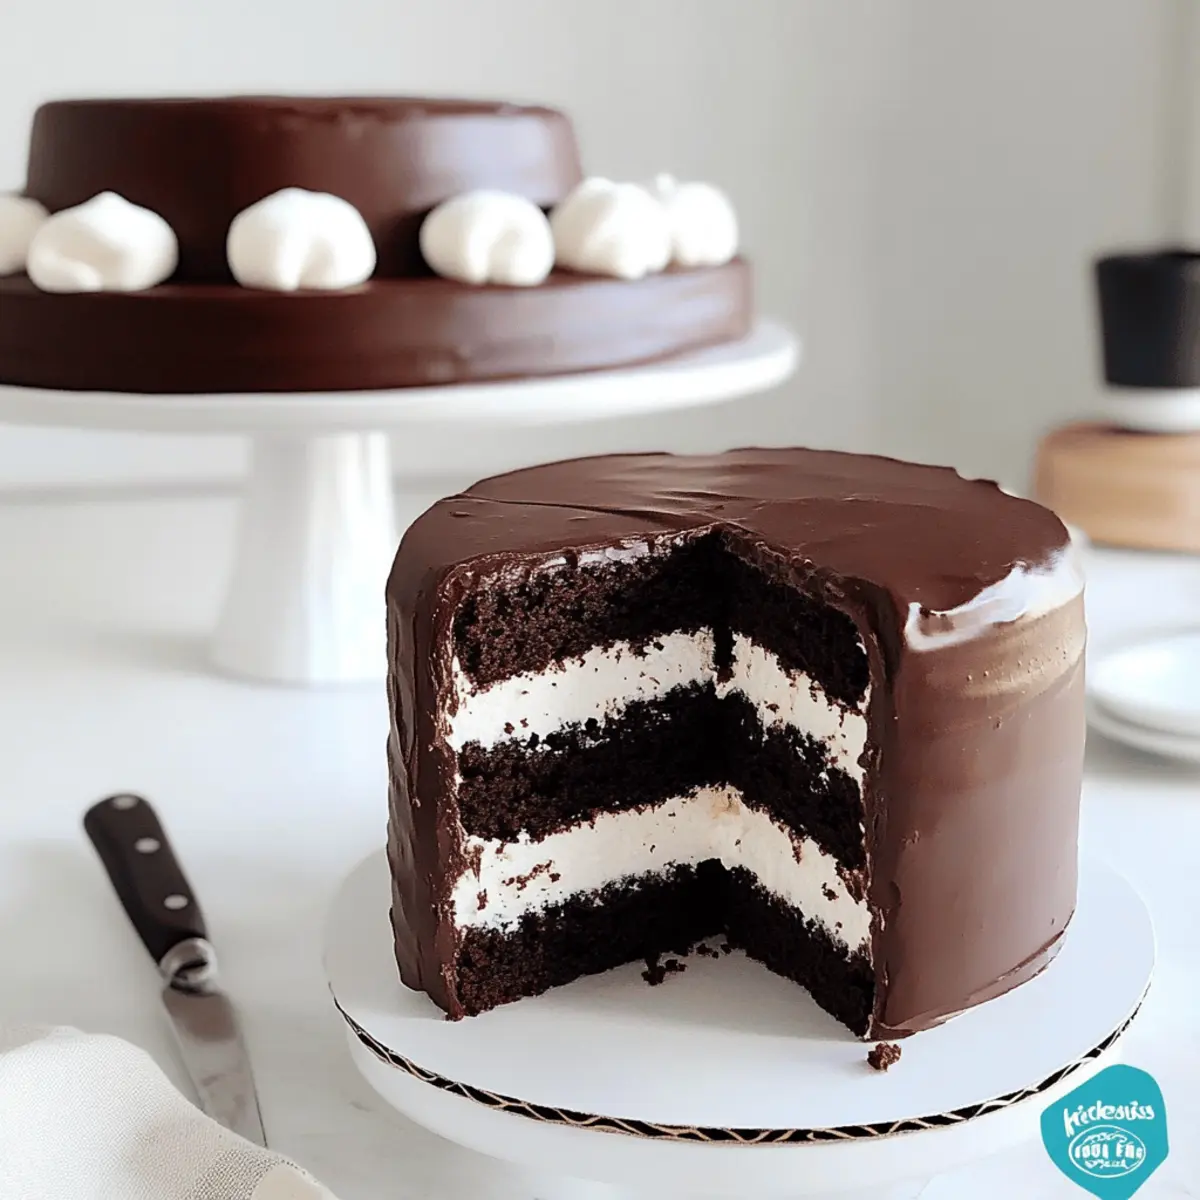
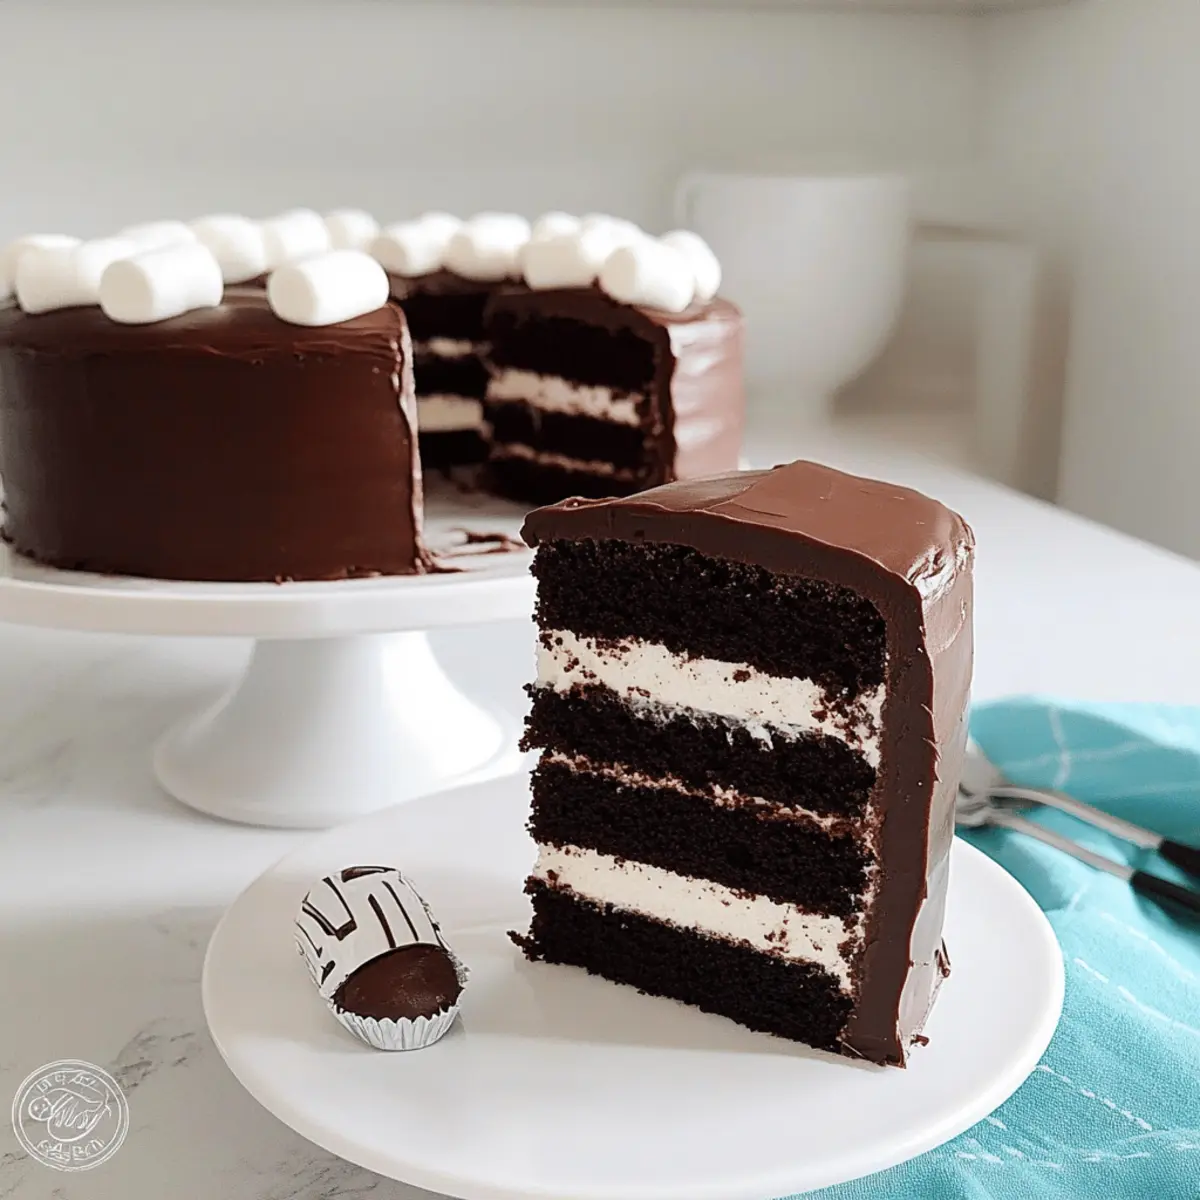
As I sifted through the flour and cocoa, a wave of nostalgia washed over me, reminiscent of childhood birthday parties filled with laughter and sweet indulgence. That’s when I realized I was about to recreate something truly special: a Hostess Cupcake Layer Cake. This cake is not just a treat; it’s an emotional journey back to those simpler times, layered with rich, fudgy chocolate, creamy marshmallow filling, and a luscious whipped ganache frosting. Beyond its deliciousness, this delightful recipe is easy to whip up and is guaranteed to impress your guests, making it the ultimate crowd-pleaser for any occasion. Whether you’re celebrating or simply satisfying a sweet tooth, this cake will not only satisfy your cravings but also spark joyful memories. Are you ready to elevate dessert to the next level?

Why is this cake a must-bake?
Nostalgic Delight: This Hostess Cupcake Layer Cake captures the essence of childhood treats, evoking joyous memories with every bite.
Easy to Make: Whether you’re a novice baker or a seasoned chef, the straightforward steps ensure success.
Decadently Rich: With a moist chocolate base and creamy marshmallow filling, this cake delivers a heavenly flavor experience.
Versatile Options: Transform it into cupcakes or experiment with different flavors to impress guests or tailor to dietary needs!
Showstopper Presentation: The whipped ganache frosting beautifully enhances the cake, making it perfect for celebrations or special gatherings. Pair it with a scoop of vanilla ice cream for the ultimate indulgence!
Hostess Cupcake Layer Cake Ingredients
• This decadent cake is layered with nostalgia!
For the Cake
- All-purpose flour – Provides structure; substitute with a 1:1 gluten-free flour blend for a gluten-free version.
- Granulated sugar – Adds sweetness; brown sugar can enhance depth of flavor.
- Natural unsweetened cocoa powder – For rich chocolate flavor; Dutch-processed cocoa gives a deeper taste.
- Baking soda – A vital leavening agent for that perfect rise.
- Baking powder – Enhances leavening to keep the cake light and airy.
- Salt – Elevates the flavor profile of your cake.
- Vegetable oil – Brings moisture and tenderness; substitute with melted butter for a richer taste.
- Large eggs – Acts as a binding agent for a smooth texture.
- Pure vanilla extract – Infuses delightful flavors into the cake.
- Buttermilk – Ensures moisture; can be replaced with milk plus 1 tbsp vinegar as a DIY buttermilk.
- Hot coffee or hot water – Enhances the chocolate richness and adds moisture.
For the Whipped Ganache Frosting
- Semi-sweet chocolate chips – The base for a luscious ganache; swap for dark chocolate for a less sweet frosting.
- Heavy whipping cream – Provides the ideal consistency; coconut cream can be used for a non-dairy option.
For the Marshmallow Filling
- Unsalted butter – Adds richness to the filling.
- Powdered sugar – A sweet component that contributes to the texture.
- Marshmallow fluff – Creates a wonderfully creamy filling; homemade marshmallow cream works as an alternative.
- Pure vanilla extract – Enhances flavor in the filling too.
This Hostess Cupcake Layer Cake combines indulgent flavors and nostalgic charm, making it a delightful addition to any dessert table!
Step‑by‑Step Instructions for Hostess Cupcake Layer Cake
Step 1: Preheat and Prepare
Begin by preheating your oven to 350°F (175°C). While the oven warms up, prepare your two 9-inch round cake pans by spraying them with non-stick spray. To ensure easy removal later, line the bottom of each pan with parchment paper, and gently spray the top of the parchment as well.
Step 2: Combine Dry Ingredients
In a large stand mixer bowl, combine the all-purpose flour, granulated sugar, natural cocoa powder, baking soda, baking powder, and salt. Mix these dry ingredients on low speed for about 30 seconds, allowing the flavors to meld together. This step sets a solid foundation for your Hostess Cupcake Layer Cake, ensuring even texture and taste.
Step 3: Mix in Wet Ingredients
Next, add the vegetable oil, large eggs, pure vanilla extract, and buttermilk to your mixer. Blend these ingredients on low speed until just combined. Gradually pour in the hot coffee or hot water while mixing; this enhances the chocolate flavor and keeps the batter moist. Continue to mix until you have a smooth, well-combined batter.
Step 4: Bake the Cake Layers
Pour the batter evenly into your prepared cake pans. Place them in the preheated oven and bake for 32-36 minutes, or until a toothpick inserted in the center comes out clean with a few moist crumbs. Once baked, remove the pans from the oven and allow the cakes to cool in the pans for about 10 minutes before transferring them to a wire rack to cool completely.
Step 5: Prepare the Ganache
While the cakes cool, heat the heavy whipping cream in a small saucepan over medium heat until it is just about to simmer. Pour the hot cream over the semi-sweet chocolate chips in a mixing bowl. Let it sit for 5 minutes, then whisk until smooth and glossy. Allow the ganache to cool to room temperature to achieve the perfect consistency for frosting later.
Step 6: Whip the Ganache
Once your ganache has cooled, use a stand mixer to whip it on medium-high speed for about 3 minutes. Watch for it to become light and fluffy—the whipped ganache should hold a soft peak. Be careful not to overbeat, as this can change the texture, making it less smooth.
Step 7: Make the Marshmallow Filling
In another mixing bowl, add the unsalted butter and powdered sugar. Beat them together on medium speed until creamy and well combined. Gradually mix in the marshmallow fluff and the pure vanilla extract until the mixture is smooth and airy. This marshmallow filling adds a delightful touch to your Hostess Cupcake Layer Cake.
Step 8: Assemble the Cake
Once the cakes are completely cool, level the tops with a serrated knife to ensure even stacking. Place one cake layer on a serving plate. Spread a layer of marshmallow filling on top, followed by a thin layer of the whipped ganache. Carefully place the second cake layer on top, repeating the marshmallow filling and ganache combination to create a stunning layered effect.
Step 9: Crumb Coat and Chill
To keep the layers neat, apply a crumb coat using the whipped ganache by spreading a thin layer over the whole cake. This helps keep any stray crumbs from showing in the final decoration. Chill the cake in the refrigerator for about 30 minutes to set the crumb coat, making it easier to apply the final layer of frosting.
Step 10: Final Frosting
Take the chilled cake out of the refrigerator and using the remaining whipped ganache, apply a smooth and even layer over the entire cake. For an added touch, reserve some of the marshmallow filling to pipe decorative details on top. This will elevate your Hostess Cupcake Layer Cake, making it truly special for any occasion.

Hostess Cupcake Layer Cake Variations
Customize your Hostess Cupcake Layer Cake to match your cravings and dietary needs with these exciting twists!
- Gluten-Free: Substitute all-purpose flour with a 1:1 gluten-free flour blend for a cake everyone can enjoy. It will still be rich and delicious.
- Vegan: Use plant-based butter, almond milk, and flax eggs to create a dairy-free and egg-free cake without sacrificing moisture or flavor. Play with variations to achieve that nostalgic taste!
- Chocolate Chips: Fold in mini chocolate chips into the batter for added bursts of chocolate in every bite. This will take your cake to chocolaty heights!
- Coffee Infusion: Add a tablespoon of instant coffee granules to the batter for a sophisticated mocha flavor that pairs beautifully with chocolate. It’s a cozy touch that warms the heart.
- Fruity Layers: Introduce layers of fresh cherries or raspberries in between the fillings! This fruity surprise adds brightness and compliments the chocolate beautifully.
- Minty Fresh: Mix in mint extract to the ganache or marshmallow filling for a refreshing twist. This creates a delightful contrast that will have everyone talking!
- Cupcakes: Transform this cake into nostalgic cupcakes by using the same batter in cupcake tins. Bake for 15-18 minutes and fill with marshmallow fluff and ganache for a portable treat.
- Spicy Kick: Add a pinch of cayenne pepper or cinnamon to the cake batter for a subtle warm flavor that will dazzle your taste buds. Adventure awaits with this unexpected heat!
For more sweet ideas, consider serving your cake alongside a scoop of vanilla ice cream or some fresh berries to elevate the dessert experience. Enjoy the delicious journey!
What to Serve with Hostess Cupcake Layer Cake
Delight your senses with mouthwatering accompaniments that elevate the experience of this nostalgic treat!
- Vanilla Ice Cream: A scoop of creamy vanilla adds a refreshing contrast to the rich chocolate layers, enhancing every bite of cake and frosting.
- Fresh Berries: Strawberries or raspberries provide a tart juxtaposition, cutting through the sweetness while adding vibrant color and texture to your dessert plate.
- Chocolate Sauce: Drizzling warm chocolate sauce over a slice offers an extra indulgent touch, making every forkful an irresistible chocolate lover’s dream.
- Whipped Cream: Light and airy, whipped cream complements the dense cake and offers a luscious mouthfeel that balances the rich flavors beautifully.
- Coffee: A cup of strong coffee rounds out dessert time splendidly, bringing forth the chocolate notes and adding a comforting warmth.
- Milk: For a classic pairing, serve with a cold glass of milk—it’s reminiscent of childhood treats and makes for a simplistic yet perfect match to the cake’s sweetness.
- Mocha: A frothy mocha drink harmonizes deliciously with the cake’s chocolate flavor, combining the richness of chocolate with the boldness of coffee.
- Caramel Sauce: Drizzling caramel adds a delightful sweetness and a touch of decadence, enhancing the cake’s charm with an additional layer of flavor.
- Coconut Macaroons: These chewy treats provide a contrasting texture that pairs well, making every bite of cake even more memorable and special with their coconut goodness.
How to Store and Freeze Hostess Cupcake Layer Cake
Room Temperature: Keep the cake at room temperature in an airtight container for up to 5 days to maintain its delicious flavor and freshness.
Fridge: If decorated, refrigerate the cake to preserve the look and keep it fresh; it can last up to a week in the fridge.
Freezer: You can freeze the cake layers for up to 3 months; wrap each layer tightly in plastic wrap followed by aluminum foil to prevent freezer burn.
Reheating: To enjoy, simply thaw in the refrigerator overnight and bring to room temperature before serving your delightful Hostess Cupcake Layer Cake.
Expert Tips for Hostess Cupcake Layer Cake
-
Use Room Temperature Ingredients: Ensure your eggs, buttermilk, and other refrigerated ingredients are at room temperature for better incorporation and a fluffier texture.
-
Don’t Overmix: Once you combine wet and dry ingredients, mix until just combined. Overmixing can lead to a dense Hostess Cupcake Layer Cake.
-
Focus on Cooling: Allow the cake layers to cool completely before frosting. This ensures your ganache remains smooth and doesn’t melt the filling.
-
Leveling is Key: Level the tops of the cake layers using a serrated knife. This helps create a stable base for stacking and prevents a lopsided cake.
-
Avoid Over-beating Ganache: When whipping the ganache, watch the consistency closely—stop once it holds a soft peak to prevent curdling.
-
Chill Between Layers: After applying the crumb coat, chill the cake before the final frosting. This step helps achieve a neat, polished look for your Hostess Cupcake Layer Cake.
Make Ahead Options
These Hostess Cupcake Layer Cake components are perfect for busy weeknights or last-minute gatherings! You can prepare the chocolate cake layers up to 3 days in advance; just bake them, cool completely, and wrap tightly in plastic wrap before refrigerating. The marshmallow filling can also be made ahead and stored in an airtight container in the fridge for up to 2 days. For the ganache, make it and refrigerate it for up to 24 hours; whip it just before assembly for that light and fluffy texture. When you’re ready to serve, simply layer the chilled components as directed, and you’ll enjoy a delicious dessert with minimal effort!

Hostess Cupcake Layer Cake Recipe FAQs
How do I choose the right cocoa powder for this cake?
For the deepest chocolate flavor, I recommend using Dutch-processed cocoa powder. It offers a smoother, richer taste compared to natural cocoa powder. However, if you only have unsweetened cocoa, that works just fine for this recipe!
How should I store leftover Hostess Cupcake Layer Cake?
To keep your cake fresh, store it at room temperature in an airtight container for up to 5 days. If you’ve decorated the cake, it’s best to refrigerate it, which will allow it to last up to a week in the fridge, keeping both flavor and aesthetics intact!
Can I freeze the Hostess Cupcake Layer Cake?
Absolutely! To freeze, wrap each cake layer tightly in plastic wrap and then in aluminum foil to prevent freezer burn. It can be stored in the freezer for up to 3 months. When you’re ready to enjoy, simply thaw it in the refrigerator overnight and bring it to room temperature before serving.
What should I do if my ganache isn’t thickening?
If your ganache isn’t thickening, it might not have cooled long enough. Allow it to sit at room temperature for a bit longer or lightly whip it until it reaches the desired fluffiness. Also, make sure you are using a correct ratio of chocolate to cream—generally, a 1:1 ratio works best!
Can I modify the ingredients for dietary restrictions?
Yes! You can make it gluten-free by using a 1:1 gluten-free flour blend or a vegan version with plant-based butter and non-dairy cream. If you or your guests have allergies, always check the ingredient labels, especially for items like butter and marshmallow fluff, which can contain allergens.
How can I prevent my cake from doming?
To avoid doming, ensure that you’re using room temperature ingredients and not overmixing the batter after combining wet and dry ingredients. Additionally, leveling the cake layers after baking with a serrated knife will help maintain an even stack when assembling your Hostess Cupcake Layer Cake.

Hostess Cupcake Layer Cake: A Nostalgic Chocolate Dream
Ingredients
Equipment
Method
- Preheat your oven to 350°F (175°C) and prepare two 9-inch round cake pans with non-stick spray and parchment.
- In a large stand mixer bowl, combine flour, sugar, cocoa, baking soda, baking powder, and salt; mix on low for 30 seconds.
- Add vegetable oil, eggs, vanilla, and buttermilk; blend until just combined. Gradually pour in hot coffee or water.
- Pour the batter into prepared pans and bake for 32-36 minutes until a toothpick comes out clean.
- While cakes cool, heat cream in a saucepan, pour over chocolate chips, let sit for 5 minutes, then whisk until smooth.
- Whip the cooled ganache on medium-high until light and fluffy, about 3 minutes.
- In another bowl, beat butter and sugar until creamy, then add marshmallow fluff and vanilla until smooth.
- Level the tops of the cakes, spread marshmallow filling on one layer, then top with ganache and second layer.
- Apply a crumb coat with ganache, chill for about 30 minutes, and then frost the whole cake.
- Decorate with reserved filling as desired.


