


Introduction to Italian Sushi Rolls
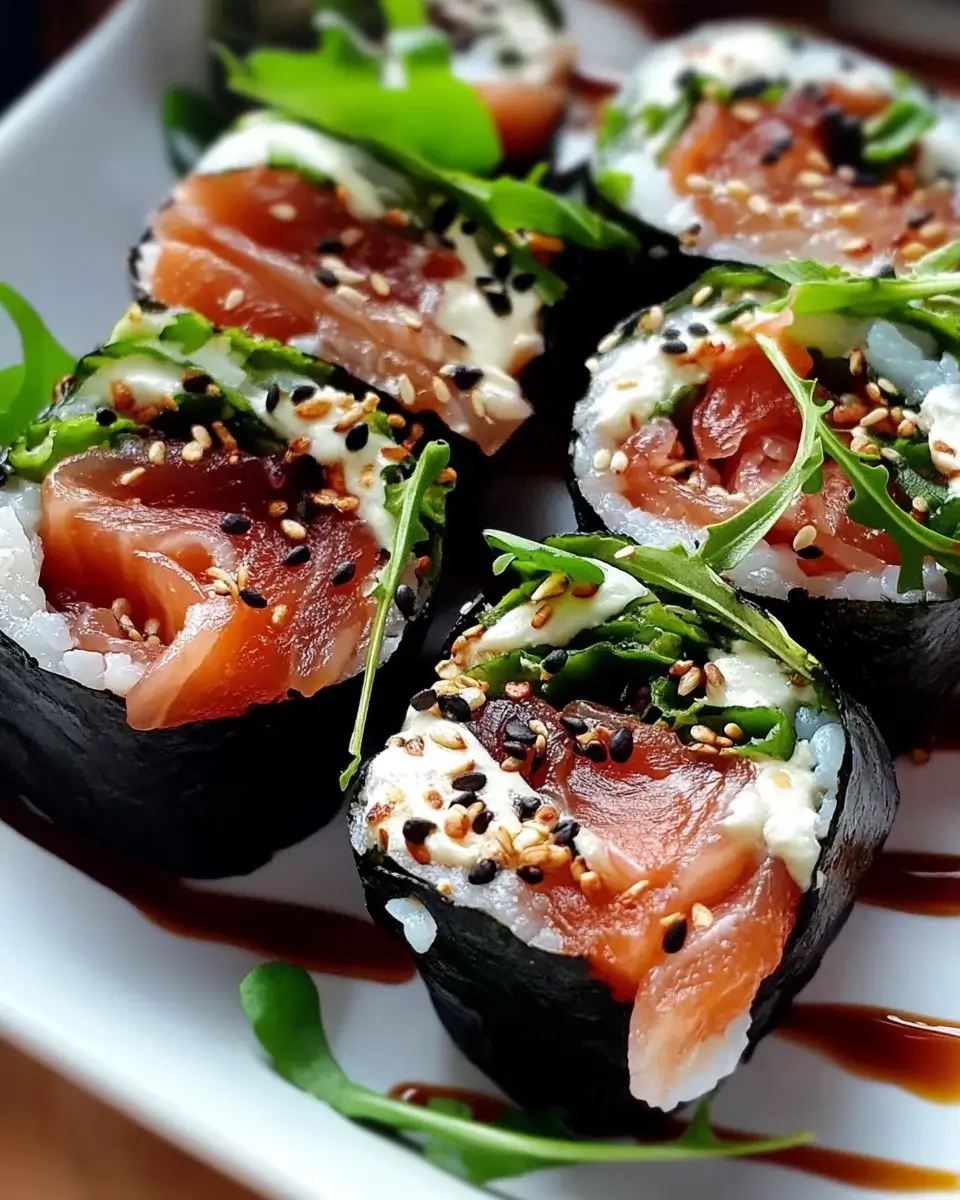
There’s something magical about blending cultures in the kitchen. When I first stumbled upon the idea of Italian sushi rolls, I was intrigued. Imagine the delightful combination of sushi rice and fresh Italian ingredients like salami and mozzarella. This dish is not just a meal; it’s a conversation starter, perfect for impressing friends or enjoying a cozy night in. Whether you’re a seasoned chef or a kitchen novice, these Italian sushi rolls are a quick solution for a busy day or a fun way to spice up your dinner routine. Let’s dive into this culinary adventure!
Why You’ll Love This Italian Sushi Rolls
These Italian sushi rolls are a game changer! They combine the best of both worlds—Italian flavors and sushi fun. Not only are they easy to make, but they also come together quickly, making them perfect for busy weeknights or last-minute gatherings. The taste? Absolutely irresistible! Each bite bursts with fresh ingredients, and the unique twist will have everyone asking for seconds. Trust me, you’ll want to keep this recipe close!
Ingredients for Italian Sushi Rolls
Gathering the right ingredients is key to making these Italian sushi rolls a hit. Here’s what you’ll need:
- Sushi rice: This sticky rice is the foundation of your rolls, providing that classic sushi texture.
- Water: Essential for cooking the rice to perfection.
- Rice vinegar: Adds a tangy flavor that balances the richness of the other ingredients.
- Sugar: Just a touch to enhance the flavor of the rice.
- Salt: A pinch to season the rice and bring out the flavors.
- Nori (seaweed): The wrap that holds everything together, giving your rolls that authentic sushi feel.
- Cucumber: Fresh and crunchy, it adds a refreshing bite.
- Bell pepper: Choose any color for a sweet crunch and vibrant color.
- Avocado: Creamy and rich, it complements the other ingredients beautifully.
- Salami: This Italian classic brings a savory depth to your rolls.
- Mozzarella cheese: Shredded for a melty, gooey texture that ties the flavors together.
- Soy sauce: For dipping, it adds a salty umami kick that enhances each bite.
For those looking to switch things up, consider substituting the salami with roasted red peppers or marinated artichokes for a vegetarian option. And if you want to elevate the flavor, a drizzle of balsamic glaze over the rolls before serving is a delightful touch. Exact measurements for these ingredients can be found at the bottom of the article, ready for printing!
How to Make Italian Sushi Rolls
Creating Italian sushi rolls is a fun and rewarding experience. Follow these simple steps, and you’ll be rolling like a pro in no time. Let’s get started!
Step 1: Prepare the Sushi Rice
First things first, rinse the sushi rice under cold water. This removes excess starch and helps achieve that perfect sticky texture. Once the water runs clear, combine the rinsed rice and water in a medium saucepan. Bring it to a boil, then reduce the heat to low. Cover and let it simmer for about 18-20 minutes. When the rice is tender and the water is absorbed, remove it from heat. Let it sit, covered, for 10 minutes. This resting time is crucial for fluffy rice!
Step 2: Season the Rice
While the rice cools, mix the rice vinegar, sugar, and salt in a small bowl. Stir until everything is dissolved. Once the rice has cooled to room temperature, gently fold this mixture into the rice. Be careful not to mash the grains; you want to keep that lovely texture. This seasoning adds a delightful tang that complements the Italian ingredients beautifully.
Step 3: Assemble the Rolls
Now, grab your bamboo sushi mat and lay it on a clean surface. Place a sheet of nori on the mat, shiny side down. With wet hands (this prevents sticking), spread about 1/2 cup of the cooled sushi rice evenly over the nori. Leave about a 1-inch border at the top. This space is essential for sealing the roll later. It’s like giving your sushi a cozy blanket!
Step 4: Roll the Sushi
Time to add the good stuff! Arrange a line of cucumber, bell pepper, avocado, salami, and mozzarella cheese across the center of the rice-covered nori. Starting at the bottom, use the bamboo mat to roll the sushi tightly away from you. Press gently to keep the filling in place. When you reach the border of the nori, moisten the edge with a little water to seal the roll. It’s like wrapping a present, but way tastier!
Step 5: Slice and Serve
Once all your rolls are made, it’s time to slice them up. Use a sharp knife to cut each roll into 6-8 pieces. Wipe the knife with a damp cloth between cuts to keep the edges clean. Serve your Italian sushi rolls with soy sauce for dipping. Trust me, the combination of flavors will have everyone coming back for more!
Tips for Success
- Always rinse your sushi rice thoroughly to achieve the right texture.
- Use a sharp knife for clean cuts; it makes a big difference in presentation.
- Keep a bowl of water nearby to wet your hands and the knife.
- Experiment with fillings—don’t be afraid to get creative!
- Let the rice cool completely before assembling to avoid soggy rolls.
Equipment Needed
- Bamboo sushi mat: Essential for rolling; a clean kitchen towel can work in a pinch.
- Medium saucepan: For cooking the rice; any pot with a lid will do.
- Sharp knife: For slicing; a serrated knife can also be effective.
- Small bowl: For mixing the vinegar seasoning; any bowl will suffice.
Variations
- Vegetarian Delight: Swap out salami for roasted red peppers or marinated artichokes for a fresh, meat-free option.
- Spicy Kick: Add sliced jalapeños or a drizzle of sriracha for those who enjoy a bit of heat.
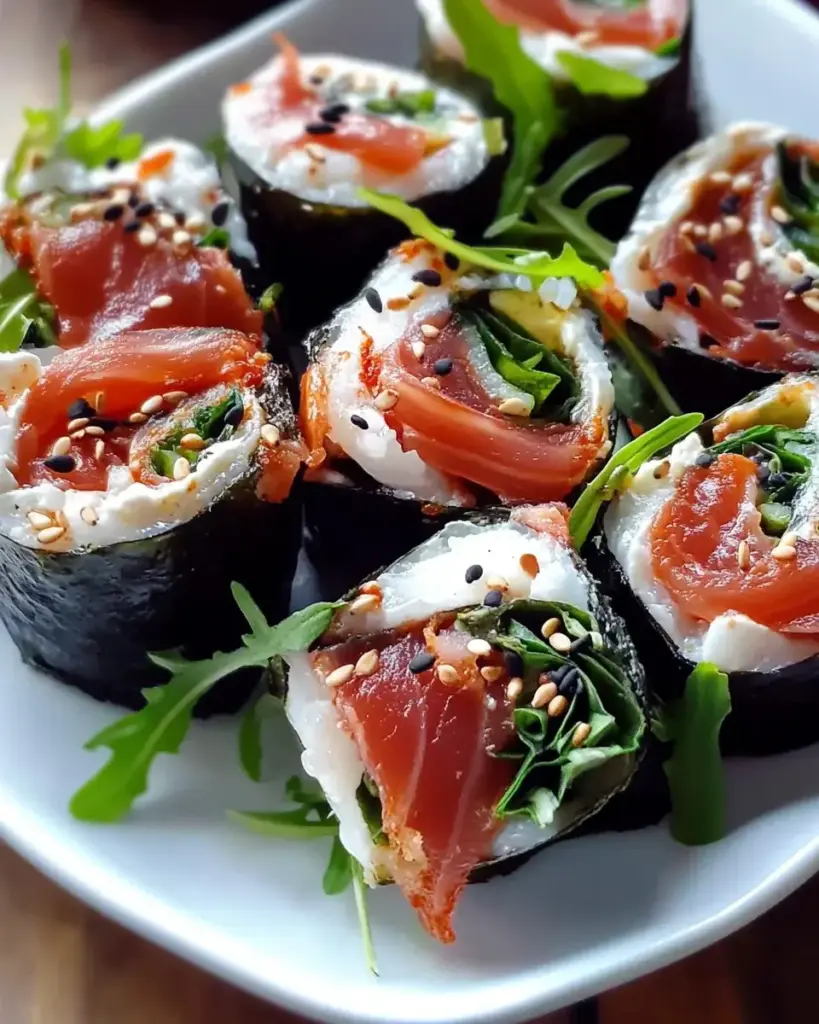
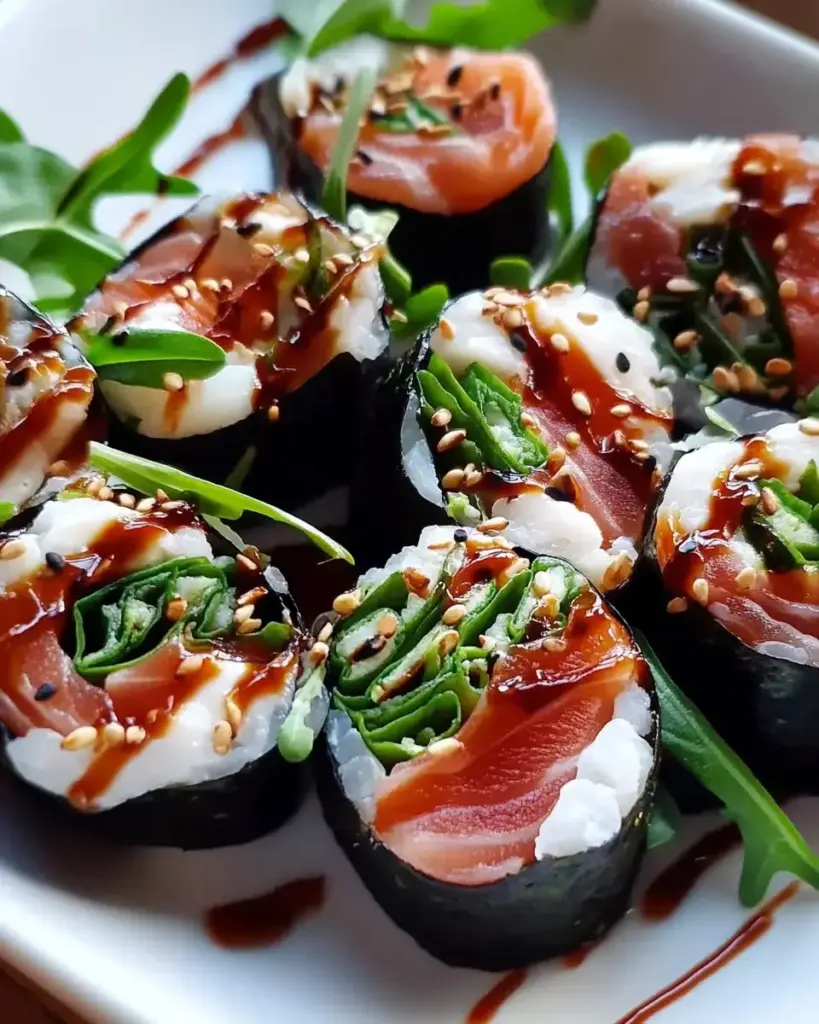
- Herb Infusion: Incorporate fresh basil or arugula for an aromatic twist that enhances the Italian flavors.
- Cheesy Goodness: Experiment with different cheeses like provolone or goat cheese for a unique flavor profile.
- Fruit Fusion: Try adding thin slices of strawberries or peaches for a sweet contrast to the savory ingredients.
Serving Suggestions
- Pair with a crisp salad: A light arugula or mixed greens salad complements the rolls beautifully.
- Drink options: Serve with a chilled white wine or sparkling water for a refreshing touch.
- Presentation: Arrange the rolls on a wooden board, garnished with fresh herbs for an inviting look.
FAQs about Italian Sushi Rolls
Curious about Italian sushi rolls? You’re not alone! Here are some common questions I’ve encountered, along with answers to help you navigate this delicious fusion dish.
Can I make Italian sushi rolls ahead of time?
Absolutely! You can prepare the sushi rolls a few hours in advance. Just keep them covered with a damp cloth to prevent them from drying out. However, I recommend slicing them just before serving for the best presentation and freshness.
What can I use instead of sushi rice?
If you can’t find sushi rice, short-grain rice is a good alternative. It won’t have the same stickiness, but it will still hold together well. Just be sure to adjust the cooking time as needed.
Are Italian sushi rolls suitable for kids?
Definitely! Kids often love the fun of rolling their own sushi. You can customize the fillings to suit their tastes, making it a great way to get them involved in the kitchen.
Can I freeze Italian sushi rolls?
While it’s not ideal to freeze sushi rolls, you can freeze the ingredients separately. Just assemble and roll them fresh when you’re ready to enjoy. This way, you’ll have the best texture and flavor!
What dipping sauces pair well with Italian sushi rolls?
Besides traditional soy sauce, consider trying a balsamic reduction or a zesty Italian dressing. These options enhance the Italian flavors and add a unique twist to your dipping experience!
Final Thoughts
Creating Italian sushi rolls is more than just cooking; it’s an experience that brings joy and creativity to your kitchen. Each roll is a delightful fusion of flavors, combining the best of Italian cuisine with the fun of sushi-making. Whether you’re impressing guests or enjoying a casual family dinner, these rolls are sure to spark conversation and smiles. Plus, the versatility of ingredients means you can tailor them to your taste. So roll up your sleeves, gather your loved ones, and dive into this culinary adventure. Trust me, you’ll be savoring every bite and craving more!
Italian Sushi Rolls: A Unique Twist on Tradition!
Ingredients
Method
- Rinse the sushi rice under cold water until the water runs clear. Combine the rinsed rice and water in a medium saucepan and bring to a boil. Once boiling, reduce the heat to low, cover, and simmer for 18-20 minutes, or until the rice is tender and the water is absorbed. Remove from heat and let it sit, covered, for 10 minutes.
- In a small bowl, mix the rice vinegar, sugar, and salt until dissolved. Gently fold this mixture into the cooked rice, being careful not to mash the grains. Allow the rice to cool to room temperature.
- Place a bamboo sushi mat on a clean surface. Lay a sheet of nori on the mat, shiny side down. With wet hands, spread about 1/2 cup of the cooled sushi rice evenly over the nori, leaving a 1-inch border at the top.
- Arrange a line of cucumber, bell pepper, avocado, salami, and mozzarella cheese across the center of the rice-covered nori.
- Starting at the bottom, use the bamboo mat to roll the sushi tightly away from you, pressing gently to keep the filling in place. Roll until you reach the border of the nori. Moisten the edge of the nori with a little water to seal the roll.
- Repeat the process with the remaining nori sheets and fillings. Once all rolls are made, use a sharp knife to slice each roll into 6-8 pieces.
- Serve the Italian sushi rolls with soy sauce for dipping.
Nutrition
Notes
- For a vegetarian option, substitute the salami with roasted red peppers or marinated artichokes.
- Add a drizzle of balsamic glaze over the rolls before serving for an extra burst of flavor.