


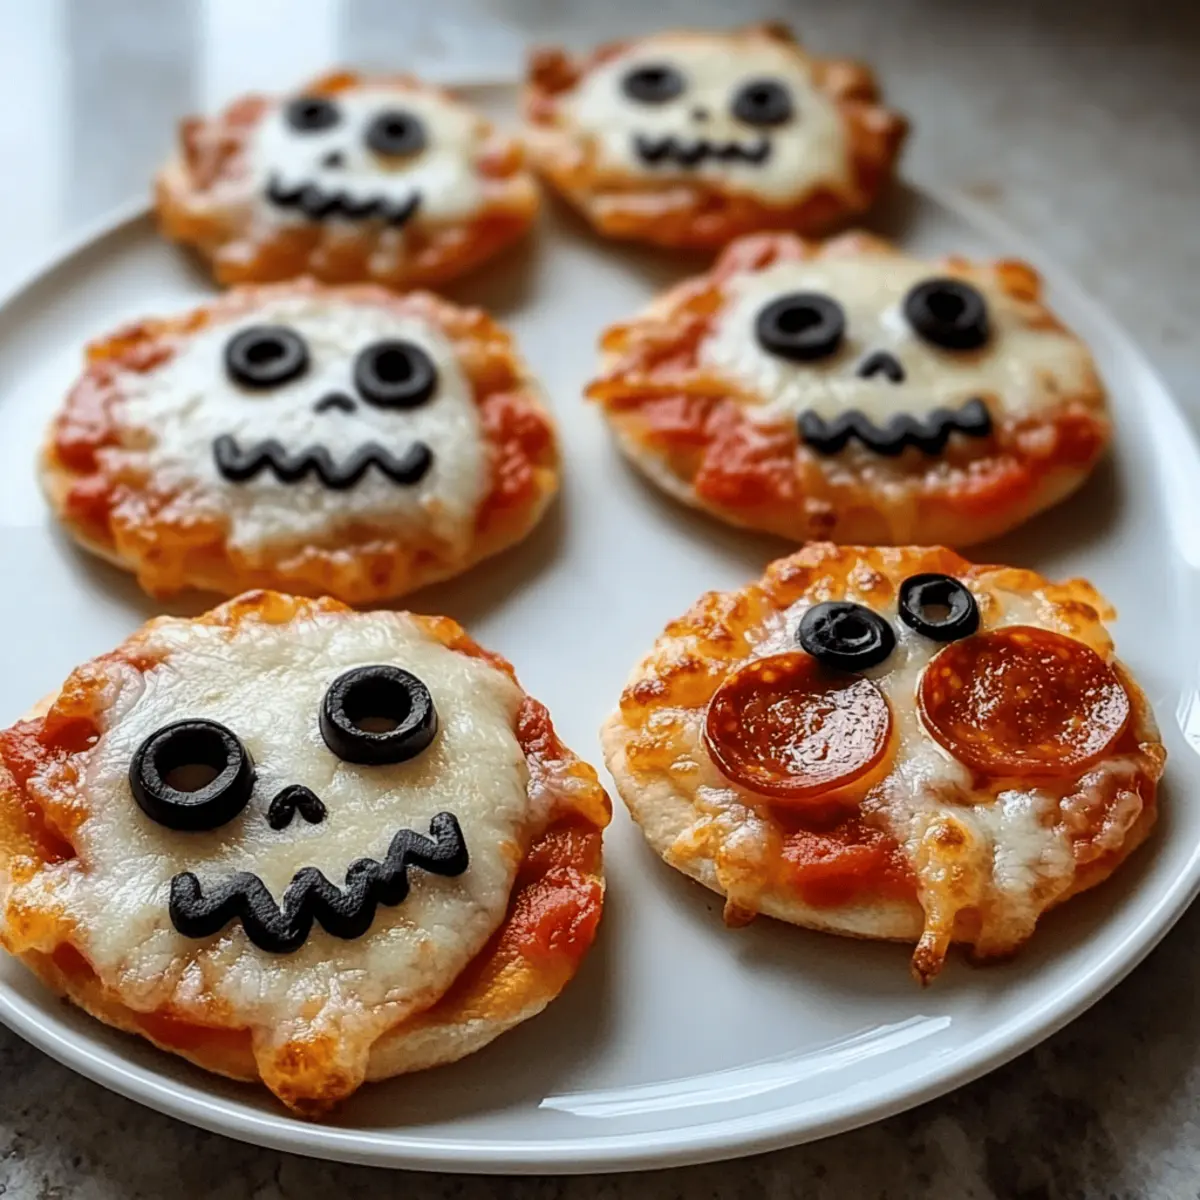
As the autumn leaves begin to fall and the air turns crisp, my mind fills with nostalgic images of Halloween nights filled with laughter and creativity. What better way to celebrate than with these Spooky Mini Halloween Pizzas? These delightful bites are not only fun to assemble but also quick to whip up, taking less than 30 minutes from prep to plate. With customizable toppings like ghostly mozzarella and cheeky bell pepper faces, they’re perfect for family gatherings or cozy parties. Plus, the kids can join in on the fun, making every pizza their canvas for creativity! Ready to add a little haunting flavor to your Halloween festivities?
Why are Mini Halloween Pizzas a Hit?
Delightfully Fun: These pizzas turn mealtime into a mini art project, where creativity meets spookiness. Quick Preparation: Ready in under 30 minutes, they fit perfectly into busy schedules. Customizable Toppings: With options like ghostly mozzarella or jack-o’-lantern faces, even picky eaters will find their favorite! Kid-Friendly: Engaging children in assembling their own pizzas makes for a memorable family activity. Crowd-Pleasing Treat: Ideal for Halloween parties or casual gatherings, everyone will love these fun-sized delights! If you’re curious about more quick and easy Halloween treats, check out our Halloween Snack Ideas for more delicious inspiration.
Mini Halloween Pizzas Ingredients
• Dive into the spooky fun with these delightful ingredients!
For the Pizza Base
- Mini Pizza Crusts – The foundation for your creepy creations; store-bought saves time, or make them from scratch if you’re feeling adventurous!
- Pizza Sauce – Helps add moisture and flavor; you can switch it up with garlic butter or pesto for a unique twist.
For the Toppings
- Shredded Mozzarella Cheese – Melts beautifully to create a gooey layer; try cheddar for a different flavor profile!
- Mozzarella Slices – Perfect for crafting ghost shapes; use cookie cutters to make them as spooky as you like.
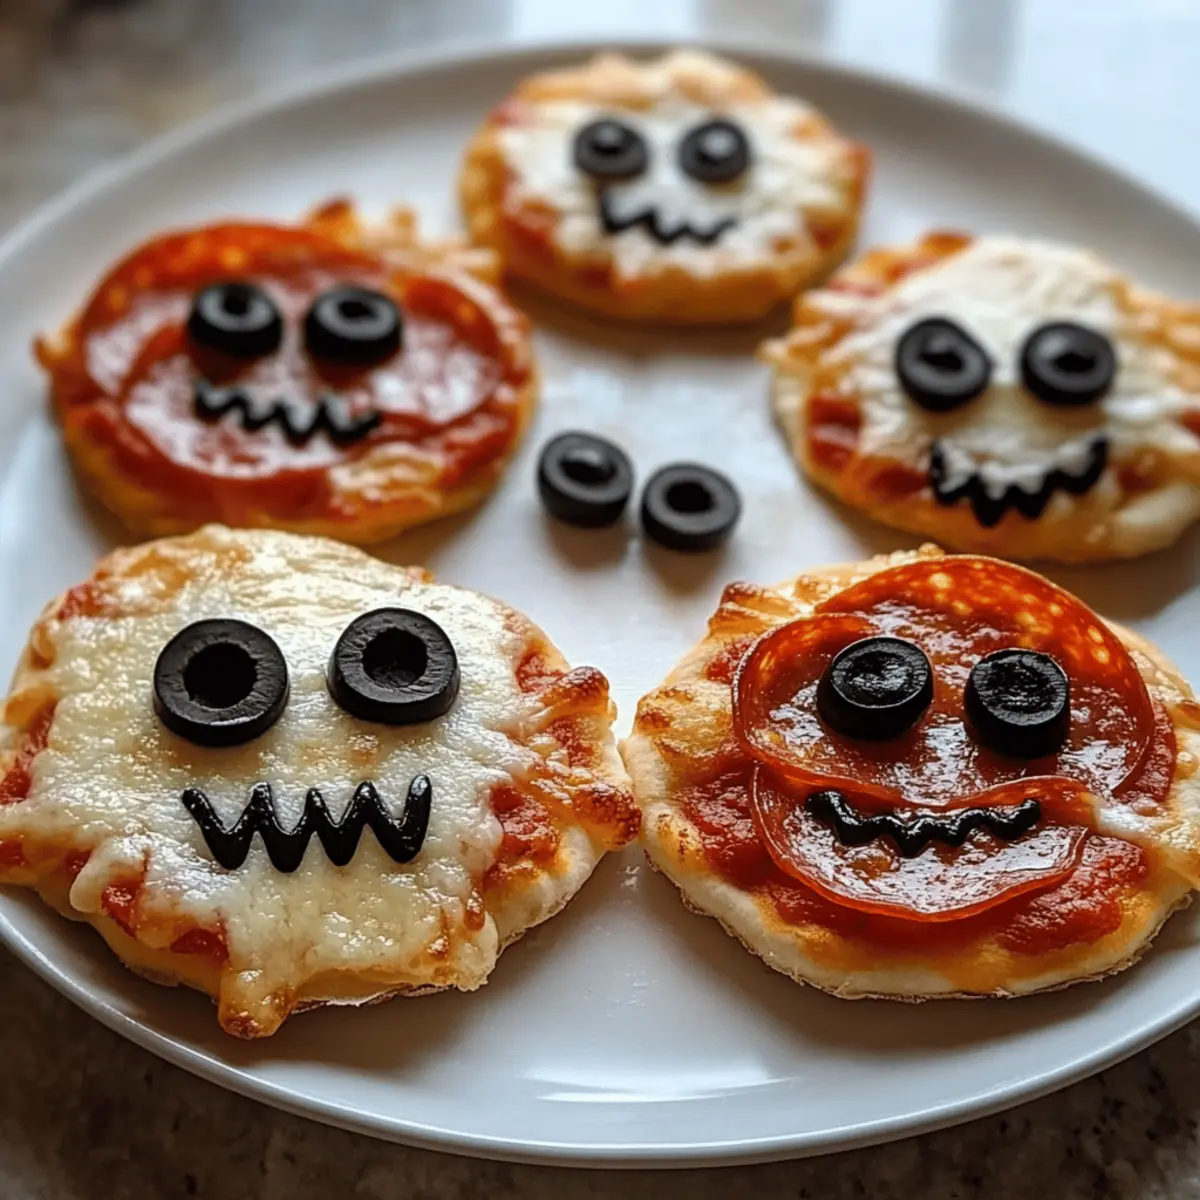
- Pepperoni Slices – Adds savory goodness and forms the spooky “mouth” and “teeth”; feel free to use veggies or other meats for variety.
- Black Olives – Sliced for adorable eyes on ghosts and mummies; capers or small cherry tomatoes work as fun alternatives.
- Orange Bell Pepper – Essential for creating jack-o’-lantern faces; get creative with different colors or shapes for added flair!
Unleash your culinary creativity and whip up these Mini Halloween Pizzas for an unforgettable celebration!
Step‑by‑Step Instructions for Mini Halloween Pizzas
Step 1: Preheat the Oven
Begin by preheating your oven to 400°F (200°C). As the oven heats, line a baking sheet with parchment paper to prevent your Mini Halloween Pizzas from sticking. This will ensure even baking and easy clean-up afterward. While waiting, take a moment to prepare your toppings so you’re ready to assemble once the bases are prepared.
Step 2: Arrange Pizza Crusts
Once your oven reaches the desired temperature, carefully lay out the mini pizza crusts on the lined baking sheet. Make sure they are evenly spaced to allow for even heat circulation. This step is crucial for achieving that perfect crispy base that makes these Mini Halloween Pizzas so delightful.
Step 3: Spread the Sauce
Take your pizza sauce and evenly spread a generous layer over each mini pizza crust using the back of a spoon. This will not only add flavor but also help to keep the toppings in place. Aim for a nice, even coverage, leaving a little space at the edges to allow the crust to rise and get golden.
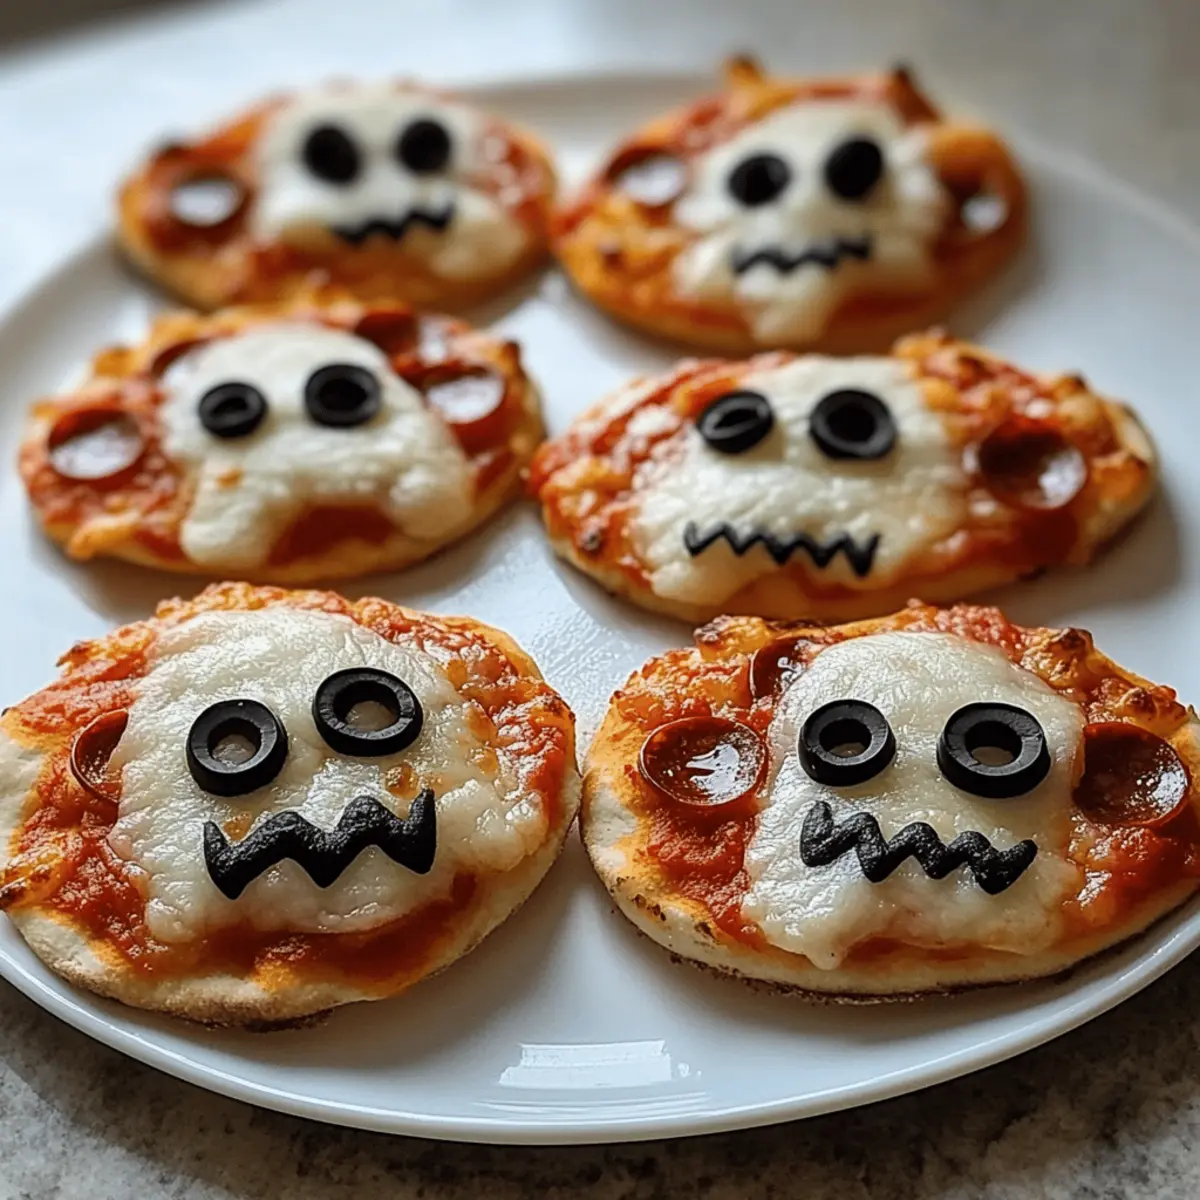
Step 4: Create Ghost Pizzas
For the ghostly versions, use cookie cutters to cut mozzarella slices into spooky ghost shapes. Place these ghostly figures on the sauce-covered pizzas, then add olive slices as eyes. This step is all about having fun with your Mini Halloween Pizzas, so let your creativity flow!
Step 5: Assemble Mummy Pizzas
Now it’s time for the mummies! Take shredded mozzarella cheese and layer it in a criss-cross pattern across the sauce. Be sure to leave gaps that will represent the “bandages.” Add olive slices as eyes to complete the look. These savory mummy pizzas add a delightful spooky touch to your Halloween spread.
Step 6: Form Jack-o’-Lantern Faces
Next, grab your orange bell pepper and cut it into small shapes to form jack-o’-lantern faces on the remaining mini pizzas. Layer these on top of the cheese. The burst of color against the golden crust will be visually appealing and festive. Each pizza will soon take on a personality of its own!
Step 7: Bake the Pizzas
Place the assembled baking sheet into the preheated oven and bake for 8-10 minutes. Keep an eye on them, as the cheese should be bubbly and the edges of the crust golden brown. This is the moment when your Mini Halloween Pizzas transform into deliciously spooky treats, filling your kitchen with delightful aromas.
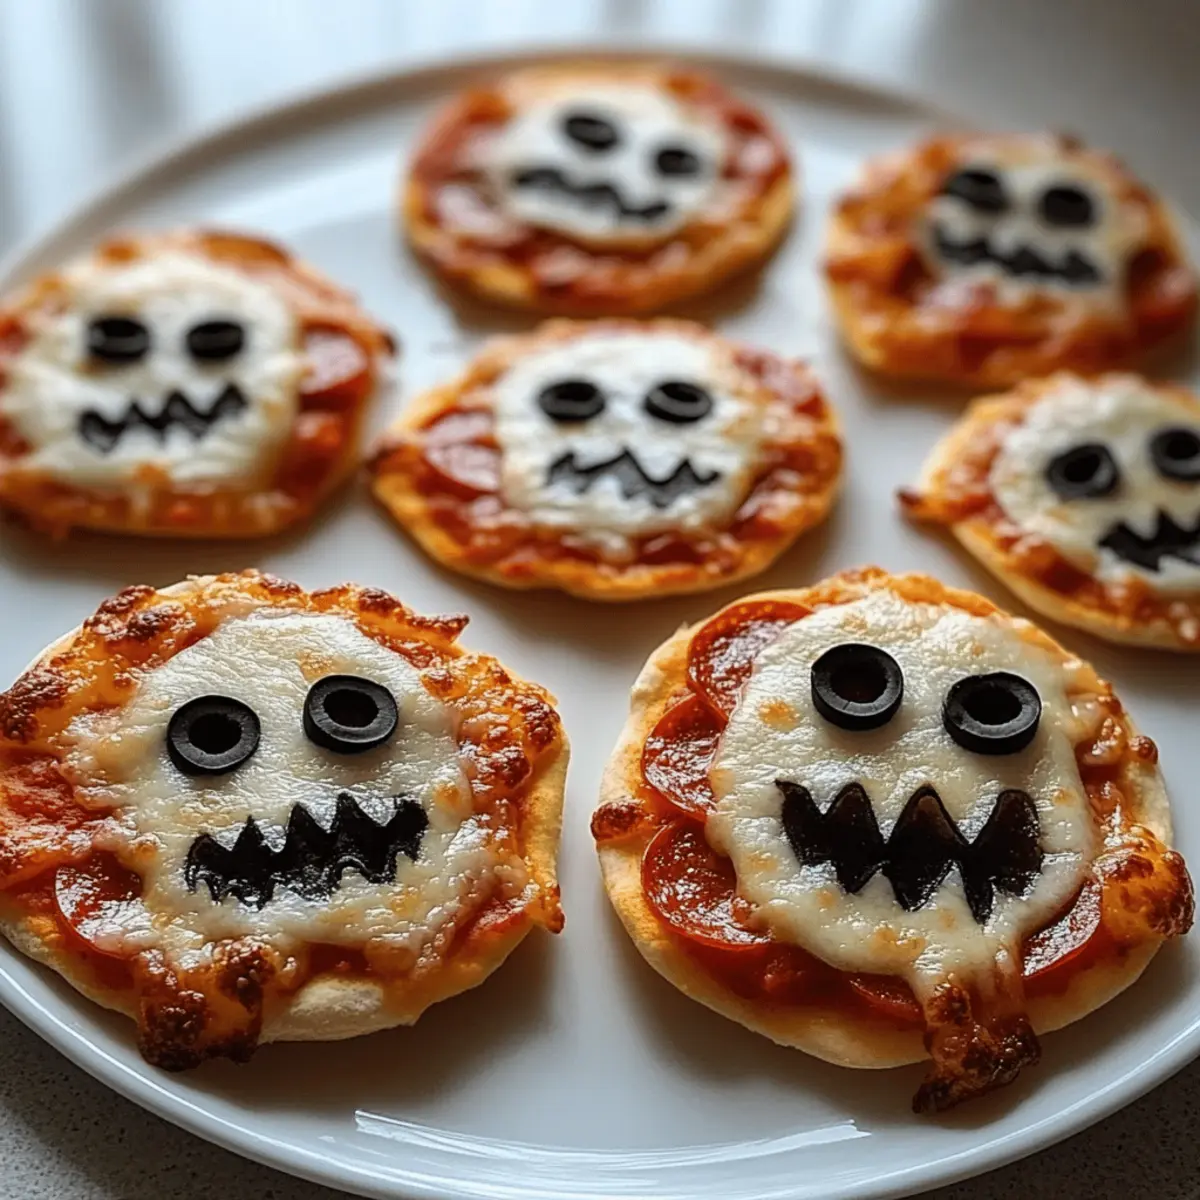
Step 8: Serve and Enjoy
Once the pizzas are baked to perfection, carefully remove them from the oven. Let them cool for a brief moment, then serve warm. Gather your family and friends to share in the fun and creativity of these Mini Halloween Pizzas. They’re not just meals; they’re an invitation to enjoy the spirit of the Halloween season together!
Expert Tips for Mini Halloween Pizzas
-
Preheat Properly: Make sure your oven is thoroughly preheated to ensure even cooking and a perfectly crisp crust. This step is crucial for your Mini Halloween Pizzas!
-
Choose Your Crust Wisely: Opt for light-colored baking sheets to prevent your crust from burning easily. A dark pan can trap heat and lead to overcooked edges.
-
Watch the Clock: Keep an eye on your baking time; 8-10 minutes is ideal, but it may vary depending on the thickness of your crust. Adjust as needed for personal preference.
-
Involve the Kids: Encouraging children to help assemble the toppings can turn dinner into a fun family activity, sparking creativity and excitement.
-
Experiment with Toppings: Don’t hesitate to customize your Mini Halloween Pizzas with unique toppings like different cheeses, veggies, or even themed alternatives for added fun!
Storage Tips for Mini Halloween Pizzas
- Room Temperature: Mini Halloween Pizzas should not be left out for more than 2 hours to avoid bacterial growth; store leftovers promptly.
- Fridge: Keep any uneaten Mini Halloween Pizzas in an airtight container in the fridge for up to 3 days to maintain freshness and flavor.
- Freezer: If you have prepared pizzas to store for longer, wrap them individually in plastic wrap and place in a freezer-safe bag for up to 2 months.
- Reheating: For the best texture, reheat in the oven at 350°F (175°C) for about 10 minutes until warm and crispy. Avoid microwaving, as it can make the crust soggy.
Mini Halloween Pizzas Variations & Substitutions
Feel free to get creative and customize these Mini Halloween Pizzas to suit your taste buds and dietary needs!
-
Gluten-Free: Swap regular crusts for gluten-free mini pizza bases to cater to dietary restrictions. Everyone can indulge in the fun!
-
Whole Wheat: Use whole wheat mini pizza crusts for a healthier twist without compromising on flavor or fun. It’s a simple swap that adds nutrition.
-
Sweet Treat: Turn these into dessert pizzas by using Nutella as the base and topping with fruits like strawberries and bananas—perfect for a spooky dessert bar.
-
Vegan: Substitute cheese with plant-based cheese alternatives and use vegan crusts for a delightful version that’s friendly to all!
-
Spice It Up: Add sliced jalapeños or red pepper flakes to give your pizzas a spicy kick. It’s a great way to delight the adults at your festive gathering.
-
Creative Toppings: Get festive by using toppings like sliced bell peppers or black olives to create themed designs, making the pizza-making process even more enjoyable for kids.
-
Cheese Variations: Experiment by using different cheeses like cheddar or feta to change up the flavor profile, ensuring delightful surprises in every bite.
If you’re looking for more fun ideas, check out our Halloween Snack Ideas or explore different flavor profiles in our Creative Pizza Topping Guide!
What to Serve with Mini Halloween Pizzas
These delightful, spooky bites are perfect for rounding out an enchanting Halloween feast.
- Colorful Veggie Platter: Fresh, crisp vegetables like carrots, celery, and bell peppers add a crunchy contrast, delighting your guests and balancing the cheesy richness of the pizzas.
- Witch’s Brew Punch: A fantastical drink made with ginger ale and green food coloring offers a festive touch that will quench thirst while keeping the spooky spirit alive.
- Garlic Breadsticks: These warm and buttery treats provide a savory counterpart to the piped mini pizzas, making them a comforting addition to the menu.
- Pumpkin Soup: Serve a warm, creamy pumpkin soup for a luscious dip option that resonates with the Halloween theme, complementing the savory flavors of the pizzas.
- Sweet Treats Platter: Include Halloween-themed desserts like ghost-shaped cookies or pumpkin cupcakes for a sweet finale that leaves both kids and adults craving more!
- Crispy Apple Slices: Sweet, crunchy apple slices provide a refreshing palate cleanser after the savory pizzas, and can be paired with caramel dip for added indulgence.
- Charming Candy Corn Parfaits: Layering candy corn and whipped cream in clear cups creates a visually stunning treat that celebrates the season and delights partygoers.
- Spooky Drinks for Adults: Serve themed cocktails like “Black Magic” martinis to elevate the Halloween gathering, offering an adult twist to your festive party.
Make Ahead Options
These Spooky Mini Halloween Pizzas are perfect for meal prep enthusiasts! You can prepare the pizza crusts and toppings up to 24 hours in advance, storing them separately in airtight containers in the refrigerator. To maintain freshness and quality, keep the sauce, shredded mozzarella, and prepped toppings like ghost shapes and jack-o’-lantern faces separated until you’re ready to bake. When it’s time to serve, simply assemble your pizzas, top with the sauce and cheese, and bake them in a preheated oven at 400°F (200°C) for about 8-10 minutes. You’ll enjoy the convenience of this time-saving approach, serving delightful Mini Halloween Pizzas with minimal effort and maximum flavor!
Mini Halloween Pizzas Recipe FAQs
What type of mini pizza crusts should I use?
You can use store-bought mini pizza crusts for convenience, but making them from scratch can add a delightful homemade touch. I often recommend whole wheat or gluten-free crusts to accommodate various dietary needs. They both add a wonderful flavor and texture!
How should I store leftover Mini Halloween Pizzas?
To keep your leftovers fresh, store them in an airtight container in the fridge for up to 3 days. Make sure to cool the pizzas completely before sealing, as trapping steam can lead to sogginess!
Can I freeze Mini Halloween Pizzas?
Absolutely! You can freeze prepared Mini Halloween Pizzas before baking. Just wrap each one individually in plastic wrap, then place them in a freezer-safe bag for up to 2 months. When you’re ready, bake them straight from the freezer—just add a few extra minutes to the cooking time.
What do I do if my crusts are burning before the cheese melts?
If you notice your crusts are burning while the cheese isn’t melting, the oven temperature may be too high. Try lowering it to 375°F (190°C) and extend the baking time slightly, keeping an eye on them. You can also place a piece of aluminum foil on top of the pizzas halfway through baking to prevent over-browning.
Are there any dietary considerations for Mini Halloween Pizzas?
Yes! If you’re making these pizzas for children or guests with allergies, always check for gluten-free crust options and ensure cheese and toppings are nut-free. It’s also fun to create variations—like using vegan cheese for dairy-free options or adding extra veggies for a healthier touch.
Can I prepare Mini Halloween Pizzas in advance?
Definitely! You can assemble the pizzas ahead of time and store them in the fridge for a few hours. However, for the best texture and flavor, I recommend baking them just before serving. This way, you’ll have that fresh-baked goodness that everyone loves!
Mini Halloween Pizzas That Make Spooky Fun Delicious
Ingredients
Equipment
Method
- Preheat your oven to 400°F (200°C) and line a baking sheet with parchment paper.
- Lay out the mini pizza crusts on the lined baking sheet.
- Spread a generous layer of pizza sauce over each mini pizza crust.
- Cut mozzarella slices into ghost shapes using cookie cutters and place them on the pizzas along with olive slices for eyes.
- Layer shredded mozzarella in a criss-cross pattern for mummy pizzas, adding olive slices as eyes.
- Cut the orange bell pepper into shapes for jack-o'-lantern faces and layer on top of the cheese.
- Bake the pizzas in the preheated oven for 8-10 minutes until cheese is bubbly and crust is golden brown.
- Remove from the oven, let cool briefly, and serve warm.