


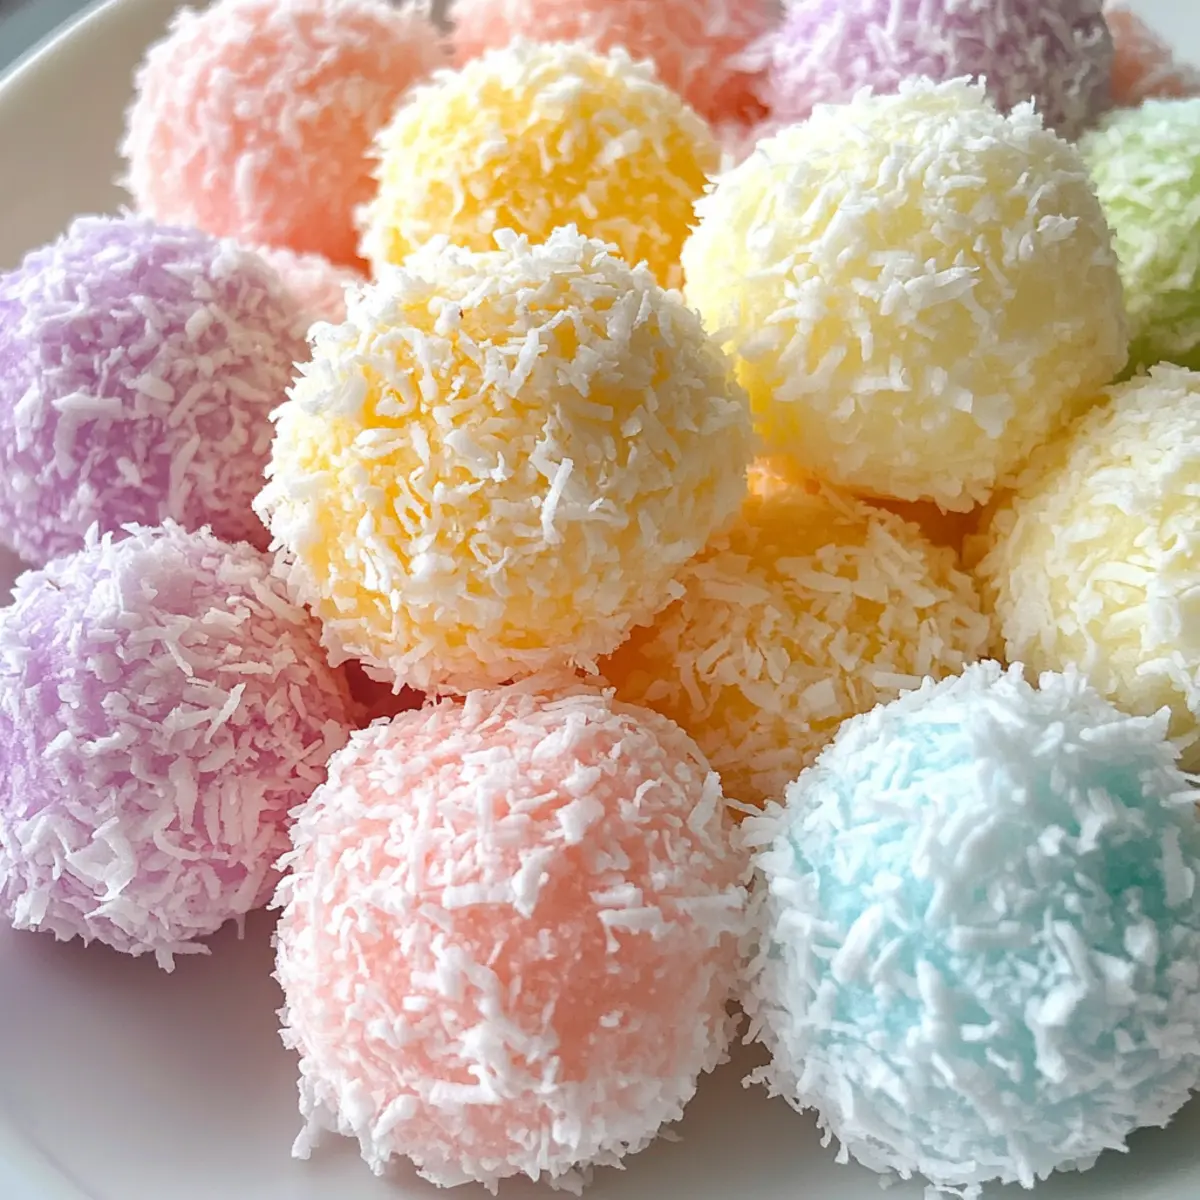
As a child, I was always captivated by the vibrant colors of Easter treats that seemed to spring to life on our dining table. These delightful no-bake Easter Bunny Coconut Tails are reminiscent of those festive days, offering a soft and chewy texture that delights both young and old. Kid-friendly and customizable, this recipe invites your little ones to join in the fun, making it a perfect way to bond while crafting something special for your Easter celebrations. Not only are these treats quick to prepare, but they also add a splash of color and joy to any gathering. With just a handful of ingredients, you can create a delectable dessert that’s sure to be a hit. Are you ready to turn your kitchen into a joyful Easter workshop?
Why Are These Easter Treats So Fun?
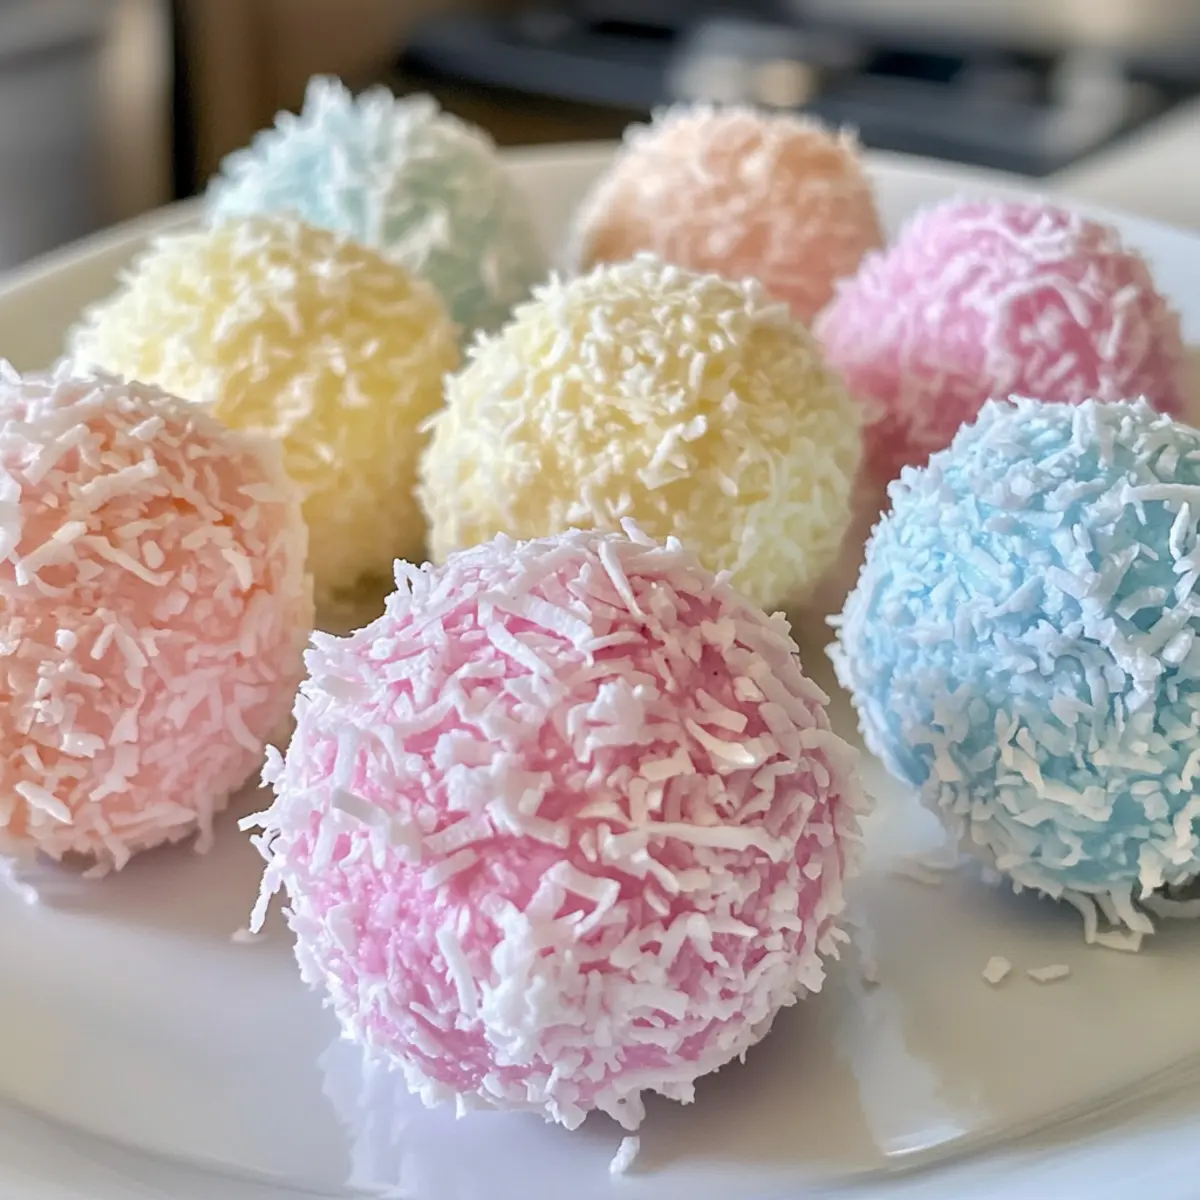
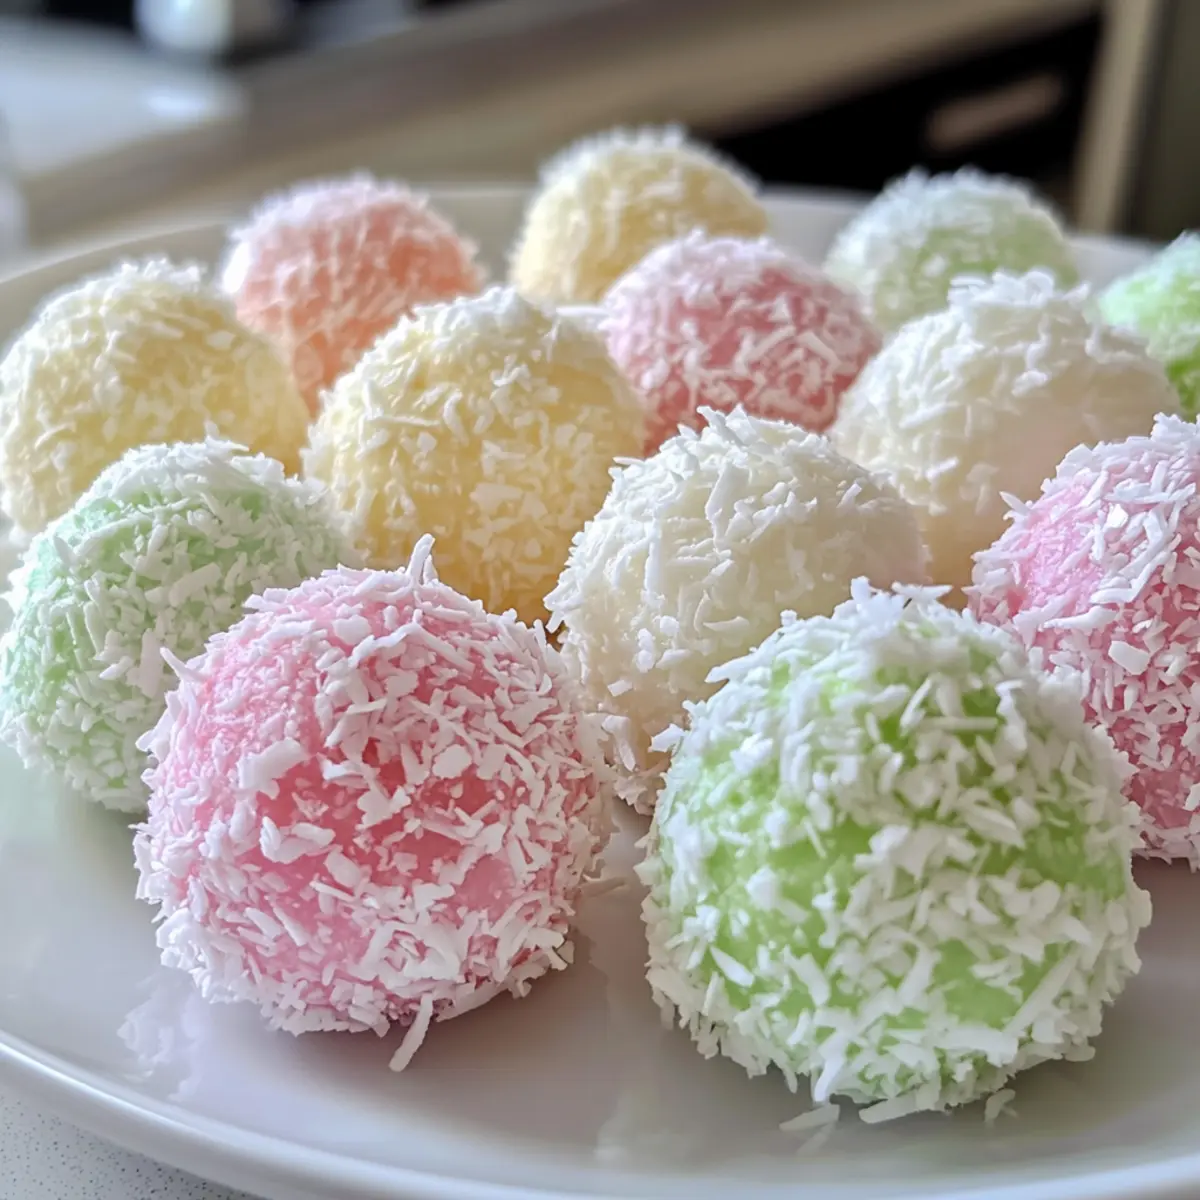
Kid-Friendly Fun: This recipe is perfect for little hands eager to help in the kitchen. No-Bake Simplicity: With no baking required, you can whip these up in just a flash! Endless Customization: Add your personal touch by choosing colors and sweetness levels that suit your family’s preferences. Visually Appealing: Their bright pastel colors make them a showstopper on any Easter table. Crowd-Pleasing Delight: These treats are sure to wow both kids and adults alike, making them a must-have for festive gatherings! Enjoy making sweet memories with your loved ones as you create these enchanting delights—check out more family-friendly treats on our blog and keep the fun going!
No-Bake Easter Bunny Coconut Tails Ingredients
For the Coconut Mixture
• Unsweetened Medium Shredded Coconut – 5 cups provide the main texture and coconut flavor; feel free to swap for sweetened coconut for a sweeter treat.
• Sweetened Condensed Milk – 14 oz acts as a binding agent for the mixture and adds delightful sweetness.
• Melted Butter – 2 tbsp adds richness; ensure it cools before combining for the best results.
• Vanilla Extract – 1 tsp enhances the flavor profile with a warm touch.
• Confectioner’s Sugar – ¼ cup contributes to the sweetness and the overall texture.
For the Coating
• Unsweetened Fine Shredded Coconut – 2 cups used for coating; can be adorned with food coloring for a festive look.
• Liquid Food Coloring – Tints the fine coconut; unleash your creativity with vibrant hues to match your Easter theme!
Step‑by‑Step Instructions for No-Bake Easter Bunny Coconut Tails
Step 1: Combine Ingredients
In a large mixing bowl, whisk together 14 oz of sweetened condensed milk, 2 tbsp of melted butter (make sure it’s cooled), and 1 tsp of vanilla extract until the mixture is smooth and well combined. The consistency should be creamy. This base will provide the sweetness and moisture needed for your No-Bake Easter Bunny Coconut Tails.
Step 2: Add Coconut and Sugar
Stir in 5 cups of unsweetened medium shredded coconut and ¼ cup of confectioner’s sugar into the mixture. Use a spatula to mix until all the ingredients are fully incorporated, forming a sticky, dough-like texture. Once well mixed, cover the bowl with plastic wrap and chill the mixture in the refrigerator for about 15 minutes to make it easier to handle.
Step 3: Prepare Coating
While the coconut mixture chills, divide 2 cups of unsweetened fine shredded coconut into a few small bowls. Add liquid food coloring to each bowl to achieve the desired pastel shades, stirring until the coconut is evenly tinted. This colorful coconut will be used to coat your Easter Bunny Coconut Tails, adding a cheerful and festive touch.
Step 4: Shape Coconut Tails
After chilling, scoop out about 1½ teaspoons of the coconut mixture and roll it between your palms to form smooth balls. Aim for consistency in size for even coating and presentation. Once you’ve shaped all the balls, it’s time to give them their colorful cover, ready to transform into delightful treats.
Step 5: Coat with Colored Coconut
Individually roll each ball in the colored fine shredded coconut, ensuring they are fully coated. This layer not only enhances the festive appearance of your No-Bake Easter Bunny Coconut Tails but also adds a delightful texture. Set the coated tails aside on a parchment-lined baking sheet as you continue to coat the remaining balls.
Step 6: Refrigerate to Set
Place the baking sheet with the coconut tails in the refrigerator for about an hour, allowing them to firm up and set completely. The chill will help them hold their shape and make them easier to handle later. This step is crucial for achieving that perfect chewy-texture finish.
Step 7: Serve and Store
Once set, your No-Bake Easter Bunny Coconut Tails are ready to be enjoyed! Store them in the refrigerator until serving time. For the best taste and texture, allow them to sit out for a few minutes at room temperature before serving. These sweet delights are sure to bring joy to your Easter celebrations!
No-Bake Easter Bunny Coconut Tails Variations
Feel free to explore these fun twists on your No-Bake Easter Bunny Coconut Tails, adding your unique flair to this delightful treat!
-
Colorful Flavors: Swap in different food colorings to create vibrant looks for each holiday theme. Think pastel pinks for Easter or bright greens for St. Patrick’s!
-
Nutty Crunch: Incorporate chopped almonds or walnuts into the coconut mixture for an exciting crunch. This variation adds a pleasing texture and an extra layer of flavor that surprises each bite.
-
Chocolate Bliss: Mix in a handful of mini chocolate chips to the coconut mixture for a rich, chocolatey experience. It’s a wonderful way to satisfy chocolate lovers at your Easter gathering!
-
Fruit Infusion: Add finely chopped dried fruits like apricots or cranberries to the base mixture for a tangy sweetness that perfectly complements the coconut. The fruity burst will delight your taste buds!
-
Coconut Dream: Use coconut cream instead of butter for an extra coconutty flavor. This creamy twist will enhance the overall taste, making your tails even more irresistibly rich.
-
Minty Freshness: Add a few drops of peppermint extract to the mixture for a refreshing twist. This minty flavor pairs beautifully with the sweetness of the coconut, creating a delightful contrast!
-
Boozy Treats: For the adults at your gathering, try a splash of coconut rum in the mixture. This playful adult version is perfect for a festive celebration—just remember to keep a few kid-friendly versions on hand!
-
Spicy Kick: Dust the tops of your coconut tails with a sprinkle of cinnamon for a warm, spicy note. It’s an unexpected but delightful way to elevate this sweet treat, creating greater depth in flavor.
Explore these variations and let your creativity blossom in the kitchen! And if you’re interested in more kid-friendly desserts, don’t forget to check out our other delightful recipes for a fun-filled Easter celebration!
Make Ahead Options
These No-Bake Easter Bunny Coconut Tails are ideal for meal prep, making your Easter celebrations easier and more enjoyable! You can prepare the coconut mixture up to 24 hours in advance; just follow the first three steps of the recipe, cover it tightly, and refrigerate. The colored fine coconut can also be prepared ahead of time and stored in airtight containers. When you’re ready to make the tails, simply scoop, roll, coat, and refrigerate them until set. For best results, allow the tails to sit at room temperature for a few minutes before serving to ensure they remain soft and chewy—just as delicious as when freshly made!
What to Serve with No-Bake Easter Bunny Coconut Tails
Brighten up your Easter celebration with colorful pairings that bring joy to your table and delight to your taste buds.
- Fresh Fruit Salad: A mix of seasonal fruits, like strawberries and pineapple, adds a refreshing burst and balances the sweetness of the coconut tails.
- Spring Vegetable Platter: Crisp veggies such as carrots, cucumbers, and bell peppers offer a light crunch that contrasts beautifully with the chewy coconut treats.
- Chocolate Dipped Pretzels: Salty and sweet, these crunchy snacks add a fun twist that kids love, perfect for playful Easter gatherings.
- Lemonade or Sparkling Water: A zesty lemonade or sparkling water with mint complements the coconut’s sweetness, keeping the mood light and refreshing.
- Mini Carrot Cakes: These moist and spiced cakes echo the Easter theme, mixing richness with the lightness of the coconut tails. A delightful duo!
- Coconut Cream Pie: For coconut lovers, this creamy dessert pairs perfectly, enhancing the flavor experience while remaining festive. Serve it chilled for the best taste!
- Chocolate Milk or Hot Cocoa: Rich and comforting, chocolate beverages offer a delicious contrast to the fruity and coconut flavors, making them a fun option for kids and adults alike. Enjoy thawed from the fridge at a cozy gathering.
- Easter-themed cupcakes: Adorned with pastel icing and decorative sprinkles, these cupcakes echo the colors and joy of your coconut tails, creating a festive harmony on your dessert table.
Helpful Tricks for Easter Bunny Coconut Tails
- Chill Wisely: Make sure to chill the coconut mixture for about 15 minutes to make it easier to handle; this prevents mess and ensures smooth balls.
- Coloring Technique: If the fine coconut isn’t coloring evenly, try adding a tiny bit of water to the dye mixture for better distribution.
- Sweetness Adjustments: Use sweetened shredded coconut if your family prefers a sweeter treat, but reduce the confectioner’s sugar accordingly to balance the flavors.
- Vegan Option: For a vegan twist, substitute with dairy-free sweetened condensed milk and plant-based butter; this keeps the recipe inclusive for everyone.
- Layering Storage: If making ahead, layer the coconut tails with parchment paper between them when storing to prevent sticking in the fridge or freezer.
How to Store and Freeze No-Bake Easter Bunny Coconut Tails
Fridge: Store the coconut tails in an airtight container in the refrigerator for up to 1 week to maintain their soft and chewy texture.
Freezer: If you want to keep them longer, freeze the treats for up to 3 months. Be sure to layer them with parchment paper and seal in an airtight container to prevent freezer burn.
Thawing: When you’re ready to enjoy your frozen coconut tails, move them to the fridge for a few hours to thaw gently, ensuring they retain their delightful consistency.
Serving Tip: For the best flavor and texture, let the coconut tails sit at room temperature for a few minutes before serving; this brings out their sweetness and chewiness beautifully.
No-Bake Easter Bunny Coconut Tails Recipe FAQs
How do I choose ripe coconuts for this recipe?
Absolutely! When selecting coconuts, look for fresh, unsweetened coconut options. The many textures can enhance your dish! If using fresh coconuts, the flesh should be moist and not overly dry. Gray areas may indicate older coconuts.
How should I store my No-Bake Easter Bunny Coconut Tails?
You’ll want to keep these little gems in an airtight container in the fridge, where they can stay fresh for up to 1 week. Make sure they are fully cooled and set before storing to maintain their soft and chewy texture.
Can I freeze No-Bake Easter Bunny Coconut Tails?
Yes, you can freeze the coconut tails for up to 3 months! Just layer them with parchment paper in an airtight container to prevent sticking or freezer burn. When ready to serve, thaw them in the fridge for a few hours for the best texture.
What should I do if my coconut mixture is too sticky?
No worries! If your mixture is too sticky to handle, that could be due to the humidity or not enough cooling time. Try chilling it for an extra 10-15 minutes. If it’s still sticky, lightly coat your hands with confectioner’s sugar when rolling them into balls.
Are there any dietary considerations for the ingredients?
Very! To make this recipe vegan, substitute dairy-free sweetened condensed milk and plant-based butter. Also, double-check that the coconut you choose is free of any additives if allergies are a concern. These delicious tails can be enjoyed by everyone!

No-Bake Easter Bunny Coconut Tails for Sweet Family Fun
Ingredients
Equipment
Method
- In a large mixing bowl, whisk together sweetened condensed milk, melted butter, and vanilla extract until smooth and creamy.
- Stir in the unsweetened medium shredded coconut and confectioner's sugar until fully incorporated, then chill for 15 minutes.
- Divide fine shredded coconut into small bowls and add liquid food coloring to each to create pastel shades.
- Scoop about 1½ teaspoons of chilled coconut mixture and roll into smooth balls.
- Roll each ball in colored fine shredded coconut until fully coated, then set aside on a parchment-lined sheet.
- Place the baking sheet in the refrigerator for about an hour to set the coconut tails.
- Once set, enjoy your coconut tails straight from the fridge or let sit at room temperature for a few minutes before serving.