


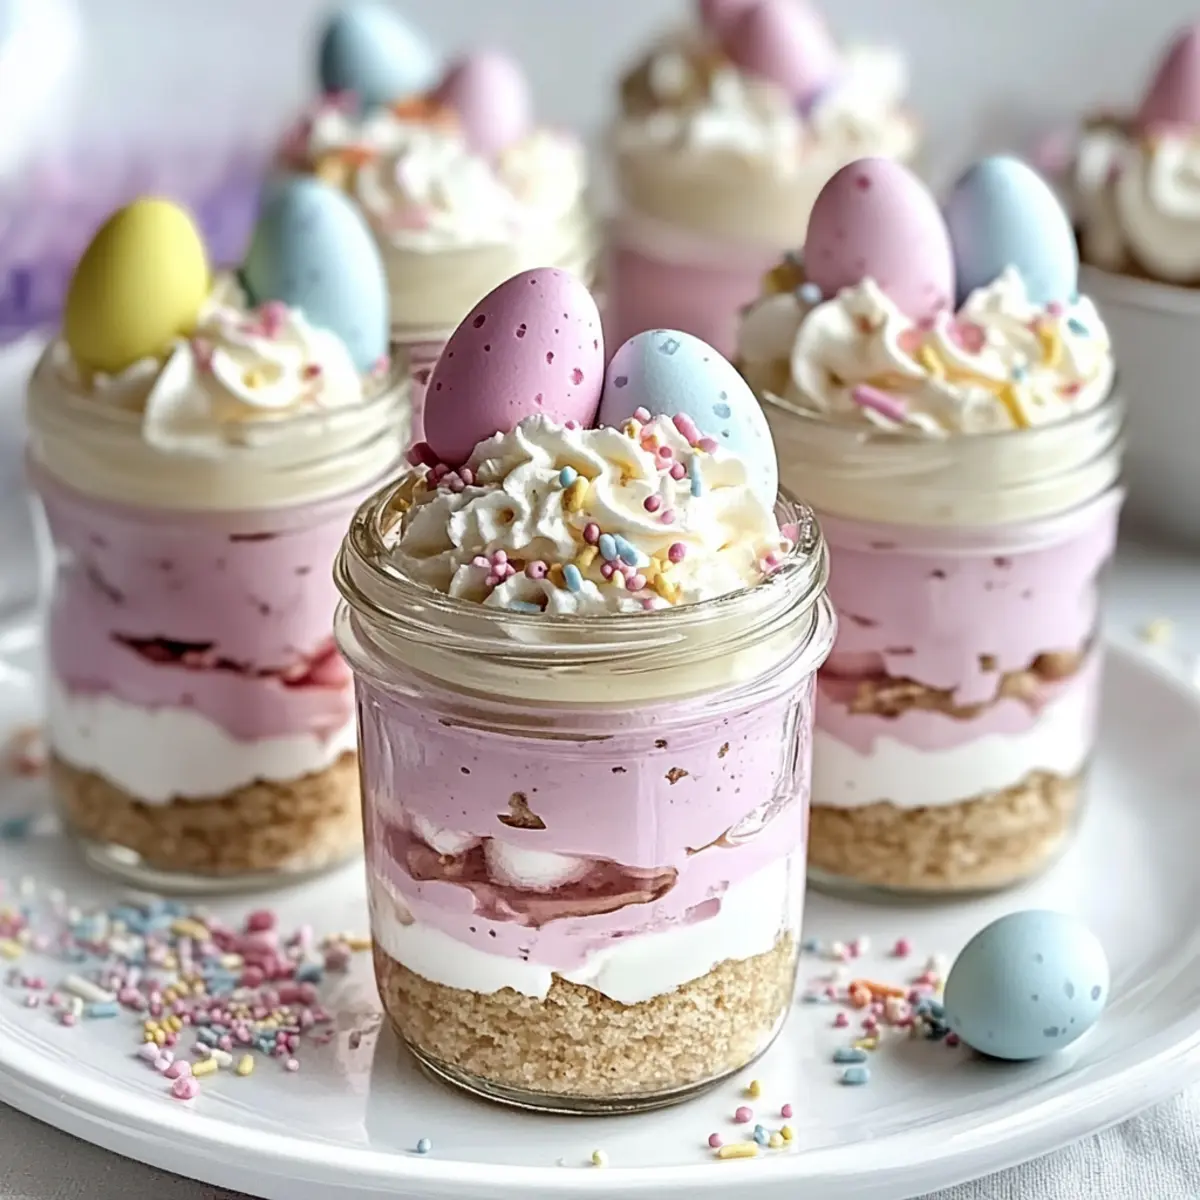
As I look forward to spring, the air filled with the sweet promise of blooming flowers and festive gatherings, I can’t help but crave something light and cheerful to celebrate the season. What better way to indulge than with these No-Bake Easter Egg Cheesecake Jars? They are not only easy to whip up but also oh-so-customizable, allowing you to put your own spin on this delightful treat. With a creamy cheesecake filling layered over a buttery graham cracker crust, these jars are sure to impress family and friends without any of the hassle of baking. Plus, they can be made ahead of time, giving you more opportunity to relax and enjoy the festivities. So, are you ready to dive into a dessert that captures the essence of spring? Let’s get started!
Why Are These Jars So Irresistible?
Creamy Delight: These No-Bake Easter Egg Cheesecake Jars bring together smooth, luscious cheesecake with a buttery crust, creating an unforgettable indulgence.
Effortless Preparation: With just a few simple steps, you can quickly assemble these jars, leaving you with more time to enjoy your gathering!
Customizable Fun: Feel free to personalize with different cookie crusts or vibrant colors, making each jar a unique creation that showcases your creativity.
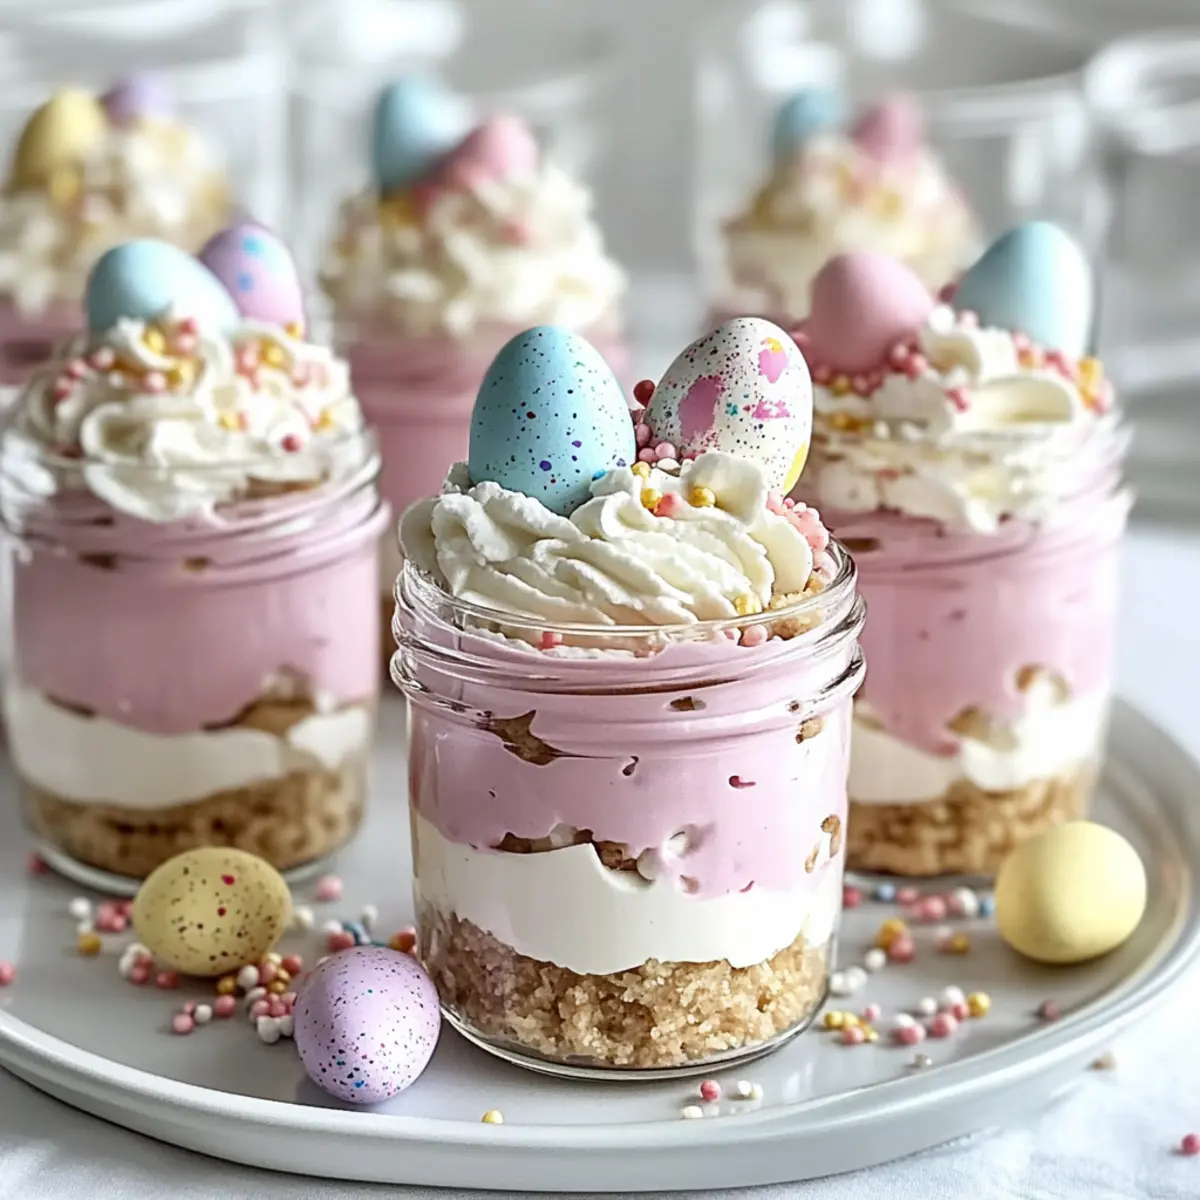
Perfect for Spring: Their cheerful presentation, complete with pastel candy eggs and sprinkles, will brighten any table setting, making them the perfect centerpiece for your Easter brunch!
Make-Ahead Magic: This recipe can be prepared in advance, allowing you to chill and have delicious desserts ready to serve when your guests arrive.
Crowd-Pleasing Treat: Everyone will love these sweet treats, whether they’re kids or adults—perfect for sharing at family celebrations.
No-Bake Easter Egg Cheesecake Jars Ingredients
For the Crust
- Graham Cracker Crumbs – Forms the base of the cheesecake jars, providing structure and crunch. Can be substituted with crushed Oreos or shortbread cookies.
- Granulated Sugar – Adds sweetness to the crust. No substitution needed unless adjusting sweetness levels.
- Unsalted Butter – Binds the crumbs together, adding richness. Use salted butter if that’s all you have.
For the Cheesecake Filling
- Cream Cheese – The primary ingredient for the cheesecake layer, offering a rich and creamy texture. Use low-fat cream cheese for a lighter version.
- Powdered Sugar – Sweetens the cheesecake mixture and helps achieve a smooth texture. Can replace with coconut sugar for a less refined option.
- Vanilla Extract – Adds depth of flavor to the cheesecake. Other extracts, like almond, can be used for different flavors.
- Heavy Cream – Whipped to stiff peaks to lighten the cheesecake filling. Can substitute with whipped topping for convenience.
- Pink Gel Food Coloring or Freeze-Dried Strawberry Powder – Optional for color; adds a fun, pastel touch. Omit for natural coloring or use fruit purée for flavor and color.
For Topping
- Whipped Cream – For topping, adds lightness and a decorative finish. Non-dairy whipped cream can be used for a dairy-free version.
- Pastel Candy Eggs – Decorative element that enhances the festive appearance. Use chocolate eggs or alternatives for different tastes.
- Rainbow or Pastel Sprinkles – Adds visual appeal to the jars. Choose edible glitter or chocolate sprinkles for variation.
Step‑by‑Step Instructions for No-Bake Easter Egg Cheesecake Jars
Step 1: Prepare the crust
In a mixing bowl, combine graham cracker crumbs, granulated sugar, and melted unsalted butter until the texture resembles damp sand. Use a fork or your hands to ensure even mixing. Spoon the mixture into your jars, about a quarter full, and press it down firmly using the back of a spoon to create a solid crust base.
Step 2: Make the cheesecake filling
In a large mixing bowl, beat softened cream cheese with an electric mixer on medium speed until smooth and creamy, about 2 minutes. Gradually add powdered sugar and vanilla extract, then beat the mixture until it becomes light and airy, which should take another 2-3 minutes. This creamy base will give your No-Bake Easter Egg Cheesecake Jars their rich flavor.
Step 3: Whip the cream
In a separate chilled bowl, whip heavy cream with an electric mixer until stiff peaks form, approximately 3-4 minutes on high speed. Be careful not to overwhip, as this can turn the cream grainy. Gently fold half of the whipped cream into the cream cheese mixture using a spatula, then fold in the remaining whipped cream until well combined.
Step 4: Color the filling (optional)
Divide the cheesecake filling into two bowls for the No-Bake Easter Egg Cheesecake Jars. If desired, tint one bowl with pink gel food coloring or freeze-dried strawberry powder to create a vibrant pink layer. Stir gently until the color is evenly distributed, adding a festive touch that captures the essence of spring for these delightful jars.
Step 5: Layer the jars
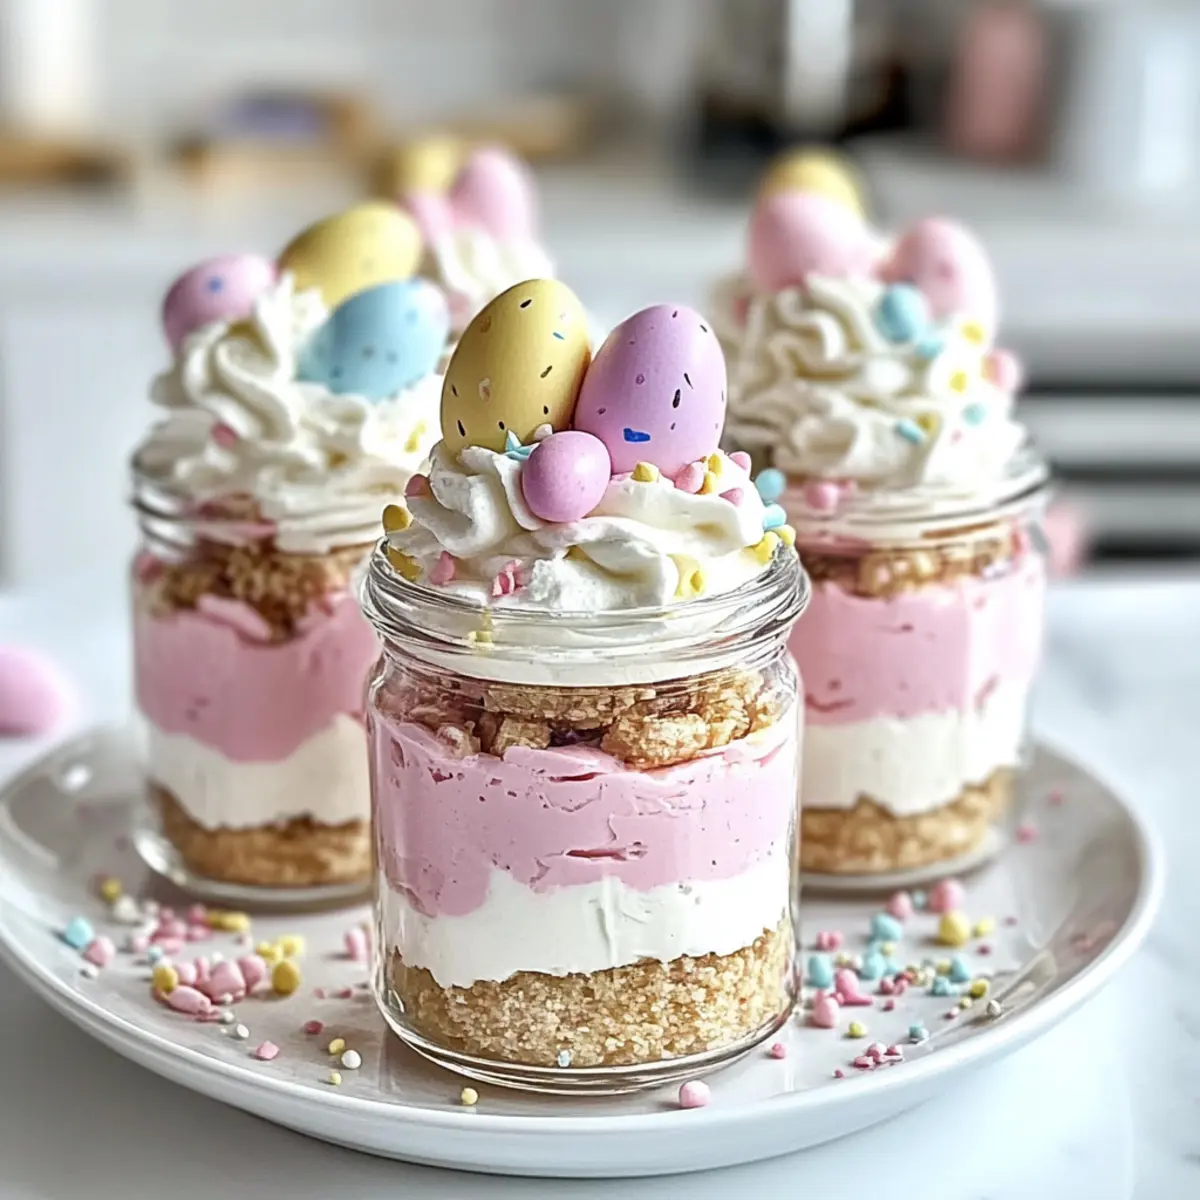
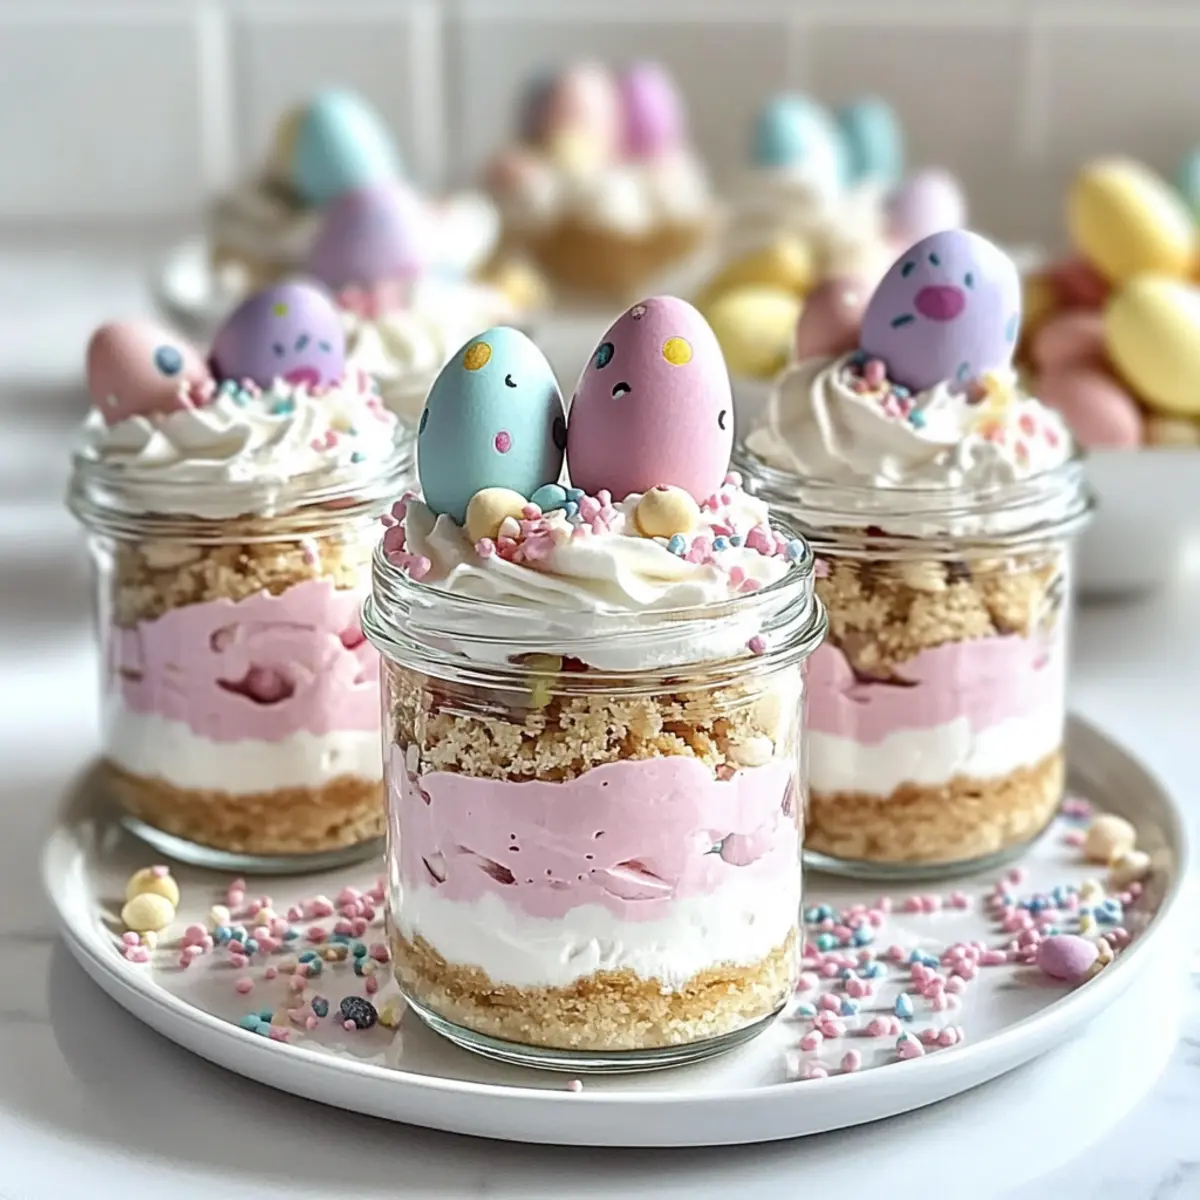
Using a piping bag or spoon, carefully pipe or spoon the pink cheesecake layer into the jars over the crust, filling it about halfway. Then, add a layer of the white cheesecake filling on top. Make sure to layer evenly for a beautiful visual effect. Repeat this process until you reach the top of the jars, leaving a little space for toppings.
Step 6: Chill
Cover the jars with lids or plastic wrap and refrigerate for at least 2 hours to allow the cheesecake filling to firm up properly. This chilling period ensures that your No-Bake Easter Egg Cheesecake Jars set beautifully and hold their shape when served, making them a lovely addition to any festive gathering.
Step 7: Top and serve
When ready to serve, pipe a generous dollop of whipped cream on top of each cheesecake jar. Garnish with pastel candy eggs and rainbow or pastel sprinkles for a cheerful finish. This final touch enhances the festive appearance of your No-Bake Easter Egg Cheesecake Jars, making them an irresistible treat for all your guests.
What to Serve with No-Bake Easter Egg Cheesecake Jars
Elevate your festive gathering by pairing these delightful jars with complementary dishes that enhance their charm and flavor.
-
Fresh Berry Salad: A mix of strawberries, blueberries, and raspberries adds a tart, juicy element that contrasts beautifully with the creamy cheesecake.
-
Light Citrus Salad: Tossed oranges and grapefruits provide a refreshing zing that awakens the palate, perfectly balancing the richness of the dessert.
-
Spring Pea and Mint Soup: This velvety, green soup serves as a lovely starter, offering a fresh and vibrant flavor profile to kick off your meal.
-
Honey Glazed Carrots: Sweet, tender carrots bring a pop of color and a sweet bite, enhancing the cheerful vibe of your Easter spread.
-
Herbed Quinoa Salad: The nutty flavor and chewy texture of quinoa mixed with fresh herbs create a healthy side that complements the dessert’s sweetness.
-
Sparkling Lemonade: A zesty, fizzy drink that refreshes beautifully and plays off the vibrant flavors in your cheesecake jars.
-
Mini Fruit Tarts: These shareable treats mirror the fun theme of Easter, with buttery crusts and fruity fillings that provide a lovely visual pairing.
Prepare these alongside your No-Bake Easter Egg Cheesecake Jars, and watch your gathering transform into a delightful celebration of flavors!
Expert Tips for No-Bake Easter Egg Cheesecake Jars
- Chill for Perfection: Refrigerate the jars for at least two hours; this cooling time is essential for a firm cheesecake texture.
- Layer Neatly: Use a piping bag for a more precise layering of the cheesecake mixtures, enhancing the visual appeal of your jars.
- Flavor Twist: Consider adding lemon zest to the white cheesecake layer for a refreshing twist that complements the sweetness beautifully.
- Customizable Crust: If you prefer, swap the graham cracker crust for crushed Oreos or shortbread cookies for a different flavor profile in your no-bake dessert.
- Garnish with Care: Add toppings like pastel candy eggs and sprinkles right before serving to keep them fresh and vibrant.
Variations & Substitutions for No-Bake Easter Egg Cheesecake Jars
Ready to personalize your No-Bake Easter Egg Cheesecake Jars? Here are some delightful twists to make this recipe your own!
- Dairy-Free: Use vegan cream cheese and whipped coconut cream for a delicious, dairy-free alternative. You won’t sacrifice creaminess!
- Gluten-Free: Swap out graham cracker crumbs with gluten-free cookie crumbs or crushed nuts for a tasty base that everyone can enjoy.
- Flavor Variations: Infuse your cheesecake with different extracts, such as hazelnut or orange, for a unique flavor profile that excites the taste buds.
- Fruit-Heavy: Incorporate fresh fruit purees like raspberry or mango into your cheesecake layers, adding natural sweetness and a vibrant flavor.
- Spiced Up: Stir in a sprinkle of cinnamon or nutmeg to your cheesecake mixture for a warm spice that complements the sweetness beautifully.
- Layered Delight: Alternate layers of cheesecake mixture with fruit preserves, like strawberry or blueberry, for unexpected bursts of flavor in every bite.
- Savory Twist: Consider a flavored cream cheese, like chive or garlic, for a surprisingly savory cheesecake option that can be a fun appetizer!
- Candy Crush: Level up your toppings with crushed candy bars or cookies for an added crunch that makes your jars even more irresistible.
Feel free to experiment and explore your creativity while making these jars! And if you want to add a delightful crunch to your crust, consider trying a Pecan Crust or those tempting Peanut Butter Cookies. Happy customizing!
How to Store and Freeze Easter Egg Cheesecake Jars
Fridge: Keep the jars in the refrigerator for up to 3 days to maintain their creamy texture and flavors. Make sure to cover them with lids or plastic wrap.
Freezer: For longer storage, freeze the jars for up to 1 month; however, note that the texture may change upon thawing. Allow to thaw in the fridge overnight for best results.
Reheating: There’s no need to reheat these no-bake jars! Simply remove from the fridge or freezer and enjoy them chilled, as their coolness is part of the delicious experience.
Make Ahead: Prepare the jars a day in advance to save time on the day of your gathering, ensuring they’re ready to impress your guests!
Make Ahead Options
These No-Bake Easter Egg Cheesecake Jars are perfect for busy home cooks looking to save time during festive gatherings! You can prepare the crust and cheesecake filling up to 24 hours in advance—just store them separately in the refrigerator to maintain their textures. When you’re ready to serve, simply layer the prepped cheesecake filling into the jars over the crust and chill them for an additional 2 hours. This allows the flavors to meld beautifully while the jars firm up. Just remember to add the whipped cream and decorations right before serving to keep everything fresh and vibrant. Enjoy delightful, stress-free desserts without sacrificing quality!
No-Bake Easter Egg Cheesecake Jars Recipe FAQs
How do I select ripe ingredients for my No-Bake Easter Egg Cheesecake Jars?
Absolutely! When choosing your ingredients, look for cream cheese that is smooth and free from lumps. For the heavy cream, make sure it’s fresh and labeled “whipping cream” to ensure you achieve those stiff peaks. As for any fruit or food coloring, opt for vibrant colors that catch your eye, signaling freshness!
What’s the best way to store these cheesecake jars?
Very! Store your No-Bake Easter Egg Cheesecake Jars in the refrigerator for up to 3 days. Ensure they are covered tightly with lids or plastic wrap to prevent them from absorbing any unwanted odors. They will maintain their delightful flavor and creamy texture when stored properly.
Can I freeze my Easter Egg Cheesecake Jars?
Certainly! To freeze, place the jars in the freezer for up to 1 month. When you’re ready to enjoy, simply transfer them to the refrigerator overnight to thaw. However, keep in mind that the texture may slightly change after thawing, but they’ll still be delicious!
What if my cheesecake filling doesn’t thicken properly?
No worries! If your cheesecake filling is too thin, it might be due to under-whipping the heavy cream or not incorporating it properly with the cream cheese mixture. To fix it, gently re-whip the remaining heavy cream until fluffy and fold it into the mixture thoroughly. Alternatively, if time allows, another chilling session may help firm it up.
Can I customize this recipe for dietary restrictions?
Of course! For a dairy-free option, use non-dairy cream cheese and whipped topping substitutes. You can also swap the powdered sugar for coconut sugar to cater to lower glycemic needs. Just be sure to check all ingredient labels to suit the dietary considerations of you and your guests.
How far in advance can I prepare these jars?
I often make these jars a day ahead! They can be prepared the day before your gathering and stored properly in the fridge. This way, you have less to worry about on the big day, allowing you to focus on enjoying the company of friends and family instead!
Creamy No-Bake Easter Egg Cheesecake Jars for Spring Fun
Ingredients
Equipment
Method
- In a mixing bowl, combine graham cracker crumbs, granulated sugar, and melted unsalted butter until the texture resembles damp sand. Spoon the mixture into jars, about a quarter full, and press down firmly to create a solid crust base.
- In a large mixing bowl, beat softened cream cheese until smooth and creamy, about 2 minutes. Gradually add powdered sugar and vanilla extract, then beat until light and airy, which should take another 2-3 minutes.
- In a separate chilled bowl, whip heavy cream until stiff peaks form, approximately 3-4 minutes on high speed. Gently fold half of the whipped cream into the cream cheese mixture and then fold in the remaining whipped cream.
- Divide the cheesecake filling into two bowls. Tint one bowl with pink gel food coloring or freeze-dried strawberry powder to create a vibrant pink layer.
- Using a piping bag or spoon, pipe or spoon the pink cheesecake layer into the jars over the crust, filling it about halfway. Add a layer of the white cheesecake filling on top.
- Cover the jars with lids or plastic wrap and refrigerate for at least 2 hours to allow the cheesecake filling to firm up properly.
- When ready to serve, pipe a generous dollop of whipped cream on top of each cheesecake jar. Garnish with pastel candy eggs and rainbow or pastel sprinkles for a cheerful finish.