


Introduction to No-Bake Oreo Cheesecake
There’s something magical about desserts that require no baking. The No-Bake Oreo Cheesecake is one of those delightful treats that can turn an ordinary day into a special occasion. I remember the first time I made it; my friends were amazed that something so creamy and delicious could come together without ever seeing the inside of an oven. This recipe is perfect for busy days or when you want to impress loved ones without spending hours in the kitchen. With just a few simple ingredients, you’ll create a dessert that’s sure to be a crowd-pleaser!
Why You’ll Love This No-Bake Oreo Cheesecake
This No-Bake Oreo Cheesecake is a game-changer for dessert lovers. It’s incredibly easy to whip up, taking just 20 minutes of your time. No oven? No problem! The creamy texture and rich Oreo flavor will have everyone coming back for seconds. Plus, it’s a versatile dessert that fits any occasion, from casual family dinners to fancy gatherings. You’ll impress your guests without breaking a sweat!
Ingredients for No-Bake Oreo Cheesecake
Gathering the right ingredients is the first step to creating this creamy masterpiece. Here’s what you’ll need:
- Cream Cheese: The star of the show! Softened cream cheese gives the cheesecake its rich and velvety texture.
- Powdered Sugar: This sweetener blends seamlessly into the cream cheese, adding just the right amount of sweetness without any graininess.
- Vanilla Extract: A splash of vanilla enhances the overall flavor, making each bite even more delightful.
- Heavy Whipping Cream: Whipped to perfection, this ingredient adds lightness and a fluffy texture to the cheesecake.
- Oreo Cookies: Crushed Oreos provide that iconic chocolatey crunch and flavor. You’ll also need some halved Oreos for garnish.
- Cocoa Powder: A light dusting of cocoa powder on top adds a touch of elegance and a hint of chocolate flavor.
For those looking to mix things up, consider adding melted chocolate for a richer taste or swapping Oreos for your favorite chocolate sandwich cookies. The exact quantities for each ingredient are listed at the bottom of the article, ready for you to print and take to the kitchen!
How to Make No-Bake Oreo Cheesecake
Creating this No-Bake Oreo Cheesecake is a breeze! Follow these simple steps, and you’ll have a dessert that’s not only delicious but also visually stunning. Let’s dive in!
Step 1: Prepare the Cream Cheese Mixture
Start by placing your softened cream cheese in a large mixing bowl. Using an electric mixer, beat it on medium speed until it’s smooth and creamy. This step is crucial; you want to avoid any lumps. The cream cheese should be as velvety as a cloud, ready to embrace the other ingredients.
Step 2: Add Sugar and Vanilla
Next, gradually add the powdered sugar and vanilla extract to the cream cheese. Mix on low speed to prevent a sugary cloud from forming. Once combined, increase the speed to medium and beat until everything is well blended. The mixture should be sweet and fragrant, making your kitchen smell heavenly!
Step 3: Whip the Cream
In a separate bowl, pour in the heavy whipping cream. Using a clean mixer, whip it on high speed until stiff peaks form. This means when you lift the beaters, the cream holds its shape. It’s like magic! This whipped cream will add that light, airy texture to your cheesecake.
Step 4: Combine Mixtures
Now, gently fold the whipped cream into the cream cheese mixture. Use a spatula and be careful not to deflate the whipped cream. You want to maintain that fluffy texture. It’s like wrapping a delicate gift; you want to keep it intact while blending the flavors.
Step 5: Add Crushed Oreos
Time to bring in the star ingredient! Stir in the crushed Oreo cookies until they’re evenly distributed throughout the mixture. The chocolatey bits will add a delightful crunch and flavor that’s simply irresistible. You’ll want to sneak a taste at this point!
Step 6: Pour and Smooth
Pour the creamy mixture into a 9-inch springform pan. Use a spatula to smooth the top, making it as even as possible. This is where your cheesecake starts to take shape. It should look inviting and ready for the fridge!
Step 7: Refrigerate
Cover the pan with plastic wrap and refrigerate for at least 4 hours, or until set. This step is essential; it allows the flavors to meld and the cheesecake to firm up. Patience is key here, but trust me, it’s worth the wait!
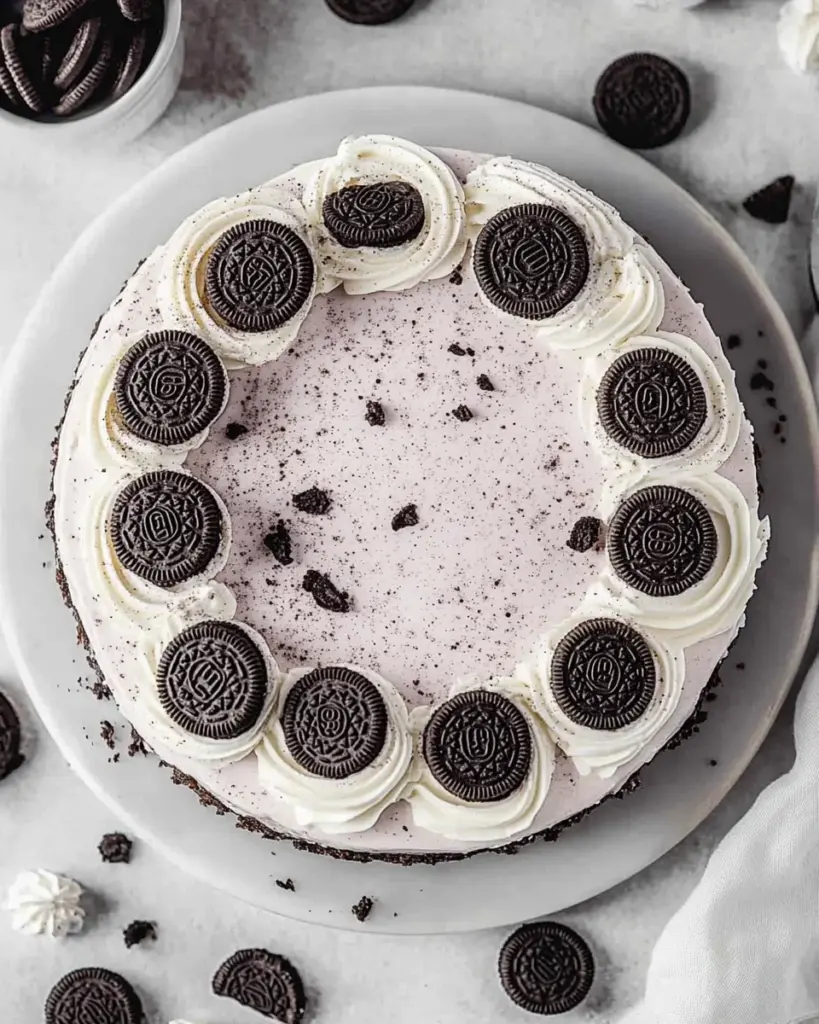
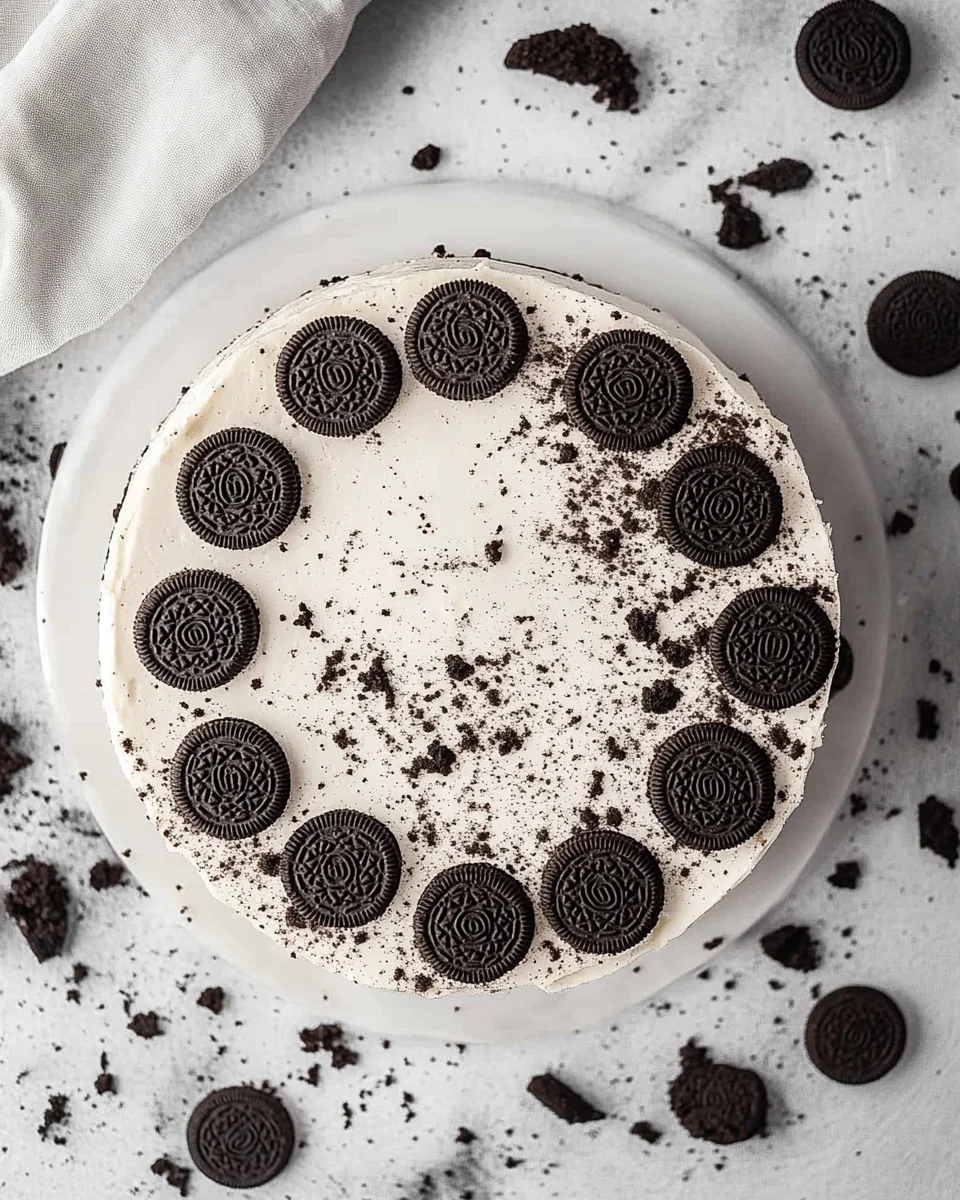
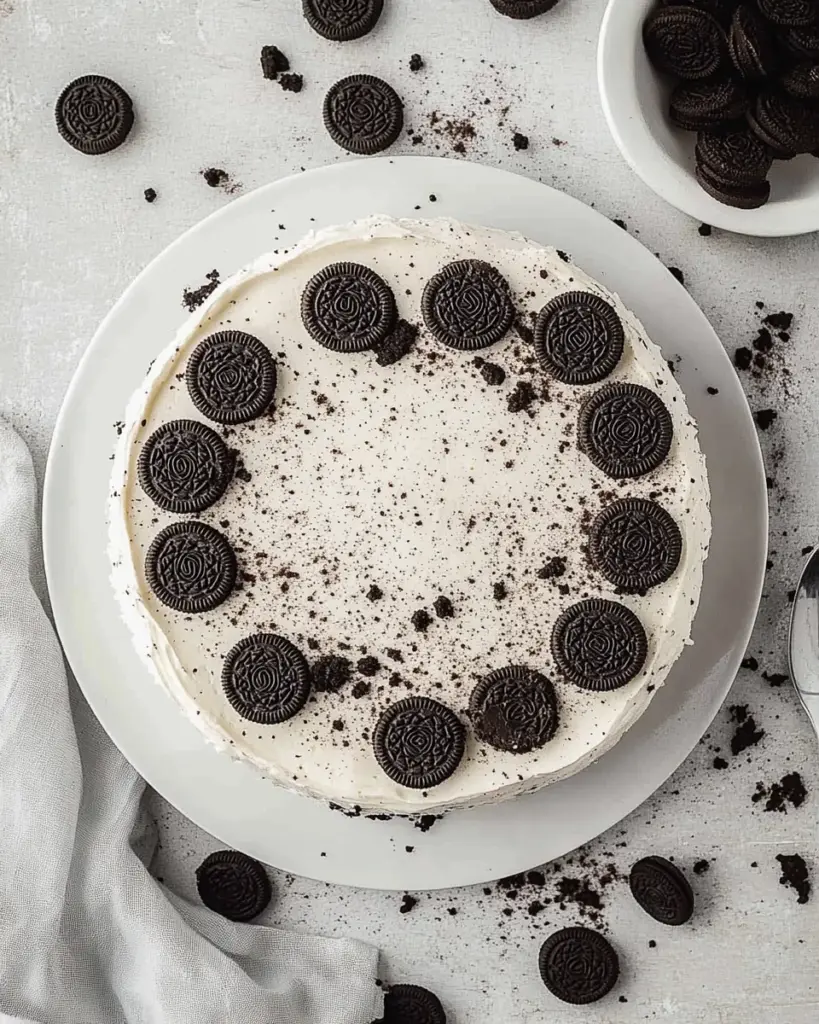
Step 8: Garnish and Serve
Before serving, it’s time to add the finishing touches. Garnish with halved Oreo cookies and a light dusting of cocoa powder on top. This not only looks beautiful but also adds an extra layer of flavor. Slice, serve, and watch your guests’ faces light up with joy!
Tips for Success
- Make sure your cream cheese is at room temperature for easy mixing.
- Use a clean bowl and beaters when whipping the cream to achieve the best results.
- Don’t rush the refrigeration; letting it set properly is key to a perfect texture.
- For a fun twist, try adding different flavored cookies or toppings.
- Always taste the mixture before pouring it into the pan; adjust sweetness if needed!
Equipment Needed
- Mixing Bowls: A large bowl for the cream cheese and a separate one for whipping cream. Any size will do!
- Electric Mixer: A hand mixer works great, but a stand mixer can save you some elbow grease.
- Spatula: Essential for folding and smoothing the mixture.
- 9-inch Springform Pan: If you don’t have one, a regular pie dish can work in a pinch.
Variations
- Chocolate Lovers: Add ¼ cup of melted chocolate to the cream cheese mixture for an extra rich flavor.
- Minty Fresh: Incorporate a few drops of peppermint extract for a refreshing mint Oreo cheesecake.
- Fruit Twist: Fold in some crushed strawberries or raspberries for a fruity contrast to the chocolate.
- Gluten-Free Option: Substitute regular Oreos with gluten-free chocolate sandwich cookies.
- Vegan Version: Use vegan cream cheese and coconut cream instead of heavy whipping cream for a plant-based delight.
Serving Suggestions
- Pair with a scoop of vanilla ice cream for an extra creamy experience.
- Serve alongside fresh berries for a pop of color and flavor.
- Drizzle with chocolate or caramel sauce for added indulgence.
- Present on a decorative platter for a stunning display.
- Enjoy with a cup of coffee or a glass of milk to balance the sweetness.
FAQs about No-Bake Oreo Cheesecake
Can I make No-Bake Oreo Cheesecake ahead of time?
Absolutely! This cheesecake is perfect for making ahead. Just prepare it a day in advance and let it chill overnight. The flavors will deepen, making it even more delicious!
How long does No-Bake Oreo Cheesecake last in the fridge?
Stored properly in an airtight container, your No-Bake Oreo Cheesecake can last up to 5 days in the fridge. Just be sure to keep it covered to maintain its freshness.
Can I freeze No-Bake Oreo Cheesecake?
Yes, you can freeze it! Wrap the cheesecake tightly in plastic wrap and then in aluminum foil. It can be frozen for up to 2 months. Just thaw it in the fridge before serving.
What can I use instead of cream cheese?
If you’re looking for a substitute, try using mascarpone cheese or a vegan cream cheese alternative. Both will give you a creamy texture, though the flavor may vary slightly.
Can I use different cookies for this cheesecake?
Definitely! While Oreos are classic, feel free to experiment with other chocolate sandwich cookies. You can even try vanilla cookies for a different flavor profile!
Final Thoughts
Creating a No-Bake Oreo Cheesecake is more than just whipping up a dessert; it’s about sharing joy and deliciousness with those you love. Each creamy slice is a reminder that simple ingredients can lead to extraordinary moments. Whether it’s a family gathering or a casual get-together with friends, this cheesecake is bound to steal the show. The smiles and satisfied sighs from your guests will be the sweetest reward. So, roll up your sleeves, gather your ingredients, and let this delightful treat bring a little magic to your kitchen and your life!
No-Bake Oreo Cheesecake: A Creamy Delight Awaits!
Ingredients
Method
- In a large mixing bowl, beat the softened cream cheese with an electric mixer until smooth and creamy.
- Gradually add the powdered sugar and vanilla extract, mixing until well combined.
- In a separate bowl, whip the heavy cream until stiff peaks form.
- Gently fold the whipped cream into the cream cheese mixture until fully incorporated.
- Stir in the crushed Oreo cookies until evenly distributed.
- Pour the mixture into a 9-inch springform pan and smooth the top with a spatula.
- Refrigerate for at least 4 hours or until set.
- Before serving, garnish with halved Oreo cookies and a dusting of cocoa powder.
Nutrition
Notes
- For a chocolate twist, add ¼ cup of melted chocolate to the cream cheese mixture.
- You can substitute the Oreo cookies with any chocolate sandwich cookies for a different flavor.