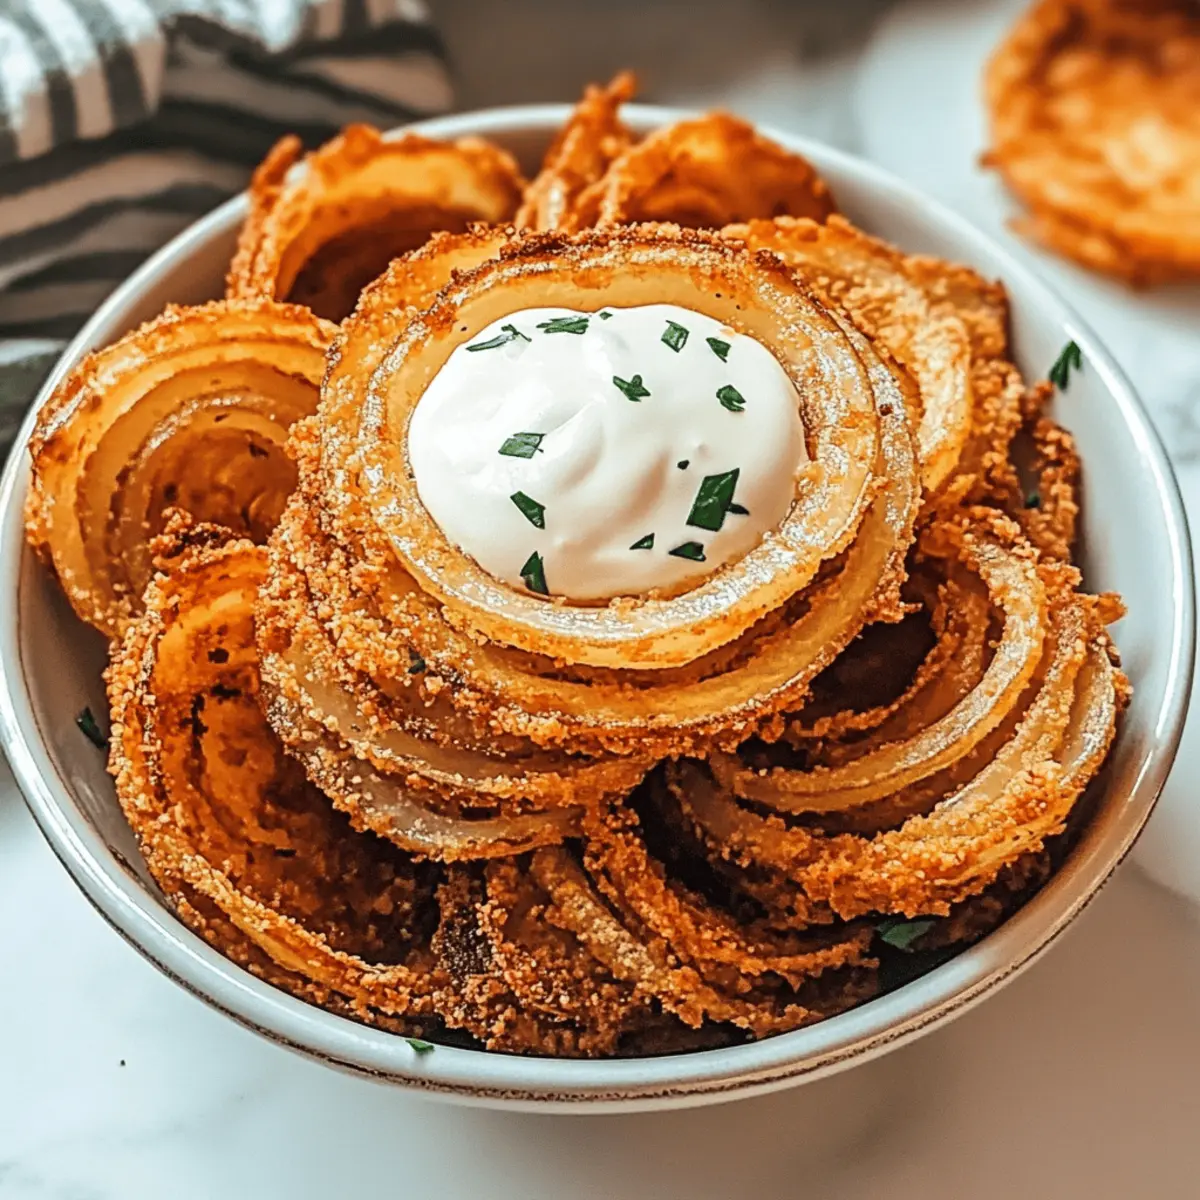
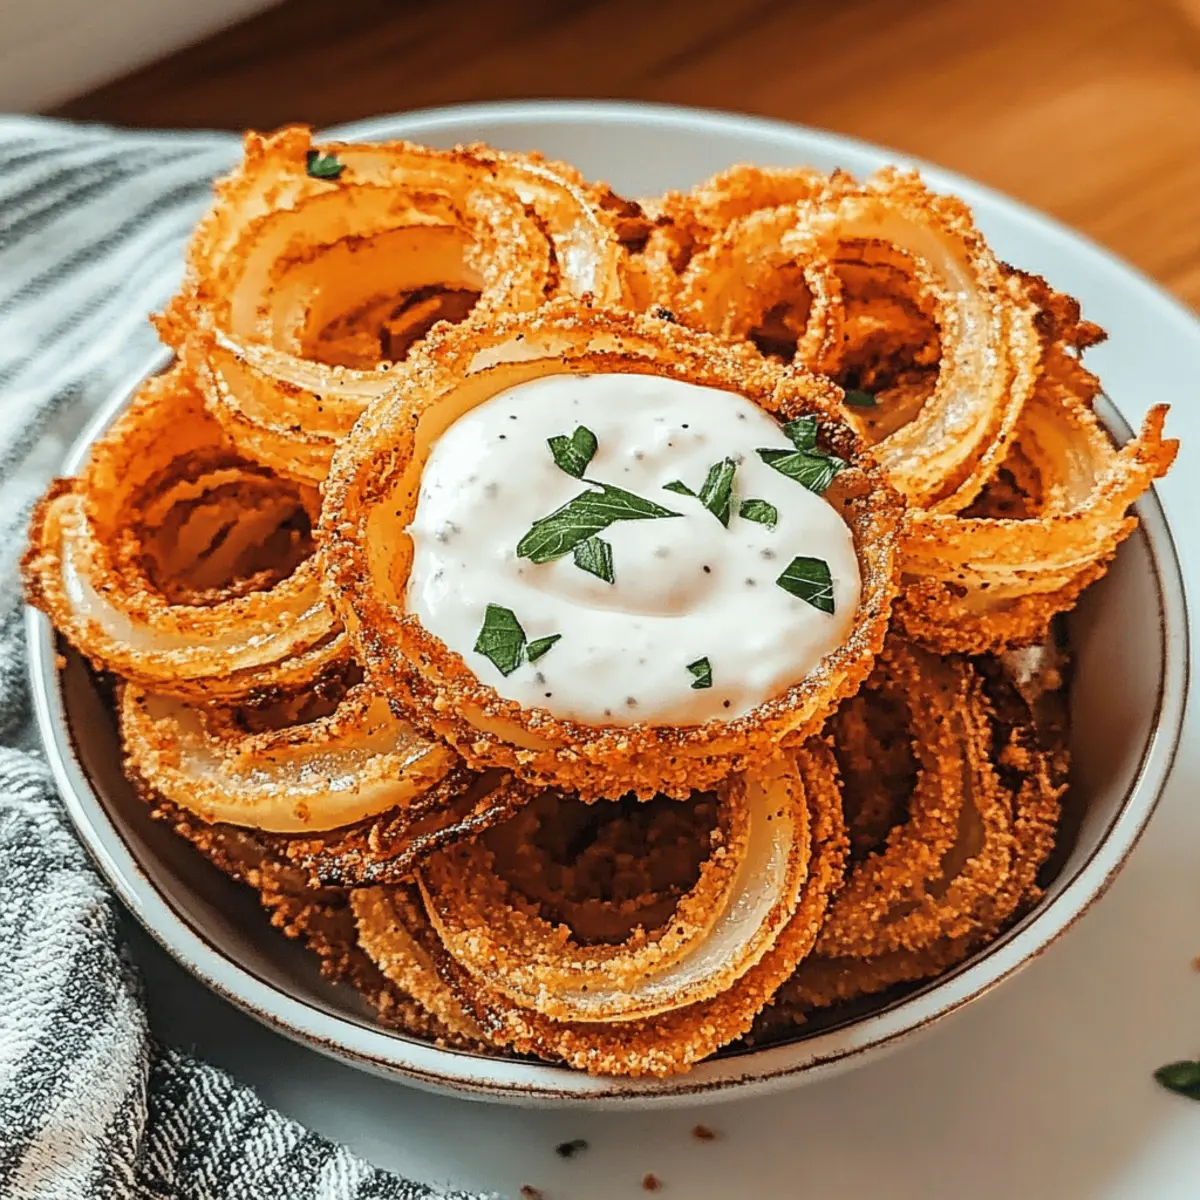
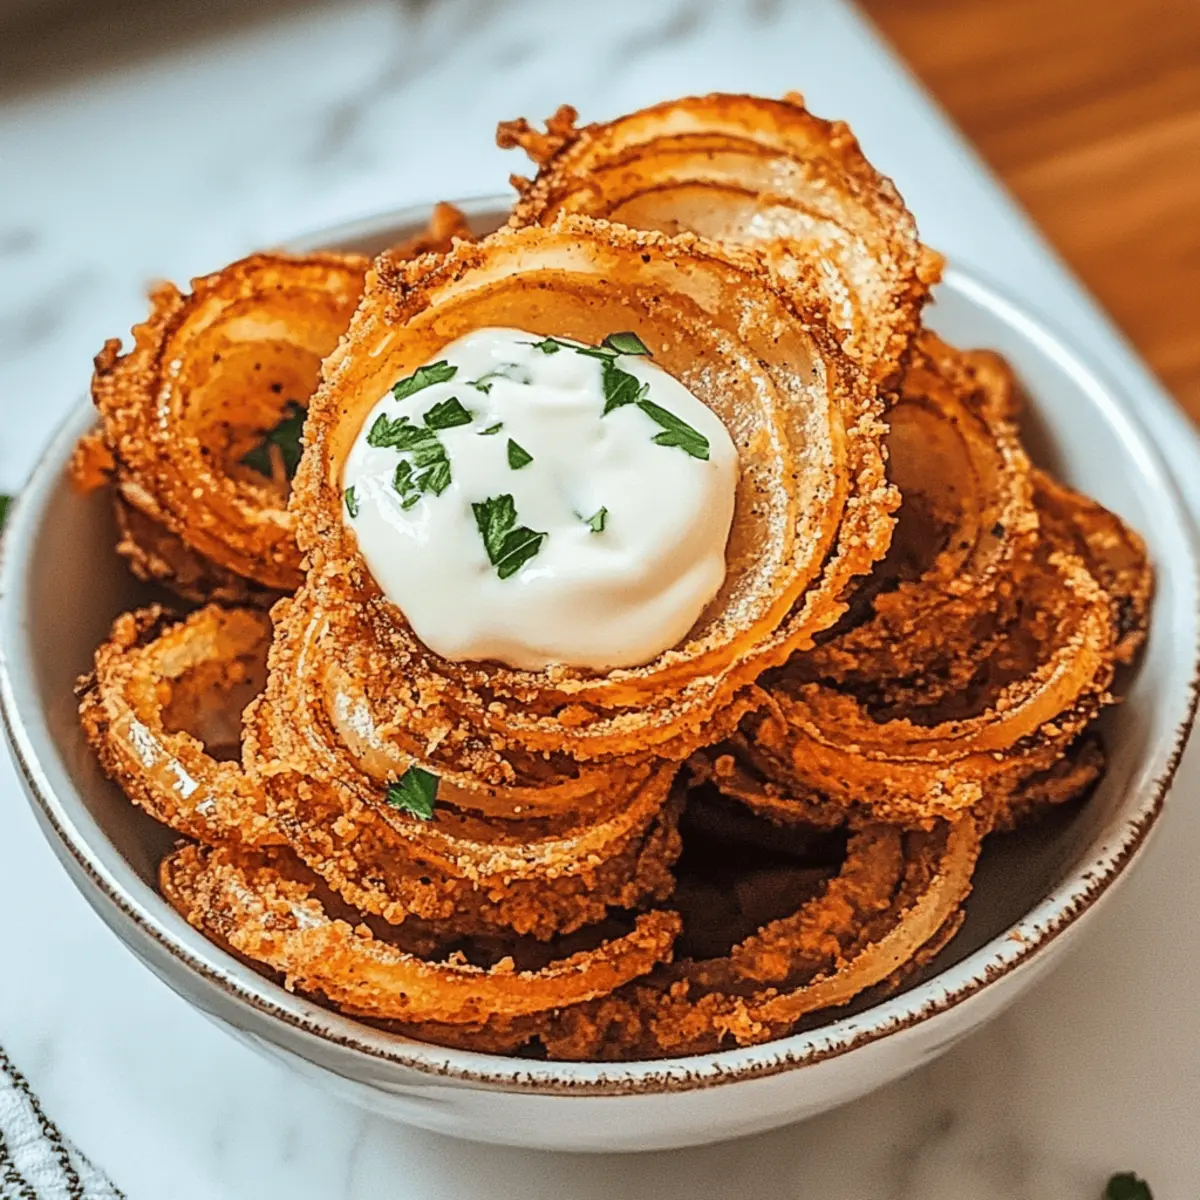
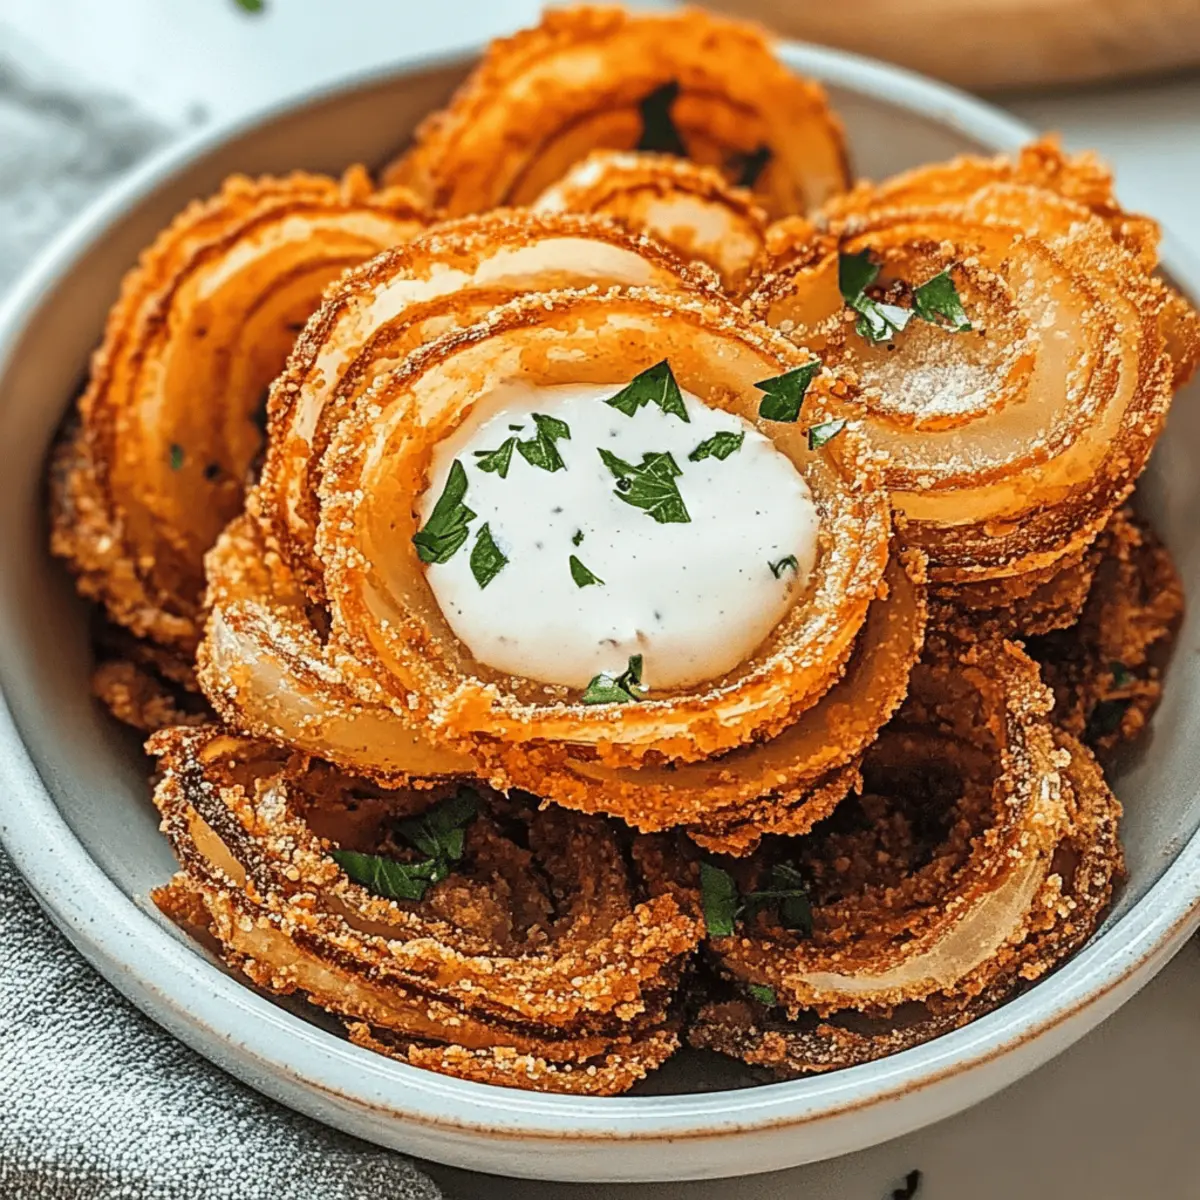
Standing in the kitchen, I plucked a few onions from the basket—each one a treasure waiting to be transformed into a delightful crispy snack. These Onion Ring Chips have quickly become a go-to treat for me, evoking memories of backyard barbecues and carefree gatherings with friends. Not only are these chips incredibly easy to whip up in just 25 minutes, but they also serve as a versatile appetizer that can be dressed up or down for any occasion. And if you’re looking for a healthier alternative, baking them instead of frying is a breeze. So, whether you crave a bit of crunch during your movie marathon or want to impress guests with a homemade snack, I’ve got you covered! Ready to transform those onions into something truly satisfying? Let’s dive into this crispy adventure!

Why Are These Onion Ring Chips Special?
Crispy Perfection: Each bite of these Onion Ring Chips delivers a satisfying crunch that brings the essence of classic snacks right to your home.
Quick and Easy: Whip them up in just 25 minutes! Perfect for those busy days when you crave something tasty without spending hours in the kitchen.
Versatile Options: Feel free to customize! Try adding a spicy kick with cayenne pepper or opt for the healthier baked version that doesn’t skimp on flavor.
Crowd-Pleasing Treat: Whether for game day, movie nights, or casual gatherings, these chips will wow your guests just as an Easter Poke Cake does at celebrations!
Storage-Friendly: Don’t worry about leftovers; they store well in the fridge, and a quick reheat brings back that original crispiness.
Dipping Delights: Pair them with your favorite sauces like ranch or zesty barbecue, creating a snack experience to remember!
Onion Ring Chips Ingredients
For the Coating
• Large Onions – The backbone of this recipe; choose Vidalia for a sweeter flavor.
• All-Purpose Flour – Provides the initial crunch; swap for gluten-free flour if needed.
• Garlic Powder – Enhances savory notes; use fresh minced garlic for a bolder punch.
• Paprika – Adds vibrant color and mild spiciness; smoked paprika can elevate the flavor.
• Salt – Essential for bringing out all flavors; sea salt can add a coarser texture.
• Black Pepper – A dash adds a nice kick; freshly ground offers better depth.
For the Wet Mixture
• Buttermilk – Helps the flour stick and adds moisture; mix milk with vinegar as a lighter alternative.
For the Crunchy Finish
• Panko Breadcrumbs – Delivers ultimate crispiness; substitute with regular breadcrumbs if desired.
• Vegetable Oil – Necessary for frying; you can replace it with canola or peanut oil for high temperatures.
These Onion Ring Chips promise a delightful snack experience that’s quick to prepare and bursting with flavor!
Step‑by‑Step Instructions for Onion Ring Chips
Step 1: Prepare the Oil
Begin by heating vegetable oil in a deep fryer or a large pot until it reaches 350°F (175°C). Ensure there is enough oil to submerge the onion rings completely, which helps achieve that perfect crispy texture. Use a thermometer for accuracy, monitor closely, and prepare your frying area with paper towels nearby to drain excess oil after frying.
Step 2: Mix the Dry Ingredients
In a medium bowl, combine all-purpose flour, garlic powder, paprika, salt, and freshly ground black pepper. Whisk until the mixture is smooth and well-blended, ensuring an even distribution of flavors. This dry mixture is essential for creating the initial crunchy coating on your Onion Ring Chips, so make sure it’s thoroughly combined before moving on to the next step.
Step 3: Set Up the Buttermilk Station
Pour buttermilk into a separate shallow bowl. This ingredient plays a vital role in helping the flour mixture stick to the onion rings while also adding moisture. Having the buttermilk ready and waiting will streamline the coating process, ensuring each onion ring is evenly dressed for perfect frying.
Step 4: Coat the Onion Rings
Dip each onion ring into the buttermilk, allowing any excess to drip off. Then, take the ring and coat it generously in the flour mixture, pressing lightly to ensure a good adhesion. Repeat this step for all onion rings, creating a solid base layer of crunch for your upcoming frying adventure.
Step 5: Double-Dip for Extra Crispiness
For an added crunch, dip each floured onion ring back into the buttermilk and then dredge it in panko breadcrumbs. Press the breadcrumbs firmly to ensure they adhere well. This double-dipping technique will guarantee that your Onion Ring Chips are extra crispy on the outside, resulting in a delightful crunch with every bite.
Step 6: Fry the Onion Rings
Carefully place the coated onion rings into the hot oil, frying them in batches so as not to overcrowd the pot. Fry for about 2-3 minutes, turning occasionally until they turn a beautiful golden brown. This vital step ensures even cooking and a deliciously crispy exterior, enhancing the taste of your homemade onion ring chips.
Step 7: Drain and Serve
Once golden brown, remove the fried onion rings from the oil using a slotted spoon. Transfer them to a plate lined with paper towels to absorb any excess oil. Serve your Onion Ring Chips warm with a variety of dipping sauces, such as ranch or zesty barbecue sauce, for a truly irresistible snack experience.

What to Serve with Crispy Onion Ring Chips?
Creating the perfect meal is an exciting adventure, and these crunchy delights can elevate your dining experience like no other.
- Creamy Ranch Dip: This classic pairs perfectly, adding a cool contrast to the crispy onion rings. It’s a crowd-pleaser that never disappoints!
- Zesty Barbecue Sauce: The sweet and smoky flavors complement the savory crunch of the onion rings. A delicious option for a fun twist!
- Spicy Aioli: A touch of heat enhances the savory notes of your chips, making every bite adventure-filled and zesty.
- Fresh Salad: A crisp side salad with tangy vinaigrette balances the rich crispy texture of the onion rings, offering a refreshing touch.
- Coleslaw: The crunch of coleslaw echoes the onion chips, while its creaminess adds a delightful contrast, making for a harmonious bite.
- Beer: Pairing with a cold, crisp lager or pale ale perfectly enhances the flavors, creating a memorable, relaxing experience.
- Sliced Pickles: Their tangy crunch provides a pleasant contrast, cutting through the richness of the onion rings in the most delightful way.
- Potato Wedges: For a hearty meal, serve alongside seasoned potato wedges, bringing a comforting, homey feel to your gathering.
- Chocolate Brownies: End the meal on a sweet note with fudgy brownies, providing a satisfying conclusion to your savory adventure!
Make Ahead Options
These Onion Ring Chips are a fantastic choice for meal prep! You can slice and coat the onions with the flour mixture up to 24 hours in advance, ensuring they’re ready to fry when you are. Simply store the coated onion rings in an airtight container in the refrigerator to maintain freshness. For best results, avoid adding the panko breadcrumbs until you’re ready to cook to keep them crispy. When it’s time to serve, just dip the prepped onion rings in buttermilk, dredge in panko, and fry for about 2-3 minutes until golden brown. This make-ahead approach lets you enjoy quick and delicious snacks during your busy week!
How to Store and Freeze Onion Ring Chips
Fridge: Store leftover Onion Ring Chips in an airtight container for up to 3 days. This keeps them fresh but may slightly lessen their crispiness.
Freezer: For longer storage, freeze the chips in a single layer on a baking sheet before transferring them to a freezer bag, which can maintain quality for up to 2 months.
Reheating: To regain their crunch, reheat the onion rings in the oven at 375°F (190°C) for about 10-15 minutes, ensuring they’re crispy and ready to enjoy again.
Avoid Moisture: When storing, make sure the chips are completely cooled before sealing to prevent condensation, which can lead to sogginess.
Expert Tips for Onion Ring Chips
Oil Temperature Check: Ensure the oil reaches 350°F (175°C) before frying to achieve that crispy texture; too cool oil leads to soggy onion rings.
Double-Dip Technique: For the ultimate crunch, always double-dip the onion rings in buttermilk and then in panko breadcrumbs, ensuring even coverage for crispiness.
Batch Frying: Fry in small batches to maintain oil temperature; overcrowding can lead to uneven cooking and less crispy Onion Ring Chips.
Flour Alternatives: If gluten-free, substitute all-purpose flour with a gluten-free blend, maintaining structure without sacrificing taste.
Storage Tips: Store any leftover onion ring chips in an airtight container; reheat them in the oven to restore that crispy goodness.
Onion Ring Chips: Variations & Substitutions
Feel free to experiment with these Onion Ring Chips to create a version that’s truly your own, bursting with flavor and texture!
-
Baking Option: Bake the chips at 425°F (220°C) for 20-25 minutes. Flip halfway for perfect crispiness without the oil.
-
Spicy Kick: Add cayenne pepper to the flour mixture for an extra heat level! Feel the warmth ignite your taste buds as you indulge.
-
Sweet Onion Twist: Use sweet onions like Vidalia or even red onions for a milder, sweeter flavor that is delightful in every bite.
-
Herbed Variation: Mix in dried herbs like oregano or thyme for an aromatic twist. It will elevate the flavor profile to a new level.
-
Gluten-Free Swap: Replace all-purpose flour with gluten-free flour to cater to gluten-sensitive pals. Everyone deserves to enjoy crispy snacks!
-
Extra Crunch: Use crushed cornflakes instead of panko breadcrumbs for a delightful, unique crunch. It will surprise your palate!
-
Flavorful Sauces: Pair with unique dipping sauces like spicy aioli or zesty chipotle ranch for an ideal complement to your crispy treats.
-
Cheesy Touch: Grate some Parmesan cheese into the breadcrumb mix before coating for a cheesy, savory explosion.
For more tasty inspirations, check out this delightful Easter Dirt Cups recipe that adds a sweet twist to your get-togethers!

Onion Ring Chips Recipe FAQs
How do I choose the right onions for Onion Ring Chips?
Absolutely! For the best flavor, I recommend using large onions like Vidalia or sweet yellow onions. They add a delightful sweetness to the chips. Avoid onions that have dark spots or are overly soft, as they might impact the texture and taste of your chips.
What’s the best way to store leftover Onion Ring Chips?
Store your leftover Onion Ring Chips in an airtight container in the fridge for up to 3 days. Just a heads up, the chips may lose some of their crispiness, but they’ll still be tasty! To revive that crunch, simply reheat them in the oven.
Can I freeze Onion Ring Chips?
Yes, you can freeze Onion Ring Chips! After frying, let the chips cool completely, then spread them in a single layer on a baking sheet. Freeze them for about 1-2 hours until firm, and then transfer them to a freezer bag. They can stay fresh for up to 2 months. To reheat, bake them straight from the freezer at 375°F (190°C) for about 10-15 minutes.
What should I do if my Onion Ring Chips are soggy?
Very! If your chips come out soggy, it might be due to the oil temperature being too low while frying. Make sure the oil is at 350°F (175°C) before adding the onion rings. If it helps, you can also try frying in smaller batches to maintain that perfect temperature!
Can I make Onion Ring Chips gluten-free?
Certainly! You can easily make these Onion Ring Chips gluten-free by substituting all-purpose flour with a gluten-free baking blend. Ensure that your breadcrumbs are also gluten-free, and you’ll have a crispy, delicious snack suitable for everyone!
What dipping sauces pair well with Onion Ring Chips?
I often serve these delightful chips with ranch dressing, zesty barbecue sauce, or a spicy aioli for a flavor-packed experience! Feel free to get creative with your favorite dipping sauces to elevate your onion ring snacking experience.

Crispy Onion Ring Chips with a Healthy Twist for Snacking Fun
Ingredients
Equipment
Method
- Begin by heating vegetable oil in a deep fryer or a large pot until it reaches 350°F (175°C). Prepare your frying area with paper towels nearby.
- In a medium bowl, combine all-purpose flour, garlic powder, paprika, salt, and freshly ground black pepper. Whisk until smooth and well-blended.
- Pour buttermilk into a separate shallow bowl to help the flour mixture stick to the onion rings.
- Dip each onion ring into the buttermilk, then coat generously in the flour mixture, pressing lightly to ensure good adhesion.
- For added crunch, dip each floured onion ring back into the buttermilk and then dredge in panko breadcrumbs, pressing firmly.
- Carefully place the coated onion rings into the hot oil, frying in batches for about 2-3 minutes until golden brown.
- Remove the fried onion rings from the oil using a slotted spoon and transfer to a plate lined with paper towels.


