Introduction to Patriotic Layer Cake
There’s something magical about a cake that captures the spirit of celebration. The Patriotic Layer Cake does just that, bringing together vibrant colors and delightful flavors. Whether it’s a backyard barbecue, a family gathering, or a holiday feast, this cake is sure to impress your loved ones. It’s not just a dessert; it’s a centerpiece that sparks joy and conversation. Plus, it’s surprisingly easy to whip up, making it a perfect solution for those busy days when you want to create something special without the fuss.
Why You’ll Love This Patriotic Layer Cake
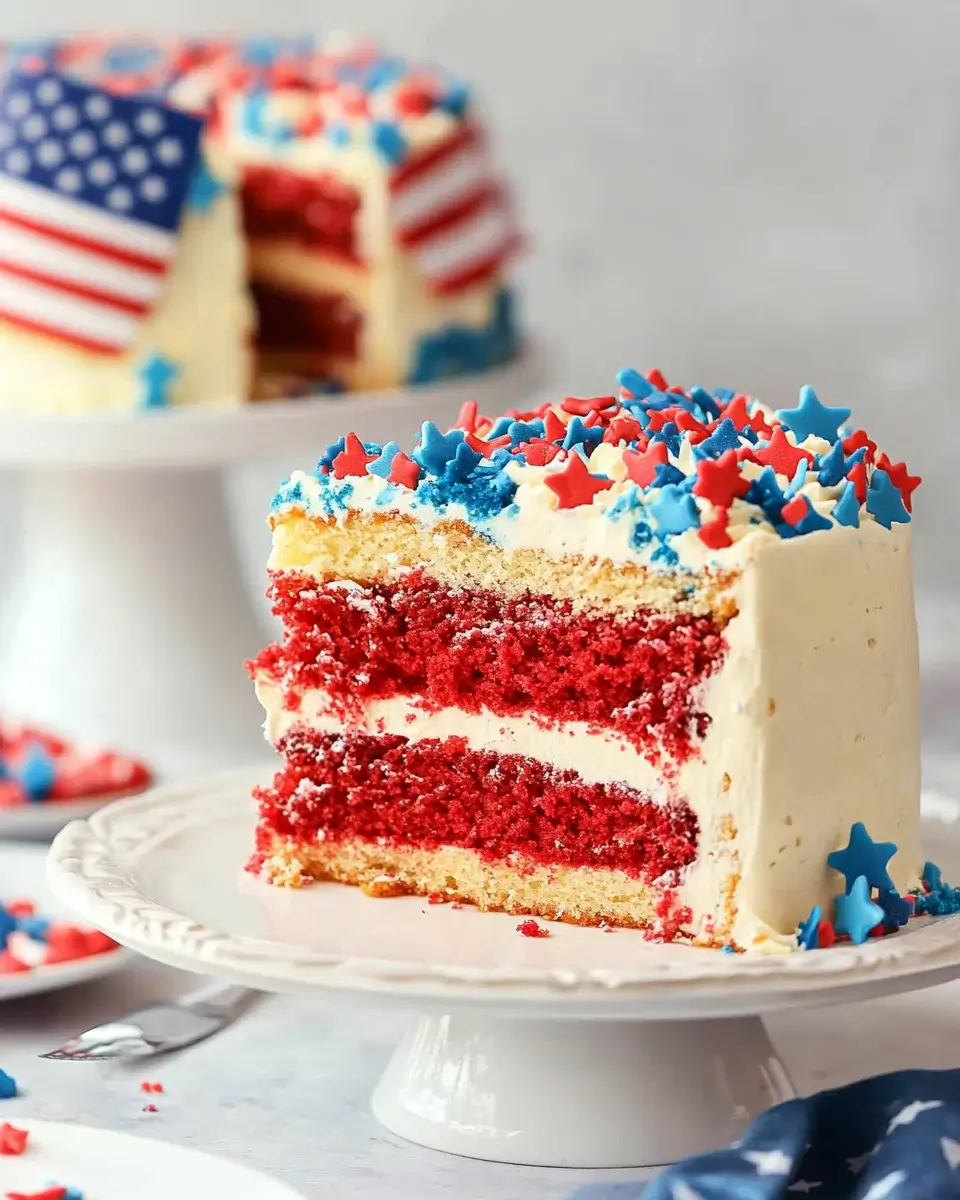
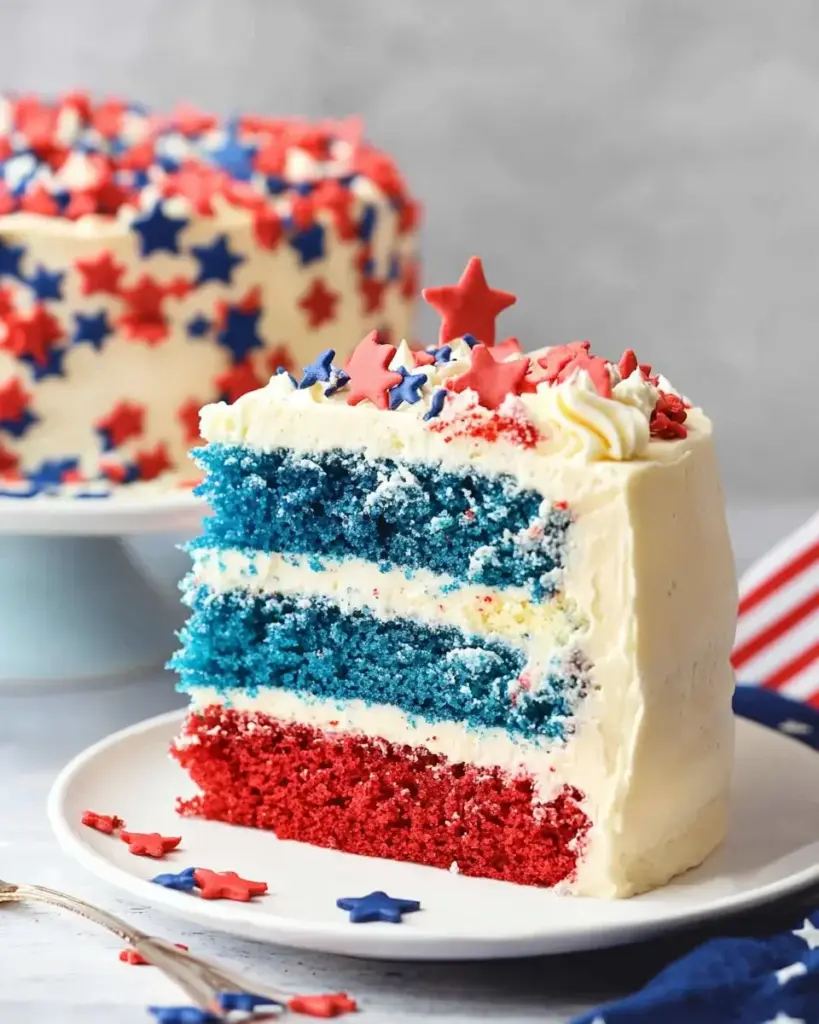
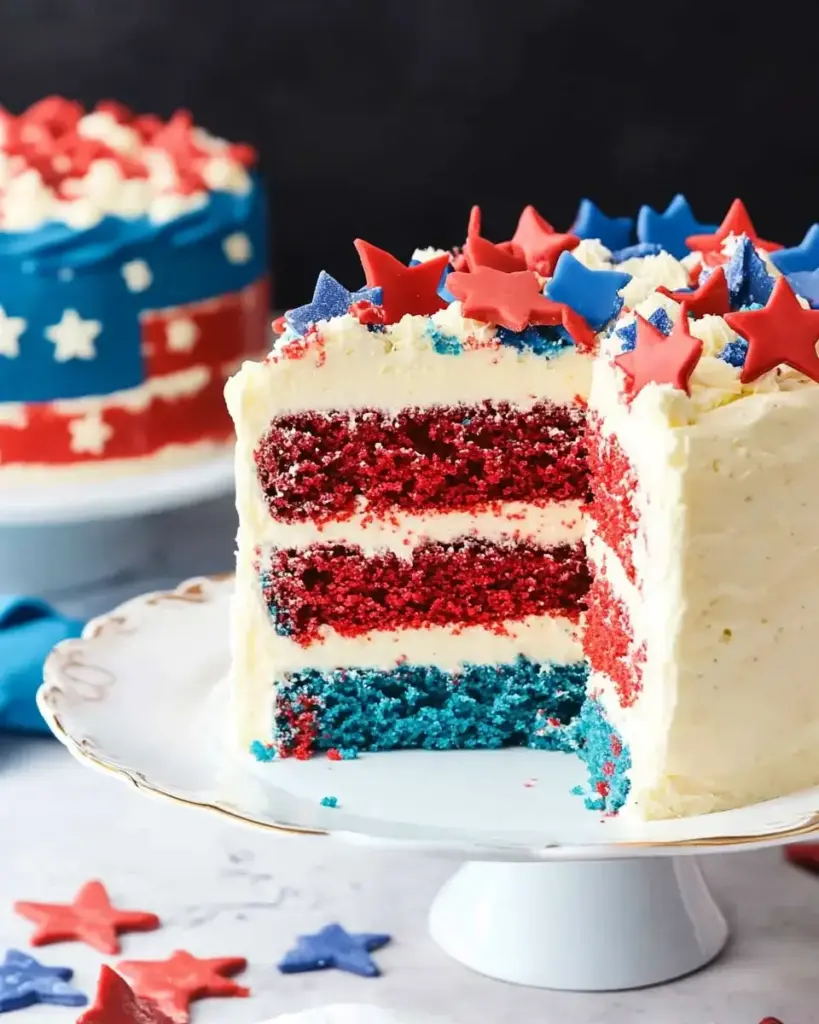
This Patriotic Layer Cake is a showstopper that combines ease and flavor in one delightful package. It’s quick to prepare, making it perfect for last-minute celebrations. The layers of red, white, and blue not only look stunning but also taste incredible, thanks to the fluffy whipped cream and fresh berries. Plus, it’s a fun project to tackle with the kids, creating memories while you bake together.
Ingredients for Patriotic Layer Cake
Gathering the right ingredients is the first step to creating your stunning Patriotic Layer Cake. Here’s what you’ll need:
- All-purpose flour: The backbone of your cake, providing structure and texture.
- Baking powder: This leavening agent helps your cake rise, giving it that fluffy feel.
- Salt: A pinch enhances the flavors, balancing the sweetness.
- Unsalted butter: Adds richness and moisture; make sure it’s softened for easy mixing.
- Granulated sugar: Sweetens the cake and contributes to its tender crumb.
- Large eggs: They bind the ingredients together and add moisture.
- Vanilla extract: A splash of this classic flavor elevates the cake’s taste.
- Whole milk: Keeps the batter moist and helps create a tender cake.
- Red gel food coloring: Essential for achieving that vibrant red layer.
- Blue gel food coloring: Gives you the perfect blue layer to complete the patriotic theme.
- Heavy whipping cream: The star of your frosting, creating a light and airy finish.
- Powdered sugar: Sweetens the whipped cream and helps stabilize it.
- Fresh strawberries: A delicious garnish that adds a pop of color and flavor.
- Fresh blueberries: Complements the strawberries and enhances the patriotic look.
For those looking to lighten things up, consider substituting half of the butter with unsweetened applesauce. If you want a tangy twist, a layer of lemon curd between the cake layers can add a delightful zing. You can find the exact quantities for each ingredient at the bottom of the article, ready for printing!
How to Make Patriotic Layer Cake
Creating your own Patriotic Layer Cake is a rewarding experience that fills your kitchen with delightful aromas. Follow these simple steps, and you’ll have a stunning cake that’s perfect for any celebration.
Step 1: Preheat and Prepare
Start by preheating your oven to 350°F (175°C). While it warms up, grease and flour three 9-inch round cake pans. This ensures your cakes slide out easily after baking. Trust me, there’s nothing worse than a cake that sticks!
Step 2: Mix Dry Ingredients
In a medium bowl, whisk together the all-purpose flour, baking powder, and salt. This step is crucial as it evenly distributes the leavening agent, ensuring your cake rises beautifully. Set this mixture aside for later.
Step 3: Cream Butter and Sugar
In a large mixing bowl, cream the softened butter and granulated sugar together until it’s light and fluffy. This usually takes about 3-4 minutes. The fluffiness is key to a tender cake, so don’t rush this step!
Step 4: Add Eggs and Vanilla
Next, add the eggs one at a time, mixing well after each addition. Stir in the vanilla extract, which adds a lovely depth of flavor. You’ll notice the mixture becoming even creamier and more inviting.
Step 5: Combine Wet and Dry Ingredients
Now, it’s time to bring it all together. Gradually add the dry ingredients to the wet mixture, alternating with the whole milk. Start and end with the flour mixture. Mix until just combined; overmixing can lead to a dense cake.
Step 6: Color the Batter
Divide the batter evenly into three bowls. In one bowl, add red gel food coloring until you reach your desired shade. In the second bowl, do the same with blue gel food coloring. Leave the third bowl plain for the white layer. This is where the fun begins!
Step 7: Bake the Cakes
Pour the red batter into one prepared cake pan, the blue batter into another, and the plain batter into the last pan. Bake in the preheated oven for 25-30 minutes. A toothpick inserted in the center should come out clean. Your kitchen will smell amazing!
Step 8: Cool the Cakes
Once baked, let the cakes cool in the pans for about 10 minutes. Then, transfer them to wire racks to cool completely. This step is essential; frosting a warm cake can lead to a melty mess!
Step 9: Whip the Cream
While the cakes cool, whip the heavy cream with powdered sugar and vanilla extract until stiff peaks form. This fluffy frosting is what makes your cake truly special. It’s light, airy, and oh-so-delicious!
Step 10: Assemble the Cake
Once the cakes are completely cool, place the red layer on a serving plate. Spread a layer of whipped cream on top, then add the blue layer. Repeat with more whipped cream, and finally, top with the plain layer. Frost the top and sides with the remaining whipped cream, and decorate with fresh strawberries and blueberries for that festive touch.

Tips for Success
- Make sure your butter is softened for easy creaming.
- Use gel food coloring for vibrant, true colors.
- Don’t skip the cooling step; it prevents melting frosting.
- For a cleaner slice, use a hot knife to cut the cake.
- Feel free to get creative with decorations—sprinkles or edible stars work great!
Equipment Needed
- 9-inch round cake pans: If you don’t have these, use square pans or a single larger pan.
- Mixing bowls: Any size will do; just ensure they’re large enough for mixing.
- Whisk: A hand whisk works, but an electric mixer saves time.
- Spatula: A rubber spatula is perfect for scraping down the sides.
- Cooling racks: If you lack these, a plate or cutting board can work in a pinch.
Variations
- Chocolate Layer Cake: Swap out some of the flour for cocoa powder to create a rich chocolate version.
- Gluten-Free Option: Use a gluten-free all-purpose flour blend to make this cake suitable for those with gluten sensitivities.
- Fruit-Infused Layers: Add pureed fruit, like strawberries or blueberries, to the batter for a natural flavor boost.
- Vegan Version: Replace eggs with flaxseed meal and use plant-based butter and milk for a delicious vegan cake.
- Layered with Jam: Spread a layer of your favorite fruit jam between the cake layers for added sweetness and flavor.
Serving Suggestions
- Pair your Patriotic Layer Cake with a scoop of vanilla ice cream for a delightful contrast.
- Serve alongside fresh fruit salad to enhance the cake’s vibrant colors.
- For drinks, consider lemonade or iced tea to keep things refreshing.
- Present the cake on a festive platter, garnished with extra berries for a stunning display.

FAQs about Patriotic Layer Cake
Can I make the Patriotic Layer Cake ahead of time?
Absolutely! You can bake the layers a day in advance. Just wrap them tightly in plastic wrap and store them in the fridge. Frosting the cake the day of serving ensures it stays fresh and fluffy.
What can I use instead of heavy whipping cream?
If you’re looking for a lighter option, you can use whipped topping or a dairy-free alternative like coconut cream. Just make sure it’s well-chilled for the best results!
How do I store leftover cake?
Store any leftover Patriotic Layer Cake in an airtight container in the fridge. It should stay fresh for about 3-4 days. Just be sure to keep it covered to prevent it from drying out.
Can I freeze the cake layers?
Yes! You can freeze the cake layers for up to three months. Just wrap them well in plastic wrap and aluminum foil. Thaw them in the fridge before frosting.
What’s the best way to decorate the cake?
Get creative! Use fresh berries, edible glitter, or even themed sprinkles. You can also pipe whipped cream decorations for an extra touch. The sky’s the limit!
Final Thoughts
Creating a Patriotic Layer Cake is more than just baking; it’s about crafting memories that last a lifetime. The vibrant layers and fluffy whipped cream bring a sense of joy to any gathering, making it a centerpiece that sparks conversations and smiles. Whether you’re celebrating a holiday or simply enjoying a sunny afternoon, this cake is sure to impress. Plus, the process of baking together with family or friends adds an extra layer of fun. So roll up your sleeves, gather your loved ones, and let the festivities begin with this delightful treat!
Patriotic Layer Cake: Delightful Recipe for Celebrations
Ingredients
Method
- Preheat your oven to 350°F (175°C). Grease and flour three 9-inch round cake pans.
- In a medium bowl, whisk together the flour, baking powder, and salt. Set aside.
- In a large mixing bowl, cream the softened butter and granulated sugar together until light and fluffy, about 3-4 minutes.
- Add the eggs one at a time, mixing well after each addition. Stir in the vanilla extract.
- Gradually add the dry ingredients to the wet mixture, alternating with the milk. Begin and end with the flour mixture, mixing until just combined.
- Divide the batter evenly into three bowls. In one bowl, add red gel food coloring until you reach your desired shade. In the second bowl, add blue gel food coloring. Leave the third bowl plain.
- Pour the red batter into one prepared cake pan, the blue batter into another, and the plain batter into the last pan.
- Bake in the preheated oven for 25-30 minutes, or until a toothpick inserted in the center comes out clean. Let the cakes cool in the pans for 10 minutes before transferring to wire racks to cool completely.
- While the cakes are cooling, whip the heavy cream with the powdered sugar and vanilla extract until stiff peaks form.
- Once the cakes are completely cool, place the red layer on a serving plate. Spread a layer of whipped cream on top, then add the blue layer. Repeat with more whipped cream, then top with the plain layer.
- Frost the top and sides of the cake with the remaining whipped cream. Decorate with fresh strawberries and blueberries on top for a festive look.
Nutrition
Notes
- For a lighter version, substitute half of the butter with unsweetened applesauce.
- Add a layer of lemon curd between the cake layers for a tangy twist.


