


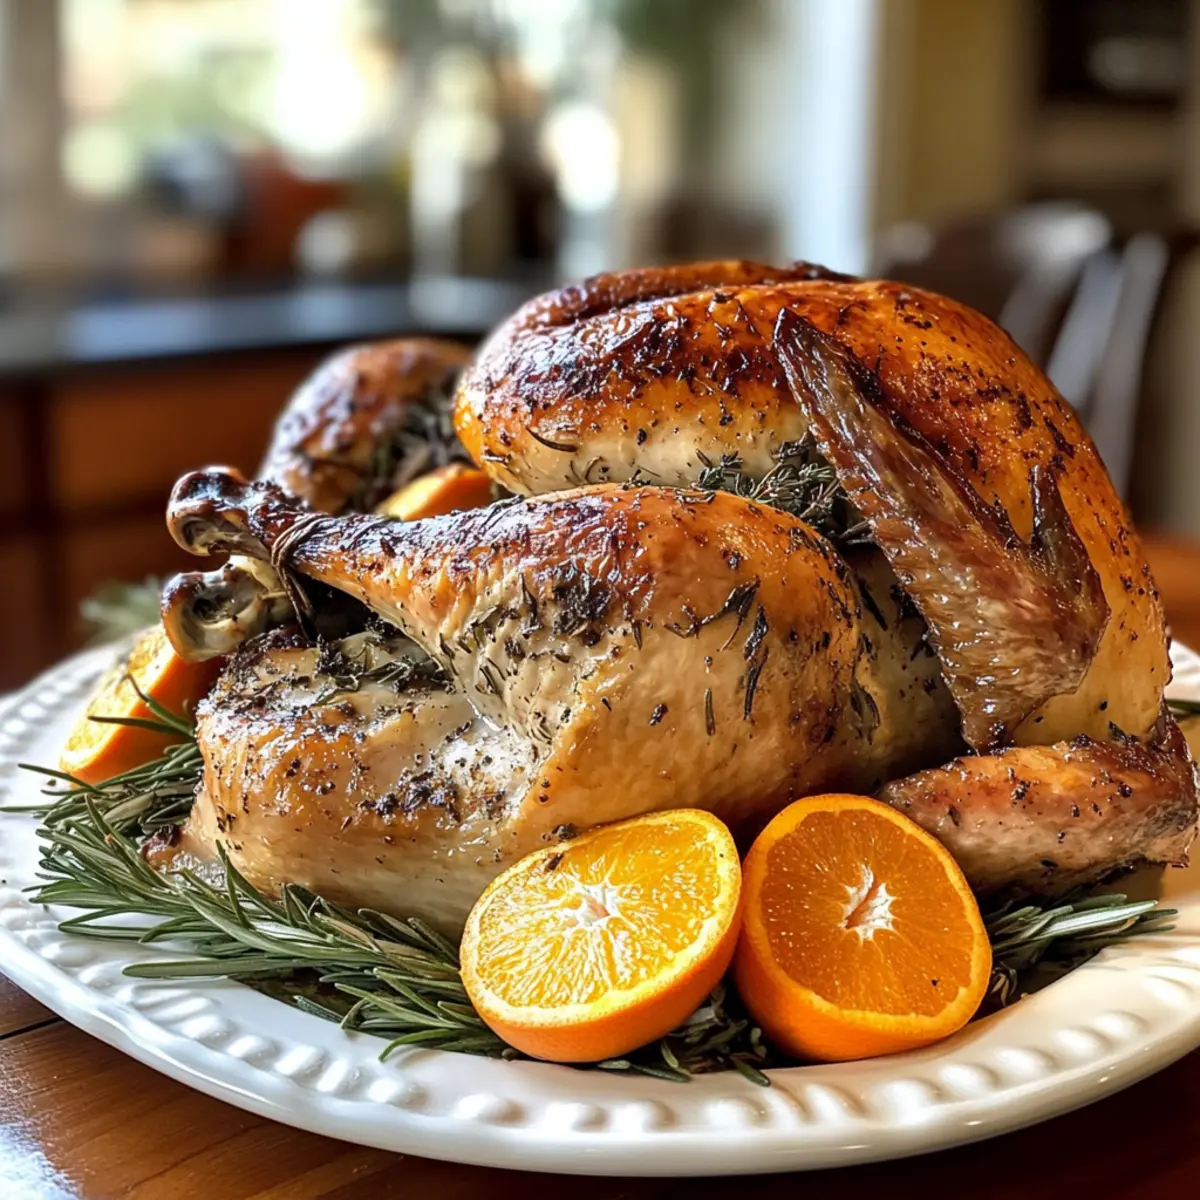
As I stood in my kitchen, a delightful aroma wafting from the oven, I couldn’t help but smile—there’s something magical about baking homemade banana bread. This simple yet heartwarming recipe is my idea of comfort food, effortlessly combining ripe bananas with just a few pantry staples. Not only is it incredibly quick to whip up, but it also makes for a scrumptious treat that’ll have the whole family returning for seconds (or thirds!). With its moist texture and subtle sweetness, this banana bread is perfect for breakfast, snacks, or even dessert. Plus, it’s a wonderful way to reduce food waste and transform overripe bananas into a delicious masterpiece! Curious about how to bring this cozy classic into your own home? Let’s dive into the recipe that will surely become a staple in your kitchen!
Why Is Banana Bread So Beloved?
Warm, Inviting Aroma: As it bakes, your kitchen fills with an irresistible scent that wraps you up like a cozy hug.
Quick and Easy: This recipe is approachable, requiring minimal prep time and only a handful of ingredients. Perfect for even novice bakers!
Versatile Delight: Enjoy it as breakfast, a snack, or dessert, and feel free to customize with nuts or chocolate chips for an extra treat.
Family Favorite: Kids and adults alike will adore this banana bread, making it a guaranteed hit during family gatherings or casual brunches.
Waste Not, Want Not: Transforming overripe bananas into something delightful not only helps the environment but also shows that deliciousness can come from what’s often overlooked.
Healthy Twist: Swap out ingredients to make it gluten-free or add oats for a nutritional boost! It’s all about what suits your taste and lifestyle. Want to explore more homemade delights? Check out more comforting recipes that will satisfy your cravings!
Banana Bread Ingredients
For the Banana Bread
• Ripe Bananas – The star of the recipe, overripe bananas add natural sweetness and moisture.
• All-Purpose Flour – A staple that gives structure; consider whole wheat for a nuttier flavor.
• Granulated Sugar – This enhances the sweetness; you can reduce or substitute with honey for a healthier option.
• Baking Soda – This leavening agent helps the bread rise and gives it a light texture.
• Salt – A pinch enhances all flavors, balancing out the sweetness.
• Egg – Acts as a binding agent; flaxseed meal or applesauce can be used for a vegan option.
• Unsalted Butter – Adds richness; you can exchange it for coconut oil for a dairy-free version.
Optional Mix-Ins
• Chopped Nuts – Walnuts or pecans provide a lovely crunch and enhance the taste.
• Chocolate Chips – A delightful addition for chocolate lovers, turning this banana bread into a dessert!
• Cinnamon – Sprinkle some in to introduce a warm, cozy spice that complements the bananas perfectly.
With these delightful banana bread ingredients, you’ll soon be on your way to baking a comforting treat that far surpasses any fast food craving!
Step-by-Step Instructions for Delicious Homemade Banana Bread
Step 1: Preheat the Oven
Begin by preheating your oven to 350°F (175°C). This step is crucial as it ensures the banana bread bakes evenly and rises beautifully. While the oven warms up, gather your mixing bowl, whisk, and loaf pan, ready to transform those ripe bananas into a delicious homemade treat.
Step 2: Prepare the Bananas
In a large mixing bowl, mash 2-3 ripe bananas with a fork until smooth, leaving a few small lumps for texture. The bananas should be very soft and fragrant; this natural sweetness is what makes your banana bread so delightful. Set the mashed bananas aside as you move on to the next step.
Step 3: Mix the Wet Ingredients
Add 1/3 cup of melted unsalted butter to the mashed bananas, mixing well to combine. Then, add on 1 beaten egg and 3/4 cup of granulated sugar, and stir until everything is incorporated. The mixture should be smooth but not overmixed, creating the foundation for your delicious banana bread.
Step 4: Combine Dry Ingredients
In a separate bowl, whisk together 1 cup of all-purpose flour, 1 teaspoon of baking soda, and a pinch of salt. This step helps to ensure even distribution of the baking soda, giving your banana bread that perfect rise. Once mixed well, gradually add the dry ingredients to the wet mixture, folding gently to combine until just incorporated; avoid overmixing.
Step 5: Add Optional Mix-Ins
If desired, fold in 1/2 cup of chopped nuts, chocolate chips, or a sprinkle of cinnamon to the banana bread batter. The addition of these ingredients can elevate your banana bread experience, bringing textures and flavors that invite everyone to indulge. Once mixed, ensure no dry flour remains before moving to the next step.
Step 6: Pour into the Loaf Pan
Grease a 9×5-inch loaf pan lightly with butter or cooking spray, ensuring easy release after baking. Pour the banana bread batter into the prepared loaf pan, spreading it evenly to create a smooth top. This will allow it to rise and bake uniformly, promising a delectable homemade banana bread.
Step 7: Bake the Banana Bread
Place your loaf pan in the preheated oven and bake for 60-65 minutes, or until a toothpick inserted into the center comes out clean or with a few moist crumbs. As it bakes, your kitchen will fill with a warm, inviting aroma that signals deliciousness is on the way.
Step 8: Cool and Serve
Once baked, remove the banana bread from the oven and let it cool in the pan for about 10 minutes. Gently run a knife around the edges to release it, then invert onto a wire rack to cool completely. Once cooled, slice into thick pieces and savor the homemade comfort food that’s sure to satisfy your cravings!
Expert Tips for Perfect Banana Bread
• Use Overripe Bananas: The riper the bananas, the sweeter and moister your banana bread will be. Look for bananas with brown spots for the best flavor.
• Don’t Overmix: When combining the wet and dry ingredients, mix just until incorporated. Overmixing can result in a dense loaf instead of a fluffy banana bread.
• Check for Doneness: Ovens can vary, so start checking your banana bread at 55 minutes. A toothpick should come out clean for perfect results.
• Experiment with Mix-Ins: Feel free to customize your banana bread! Nuts, chocolate chips, or even dried fruit can create unique flavors and textures you’ll love.
• Storage Secrets: To keep your banana bread fresh, store it in an airtight container at room temperature for up to 3 days. You can also freeze it for longer shelf life!
Embrace these tips, and your homemade banana bread will soon be the most cherished recipe in your kitchen!
Make Ahead Options
These Creamy Pumpkin Pecan Pies are perfect for those busy holiday seasons! You can prepare the pie crust up to 3 days ahead—just roll it out and store it in the refrigerator, wrapped tightly to maintain its freshness. The filling can also be made in advance, up to 24 hours, and kept in the fridge; this allows the flavors to meld beautifully. When you’re ready to bake, pour the filling into the prepared crust and bake as directed. Don’t forget to cover the edges with foil if they brown too quickly! This little prep can save you precious time, ensuring your dessert is just as delicious and stress-free when it’s time to serve.
What to Serve with Banana Bread?
There’s nothing quite like a slice of homemade banana bread, but elevating your meal can make it even more special.
-
Creamy Yogurt: A dollop of Greek yogurt adds a tangy contrast, enhancing the sweet flavors and offering a delightful creamy texture.
-
Fresh Berries: Juicy strawberries or blueberries bring a burst of freshness that complements the banana’s sweetness, brightening the plate beautifully.
-
Nutty Granola: Crunchy granola provides a satisfying texture contrast. Sprinkle it on top of sliced banana bread for added flavor and crunch.
-
Spiced Chai Latte: The warm spices of chai create a cozy pairing with banana bread, perfect for any time of day, especially in cooler months.
-
Honey Drizzle: A light drizzle of honey transforms each slice into a decadent treat, amplifying the natural sugars while adding a touch of extra sweetness.
-
Cinnamon Butter: Whip up some cinnamon butter for a rich, indulgent spread that enhances the beloved flavors of the banana bread.
-
Coffee or Tea: Enjoying a warm slice with a cup of coffee or tea creates a comforting ritual, making it an ideal afternoon pick-me-up.
-
Ice Cream: For a fun dessert twist, serve warm slices of banana bread with a scoop of vanilla ice cream, merging flavors in a delightful way.
Each of these pairings adds its own charm, transforming your banana bread into a feast that’s comforting and entirely satisfying.
Variations & Substitutions for Pumpkin Pecan Pie
Feel free to make this beloved recipe your own with delightful twists and substitutions that cater to your tastes and dietary needs!
-
Gluten-Free: Use a gluten-free flour blend for the pie crust and streusel topping to make it suitable for celiac guests without sacrificing flavor. Don’t forget to test the texture; it can be just as delicious!
-
Dairy-Free: Swap evaporated milk with coconut milk for a creamy, non-dairy version that captures the same rich flavors. The subtle coconut undertones offer a unique flair while keeping the pie indulgent.
-
Nut Variation: Replace pecans with walnuts for a different yet equally delightful crunch. Walnuts bring an earthy flavor, adding depth to the pumpkin filling that’s sure to surprise your family.
-
Sweetness Switch: Opt for honey or agave syrup in place of maple syrup for a lighter sweetness. This substitution can make the pie even more luscious while introducing a rich complexity to the flavor profile.
-
Spice It Up: Add a dash of cayenne pepper to the filling for a surprising kick. This slight heat can elevate the flavors and create an unexpected yet delightful contrast with the sweetness.
-
Bourbon Infusion: Consider incorporating a splash of bourbon to the filling for an adult twist. The warmth from the bourbon enhances the fall spices and creates a sophisticated layer that friends and family will adore.
-
Texture Boost: Incorporate finely chopped apples into the pumpkin filling for extra moisture and subtle crunch. Apples blend beautifully and contribute to a delightful surprise in each bite.
-
Maple Pecan Topping: Drizzle melted maple syrup over the pecans in the streusel before baking for an intensified sweet flavor. This extra layer of maple sweetness adds richness and lovely caramelization to the topping.
These variations not only enhance the classic flavors of your Pumpkin Pecan Pie but also allow you to tailor the recipe to suit any occasion. Interested in more recipe inspirations? Check out this guide to take your holiday desserts to the next level!
How to Store and Freeze Banana Bread
Room Temperature: Store your banana bread at room temperature in an airtight container for up to 3 days. This keeps it fresh and flavorful while making it easy to grab a slice anytime!
Fridge: If you want to extend its shelf life, place the banana bread in the fridge for up to a week. Make sure it’s wrapped well to prevent it from drying out.
Freezer: Freeze sliced banana bread by wrapping it tightly in plastic wrap followed by aluminum foil. It can last for up to 3 months. Thaw slices at room temperature or pop them in the microwave!
Reheating: For a warm treat, reheat banana bread slices in the microwave for about 15-20 seconds. It’s a comforting way to enjoy this homemade delight again!
Pumpkin Pecan Pie Recipe FAQs
How do I know if my pumpkin puree is ripe and suitable for this recipe?
Absolutely! When choosing your pumpkin puree, look for solid-packed canned pumpkin without any added sugars or spices. The puree should be vibrant orange and thick, not watery. If using fresh pumpkin, choose smaller varieties like Sugar Pie pumpkins, which are sweeter and more flavorful than larger ones.
What is the best way to store leftover pumpkin pecan pie?
Very! To keep your pumpkin pecan pie fresh, store it in the refrigerator for up to 4-5 days. Cover it with plastic wrap or place it in an airtight container to maintain its moisture and flavor. If you want to serve it cold, allow it to sit at room temperature for a bit before enjoying.
Can I freeze pumpkin pecan pie?
Absolutely! To freeze your pumpkin pecan pie, let it cool completely after baking. Wrap the pie tightly in plastic wrap and then again in aluminum foil to prevent freezer burn. It can be stored in the freezer for up to 3 months. When you’re ready to enjoy it, thaw it overnight in the fridge, then bring it to room temperature before serving.
What should I do if the edges of my pie crust brown too quickly?
Oh, no worries at all! If you notice your pie crust edges are browning too quickly, simply place a pie ring or strips of aluminum foil around the outer edge of the crust during the last 20-30 minutes of baking. This will shield the crust from direct heat while allowing the center to set perfectly.
Can this pumpkin pecan pie be made gluten-free?
The more the merrier! To make a gluten-free version of this delicious pumpkin pecan pie, substitute the all-purpose flour in the streusel topping with a gluten-free flour blend. Additionally, ensure that any pre-made crust you use is labeled gluten-free, or opt to make one from scratch using gluten-free flour.
Are there any dietary considerations for pets or allergies related to this recipe?
Very! While pumpkin itself is safe for many pets, it’s important to ensure your pie has no harmful ingredients for them, such as sugar or spices. If sharing a small bite with dogs, remember to keep it plain. For allergies, check the labels on ingredients like evaporated milk, and offer your pie to anyone with nut allergies carefully, since pecans are a primary ingredient.
Delicious Homemade Comfort Food to Ditch Fast Food Cravings
Ingredients
Equipment
Method
- Preheat your oven to 350°F (175°C).
- Mash 2-3 ripe bananas in a mixing bowl until smooth.
- Mix in 1/3 cup of melted unsalted butter, 1 beaten egg, and 3/4 cup of granulated sugar.
- In a separate bowl, whisk together 1 cup of all-purpose flour, 1 teaspoon of baking soda, and a pinch of salt.
- Gradually combine the dry ingredients with the wet mixture until just incorporated.
- Fold in 1/2 cup of chopped nuts, chocolate chips, or a sprinkle of cinnamon if desired.
- Pour the batter into a greased 9x5-inch loaf pan.
- Bake for 60-65 minutes, or until a toothpick comes out clean.
- Cool in the pan for 10 minutes before transferring to a wire rack to cool completely.