


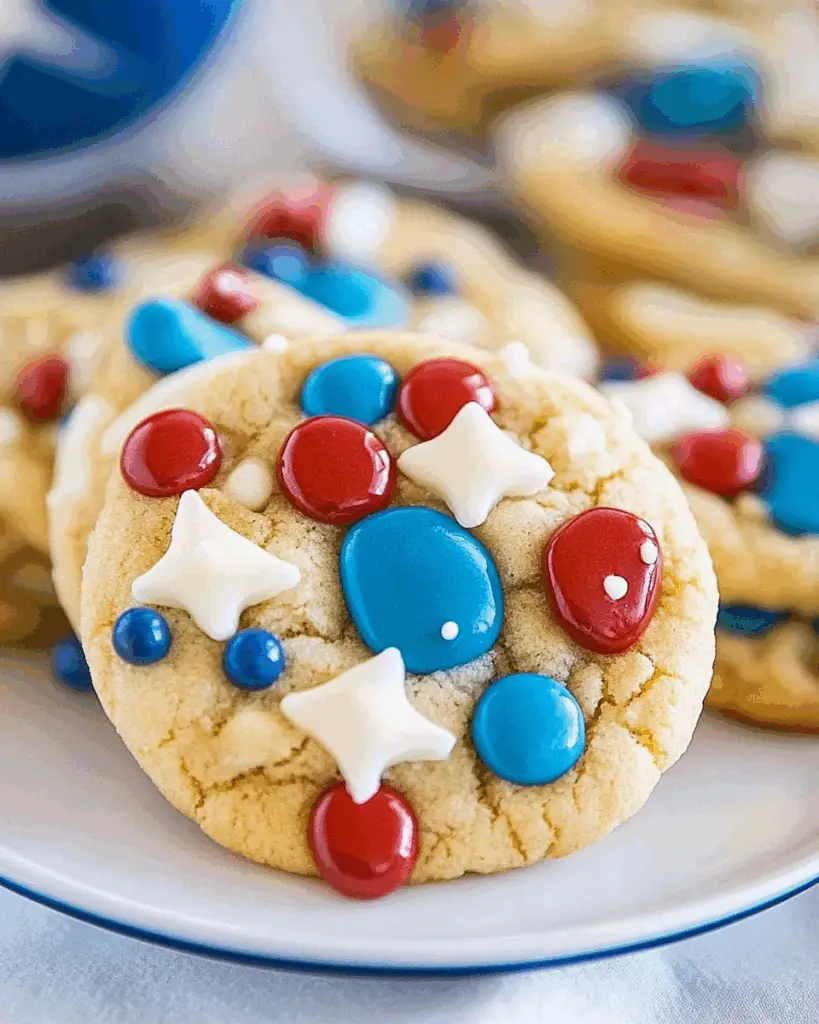
Introduction to Red, White, and Blue Sugar Cookies
There’s something magical about baking that takes me back to my childhood. The aroma of cookies wafting through the house always felt like a warm hug. These Red, White, and Blue Sugar Cookies are not just a treat; they’re a celebration on a plate! Perfect for summer gatherings, holidays, or just a sweet way to brighten your day, this recipe is a quick solution for busy schedules. With vibrant colors and delightful flavors, they’re sure to impress your loved ones. Let’s dive into this festive baking adventure together!
Why You’ll Love This Red, White, and Blue Sugar Cookies
These Red, White, and Blue Sugar Cookies are a breeze to whip up, making them perfect for any occasion. With just a handful of ingredients and minimal prep time, you can have a batch ready in under 30 minutes. The buttery sweetness paired with a pop of color makes them not only delicious but also visually stunning. Trust me, they’ll be the star of your dessert table!
Ingredients for Red, White, and Blue Sugar Cookies
Gathering the right ingredients is the first step to cookie perfection. Here’s what you’ll need for these delightful Red, White, and Blue Sugar Cookies:
- All-purpose flour: The backbone of any cookie, providing structure and chewiness.
- Baking soda: This leavening agent helps the cookies rise and become fluffy.
- Baking powder: Works alongside baking soda for that perfect lift.
- Unsalted butter: Adds richness and flavor; make sure it’s softened for easy mixing.
- White sugar: Sweetens the cookies and contributes to their lovely texture.
- Egg: Acts as a binder, helping to hold everything together.
- Vanilla extract: A must-have for that classic cookie flavor.
- Almond extract: Just a hint adds a delightful twist to the taste.
- Salt: Enhances the sweetness and balances the flavors.
- Red sugar sprinkles: These festive sprinkles give a pop of color and crunch.
- Blue sugar sprinkles: Complements the red and adds to the patriotic theme.
For those looking to get creative, consider adding a few drops of red and blue food coloring to the dough for a marbled effect. If you want to switch things up, colored chocolate chips or M&M’s can be a fun substitute for the sprinkles. You can find all the exact measurements at the bottom of the article, ready for printing!
How to Make Red, White, and Blue Sugar Cookies
Step 1: Preheat and Prepare
Start by preheating your oven to 375°F (190°C). This ensures your cookies bake evenly. While the oven warms up, line two baking sheets with parchment paper. This simple step prevents sticking and makes cleanup a breeze. Trust me, your future self will thank you!
Step 2: Mix Dry Ingredients
In a medium bowl, whisk together the all-purpose flour, baking soda, baking powder, and salt. This combination is crucial for achieving that perfect cookie texture. Set this mixture aside for now. It’s like a secret waiting to be revealed in your cookie masterpiece!
Step 3: Cream Butter and Sugar
In a large bowl, cream together the softened butter and white sugar until smooth and fluffy. This step is where the magic begins! Beat in the egg, vanilla extract, and almond extract until everything is well combined. The aroma will make your kitchen feel like a bakery!
Step 4: Combine Ingredients
Gradually add the dry ingredients to the wet mixture, mixing until just combined. Don’t overdo it; a few flour streaks are okay. This is where the dough starts to come together, and you can almost taste the sweetness in the air. Exciting, right?
Step 5: Shape the Cookies
Scoop out tablespoon-sized portions of dough and roll them into balls. Then, roll each ball in the red and blue sugar sprinkles, ensuring they’re well coated. This step adds a festive flair, making your Red, White, and Blue Sugar Cookies truly pop with color!
Step 6: Bake the Cookies
Place the coated dough balls on the prepared baking sheets, spacing them about 2 inches apart. Bake in the preheated oven for 8 to 10 minutes, or until the edges are lightly golden. Let them cool on the baking sheets for 5 minutes before transferring to a wire rack. The anticipation is half the fun!

Tips for Success
- Make sure your butter is softened to room temperature for easy creaming.
- Don’t skip the chilling step if you have time; it helps the cookies hold their shape.
- Use a cookie scoop for uniform sizes, ensuring even baking.
- Experiment with different sprinkles or toppings for a unique twist.
- Store cookies in an airtight container to keep them fresh longer.
Equipment Needed
- Baking sheets: Essential for baking; you can use any flat, oven-safe tray.
- Parchment paper: Prevents sticking; aluminum foil works in a pinch.
- Mixing bowls: A set of various sizes is handy; any large bowl will do.
- Whisk: For mixing dry ingredients; a fork can work as an alternative.
- Cookie scoop: Ensures uniform cookie sizes; a tablespoon can substitute.
Variations
- Chocolate Chip Twist: Add semi-sweet or white chocolate chips to the dough for a delightful chocolatey surprise.
- Gluten-Free Option: Substitute all-purpose flour with a gluten-free blend to accommodate dietary needs.
- Nutty Flavor: Incorporate chopped nuts like almonds or pecans for added crunch and flavor.
- Fruit Zest: Add a teaspoon of lemon or orange zest to the dough for a refreshing citrus twist.
- Vegan Version: Replace butter with coconut oil and use a flax egg instead of a regular egg for a plant-based treat.
Serving Suggestions
- Pair these Red, White, and Blue Sugar Cookies with a scoop of vanilla ice cream for a delightful dessert.
- Serve alongside fresh fruit like strawberries and blueberries for a colorful platter.
- For drinks, consider iced tea or lemonade to complement the sweetness.
- Display cookies on a festive platter, garnished with fresh mint leaves for a pop of color.
FAQs about Red, White, and Blue Sugar Cookies
Can I make these cookies ahead of time?
Absolutely! You can prepare the dough in advance and refrigerate it for up to three days. Just roll the dough into balls and coat them in sprinkles right before baking for the freshest taste.
What can I substitute for the almond extract?
If almond extract isn’t your thing, feel free to use an extra splash of vanilla extract. You can also try coconut extract for a tropical twist!
How should I store leftover cookies?
To keep your Red, White, and Blue Sugar Cookies fresh, store them in an airtight container at room temperature. They’ll stay delicious for about a week—if they last that long!
Can I freeze these cookies?
Yes! These cookies freeze beautifully. Just place them in a single layer on a baking sheet until frozen, then transfer them to a freezer-safe bag. They can be stored for up to three months.
What’s the best way to decorate these cookies?
For an extra festive touch, drizzle melted white chocolate over the cooled cookies or add edible glitter. You can also use royal icing for more intricate designs!
Final Thoughts
Creating these Red, White, and Blue Sugar Cookies is more than just baking; it’s about crafting memories. The joy of mixing, rolling, and decorating brings a sense of nostalgia that connects us to our loved ones. Each bite is a celebration of flavor and color, perfect for any gathering. Whether it’s a backyard barbecue or a festive holiday, these cookies will surely steal the show. So, roll up your sleeves, gather your ingredients, and let the sweet aroma fill your home. Trust me, the smiles on your guests’ faces will be worth every moment spent in the kitchen!
Red, White, and Blue Sugar Cookies That Wow Your Guests!
Ingredients
Method
- Preheat your oven to 375°F (190°C). Line two baking sheets with parchment paper.
- In a medium bowl, whisk together the flour, baking soda, baking powder, and salt. Set aside.
- In a large bowl, cream together the softened butter and white sugar until smooth. Beat in the egg, vanilla extract, and almond extract until well combined.
- Gradually add the dry ingredients to the wet ingredients, mixing until just combined.
- Scoop out tablespoon-sized portions of dough and roll them into balls. Roll each ball in red sugar sprinkles, then in blue sugar sprinkles, ensuring they are well coated.
- Place the coated dough balls on the prepared baking sheets, spacing them about 2 inches apart.
- Bake in the preheated oven for 8 to 10 minutes, or until the edges are lightly golden. Remove from the oven and let them cool on the baking sheets for 5 minutes before transferring to a wire rack to cool completely.
Nutrition
Notes
- For a festive touch, add a few drops of red and blue food coloring to the dough for a marbled effect.
- Substitute the sugar sprinkles with colored chocolate chips or M&M’s for a different flavor and texture.