


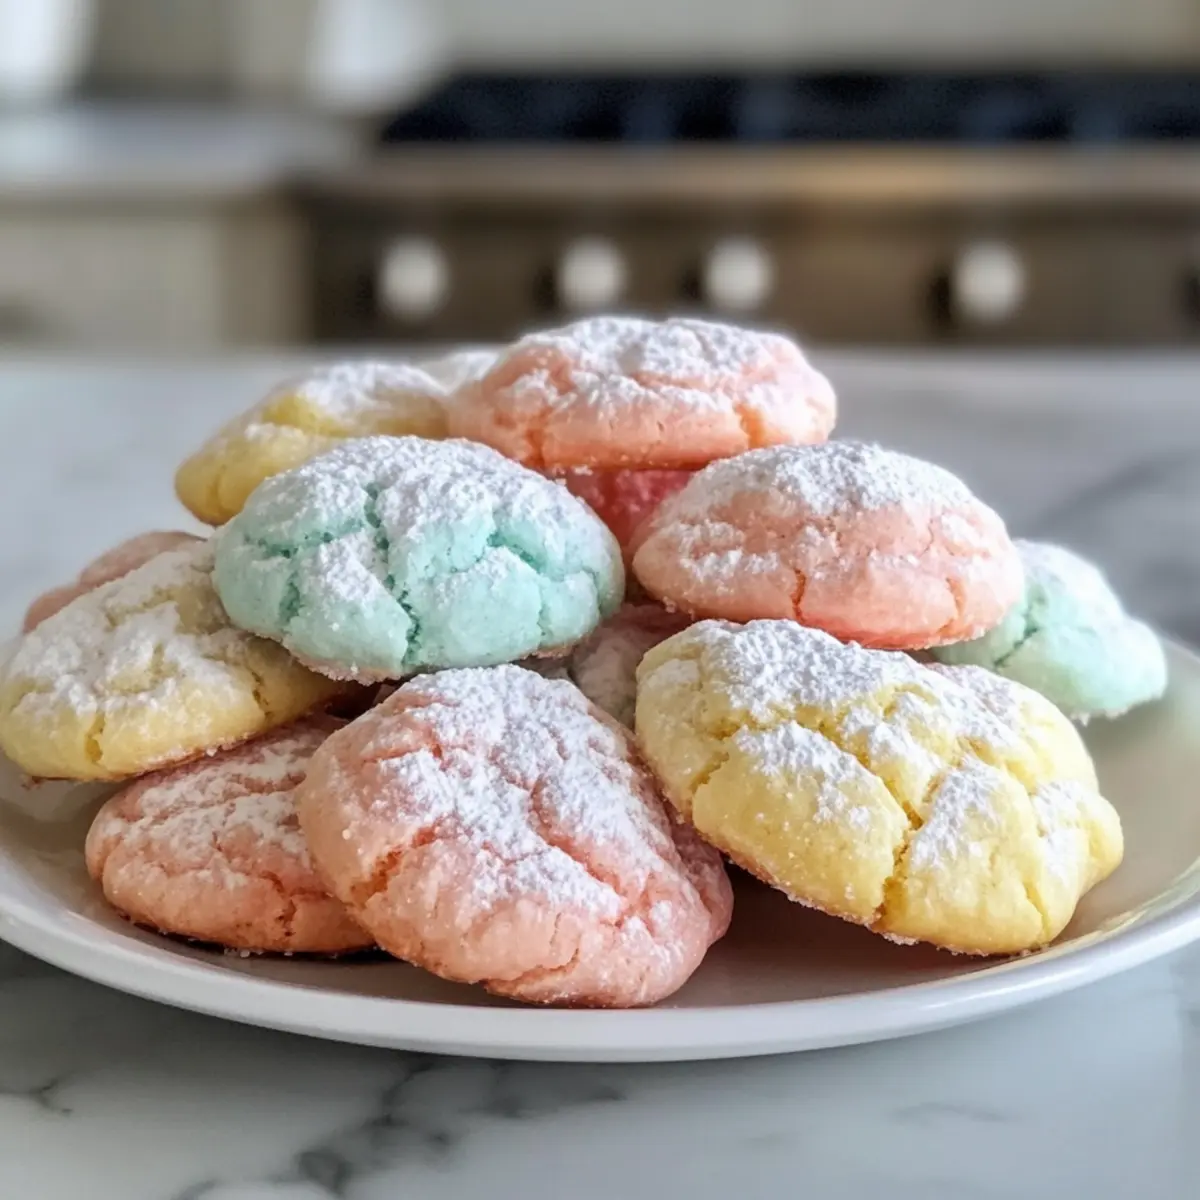
As I walked through the local farmer’s market, a vivid array of spring colors caught my eye—vibrant greens, radiant pinks, and the softest pastels. It was then I knew I had to bring that uplifting energy into my kitchen with these Springtime Crinkle Cookies. This easy dessert not only brightens up any gathering but also brings a delightful chewy texture and sweet vanilla flavor that everyone craves. Perfect for Easter celebrations or cheerful brunches, these pastel cookies are a wonderful way to celebrate the season. With minimal prep time and a charming appeal, you’ll find yourself slipping these colorful treats into gift boxes or serving them at potlucks. Intrigued? Let’s dive into the sweet world of pastel crinkle candy!
Why Are These Cookies So Irresistible?
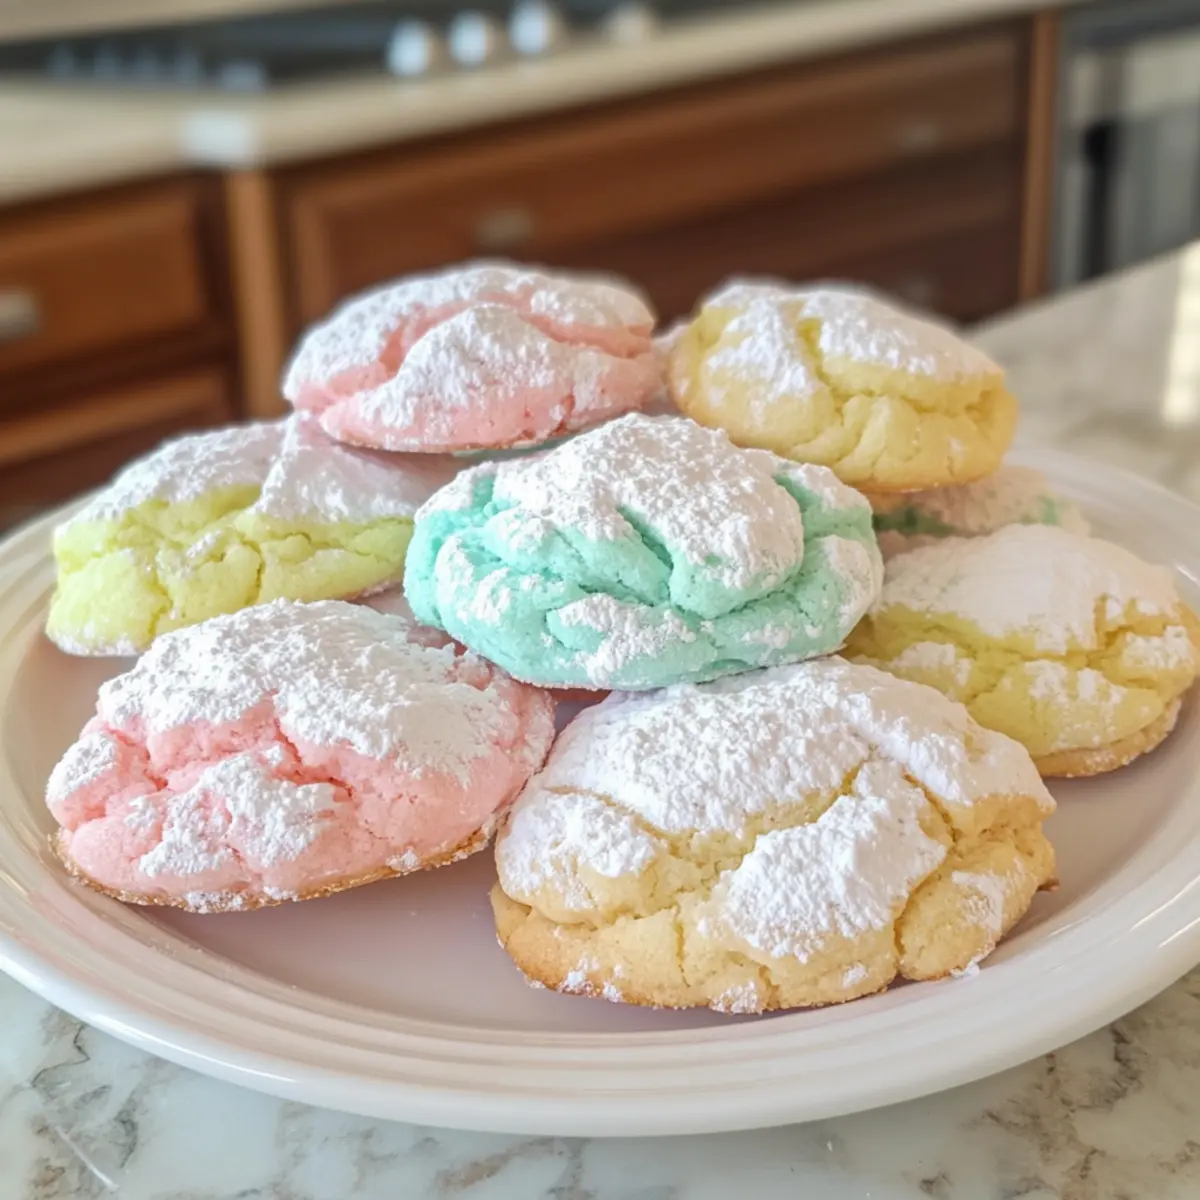
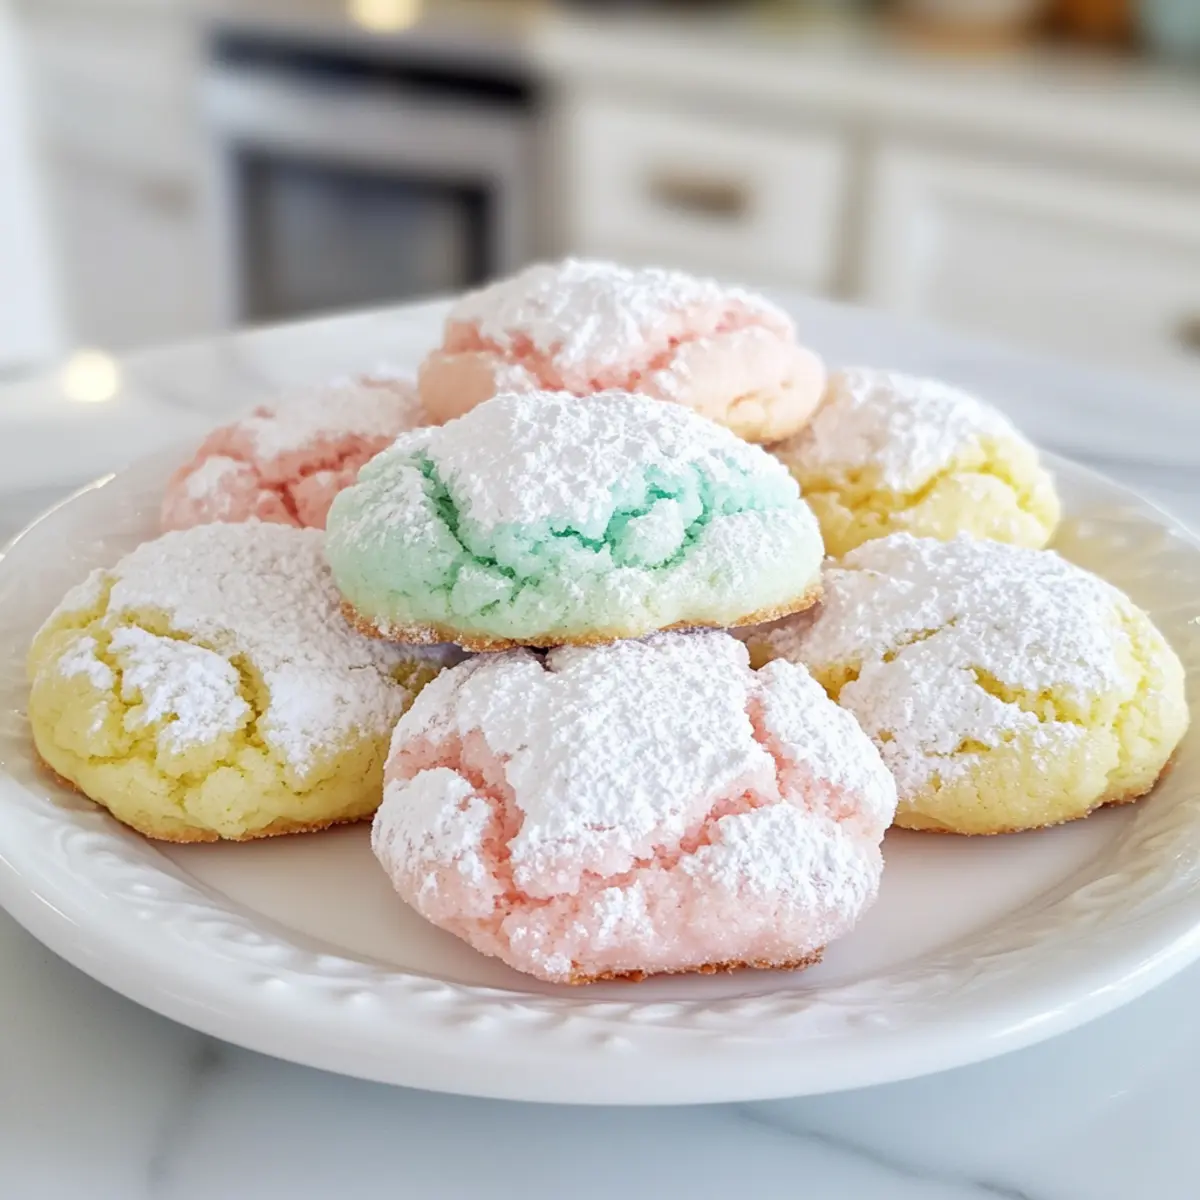
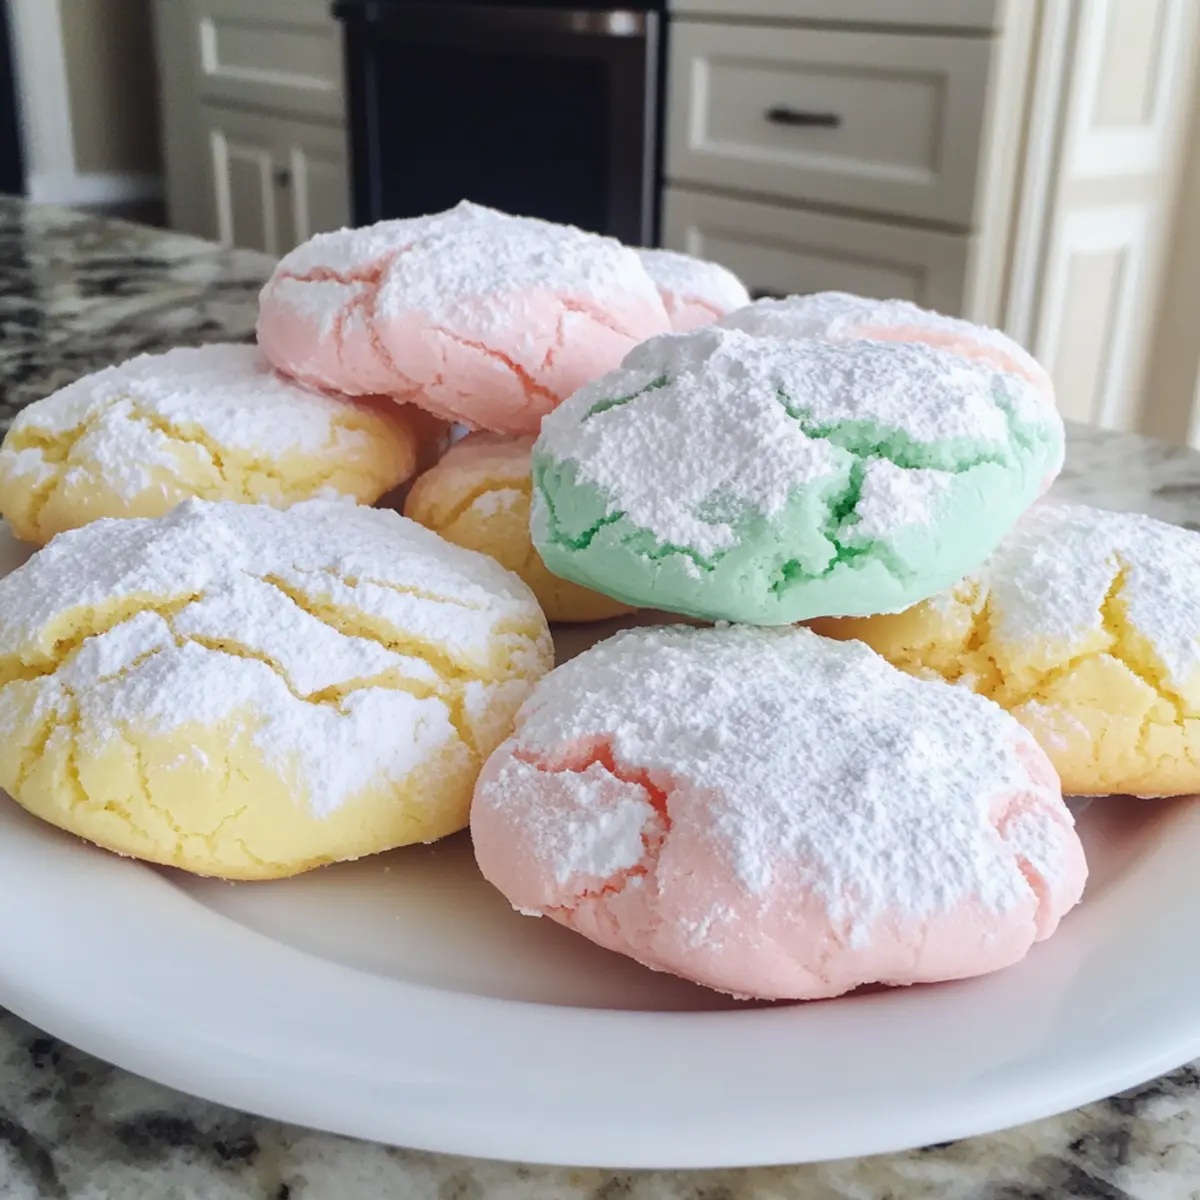
Vibrant Color: The delightful pastel hues make these cookies a visual treat that brightens any occasion.
Chewy Texture: Enjoy a perfect combination of tender and chewy centers contrasted with crisp edges for a satisfying bite.
Quick to Prepare: With simple steps and minimal ingredients, you’ll have these cookies ready in no time.
Versatile Flavor: Customize each batch with your choice of extracts or colors, making them adaptable for any celebration.
Crowd-Pleasing Appeal: Perfect for parties, these cookies are sure to be a hit at any gathering, whether it’s Easter brunch or a sunny picnic.
Make sure to check out our tips on storing cookies to keep them fresh and delicious!
Springtime Crinkle Cookies Ingredients
• The perfect pastel colors await!
For the Dough
- All-Purpose Flour – Provides structure and base; substitute with gluten-free flour if needed.
- Baking Powder – Essential for lift; ensure freshness for optimal results.
- Salt – Balances sweetness and enhances flavor; a must-have in every cookie recipe.
- Unsalted Butter – Adds richness to each bite; can be swapped with margarine for a dairy-free version.
- Granulated Sugar – Contributes sweetness and the chewy texture you’ll love; use coconut sugar for a caramel note.
- Large Eggs – Binds the ingredients and adds moisture; for a vegan option, substitute with flax eggs (1 tbsp ground flaxseed + 2.5 tbsp water).
- Vanilla Extract – Infuses the cookies with lovely aroma and flavor; go for pure vanilla for the best taste.
- Almond Extract (optional) – Delivers a subtle nutty essence; omit for nut-free cookies or boost vanilla for extra flavor.
For the Coating
- Powdered Sugar – Creates the signature crinkle effect on each cookie; make your own if necessary by blending granulated sugar.
- Gel Food Coloring – Ensures those delightful pastel shades; avoid liquid coloring to keep dough consistency intact.
Step‑by‑Step Instructions for Springtime Crinkle Cookies
Step 1: Preheat the Oven
Begin by preheating your oven to 350°F (175°C). While it warms up, line a baking sheet with parchment paper to prevent sticking and ensure easy cleanup. This preparation is key for your Springtime Crinkle Cookies as it sets the stage for even baking and helps achieve that delightful crisp edge you’re looking for.
Step 2: Mix Dry Ingredients
In a medium bowl, whisk together the all-purpose flour, baking powder, and salt until well combined. This step ensures that the baking powder is evenly distributed throughout the dough, contributing to the perfect rise in your cookies. Set the bowl aside while you focus on the wet ingredients.
Step 3: Cream Butter and Sugar
In a large mixing bowl, beat the softened unsalted butter and granulated sugar together using an electric mixer on medium speed until the mixture is light and fluffy, about 2-3 minutes. This process incorporates air into the butter, giving your Springtime Crinkle Cookies that lovely chewy texture we all crave.
Step 4: Incorporate Eggs
Add in the large eggs one at a time, mixing well after each addition until fully incorporated. You should see a smooth, glossy mixture forming. This step is vital as the eggs bind all the ingredients together, contributing to the moistness of your cookies.
Step 5: Add Flavor Extracts
Stir in the vanilla extract and almond extract (if using) until well combined. The sweet aromas will fill your kitchen as these flavors meld into the batter, making your Springtime Crinkle Cookies wonderfully fragrant and special for any gathering.
Step 6: Combine Dry and Wet Mixtures
Gradually incorporate the previously mixed dry ingredients into the wet ingredients, blending them until you form a thick, cohesive dough. Be careful not to overmix; stop as soon as you can no longer see any flour. This step is crucial for creating the right texture for your crinkle cookies.
Step 7: Color the Dough
Divide your dough into portions, depending on how many colors you plan to create, and add gel food coloring to each section. Knead the color into the dough until vibrant hues appear. This fun step will make your Springtime Crinkle Cookies visually appealing, offering a festive touch to your homemade treats.
Step 8: Chill the Dough
Cover the dough portions with plastic wrap and chill in the refrigerator for at least 30 minutes. This cooling time allows the dough to firm up, making it easier to roll into balls and helping the cookies maintain their shape while baking.
Step 9: Roll in Powdered Sugar
Once chilled, roll tablespoon-sized dough balls in powdered sugar until they are thoroughly coated. Arrange the dough balls on the prepared baking sheet, spacing them about two inches apart. This coating will form the signature crinkle on the surface of your Springtime Crinkle Cookies as they bake.
Step 10: Bake the Cookies
Place the baking sheet in the preheated oven, and bake for 10-12 minutes. Watch closely until the tops crack and edges set but ensure the centers remain soft. This timing is key to achieving that chewy interior that makes these cookies so irresistible.
Step 11: Cool Down
After baking, allow your cookies to cool on the baking sheet for about 5 minutes, then gently transfer them to a wire rack to cool completely. This cooling period is essential for them to set and enhance the delightful texture of each Springtime Crinkle Cookie.
Variations & Substitutions for Springtime Crinkle Cookies
Feel free to get creative and personalize your pastel Springtime Crinkle Cookies to match your unique taste!
- Gluten-Free: Substitute all-purpose flour with a gluten-free flour blend to make these cookies suitable for gluten-sensitive friends.
- Dairy-Free: Replace unsalted butter with dairy-free margarine or coconut oil for a delectable cookie without the dairy.
- Sweetener Swap: Use coconut sugar instead of granulated sugar for a deeper, caramel-like flavor that perfectly complements the pastel colors.
- Vegan Option: Substitute large eggs with flax eggs (1 tbsp ground flaxseed mixed with 2.5 tbsp water) to create a plant-based treat without sacrificing texture.
- Flavor Explosion: Add a hint of lemon zest or juice to the dough for a bright, zesty twist that enhances the sweetness of these cookies.
- Color Variations: Have fun mixing different gel food colors! Create a rainbow effect or stick to soft, elegant shades for a themed celebration.
- Nutty Delight: For an extra layer of flavor, incorporate finely chopped nuts like walnuts or pecans, adding both crunch and richness.
- Spice It Up: Consider sprinkling in a dash of cinnamon or nutmeg for a warm spice note that beautifully complements the cookies’ sweetness.
These variations make your Springtime Crinkle Cookies even more inviting, just like serving delightful cookies at your next family gathering or potluck! Don’t forget to check out our tips on storing cookies to keep them delicious for sharing.
Expert Tips for Springtime Crinkle Cookies
-
Use Gel Coloring: Stick to gel food coloring to achieve those beautiful pastel colors while maintaining dough consistency—liquid colors may alter texture.
-
Dust with Sugar: Prevent dough from sticking to your hands by dusting them with powdered sugar when rolling, ensuring a smooth and easy process.
-
Warm Dough Slightly: If the dough is too cold to handle, allow it to sit at room temperature briefly. This will make rolling easier and keep the cookies from spreading too much during baking.
-
Watch Baking Time: Keep an eye on your cookies—bake them just until the edges are set and the center remains soft for that delightful chewy texture characteristic of Springtime Crinkle Cookies.
-
Storage for Freshness: Store your cookies in an airtight container at room temperature for up to five days or freeze them for up to three months to enjoy later!
Storage Tips for Springtime Crinkle Cookies
Room Temperature: Store cookies in an airtight container at room temperature for up to 5 days to keep them fresh and chewy.
Fridge: If you prefer a longer shelf life, you can refrigerate the cookies, but they may become a bit firmer. Consume within 7 days.
Freezer: For longer storage, freeze cookies in a single layer in an airtight container for up to 3 months. Thaw at room temperature before serving.
Reheating: To enjoy them warm, microwave your Springtime Crinkle Cookies for about 10-15 seconds—just enough to take the chill off while keeping them deliciously soft!
What to Serve with Springtime Crinkle Cookies?
Delightful treats deserve equally enchanting companions, turning your gathering into a vibrant celebration of flavors and textures.
- Lemonade Stand: The zesty freshness of homemade lemonade complements the sweetness of the cookies, creating a refreshing contrast perfect for springtime events.
- Berry Medley Salad: A mix of strawberries, blueberries, and raspberries adds bright colors and juicy sweetness, enhancing the cheerful spirit of your dessert table.
- Mini Fruit Tarts: These buttery, crisp tarts filled with cream and topped with fresh fruit offer a delightful crunch and creaminess alongside your soft, chewy cookies.
- Vanilla Ice Cream: A scoop of classic vanilla ice cream provides a cool and creamy texture, pairing beautifully with the chewy cookies’ sugary surface. This combination is sure to bring smiles all around!
- Unsweetened Iced Tea: Balance the sweetness of the cookies with a refreshing unsweetened iced tea, allowing guests to sip and savor each delightful bite.
- Chocolate Dipped Strawberries: Indulge in the rich flavor of chocolate-covered strawberries. Their sweet and tart personality complements the buttery softness of the crinkle cookies perfectly.
- Sparkling Water: Serve fizzy sparkling water infused with citrus slices— it offers a light and refreshing counterpart to the cookies, making for an elegant presentation.
- Carrot Cake: Invite warmth to the table with a slice of moist carrot cake. Its spices harmonize well with the cookies, showcasing the best of springtime desserts.
- Earl Grey Tea: A warm cup of fragrant Earl Grey tea, with its hints of bergamot, rounds off the sweetness while elevating your dessert experience.
Make Ahead Options
These Springtime Crinkle Cookies are perfect for meal prep, allowing you to enjoy their vibrant flavors with less hassle on busy days! You can prepare the dough up to 24 hours in advance by following the first six steps, then covering it with plastic wrap and refrigerating it. For the best quality, roll the dough balls in powdered sugar just before baking, which ensures they retain their delightful crinkle appearance. When you’re ready to bake, simply preheat the oven and pop the cookies in for a quick and easy treat, yielding the same fresh-baked, chewy charm that everyone loves.
Springtime Crinkle Cookies Recipe FAQs
What’s the best way to select ripe ingredients for this recipe?
Absolutely! When choosing your ingredients, look for unsalted butter that’s at room temperature—soft but not melted. For eggs, fresh ones with clean shells are ideal. If you’re using gel food coloring, pick vibrant colors without any separation for the best results. As for your flour, ensure it’s unbleached all-purpose for a tender texture.
How should I store my Springtime Crinkle Cookies, and for how long?
Very! To keep your cookies fresh, store them in an airtight container at room temperature for up to 5 days. If you’d like a longer shelf life, consider refrigerating them, but keep in mind they may become firmer. Simply consume within 7 days if refrigerated.
Can I freeze these cookies, and if so, how?
Of course! Freezing your Springtime Crinkle Cookies is easy. Just place them in a single layer on a baking sheet and freeze until solid. Once frozen, transfer them to an airtight container, layering parchment paper between cookies if needed, and store them for up to 3 months. When you’re ready to enjoy, simply thaw them at room temperature.
What if my cookies spread too much while baking?
Oh no! If your cookies spread excessively, it may be due to the dough being too warm or too little flour. Ensure you chill the dough for at least 30 minutes to firm it up. If you find they still spread, you can add a couple of tablespoons of flour and reshape the dough before rolling in powdered sugar.
Are there any allergy considerations with this recipe?
Yes, definitely! If anyone has nut allergies, you can easily omit the almond extract and just use extra vanilla instead. For dairy-free options, replace unsalted butter with margarine. Lastly, if you want to make a vegan version, substitute the eggs with flax eggs (1 tbsp ground flaxseed + 2.5 tbsp water) for each large egg.
How can I ensure my cookies have that perfect crinkle effect?
To achieve those charming crinkles, make sure to roll your balls in powdered sugar generously before baking. This coating will melt and create those lovely cracks. Also, take care not to overbake them—remove them from the oven when the edges are set, but the centers remain soft.
Pastel Springtime Crinkle Cookies That Brighten Any Occasion
Ingredients
Equipment
Method
- Preheat your oven to 350°F (175°C) and line a baking sheet with parchment paper.
- In a medium bowl, whisk together the all-purpose flour, baking powder, and salt until well combined.
- In a large mixing bowl, beat the softened unsalted butter and granulated sugar until light and fluffy, about 2-3 minutes.
- Add the large eggs one at a time, mixing well after each addition.
- Stir in the vanilla extract and almond extract (if using) until well combined.
- Gradually incorporate the dry ingredients into the wet ingredients, blending until you form a thick dough.
- Divide the dough into portions, adding gel food coloring to each and knead until colors appear.
- Cover the dough with plastic wrap and chill in the refrigerator for at least 30 minutes.
- Roll tablespoon-sized dough balls in powdered sugar until thoroughly coated.
- Place on the baking sheet, spacing them 2 inches apart, and bake for 10-12 minutes.
- Allow cookies to cool on the baking sheet for about 5 minutes, then transfer to a wire rack.