


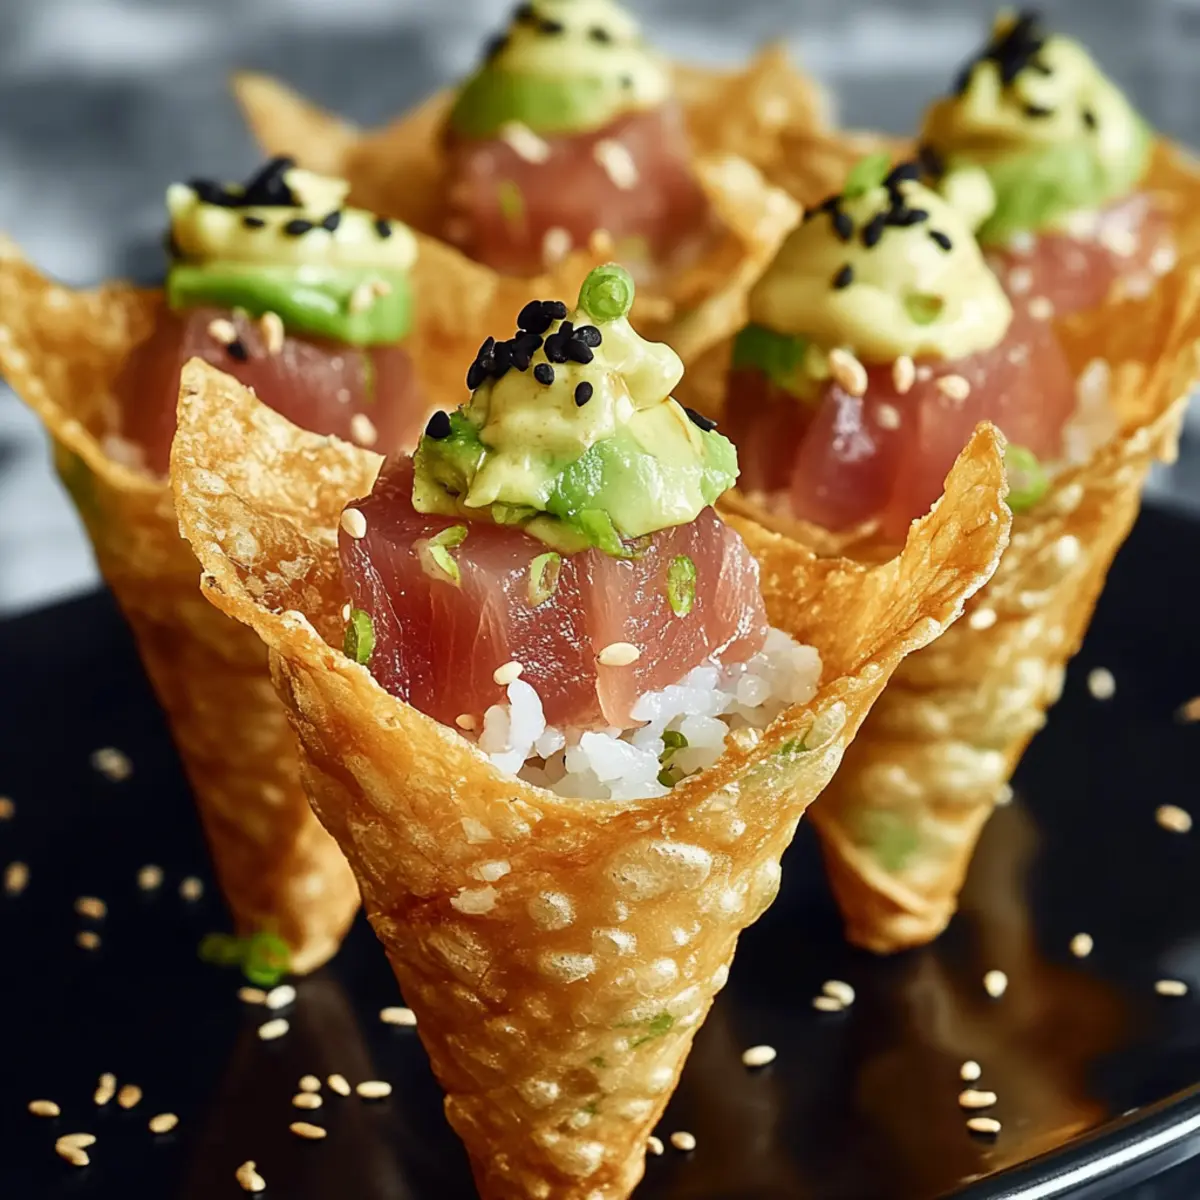
As I stood in my kitchen, the enticing aroma of frying wontons filled the air, pulling me away from thoughts of bland fast food options. This was a significant culinary moment, as I was about to create something truly special—Sushi Wonton Cones. These delightfully portable treats combine the fresh, vibrant flavors of sushi with the fun and crunch of crispy wonton wrappers, making them perfect for parties or a cozy night in. They’re not just easy to assemble; these sushi-inspired handheld appetizers are also protein-rich and highly customizable, allowing you to cater to every guest’s palate. Imagine filling them with creamy avocado, savory sushi-grade tuna, or whatever else tickles your taste buds. Trust me, your friends and family will be reaching for seconds! Ready to roll up your sleeves and dive into this unique treat? Let’s get started!
Why Are Sushi Wonton Cones Irresistible?
Unique Flavor Fusion: The delightful combination of sushi and wontons creates a taste explosion that’s hard to resist.
Fun Presentation: These colorful handheld cones take center stage at any gathering, sparking joy and conversation.
Customizable Options: Tailor the fillings to suit your dietary preferences—swap tuna for tofu or add crunchy veggies for extra texture!
Quick Prep Time: In just a few simple steps, you can whip up these stellar appetizers without spending hours in the kitchen.
Crowd-Pleasing Appeal: You’ll find they’re not just delicious; they also impress guests, making them a hit at parties or casual dinners.
These cones truly elevate the dining experience while making it accessible and fun. Whether you’re looking for something new to spice up your menu or hosting a gathering, these Sushi Wonton Cones are sure to be a favorite!
Sushi Wonton Cones Ingredients
For the Cones
• Wonton wrappers – The crisp foundation for your sushi-inspired handheld appetizer. Substitution: Spring roll wrappers can be used for a different texture.
• Coconut oil (for frying) – Creates a golden, crispy exterior. Note: Can substitute with vegetable oil if preferred.
For the Sushi Rice
• Sushi rice (short-grain, sticky) – The essential base for that authentic sushi flavor. Prep: Season with rice vinegar, sugar, and salt.
• Rice vinegar – Enhances the overall flavor of the sushi rice.
• Sugar – Balances the acidity, making the rice wonderfully tasty.
• Salt – Essential for seasoning and enhancing flavor.
For the Filling
• Avocado – Adds a creamy texture and healthy fats to your cones. Substitution: Cucumber can be used for a lighter option.
• Tuna steak (sushi-grade) – The core protein component bringing freshness and flavor. Note: Cooked shrimp or salmon can create a delightful variation.
• Kewpie mayonnaise – Infuses richness and a touch of umami flavor. Regular mayonnaise can work as a substitute.
• Tomato ketchup or sauce – Adds a sweet and tangy note to your filling.
• Sriracha (optional) – A kick of heat for those who like it spicy.
• Lime zest – Brightens the flavor profile with a refreshing zing.
• Furikake or black sesame seeds – Enhances both flavor and visual appeal of your cones.
Dive into this deliciousness, and enjoy the crafting of your own customized Sushi Wonton Cones!
Step‑by‑Step Instructions for Sushi Wonton Cones
Step 1: Prepare Wonton Cones
Start by preheating your oil in a deep pot to 175 °C (350 °F). While the oil heats, wrap each wonton wrapper around a cream horn or cone mold, ensuring you press gently to seal the edges. Keep them standing upright in a muffin tin to maintain their shape while you prepare to fry them, letting the excitement build!
Step 2: Fry
Carefully place the wrapped wontons into the hot coconut oil, frying them in batches to avoid overcrowding. Fry for about 2-3 minutes or until they turn a beautiful golden brown, then remove them using a slotted spoon. Let the crispy wonton cones drain on paper towels, cooling them off while you move on to the next step.
Step 3: Prepare Sushi Rice
While the wonton cones cool, prepare the sushi rice. Rinse about 1 cup of sushi rice under cold water until the water runs clear, then cook it according to package instructions. Once cooked, gently mix it with rice vinegar, sugar, and salt. Allow the mixture to cool to room temperature, where it gets all the tangy goodness needed for your Sushi Wonton Cones.
Step 4: Make Tuna Mixture
Next, take your sushi-grade tuna steak and either dice it into small cubes or flake it using a fork. In a medium bowl, combine the tuna with Kewpie mayonnaise, a dollop of tomato ketchup, sriracha, and freshly grated lime zest. Mix these ingredients gently until they’re well combined, adjusting seasonings to your taste for that perfect tuna filling.
Step 5: Assemble Cones
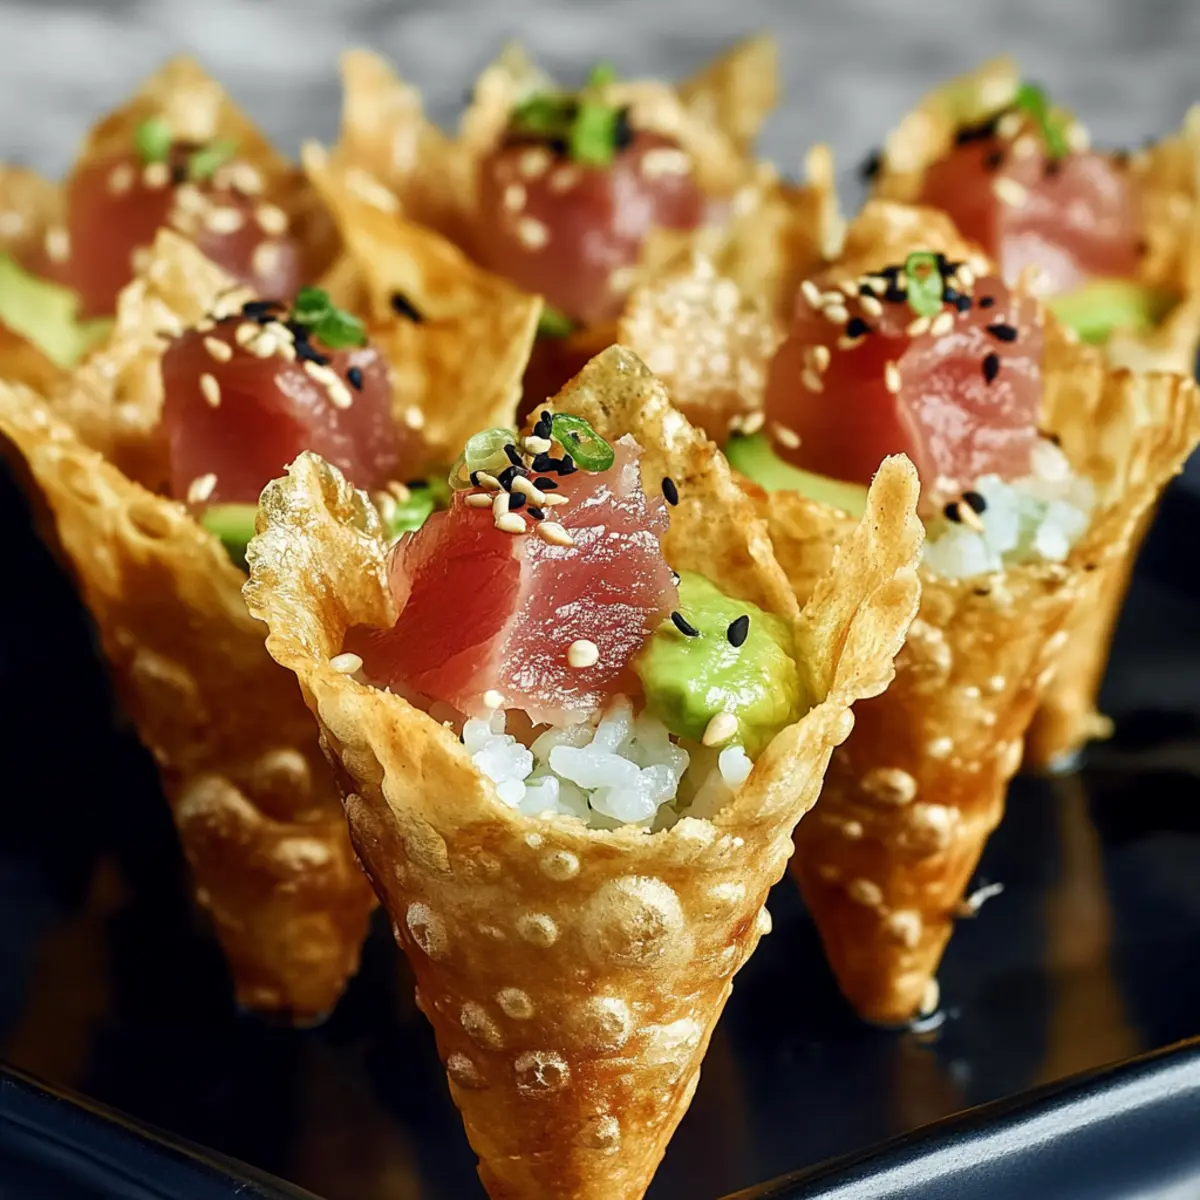
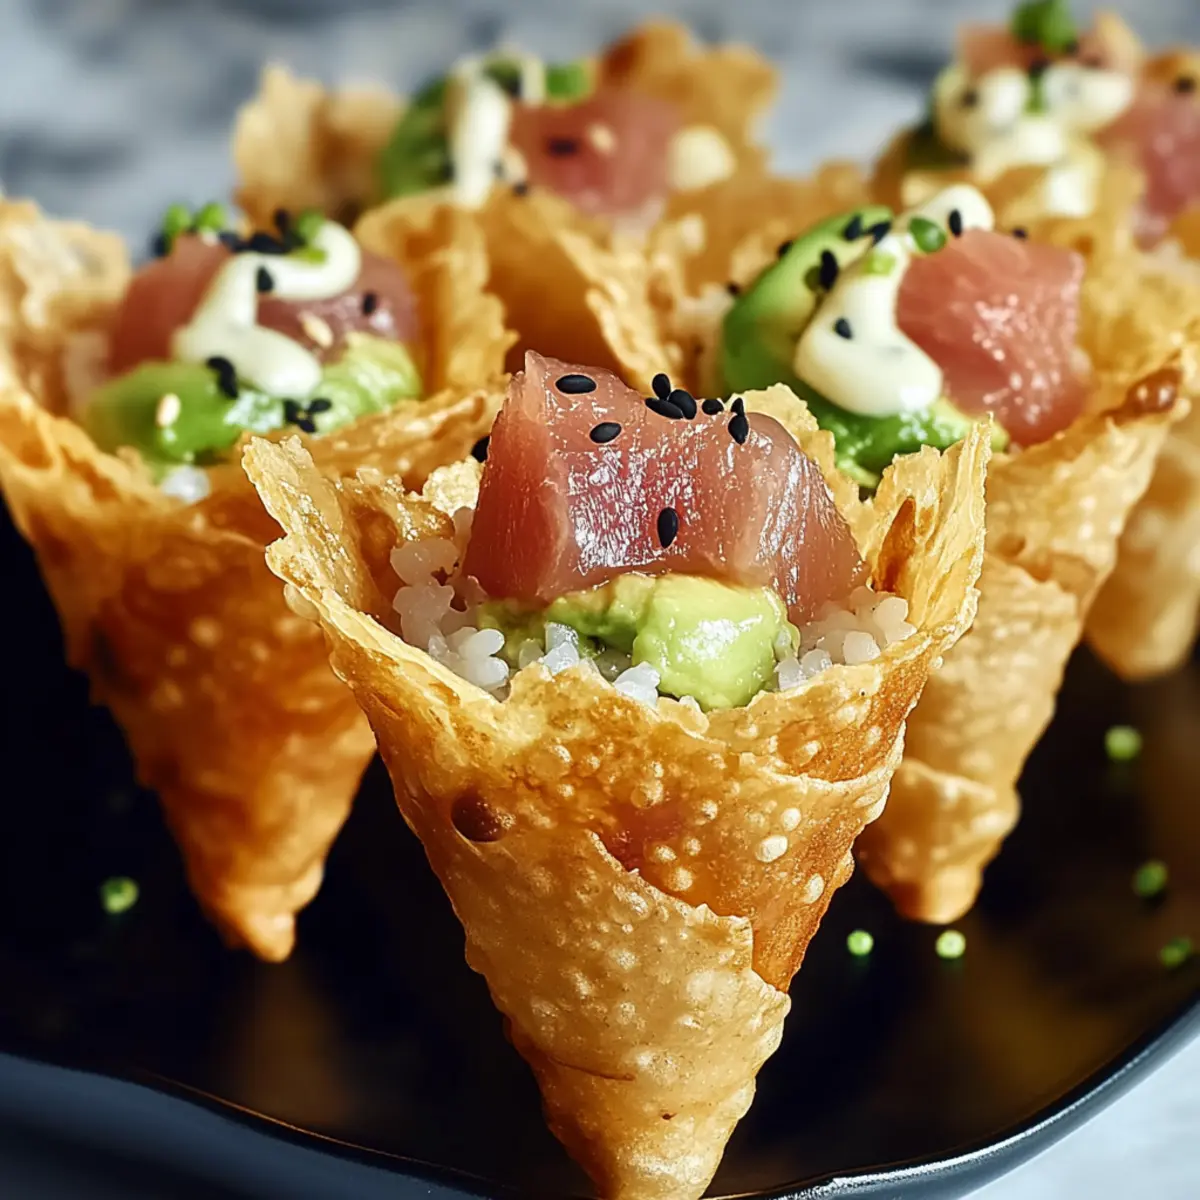
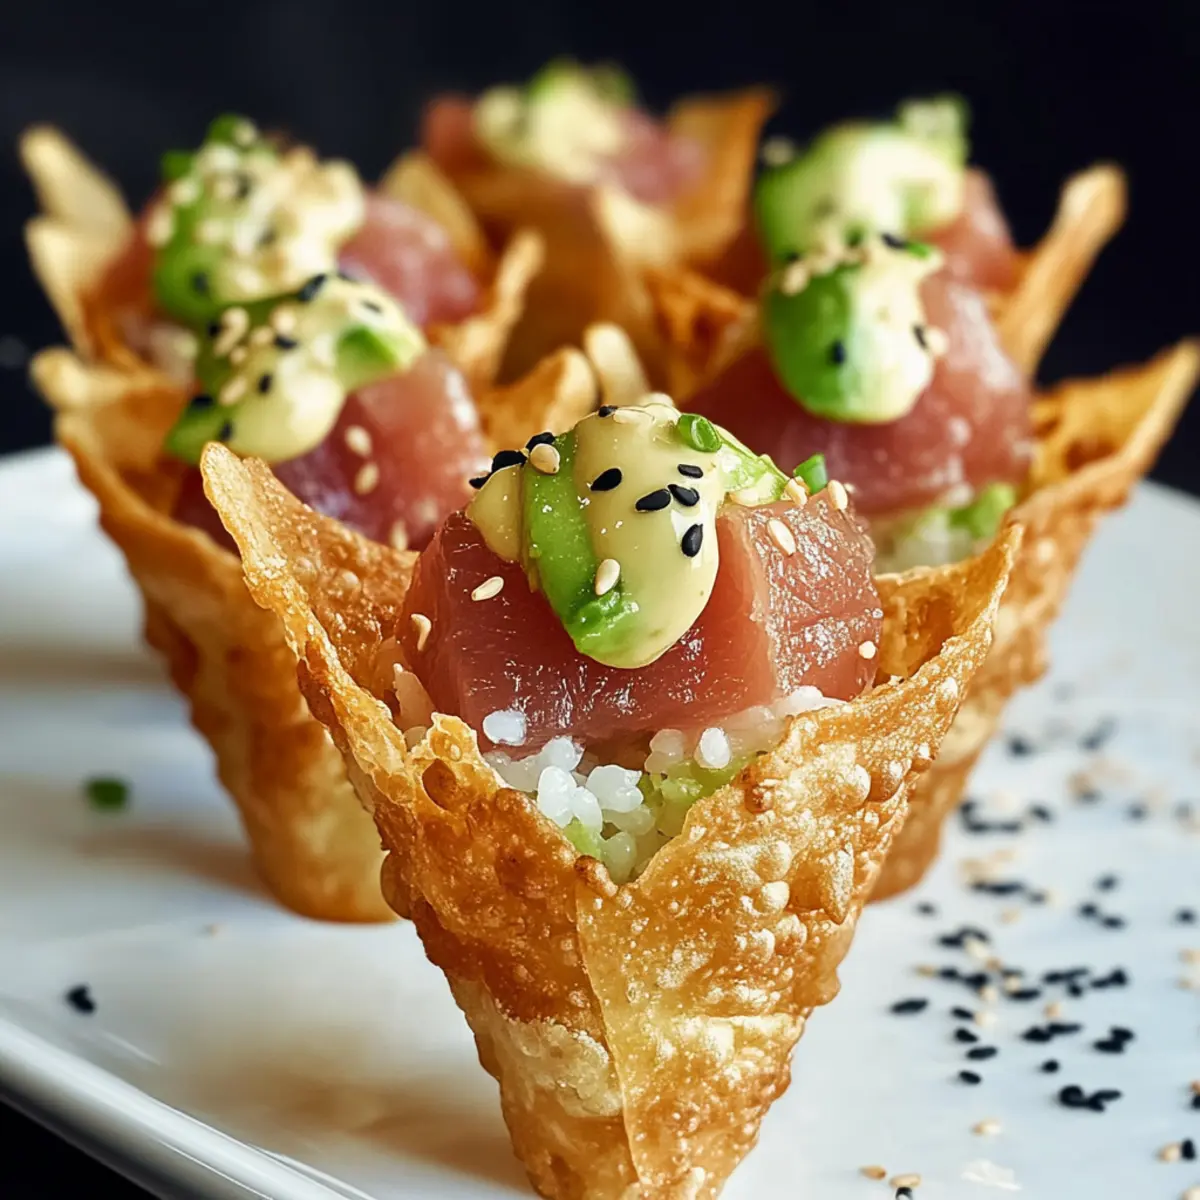
Now that everything is prepped, it’s time to assemble your delightful Sushi Wonton Cones. Start by filling each cooled cone with a spoonful of seasoned sushi rice as the base. Next, layer in creamy avocado slices, followed by a generous scoop of the tuna mixture on top. Make sure not to overfill, allowing the flavors to shine without spilling out.
Step 6: Garnish
To finish off your flavorful creations, sprinkle the assembled cones with furikake or black sesame seeds for an extra crunch and a pop of color. Arrange the Sushi Wonton Cones upright in a serving dish or mini muffin tins for a stunning presentation. Now, they’re ready to impress at your next gathering!
Expert Tips for Sushi Wonton Cones
Perfect Frying Temperature: Avoid soggy cones by ensuring the oil temperature is consistent at 175 °C (350 °F) for that perfect crispiness.
Seasoning Absorption: Prepare sushi rice while warm; it absorbs the seasoning better, enhancing the flavor of your Sushi Wonton Cones.
Keep Ingredients Cool: Maintain tuna in the fridge until you’re ready to assemble to preserve its texture and freshness.
Don’t Overfill: Fill cones generously but avoid overstuffing to keep them neat and easy to handle.
Garnish Wisely: A sprinkle of furikake or black sesame seeds isn’t just for looks; it adds flavor and crunch to your delicious creations!
Sushi Wonton Cones Variations & Substitutions
Feel free to get creative with your Sushi Wonton Cones by incorporating your favorite ingredients and flavors!
- Dairy-Free: Swap Kewpie mayonnaise for a vegan mayo or avocado cream for a creamy and delicious option.
- Vegetarian: Replace tuna with marinated tofu, adding depth with flavors like sesame or teriyaki for a delightful twist.
- Spicy Kick: Mix in sriracha or your favorite hot sauce into the tuna mixture for an extra flavor punch.
- Crunchy Veggies: Add sliced bell peppers, radishes, or even julienned carrots for a refreshing crunch that brightens each bite.
- Alternative Proteins: Try using smoked salmon or cooked crab for a gourmet take, creating an exciting array of flavors.
- Zesty Options: Incorporate lime juice into the sushi rice or filling for an added burst of tanginess that elevates the taste.
- Dipping Sauces: Serve with a side of soy-wasabi or garlic ponzu sauce for a unique flavor pairing that enhances each bite.
- Different Wrappers: Get adventurous by using rice paper or even phyllo pastry for a unique texture experience.
These variations not only cater to different dietary needs but also encourage creativity in the kitchen, making your sushi-inspired snacks enjoyable every time! Looking for more tips on customizing your dishes? Check out our Storage Tips or explore the delightful world of Flavor Combinations to keep those culinary juices flowing!
What to Serve with Sushi Wonton Cones
Elevate your culinary experience by pairing these delightful handheld snacks with complementary sides and drinks.
-
Sushi Ginger Salad: A refreshing mix of pickled ginger and crisp vegetables provides a tangy contrast to the savory cones.
-
Miso Soup: Rich and comforting, this warm broth enhances the flavors of sushi while soothing the senses. It’s the perfect cozy companion.
-
Cucumber-Mint Salad: This light, zesty salad adds a refreshing crunch, balancing the rich flavors of the cones beautifully and keeping your palate excited.
-
Edamame Beans: Steamed and lightly salted, these protein-packed pods are a fun, interactive side dish that complements the sushi theme.
-
Japanese Sapporo Beer: Crisp and cold, this beer’s flavors harmonize with the savory elements of the cones, enhancing your overall dining experience.
-
Matcha Green Tea: The earthy notes of this traditional tea cleanse the palate, making it the ideal drink to complement the fresh ingredients of your handheld treat.
-
Wasabi Peas: Adding a crunchy, spicy bite, these peas offer a delightful contrast to the creamy fillings inside the cones and keep things interesting.
-
Apple Slice Dessert: Light and crisp, these sweet slices mingle well after savory bites, leaving you feeling satisfied without the heaviness.
These pairings will not only enhance the flavors of your Sushi Wonton Cones but also create a wonderfully satisfying meal that delights the senses!
How to Store and Freeze Sushi Wonton Cones
Room Temperature: Leftover assembled cones are best enjoyed fresh; if stored, keep at room temperature for up to 1 hour before they lose crispness.
Fridge: Unfilled wonton cones can be stored in an airtight container in the fridge for up to 2 days, while prepared sushi rice and tuna mixture can last up to 3 days separately.
Freezer: To freeze, store unfilled wonton cones in a freezer bag for up to 1 month. Thaw in the fridge before frying for best results.
Reheating: If you’ve made ahead and need to reheat, bake the baked cones at 175 °C (350 °F) for about 10 minutes to restore crispness before assembling with the filling.
Make Ahead Options
These Sushi Wonton Cones are a fantastic solution for busy home cooks looking to save time during hectic weekdays or special gatherings! You can prepare the sushi rice and the tuna mixture up to 24 hours in advance; simply store them separately in airtight containers in the refrigerator to maintain their freshness. To prevent the wonton cones from getting soggy, fry them just before serving. Keep the assembled cones chilled until shortly before your guests arrive, then fill them with sushi rice, avocado, and tuna mixture for a delightful, ready-to-enjoy appetizer. This way, you’ll ensure your Sushi Wonton Cones remain crispy and delicious, making entertaining effortless and enjoyable!
Sushi Wonton Cones Recipe FAQs
What type of wonton wrappers should I use?
Absolutely! I recommend using regular wonton wrappers for that perfect crunchy texture. If you’re looking for a slight variation in texture, spring roll wrappers can also work well as a substitute, giving your cones an interesting twist!
How can I store leftover Sushi Wonton Cones?
You can keep any assembled cones at room temperature for up to 1 hour, but they’re best enjoyed fresh to maintain their crispness. If you have unfilled wonton cones, place them in an airtight container in the fridge for up to 2 days. Just remember, it’s the freshness that makes these cones shine!
Can I freeze the unfilled wonton cones?
Yes! To freeze, store your unfilled wonton cones in a zip-top freezer bag for up to 1 month. When you’re ready to enjoy them, thaw in the fridge overnight, and then fry them for that delightful crunch! Frying them from frozen is not recommended as they may not cook evenly.
How can I avoid soggy cones after frying?
Keeping the oil temperature consistent at 175 °C (350 °F) is key! Fry the cones in small batches to avoid temperature drops. After frying, let them drain on paper towels immediately to remove excess oil and maintain that lovely crispiness!
What are some alternative proteins for the sushi filling?
Very! If you’d like to mix things up, you can easily swap out the sushi-grade tuna for cooked shrimp, salmon or even tofu for a vegetarian option. For variety, try adding crunchy veggies like cucumber or bell peppers for extra texture and flavor!
Are there any dietary considerations for allergies?
Definitely! If you’re hosting guests with dietary restrictions, be mindful about ingredients such as soy (in the Kewpie mayonnaise) and gluten (in wonton wrappers). You might also consider using gluten-free wonton wrappers and swapping Kewpie mayonnaise for a dairy-free alternative to cater to those who are vegan or lactose intolerant.
Sushi Wonton Cones: Fun, Flavorful Handheld Appetizer
Ingredients
Equipment
Method
- Step 1: Prepare Wonton Cones: Start by preheating your oil in a deep pot to 175 °C (350 °F). Wrap each wonton wrapper around a cream horn or cone mold, pressing gently to seal the edges. Keep them standing upright in a muffin tin.
- Step 2: Fry: Carefully place the wrapped wontons into the hot coconut oil, frying them in batches for about 2-3 minutes until golden brown. Let them drain on paper towels.
- Step 3: Prepare Sushi Rice: Rinse sushi rice under cold water until clear, then cook as instructed. Mix with rice vinegar, sugar, and salt, and let cool.
- Step 4: Make Tuna Mixture: Dice the sushi-grade tuna steak and combine with Kewpie mayonnaise, tomato ketchup, sriracha, and lime zest in a bowl.
- Step 5: Assemble Cones: Fill each cooled cone with sushi rice, then add avocado slices, followed by the tuna mixture.
- Step 6: Garnish: Sprinkle with furikake or black sesame seeds and arrange in a serving dish.