Introduction to Teriyaki Shrimp Sushi Bowl
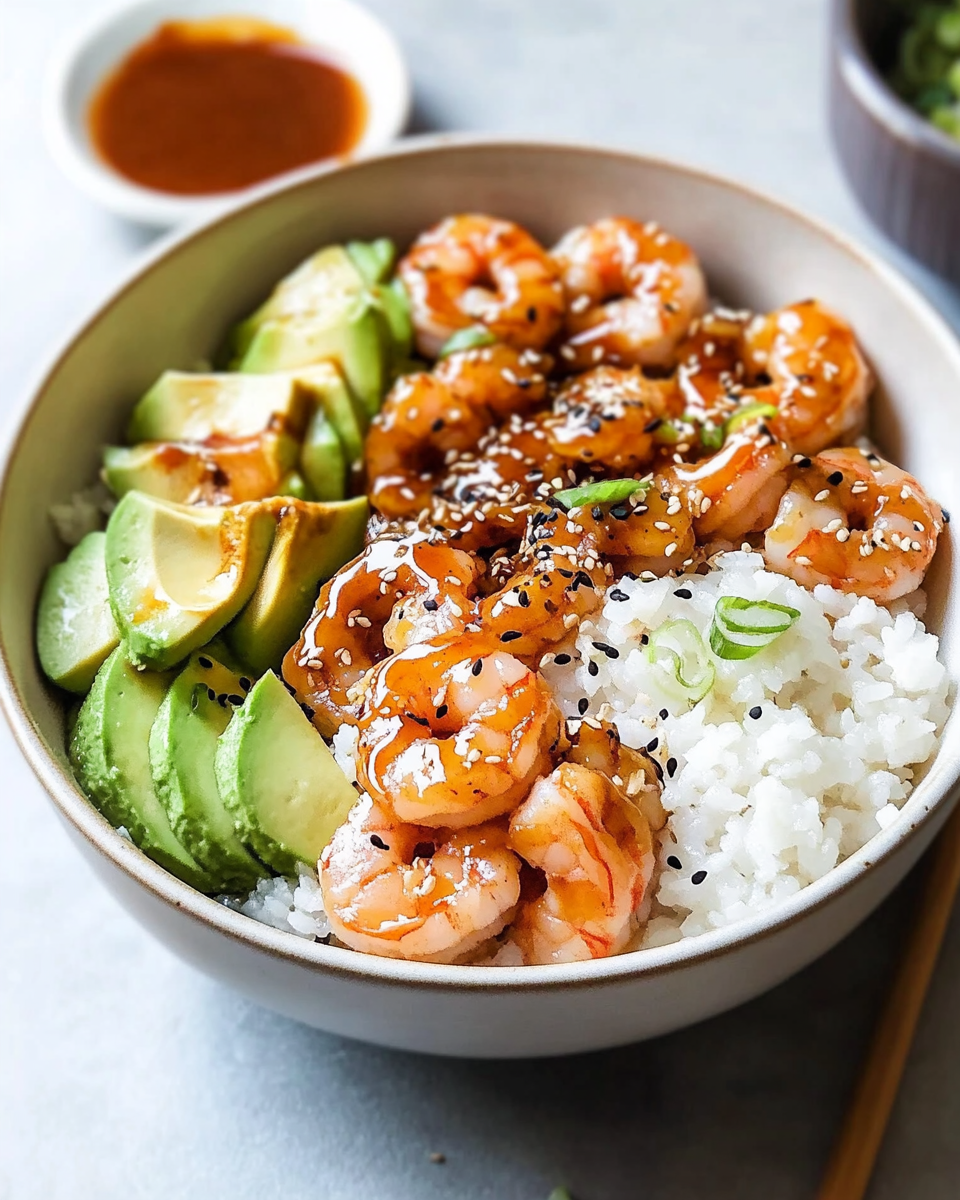
There’s something magical about a bowl of Teriyaki Shrimp Sushi Bowl that brings back memories of family dinners and laughter. This dish is not just a meal; it’s a celebration of flavors and colors that can brighten any busy day. Whether you’re looking to impress your loved ones or simply craving a quick, satisfying dinner, this recipe has you covered. With succulent shrimp, fresh veggies, and a homemade teriyaki sauce, it’s a delightful way to enjoy a taste of Japan right in your kitchen. Let’s dive into this culinary adventure together!
Why You’ll Love This Teriyaki Shrimp Sushi Bowl
This Teriyaki Shrimp Sushi Bowl is a game-changer for busy weeknights. It’s quick to prepare, taking just 45 minutes from start to finish. The combination of tender shrimp, vibrant veggies, and that sweet-savory teriyaki sauce creates a flavor explosion that’s hard to resist. Plus, it’s customizable! You can easily swap ingredients based on what you have on hand, making it a versatile dish for any occasion.
Ingredients for Teriyaki Shrimp Sushi Bowl
Gathering the right ingredients is the first step to creating your Teriyaki Shrimp Sushi Bowl. Here’s what you’ll need:
- Shrimp: Large, peeled, and deveined shrimp are the stars of this dish. They cook quickly and soak up the teriyaki sauce beautifully.
- Sushi Rice: This short-grain rice is sticky and perfect for sushi bowls. It gives that authentic Japanese feel.
- Water: Essential for cooking the sushi rice to fluffy perfection.
- Soy Sauce: A key ingredient in the teriyaki sauce, it adds depth and umami flavor.
- Honey: This natural sweetener balances the saltiness of the soy sauce, creating a delicious glaze.
- Rice Vinegar: It adds a tangy note to the sauce and helps season the rice.
- Sesame Oil: A drizzle of this oil brings a nutty aroma and flavor that enhances the dish.
- Avocado: Creamy avocado slices add richness and a fresh touch to the bowl.
- Cucumber: Thinly sliced cucumber provides a refreshing crunch that contrasts nicely with the shrimp.
- Shredded Carrots: These add color and a slight sweetness, making the bowl visually appealing.
- Green Onions: Chopped green onions give a pop of flavor and a bit of color.
- Sesame Seeds: A sprinkle of these seeds adds a delightful crunch and a touch of elegance.
- Salt and Pepper: Simple seasonings to enhance the shrimp’s flavor.
For those looking to mix things up, consider substituting shrimp with tofu or tempeh for a vegetarian option. You can also add pickled ginger or wasabi for an extra kick. The exact quantities for each ingredient are available at the bottom of the article for easy printing!
How to Make Teriyaki Shrimp Sushi Bowl
Creating your Teriyaki Shrimp Sushi Bowl is a straightforward process that’s as enjoyable as it is delicious. Follow these simple steps, and you’ll have a stunning meal ready in no time!
Step 1: Prepare the Sushi Rice
Start by rinsing the sushi rice under cold water. This step is crucial; it removes excess starch and prevents the rice from becoming gummy. Keep rinsing until the water runs clear.
Next, combine the rinsed rice and water in a medium saucepan. Bring it to a boil over medium heat. Once boiling, reduce the heat to low, cover, and let it simmer for 18-20 minutes. The rice should be tender and the water fully absorbed.
After cooking, remove the saucepan from heat but let it sit, covered, for an additional 10 minutes. This resting period allows the rice to steam and become fluffy, ensuring a perfect base for your sushi bowl.
Step 2: Make the Teriyaki Sauce
While the rice is cooking, it’s time to whip up the teriyaki sauce. In a small saucepan, combine soy sauce, honey, rice vinegar, and sesame oil. Stir the mixture well to blend the flavors.
Bring the sauce to a simmer over medium heat. As it heats, the aroma will fill your kitchen, making your mouth water. Keep stirring occasionally until the sauce thickens slightly, which should take about 5-7 minutes. Once done, remove it from heat and set it aside.
Step 3: Cook the Shrimp
Now, let’s focus on the shrimp. Heat a large skillet over medium-high heat and add the peeled and deveined shrimp. Season them with salt and pepper to enhance their natural flavor.
Cook the shrimp for about 2-3 minutes on each side. You’ll know they’re done when they turn pink and opaque. This is the moment to pour half of the teriyaki sauce over the shrimp. Toss them gently to coat, allowing the sauce to cling beautifully to each piece. Remove from heat once coated.
Step 4: Assemble the Bowls
It’s time for the fun part—assembling your bowls! Start by dividing the cooked sushi rice among four bowls. This will be the hearty base of your dish.
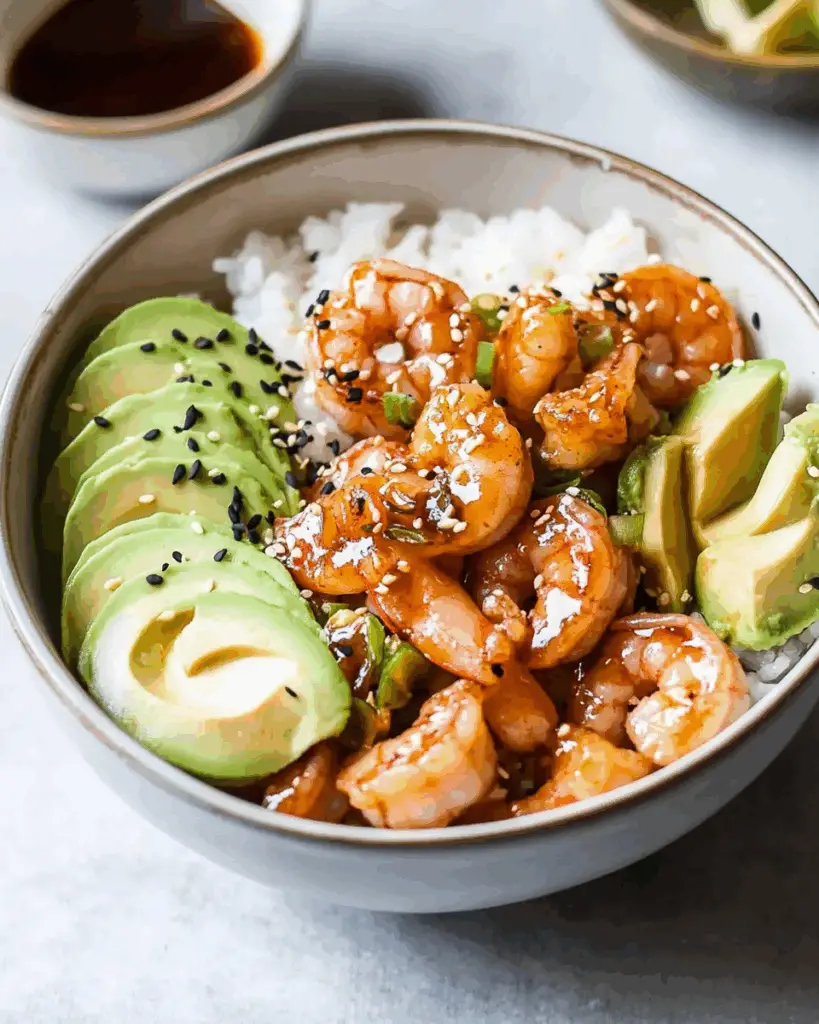
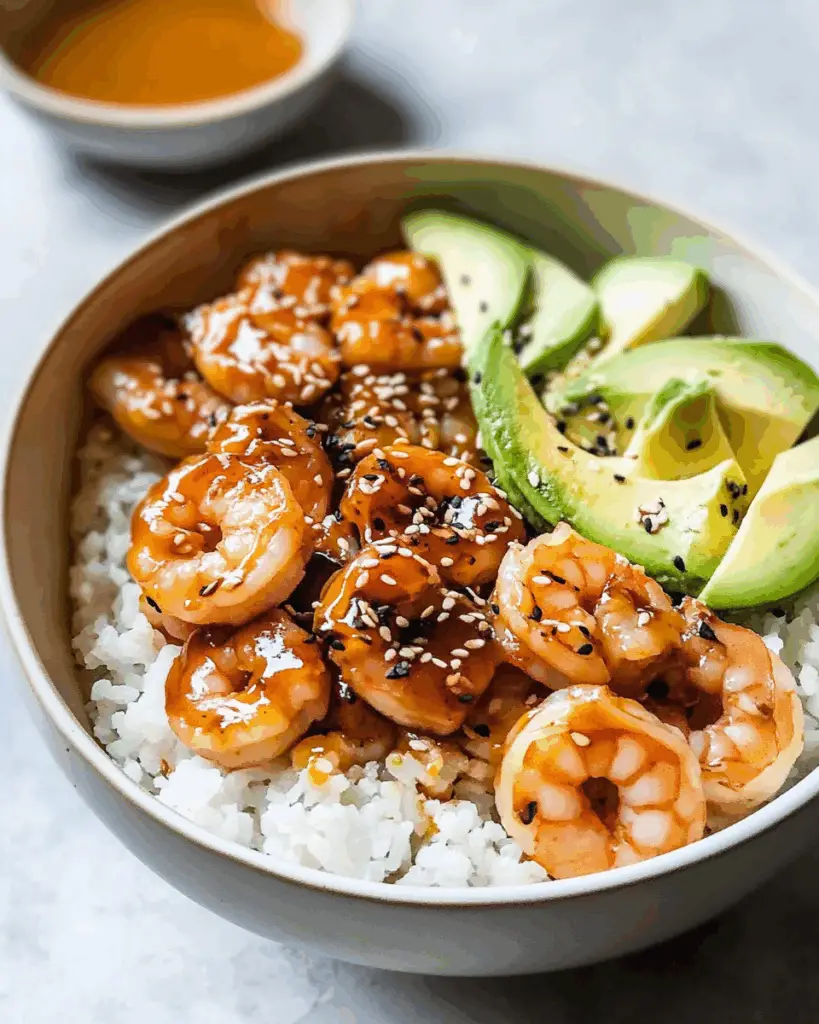
Next, top each bowl with the teriyaki shrimp, followed by slices of creamy avocado, refreshing cucumber, and colorful shredded carrots. Don’t forget to sprinkle chopped green onions on top for an extra burst of flavor.
Finally, drizzle the remaining teriyaki sauce over the assembled bowls and finish with a sprinkle of sesame seeds. This not only adds a delightful crunch but also makes your dish look restaurant-worthy!

Tips for Success
- Always rinse sushi rice thoroughly to achieve the perfect texture.
- Let the rice sit covered after cooking for fluffiness.
- Don’t overcook the shrimp; they should be pink and opaque.
- Feel free to customize veggies based on your preferences.
- Make extra teriyaki sauce for dipping or drizzling on other dishes.
Equipment Needed
- Medium saucepan: For cooking sushi rice. A regular pot works too.
- Small saucepan: To make the teriyaki sauce. A skillet can be used in a pinch.
- Large skillet: Essential for cooking shrimp. A non-stick pan is ideal.
- Measuring cups: For accurate ingredient portions. Use a kitchen scale if preferred.
- Cutting board and knife: For slicing veggies and shrimp.
Variations
- Vegetarian Option: Swap shrimp for tofu or tempeh, and use a plant-based teriyaki sauce for a delicious vegetarian bowl.
- Spicy Kick: Add sliced jalapeños or a drizzle of sriracha to the teriyaki sauce for a spicy twist.
- Quinoa Base: Replace sushi rice with quinoa for a protein-packed alternative that’s gluten-free.
- Extra Veggies: Incorporate bell peppers, snap peas, or edamame for added color and nutrition.
- Fruit Fusion: Toss in some mango or pineapple chunks for a sweet and tropical flavor contrast.
Serving Suggestions
- Pair your Teriyaki Shrimp Sushi Bowl with a side of miso soup for a comforting touch.
- Serve with a chilled green tea or a light Japanese beer to complement the flavors.
- For a beautiful presentation, garnish with extra sesame seeds and a slice of lime.

FAQs about Teriyaki Shrimp Sushi Bowl
Can I make the teriyaki sauce ahead of time?
Absolutely! You can prepare the teriyaki sauce in advance and store it in the refrigerator for up to a week. Just give it a quick reheat before using it in your Teriyaki Shrimp Sushi Bowl.
What can I substitute for shrimp in this recipe?
If shrimp isn’t your thing, tofu or tempeh makes a fantastic substitute. Just ensure you marinate them in the teriyaki sauce for a bit to soak up those delicious flavors.
Is this Teriyaki Shrimp Sushi Bowl gluten-free?
Yes, this dish can be gluten-free! Just make sure to use gluten-free soy sauce or tamari in your teriyaki sauce. It’s a simple swap that keeps all the flavor intact.
How can I store leftovers?
Leftovers can be stored in an airtight container in the fridge for up to two days. Just keep in mind that the rice may become a bit firmer, so a splash of water when reheating can help.
Can I add more vegetables to the bowl?
Definitely! Feel free to get creative with your veggies. Bell peppers, snap peas, or even some steamed broccoli can add extra color and nutrition to your Teriyaki Shrimp Sushi Bowl.
Final Thoughts
Creating a Teriyaki Shrimp Sushi Bowl is more than just cooking; it’s about bringing joy to your table. The vibrant colors, fresh ingredients, and that irresistible homemade teriyaki sauce come together to create a dish that’s both satisfying and visually stunning. Each bite is a delightful mix of flavors and textures, making it perfect for family dinners or a cozy night in. Plus, the ease of preparation means you can whip it up even on the busiest days. So, gather your ingredients, roll up your sleeves, and enjoy the culinary adventure that awaits!
Teriyaki Shrimp Sushi Bowl: A Flavorful Recipe Guide
Ingredients
Method
- Rinse the sushi rice under cold water until the water runs clear. Combine the rice and water in a medium saucepan and bring to a boil. Once boiling, reduce the heat to low, cover, and simmer for 18-20 minutes until the rice is tender and water is absorbed. Remove from heat and let it sit, covered, for 10 minutes.
- While the rice is cooking, prepare the teriyaki sauce by combining soy sauce, honey, rice vinegar, and sesame oil in a small saucepan. Bring to a simmer over medium heat, stirring occasionally, until the sauce thickens slightly, about 5-7 minutes. Remove from heat and set aside.
- In a large skillet over medium-high heat, add the shrimp. Season with salt and pepper and cook for 2-3 minutes on each side until they turn pink and opaque. Pour half of the teriyaki sauce over the shrimp and toss to coat. Remove from heat.
- To assemble the bowls, divide the cooked sushi rice among four bowls. Top each bowl with the teriyaki shrimp, avocado slices, cucumber, shredded carrots, and green onions.
- Drizzle the remaining teriyaki sauce over the bowls and sprinkle with sesame seeds. Serve immediately.
Nutrition
Notes
- For a vegetarian option, substitute shrimp with tofu or tempeh and use a plant-based teriyaki sauce.
- Add pickled ginger or wasabi for an extra kick of flavor.


