


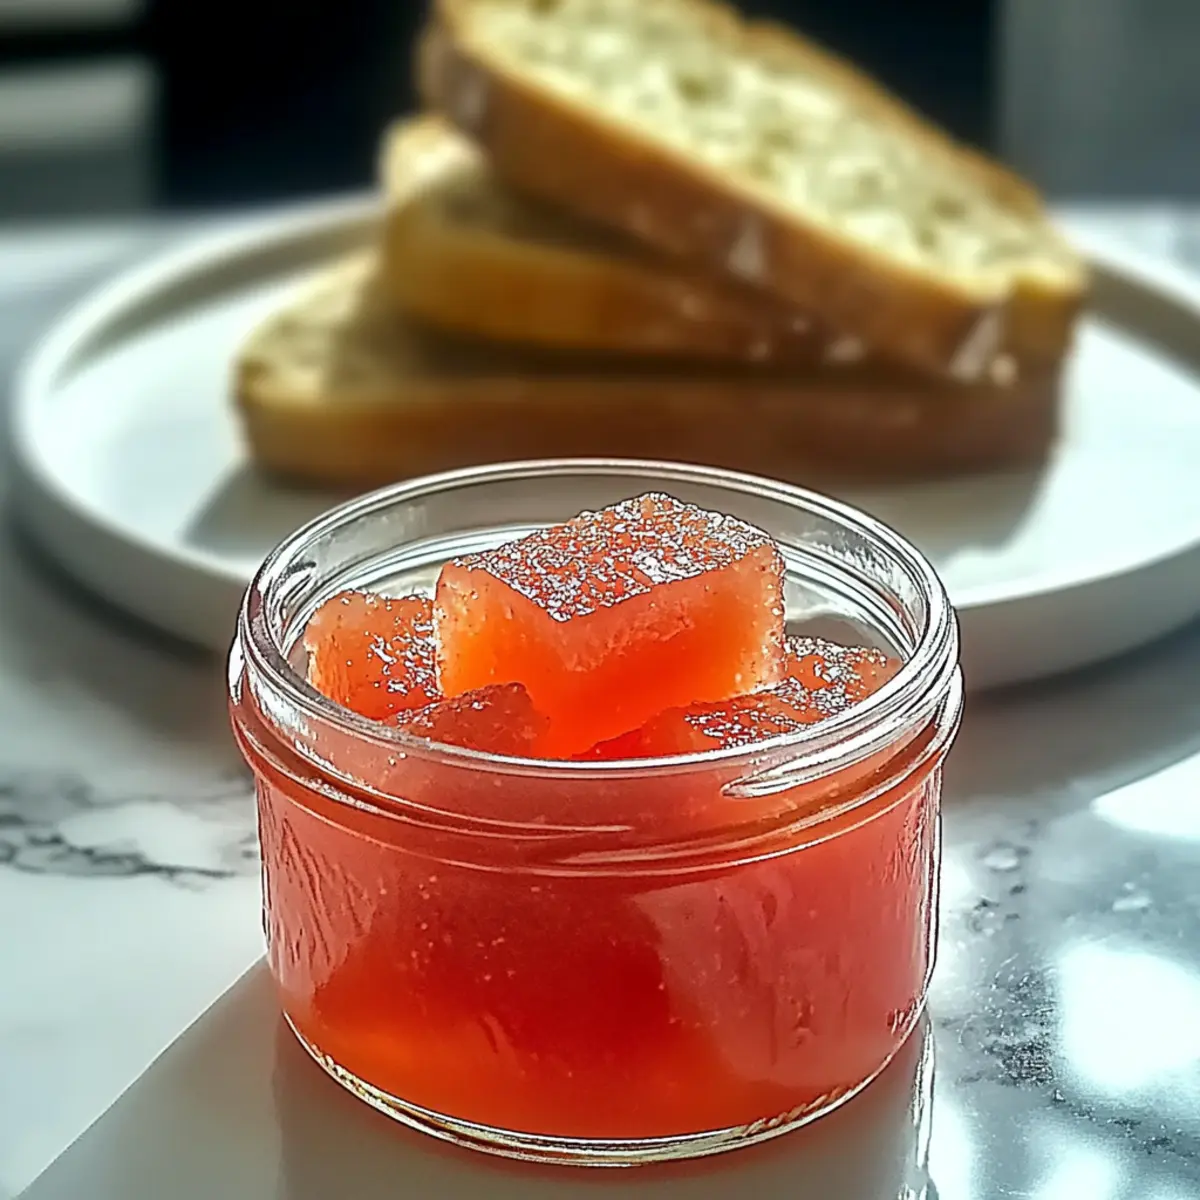
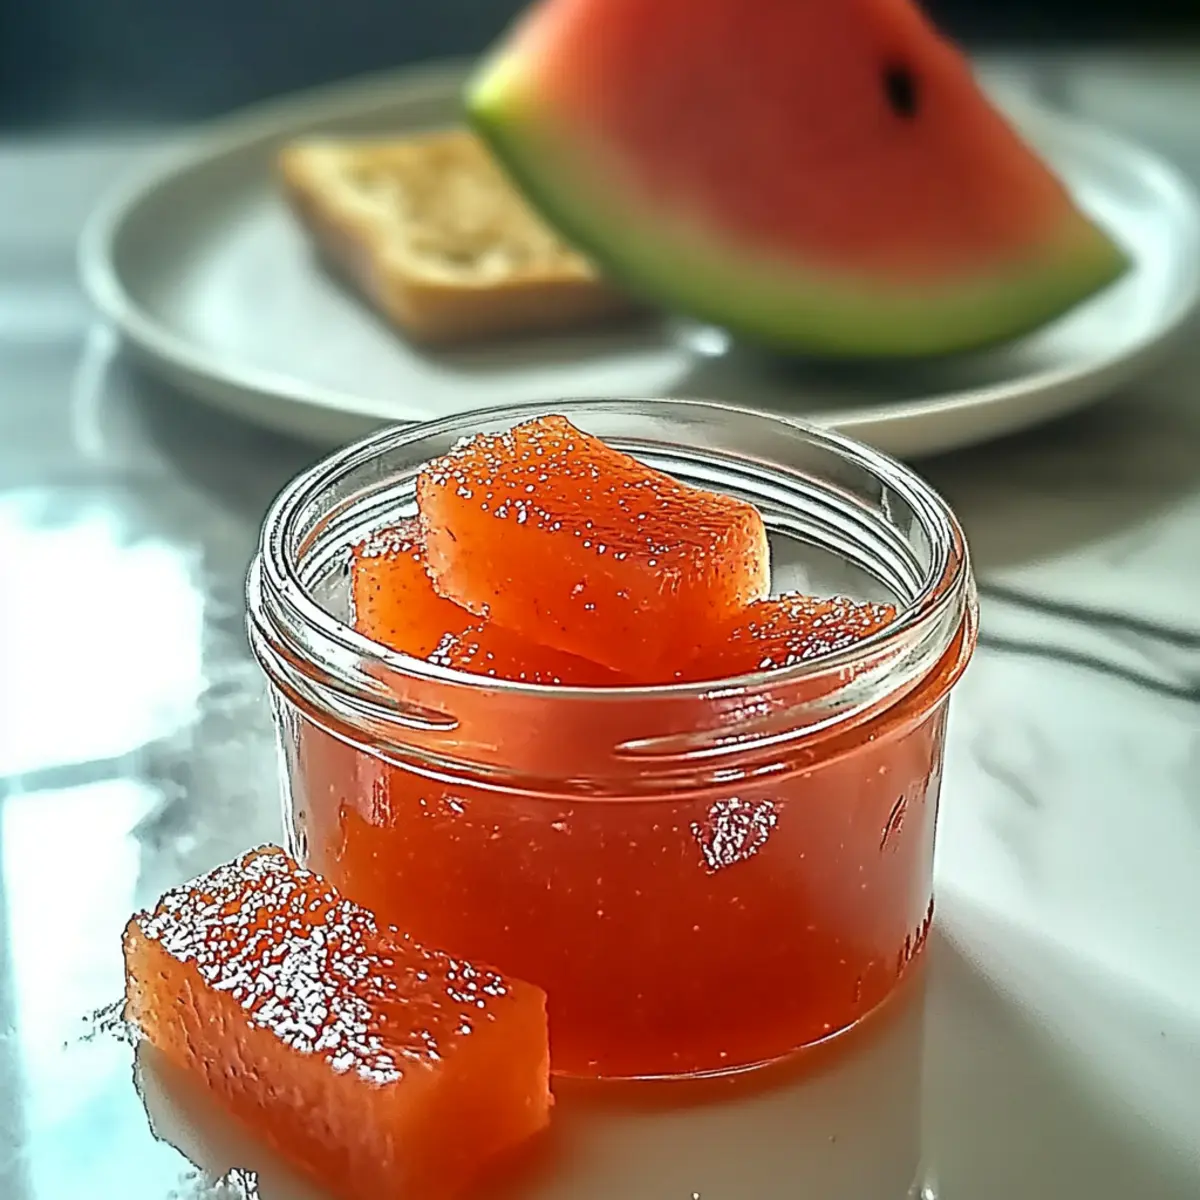
As I stood in my kitchen, the aroma of sweet watermelon filled the air, transporting me instantly back to sun-soaked summer picnics. The inspiration behind my Watermelon Rind Jellies is simple yet profound: why waste what’s often discarded? This delightful recipe transforms those often-overlooked rinds into a vibrant, homemade treat that’s as versatile as it is delicious. Not only is it a fantastic way to reduce food waste, but it’s also a quick and easy project that rewards you with jars of colorful jelly bursting with summer vibes. Perfect for spreading on toast or elevating your cheese board, these jellies promise to be a hit at your next gathering. Ready to dive into this sustainable culinary adventure?
Why waste watermelon rinds?
Sustainability at its finest: These Watermelon Rind Jellies are a fantastic way to utilize leftovers and reduce food waste, transforming what could have been discarded into a delightful treat.
Versatile delight: Serve it in a myriad of ways – slather it on toast, pair it with cheese, or swirl it into yogurt for a refreshing snack.
Quick and easy to make: With just a few simple steps, you can whip up these jellies in no time, making them an accessible project for anyone.
Bursting with flavor: The unique sweet and tangy taste captured in each jar will transport you straight to the sunny vibes of summer picnics. Enjoy your homemade creation as a conversation starter at your next gathering. For more deliciously sustainable ideas, check out our waste-not recipes.
Watermelon Rind Jelly Ingredients
To create your delightful Watermelon Rind Jellies, gather these simple ingredients that will transform your kitchen into a summer paradise!
For the Jelly Base
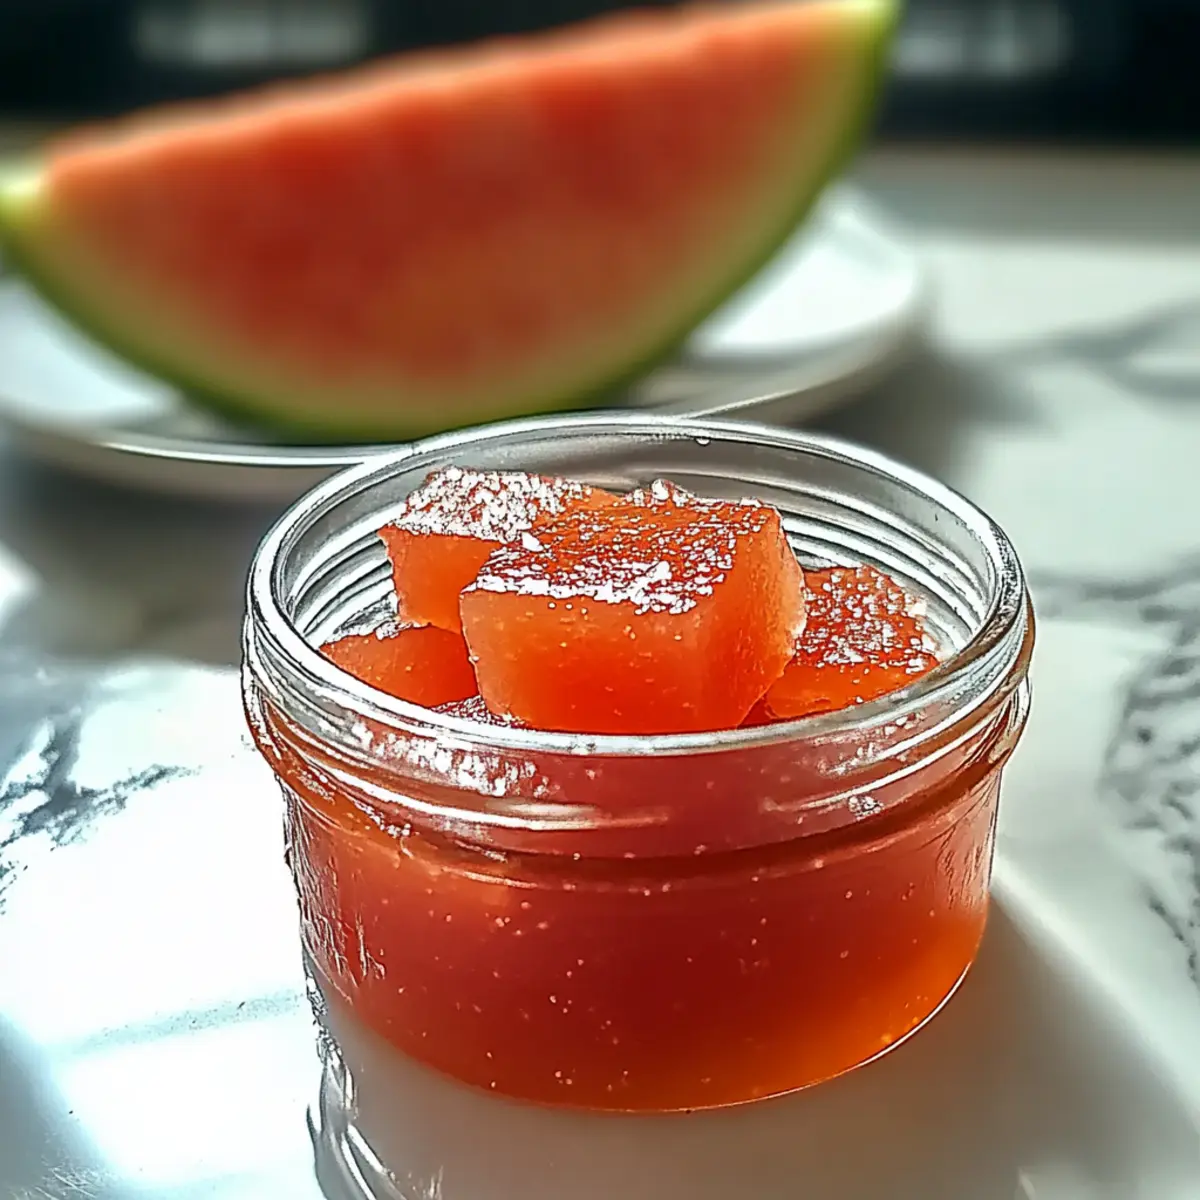
- Watermelon Rind – The star ingredient, providing both structure and a unique flavor; choose fresh, unblemished rinds for the best taste.
- Water – Essential for cooking the rind; helps soften it to release those fantastic flavors.
- Salt – Just ½ teaspoon enhances the overall taste, giving balance to the sweetness.
For Sweetening and Flavor
- Sugar – Two cups of this sweetener are needed to create that perfect jelly consistency and preserve the flavor.
- Lemon Juice – Freshly squeezed juice from 1 lemon adds a delightful tang that brightens the jelly.
For Thickening
- Powdered Pectin – One packet is required to achieve that ideal jelly thickness, ensuring it sets beautifully.
Now, you’re all set to transform those watermelon rinds into an irresistible homemade treat! Enjoy the delightful process of making this sustainable sweet.
Step‑by‑Step Instructions for Watermelon Rind Jellies
Step 1: Prepare the Rind
Begin by carefully peeling the green skin from the watermelon rind and cutting it into 1-inch cubes. These cubes will form the base of your Watermelon Rind Jellies, so ensure you choose fresh, unblemished rinds for the best taste. Set aside the prepared rind pieces while you gather the remaining ingredients.
Step 2: Soak the Rind
Place the watermelon rind cubes in a bowl and cover them with water. Allow them to soak for 30 minutes at room temperature; this process will soften the rind and help release its natural flavors. Keep an eye on the rind as it soaks, noticing its tenderness, which will allow for better extraction later.
Step 3: Combine Ingredients
After soaking, drain the rind cubes and transfer them to a medium saucepan. Add 1 cup of fresh water and ½ teaspoon of salt to the pan. Bring the mixture to a boil over medium heat, then reduce the heat to low and let it simmer for 30 minutes. You’ll know it’s ready when the rind becomes translucent and tender.
Step 4: Strain Mixture
Once simmered, use a fine-mesh sieve to strain the mixture into a separate bowl, ensuring all liquid is extracted from the softened rinds. The liquid forms the basis of your jelly, so take care to press the rinds gently to maximize the yield. Discard the pulp or use it creatively in other dishes!
Step 5: Add Remaining Ingredients
Return the strained liquid to the saucepan and mix in 2 cups of sugar, the freshly squeezed juice from 1 lemon, and 1 packet of powdered pectin. Stir well and heat the mixture over medium-high heat, bringing it to a rolling boil. This stage is crucial for activating the pectin, so you’ll want to achieve a vigorous boil.
Step 6: Boil Until Thickened
Continue to stir the jelly mixture consistently while it boils. Cook for about 10 minutes or until the mixture thickens to your desired consistency. You’ll know it’s ready when the jelly coats the back of a spoon and has a glossy sheen. Keep monitoring the bubbles to ensure it doesn’t stick or scorch.
Step 7: Fill Sterilized Jars
Prepare your sterilized jars and carefully pour the hot watermelon rind jelly into them, leaving about a ¼ inch of headspace at the top of each jar. This headspace is necessary for proper sealing during the canning process. Use a funnel if needed to minimize spills and ensure a neat pour.
Step 8: Seal and Process
Once all jars are filled, wipe the rims clean to remove any jelly residue and securely place the lids on each jar. Process the jars in a boiling water bath for 5-10 minutes to ensure they’re sealed correctly. The water should completely cover the jars during processing for safe preservation.
Step 9: Cool Completely
Remove the jars from the boiling water bath and set them on a clean towel or cooling rack to cool completely. You’ll hear the satisfying “pop” of the lids sealing as they cool down. Once cooled, check the seals by pressing down in the center of each lid; if it doesn’t pop back, you’ve successfully sealed your Watermelon Rind Jellies!
How to Store and Freeze Watermelon Rind Jellies
Fridge: Store opened jars of watermelon rind jellies in the refrigerator for up to 2-3 weeks. Ensure the lids are tightly sealed to maintain freshness.
Freezer: If you want to preserve your jelly for longer, pour the cooled jelly into airtight freezer-safe containers. It can stay frozen for up to a year.
Sealed Jars: Properly sealed jars of watermelon rind jellies can be stored at room temperature in a cool, dark place for up to one year.
Reheating: If you need to use jelly from the freezer, thaw it overnight in the fridge and then give it a gentle stir before serving to restore its smooth consistency.
Expert Tips for Watermelon Rind Jellies
-
Choose Fresh Rinds: Using firm, unblemished watermelon rinds is key to achieving flavorful jellies with a good texture. Avoid any rinds that are overly soft or have blemishes.
-
Proper Soaking: Soaking the rind for the full 30 minutes is important for softening it. Skipping this step may result in a tough jelly that doesn’t set properly.
-
Watch the Heat: During boiling, keep a close eye on the mixture to avoid scorching. Stir continuously to ensure even cooking and achieve that perfect jelly consistency.
-
Check for Thickness: If your jelly doesn’t set, don’t worry! Just reheat it, add a bit more powdered pectin, and boil for a few extra minutes until thickened.
-
Seal Correctly: Ensure your jars are filled with the jelly while hot and that you leave the right headspace before sealing. This protects the jelly and keeps it fresh for longer.
Enjoy making your Watermelon Rind Jellies, and let the deliciousness of summer fill your kitchen!
What to Serve with Watermelon Rind Jellies
Watermelon Rind Jellies are a vibrant treat that can elevate your meals in delightful ways.
- Creamy Brie: Spread the jelly on a warm, crusty bread topped with creamy brie for a luxurious bite that balances sweet and savory.
- Grilled Cheese: Add a spoonful of watermelon rind jelly inside your grilled cheese sandwich for a sweet twist on this classic comfort food.
- Greek Yogurt Parfait: Layer the jelly between Greek yogurt and granola for a refreshing breakfast that captures the essence of summer mornings.
- Charcuterie Board: Use the jelly as a beautiful accent on a charcuterie board, where its sweet and tangy notes pair perfectly with cured meats and sharp cheeses.
- Vanilla Ice Cream: Drizzle the jellies over a scoop of vanilla ice cream, creating an unexpected dessert that’s both refreshing and indulgent.
- Savory Chicken Sandwich: Spread the jelly over grilled or roasted chicken sandwiches for a burst of flavor that will leave taste buds dancing with joy.
These pairings will bring your Watermelon Rind Jellies to life, making your meals delightful and exciting!
Make Ahead Options
These Watermelon Rind Jellies are perfect for meal prep enthusiasts looking to save time for busy weeknights! You can prepare and soak the watermelon rind cubes up to 24 hours in advance, allowing the natural flavors to deepen while softening the rind. Simply soak the prepared rind in water overnight, then follow the recipe’s instructions for cooking the jelly the next day. To maintain quality, ensure you refrigerate the soaking rind to prevent spoilage. Once you’re ready to make your jellies, just continue from the “Combine Ingredients” step, and you’ll have delicious, homemade Watermelon Rind Jellies to impress your family and friends with minimal effort!
Watermelon Rind Jellies Variations
Customize your watermelon rind jellies with these delightful twists that promise to enhance every spoonful!
-
Spiced Up: Add a pinch of cinnamon or ginger for a warm, cozy flavor that will surprise your taste buds. A little heat goes a long way!
-
Citrus Burst: Replace the lemon juice with lime or orange juice for a zesty twist. Each citrus brings its unique brightness that complements the sweet rind beautifully.
-
Herb Infusion: Incorporate fresh mint or basil while cooking for a refreshing herbal note. Infusing your jelly with herbs adds an unexpected layer of complexity that will wow your guests.
-
Chili Kick: For those who like it spicy, stir in a small amount of crushed red pepper flakes. The warmth of the chili balances the sweetness perfectly and creates a memorable flavor experience.
-
Fruit Medley: Mix in diced apples or pears while cooking for added texture and a hint of fruity sweetness. This twist adds a delightful surprise that will have everyone asking for the secret ingredient!
-
Vegan Friendly: Use agave or maple syrup instead of sugar to make this a vegan-friendly version. With its rich, deep flavor, it’s an equal match for traditional sugar.
-
Cheesy Pairing: Serve your jelly alongside a sharp cheese, like blue cheese or aged gouda. The contrast between the jelly’s sweetness and the cheese’s tang will elevate any cheese board!
-
Dessert Delight: Use the jelly as a filling for tarts, pastries, or cakes. Layer it between sponge cake or mix into cheesecake for an unexpected burst of flavor. It transforms any dessert into a summer dream!
Feel free to experiment and make these variations your own. For more unique ideas, check out our waste-not recipes or explore how to use fruit scraps creatively!

Watermelon Rind Jellies Recipe FAQs
How do you select the best watermelon rind for jellies?
Absolutely! For the best results, choose fresh, firm watermelon rinds without blemishes. Look for ones that are light green and sturdy; avoid any that are overly soft or have dark spots all over, which can indicate spoilage.
What is the best way to store opened jars of watermelon rind jellies?
After opening, keep your watermelon rind jellies in the refrigerator. They are best enjoyed within 2-3 weeks to maintain optimal flavor and freshness, so always ensure the lids are tightly sealed after each use!
Can you freeze watermelon rind jellies, and if so, how?
Very much so! To freeze your watermelon rind jellies, pour the cooled jelly into airtight, freezer-safe containers, leaving a bit of headspace for expansion. They can remain in the freezer for up to a year! When you’re ready to use them, simply thaw overnight in the refrigerator.
What should I do if my watermelon rind jelly doesn’t set properly?
No worries! If your jelly doesn’t set, simply reheat it while adding an extra tablespoon of powdered pectin. Once combined, boil it again for another 5-10 minutes while stirring continuously. Keep an eye on the consistency, and you should achieve that perfect thickness.
Are there any dietary considerations when making watermelon rind jellies?
Absolutely! Since this recipe primarily contains natural ingredients, it’s generally safe for most diets. However, if you’re allergic to pectin or sugar substitutes, consider using an alternative thickening agent like agar-agar. Always consult with a healthcare provider for specific dietary needs, especially if serving to children or guests with allergies.
How long can sealed jars of watermelon rind jellies be stored?
Properly sealed jars can be stored at room temperature in a cool, dark place for up to one year. For the best taste, it’s ideal to enjoy them within that time frame, though they’ll remain safe to eat as long as they maintain their seal!
Watermelon Rind Jellies: A Sustainable Sweet Treat
Ingredients
Equipment
Method
- Begin by carefully peeling the green skin from the watermelon rind and cutting it into 1-inch cubes. Set aside.
- Place the watermelon rind cubes in a bowl, cover with water, and soak for 30 minutes.
- Drain the rind cubes, and transfer to a saucepan. Add 1 cup of fresh water and ½ tsp of salt, bring to a boil, then simmer for 30 minutes.
- Use a fine-mesh sieve to strain the mixture into a bowl, ensuring all liquid is extracted.
- Return the strained liquid to the saucepan, mix in 2 cups of sugar, lemon juice, and pectin. Heat over medium-high to a rolling boil.
- Stir consistently while boiling for about 10 minutes or until it thickens to desired consistency.
- Pour the hot jelly into sterilized jars, leaving about ¼ inch of headspace.
- Seal jars and process in a boiling water bath for 5-10 minutes. Allow jars to cool completely.
- Check seals by pressing down on the center of each lid.