


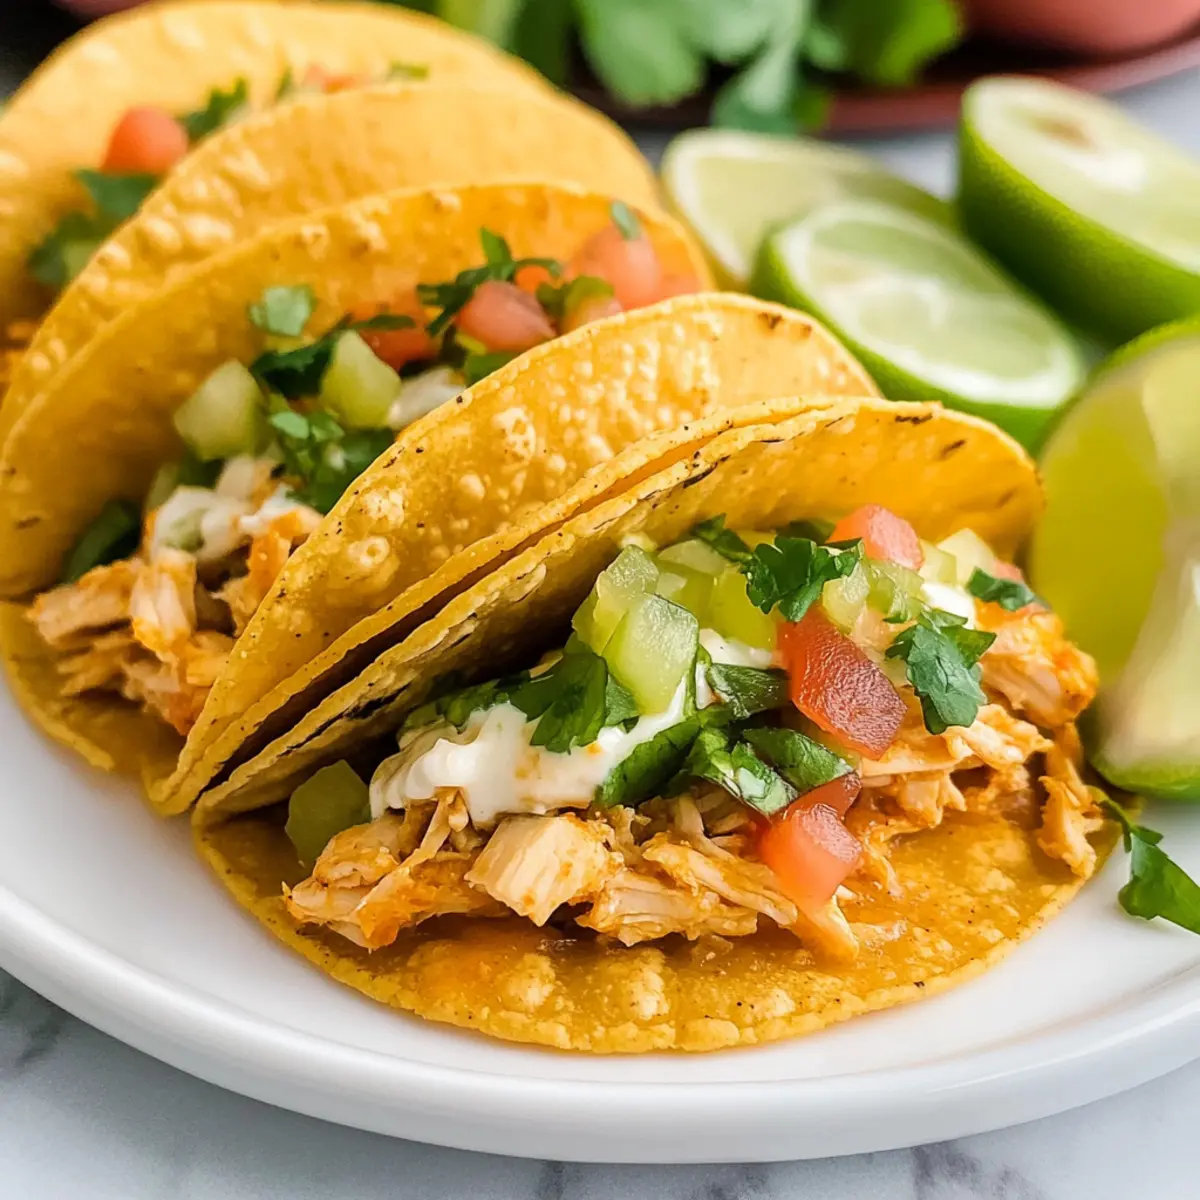
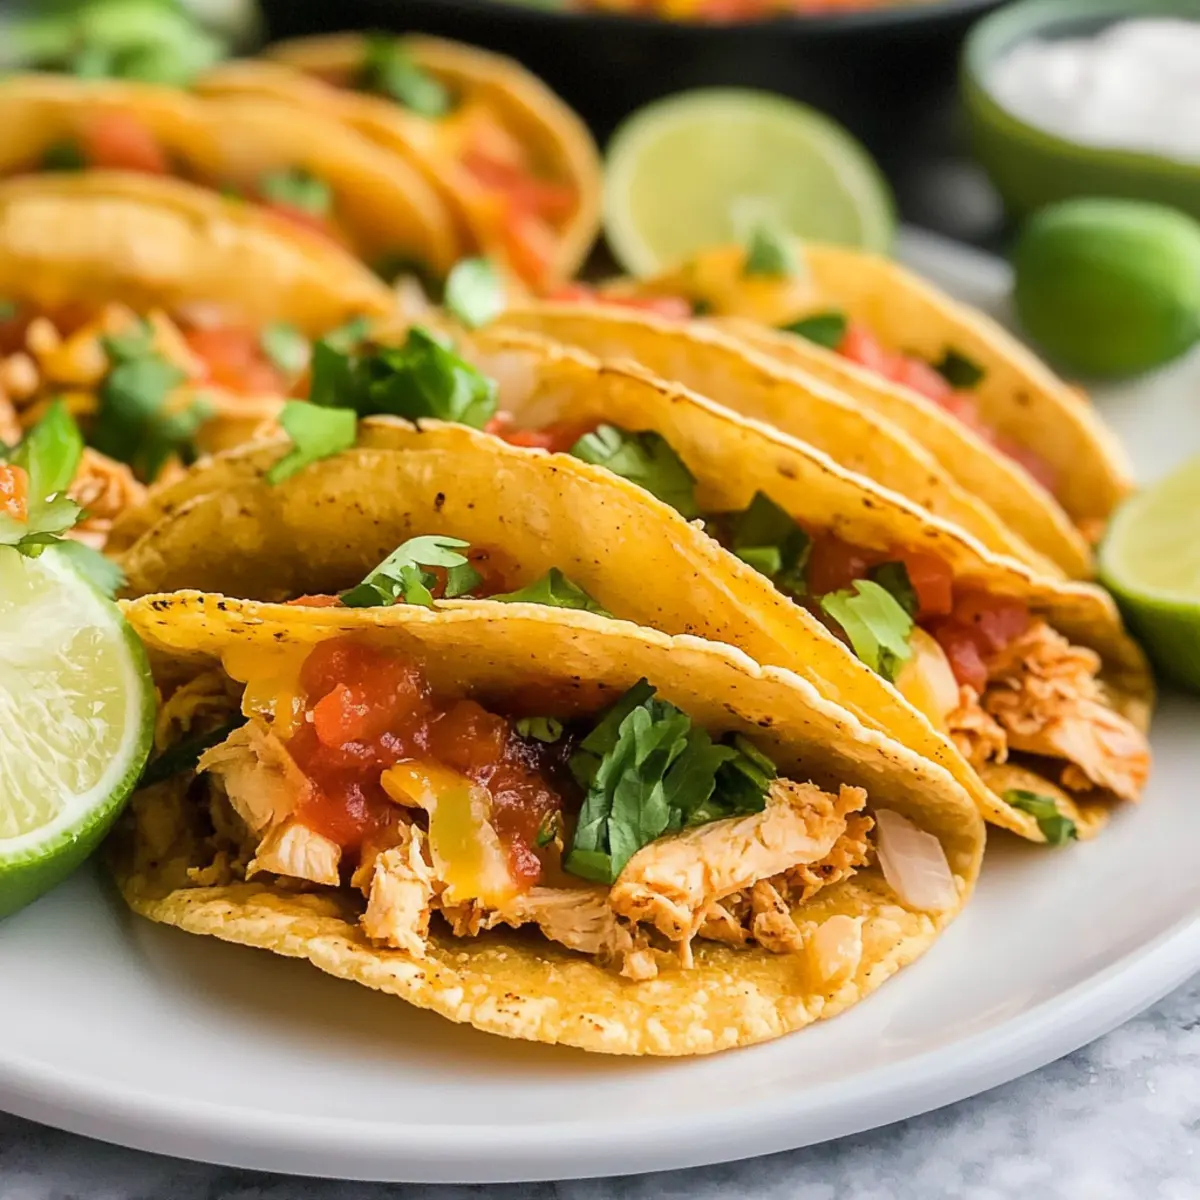
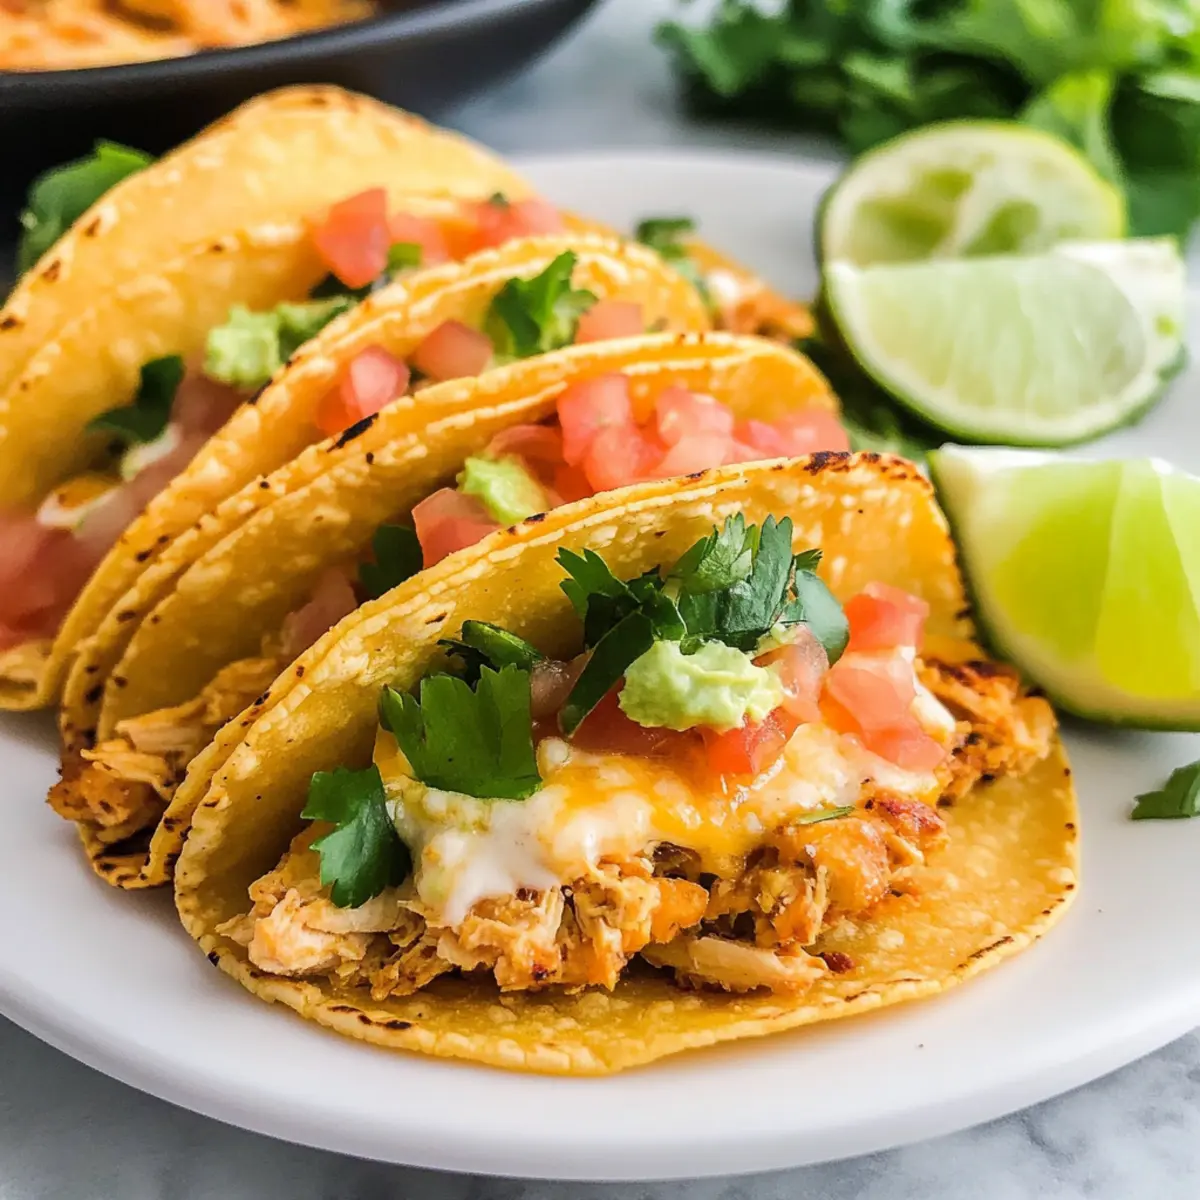
As I was rummaging through my fridge one busy afternoon, I stumbled upon the perfect solution for a satisfying meal that wouldn’t take hours to prepare: Quick and Easy 30 Minute Mini Baked Chicken Tacos! With crispy corn tortillas enveloping creamy, rotisserie chicken filling, these tacos are a game-changer. They deliver all the comfort and flavor we crave without the hefty time commitment, making them ideal for those chaotic weeknight dinners. Plus, they’re a breeze to customize with your favorite toppings or add-ins, ensuring everyone at the table finds something to enjoy. So, are you ready to transform your Taco Tuesdays into a fun family feast?
Why are these tacos a game-changer?
Quick, perfect for those nights when time is tight. In just 30 minutes, you can whip up a delicious meal that tastes like it took hours to prepare.
Flexible, customize with your favorite toppings! From creamy guacamole to zesty salsas, these tacos invite creativity.
Flavor-packed, the combination of rotisserie chicken, spices, and gooey cheese creates a mouthwatering filling that satisfies every palate.
Crowd-pleaser, ideal for family gatherings or a casual dinner party, everyone will rave about these delightful mini tacos!
Comfort food, crispy, warm, and filled with all the deliciousness truly embodies the spirit of Taco Tuesday.
30 Minute Mini Baked Chicken Taco Ingredients
• Get ready to tantalize your taste buds!
For the Filling
- Cooked Shredded Chicken – Rotisserie chicken is recommended for convenience and flavor.
- Chili Powder – Adds heat and depth; taco seasoning can substitute for a quicker option.
- Paprika – Contributes sweetness and vibrant color; smoked paprika brings a smoky touch.
- Garlic Powder – Enhances the overall flavor profile and aroma.
- Onion Powder – Complements the chicken with savory notes for a delicious depth of flavor.
- Ground Cumin – Adds an earthy, warm flavor to the filling.
- Oregano – Introduces herbaceous notes that elevate the dish.
- Kosher Salt – An essential ingredient for enhancing all other flavors in the tacos.
- Chopped Green Chiles – Adds mild heat and moisture; fresh or canned works well.
- Sour Cream – Provides creaminess and tang to balance the spices; Greek yogurt is a great low-fat swap.
- Monterey Jack Cheese – Melts beautifully, contributing richness; cheddar or a Mexican blend can also be used.
For the Tacos
- Corn Tortillas – These delicious tortillas form the taco shells; heating them beforehand makes them pliable.
- Olive Oil – Used for brushing tacos to achieve that delightful crispy texture when baked.
With these 30 Minute Mini Baked Chicken Tacos ingredients, you’ll create a scrumptious feast that friends and family will adore. Happy cooking!
Step‑by‑Step Instructions for Quick and Easy 30 Minute Mini Baked Chicken Tacos
Step 1: Preheat the Oven
Begin by preheating your oven to 425°F (220°C). While the oven heats up, prepare your baking sheets by spraying them lightly with olive oil to ensure your tacos come out crispy and golden. This step is essential to achieving that delightful crunch in your mini baked chicken tacos!
Step 2: Prepare the Filling
In a large mixing bowl, combine the cooked shredded chicken with chili powder, paprika, garlic powder, onion powder, ground cumin, oregano, and kosher salt. Use a fork to mix the ingredients well until your chicken is evenly coated with the spices. This flavor-packed filling is the heart of your quick and easy mini baked chicken tacos!
Step 3: Add Creaminess
Next, fold in the chopped green chiles, sour cream, and one cup of shredded Monterey Jack cheese into the chicken mixture until it’s creamy and well combined. This step adds a rich, smooth texture that balances the spices and enhances the overall flavor of your tacos!
Step 4: Fill the Tortillas
Grab your corn tortillas and place about a quarter cup of the chicken filling on one side of each tortilla. Top each filled tortilla with an additional tablespoon of cheese to elevate the cheesy goodness! Make sure the filling is spread evenly for balanced flavor in every bite.
Step 5: Fold and Brush
Gently fold the tortilla over the filling, creating a half-moon shape. Brush both sides of the folded tortilla with olive oil to achieve that perfect golden crispiness. This will also help seal in all the delicious flavors when you bake the mini tacos.
Step 6: Arrange on Baking Sheet
Arrange your filled and brushed tacos on the prepared baking sheets. Ensure they are placed side by side, but not overlapping, to allow even cooking. This is your chance to make sure every bit of your quick and easy 30 minute mini baked chicken tacos is cooked perfectly.
Step 7: Bake the Tacos
Pop the baking sheets into the preheated oven and bake for 12-15 minutes. Keep an eye on them; they should turn golden brown and become crisp along the edges. This is when the magic happens, transforming your assembled tacos into irresistible little packages of flavor!
Step 8: Cool Before Serving
Once baked to perfection, carefully remove the mini baked chicken tacos from the oven. Let them cool for a few minutes on the baking sheet to help enhance the crispiness before serving. This little wait ensures you don’t burn your tongue on that irresistible creamy filling!
Storage Tips for 30 Minute Mini Baked Chicken Tacos
Fridge: Store leftovers in an airtight container or wrapped in foil for up to 2-3 days. This will keep your mini baked chicken tacos fresh and ready for a quick snack!
Reheating: To enjoy a crispy texture, reheat in the oven at 350°F (175°C) for about 10 minutes. Avoid using a microwave as it may make the tortillas soggy.
Freezer: These mini tacos do not freeze well due to the filling; however, you can assemble them ahead of time, refrigerate, and bake just before serving for convenience.
Make-Ahead: Prepare the filling and tortillas in advance! Assemble and refrigerate, then bake fresh in 12-15 minutes when you’re ready to feast on these mouthwatering tacos.
Variations & Substitutions for Mini Baked Chicken Tacos
Feel free to let your creativity shine as you adapt these mini baked chicken tacos to your taste preferences and dietary needs!
- Dairy-Free: Substitute dairy cheese with a plant-based alternative and use coconut yogurt for a creamy filling.
- Spice Up: Add fresh jalapeños or a splash of hot sauce to the filling for an extra heat boost.
- Vegetarian Delight: Swap shredded chicken for black beans or lentils, loading up on flavor and protein while keeping it meat-free.
- Colorful Veggies: Incorporate chopped bell peppers, corn, or spinach into the filling for added nutrition and crunch.
- Smoky Twist: Use smoked paprika instead of regular paprika, giving your tacos a deeper, more robust flavor.
- Whole Wheat Tortillas: Opt for whole wheat or gluten-free tortillas for a healthier or gluten-friendly option.
- Flavorful Marinade: Marinate the chicken in lime juice and cilantro before shredding to introduce a zesty, fresh taste.
- Serving Suggestions: For a fun twist, serve these tacos with a side of mango salsa or guacamole for that extra burst of flavor.
By exploring these variations, you can create a taco experience that delights every palate at your table. Happy cooking!
What to Serve with 30 Minute Mini Baked Chicken Tacos
Elevate your family feast by pairing these delightful tacos with scrumptious side dishes and drinks that complement their tasty flavors!
-
Creamy Guacamole: A fresh, zesty dip that adds coolness and richness, perfect for balancing the spicy filling.
-
Mexican Street Corn Pasta Salad: Delightful with its sweet corn, creamy dressing, and fresh cilantro, it adds a refreshing crunch to your meal.
-
Cilantro Lime Rice: Fluffy rice with bright lime and earthy cilantro enhances the tacos’ flavors and brings a delightful freshness.
-
Pico de Gallo: This vibrant salsa with ripe tomatoes, onions, and cilantro provides a tasty burst of flavor that pairs perfectly with your tacos.
-
Sour Cream and Salsa Duo: Dive into a classic combination where the tangy sour cream and zesty salsa add layers of creaminess and spice.
-
Corn on the Cob: Sweet, juicy corn brushed with lime and chili powder complements the tacos with its vibrant texture and flavor.
-
Chips and Queso Dip: Warm cheese dip served with crunchy tortilla chips creates a fun, sharable starter that promises satisfaction before dinner.
-
Lime Margaritas: This refreshing drink balances the spices in the tacos while adding a festive touch to your meal.
Make Ahead Options
These 30 Minute Mini Baked Chicken Tacos are perfect for busy home cooks looking to simplify meal prep! You can assemble the tacos up to 24 hours in advance, placing them in a single layer on a baking sheet; this helps prevent them from sticking together. Cover the sheet tightly with plastic wrap to maintain freshness and prevent browning. When you’re ready to bake, simply remove the plastic wrap and bake them directly from the refrigerator for 12-15 minutes at 425°F (220°C) until they are golden brown and crispy. This makes for a hassle-free dinner, allowing you to enjoy delicious, homemade chicken tacos without the last-minute rush!
Expert Tips for Mini Baked Chicken Tacos
-
Tortilla Prep: Ensure you soften the tortillas for easier folding—microwave them in a damp paper towel for 30 seconds before filling.
-
Avoid Overfilling: Don’t stuff the tacos too full; about ¼ cup of filling keeps them from bursting and helps maintain that perfect crispy texture.
-
Baking Space: Make sure the tacos are placed with space on the baking sheet. This allows hot air to circulate for even cooking and optimum crispiness.
-
Serve Fresh: For the best experience, serve the tacos immediately after baking. They’re at their crispiest and most delicious right out of the oven.
-
Leftover Storage: If you have leftovers, wrap them in foil and refrigerate. To reheat, bake in the oven at 350°F (175°C) for about 10 minutes to regain that delightful crunch.
With these tips, your 30 Minute Mini Baked Chicken Tacos will shine at the dinner table!
30 Minute Mini Baked Chicken Tacos Recipe FAQs
What type of shredded chicken should I use?
Absolutely! For convenience and flavor, I recommend using rotisserie chicken. It saves time and adds a wonderful richness to your tacos. If you prefer, you can also cook and shred your own chicken breast, just ensure it’s seasoned well to match the flavor profile.
How should I store these mini baked chicken tacos?
Store any leftover tacos in an airtight container or tightly wrapped in foil in the fridge for up to 2-3 days. This way, you can enjoy them later without losing their deliciousness! Just remember, they’re best enjoyed fresh for that crispy texture!
Can I freeze the mini baked chicken tacos?
These mini tacos unfortunately don’t freeze well due to their chicken filling. However, you can assemble them ahead of time—simply refrigerate the formed tacos and bake them fresh just before serving. This will keep them crispy and full of flavor!
What if my tortillas keep ripping when I fold them?
Very valid concern! If your tortillas are ripping, they’re likely too stiff. I recommend softening them in a damp paper towel in the microwave for about 30 seconds before filling. This step will make them pliable, ensuring a perfect fold without any tears.
Is this recipe suitable for people with dietary restrictions?
Great question! If you have dietary considerations, consider using low-fat Greek yogurt instead of sour cream to cut calories. For gluten-free options, ensure you use gluten-free corn tortillas. Always double-check for allergens in pre-packaged ingredients, like the shredded cheese and green chiles.
How can I spice up the flavor of these mini tacos?
For an extra kick, you can mix diced jalapeños into the filling before baking! If you’re a fan of heat, you could also serve them with a spicy salsa or top them with freshly chopped cilantro for added freshness and vibrancy. The more the merrier when it comes to flavor!

30 Minute Mini Baked Chicken Tacos for a Flavorful Feast
Ingredients
Equipment
Method
- Preheat your oven to 425°F (220°C) and prepare your baking sheets by spraying them lightly with olive oil.
- In a large mixing bowl, combine the cooked shredded chicken with chili powder, paprika, garlic powder, onion powder, ground cumin, oregano, and kosher salt.
- Fold in the chopped green chiles, sour cream, and one cup of shredded Monterey Jack cheese into the chicken mixture.
- Place about a quarter cup of the chicken filling on one side of each tortilla and top with an additional tablespoon of cheese.
- Gently fold the tortilla over the filling and brush both sides with olive oil.
- Arrange your filled and brushed tacos on the prepared baking sheets.
- Bake for 12-15 minutes until golden brown and crisp along the edges.
- Remove from the oven and let cool for a few minutes before serving.