


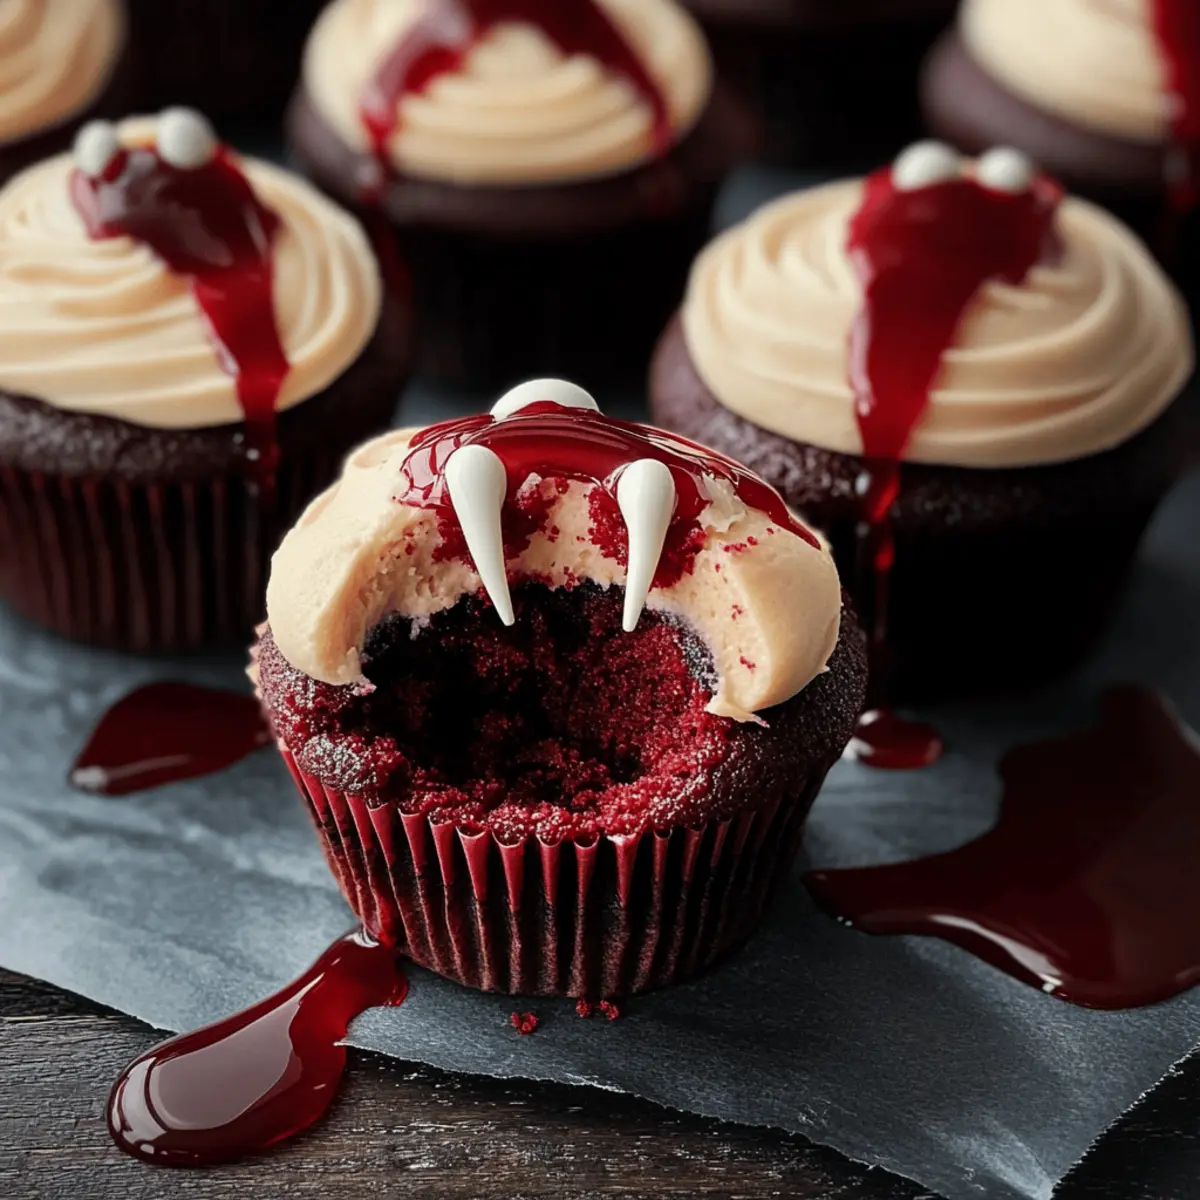
As the sun sets on a chilly October evening, the thrill of Halloween comes alive in my kitchen. I can still feel the excitement bubbling over as I dive into making these Vampire Bite Halloween Cupcakes—a treat that combines the rich, velvety allure of red velvet cake with a spooky twist. With each creamy-filled bite eliciting gasps of delight, these visually striking cupcakes are not only a blast to create but also a guaranteed crowd-pleaser at any Halloween gathering. Perfect for both kids and the young at heart, you’ll love how easy they are to whip up, leaving ample room for creativity in decoration. Are you ready to sink your teeth into this charmingly eerie recipe? Let’s get started!
Why are these cupcakes a must-try?
Eerie Aesthetics: The striking visual of these Vampire Bite Halloween Cupcakes makes them a standout centerpiece for any spooky celebration. Creamy and Velvety: You’ll love the moist, rich red velvet flavor paired with a delightfully oozy filling that evokes the perfect Halloween vibe. Endless Customization: Feel free to experiment with decorations—add gummy worms or chocolate spiders for a personal touch! Quick and Simple: With straightforward steps, they’re easy to whip up, even for novice bakers. Serve alongside themed drinks like blood-red punch for an immersive experience that’s sure to delight guests!
Vampire Bite Halloween Cupcake Ingredients
For the Cupcake Batter
- All-purpose flour – Structure of the cupcakes; can substitute with gluten-free flour if needed.
- Granulated sugar – Adds sweetness; no substitutions suggested for best flavor.
- Unsalted butter (softened) – Adds richness and moisture; can replace with margarine for a dairy-free option.
- Large eggs – Provides moisture and binding; no substitutes for fluffiness.
- Buttermilk – Adds tanginess and moisture; substitute with milk and a splash of vinegar.
- Cocoa powder – Enhances the chocolate flavor; dark cocoa can be used for a richer taste.
- Red food coloring (gel-based) – Provides the striking deep red color; liquid food coloring can be used but may affect texture.
- Vanilla extract – Adds depth of flavor; no substitutions suggested.
- Baking soda – Acts as a leavening agent; baking powder can be used if needed.
- White vinegar – Activates baking soda for rise; can omit if using baking powder.
- Salt – Enhances flavor; no substitutions suggested.
For the Creamy Filling
- Sweetened condensed milk – Creates a luscious creamy filling; evaporated milk may be a substitute.
- Additional unsalted butter – Smooths out the cream filling for a delightful texture.
- Red velvet cake crumbs – Adds texture; make from baking the cupcakes in advance and removing the centers.
For the Frosting
- Powdered sugar – Ensures sweetness for the buttercream; no specific substitutions suggested for best consistency.
- Milk or heavy cream – Adjusts the consistency of frosting; non-dairy milk can be used.
- Ivory or peach food coloring – Adjusts the frosting to a skin tone; no specific substitutes suggested.
For Decoration
- Candy fangs/red gelatin – Fun decorative elements; fondant or chocolate can be used for similar effects.
- Red syrup/edible red gel – Adds “blood” drips; homemade fruit syrup can serve as an alternative.
- Straws (non-edible) – Use for decoration; consider using edible alternatives like Fruit Roll-Ups.
These Vampire Bite Halloween Cupcakes are sure to be a hit, combining delicious flavors with a spine-chilling presentation that will excite any Halloween gathering!
Step‑by‑Step Instructions for Vampire Bite Halloween Cupcakes
Step 1: Prepare Cupcake Batter
Begin by preheating your oven to 350°F (175°C) and lining a muffin tin with cupcake liners. In a large mixing bowl, cream together ½ cup of softened unsalted butter and 1 cup of granulated sugar until light and fluffy, about 3 minutes. Incorporate 2 large eggs, one at a time, mixing well after each. Then, add 1 cup of buttermilk, 2 tablespoons of cocoa powder, 2–3 teaspoons of red gel food coloring, 1 teaspoon of vanilla extract, ½ teaspoon of baking soda, 1 tablespoon of white vinegar, and ½ teaspoon of salt, blending until smooth. Gradually fold in 2 cups of all-purpose flour until just combined.
Step 2: Bake Cupcakes
Spoon the red velvet batter into the lined muffin tin, filling each cup about two-thirds full. Bake in the preheated oven for 18-20 minutes, or until a toothpick inserted in the center comes out clean. Once baked, remove the cupcakes from the oven and allow them to cool in the pan for 5 minutes before transferring them to a wire rack. Let the cupcakes cool completely to ensure they maintain their structure when hollowed.
Step 3: Hollow Centers
Once the cupcakes have completely cooled, it’s time to create space for the delicious creamy filling. Take a small knife or a melon baller and carefully cut out the centers of each cupcake, leaving a small border around the edges to create a cavity. Set aside the removed cupcake tops, as they will be used later to make red velvet cake crumbs for decoration. This step adds a fun surprise to your Vampire Bite Halloween Cupcakes!
Step 4: Make Filling
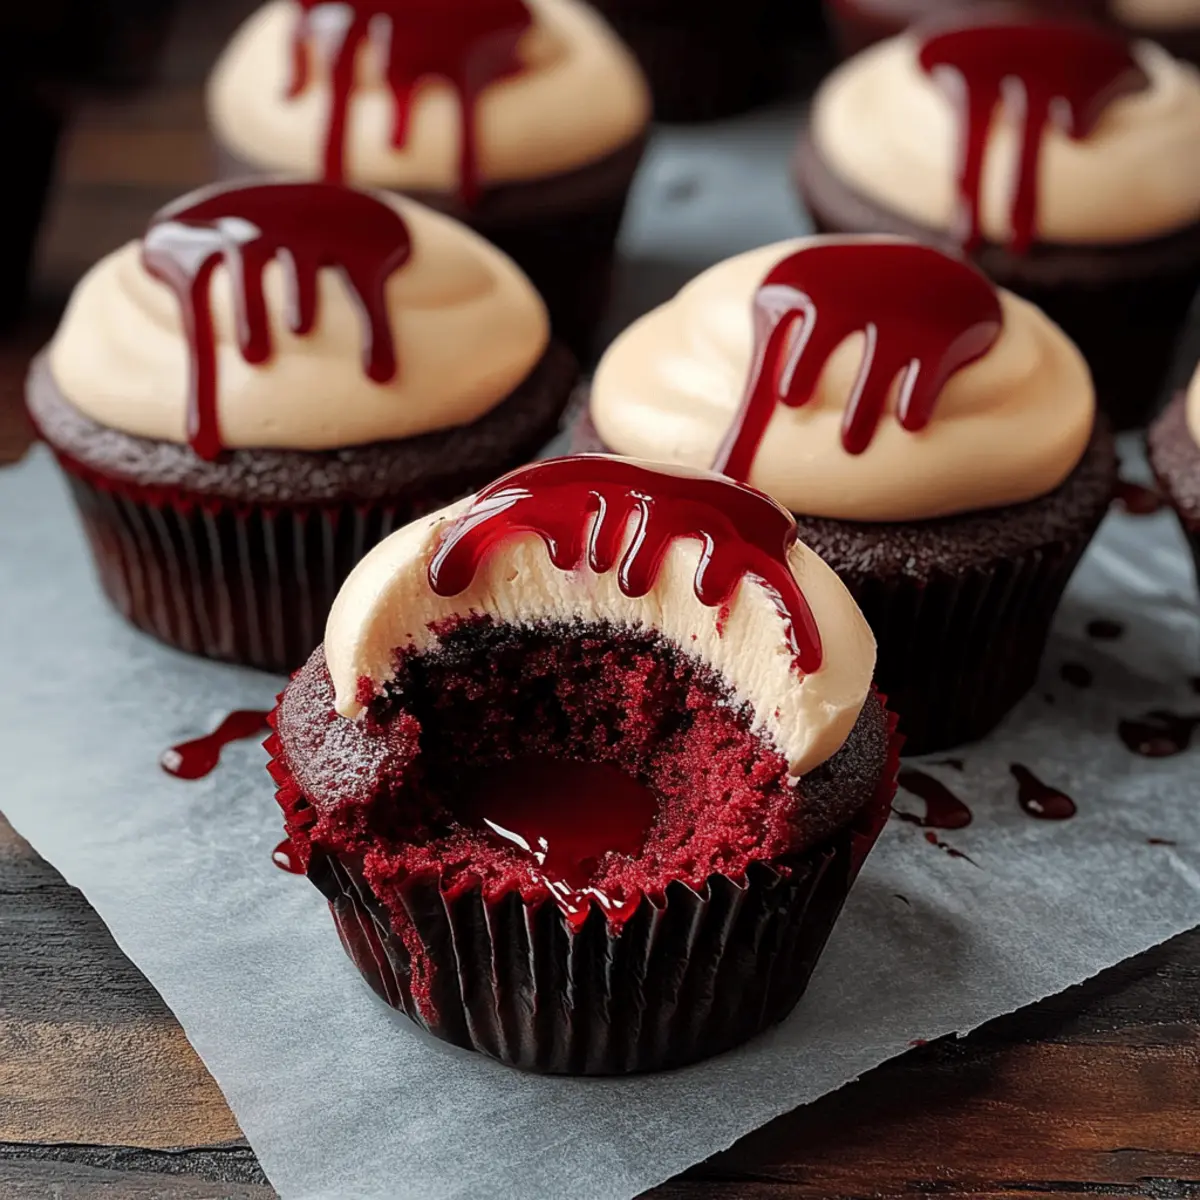
In a medium bowl, combine ½ cup of sweetened condensed milk with 2 tablespoons of softened unsalted butter and a few drops of red food coloring to enhance that oozy effect. Mix until smooth and creamy. Use a piping bag or a small spoon to fill each hollow center of the cupcakes with this luscious filling, allowing it to slightly overflow. This delightful cream will create the perfect “bite” effect when your guests take a bite of the Vampire Bite Halloween Cupcakes.
Step 5: Prepare Frosting
For the frosting, beat together 1 cup of softened unsalted butter and 3-4 cups of powdered sugar in a large bowl until creamy. Gradually add 2 tablespoons of milk and a splash of vanilla extract, mixing until combined. Check the consistency and add more milk if needed to achieve a smooth, spreadable texture. Incorporate a touch of ivory or peach food coloring to create a skin-toned hue, perfect for topping these spooky treats.
Step 6: Frost Cupcakes
Once your frosting is ready, use a spatula or piping bag fitted with your favorite tip to generously frost the tops of each filled cupcake. Aim for a smooth, even layer, allowing the buttercream to create a slight dome. The pale frosting will contrast beautifully with the rich red filling inside, making your Vampire Bite Halloween Cupcakes look even more tempting and festive.
Step 7: Decorate
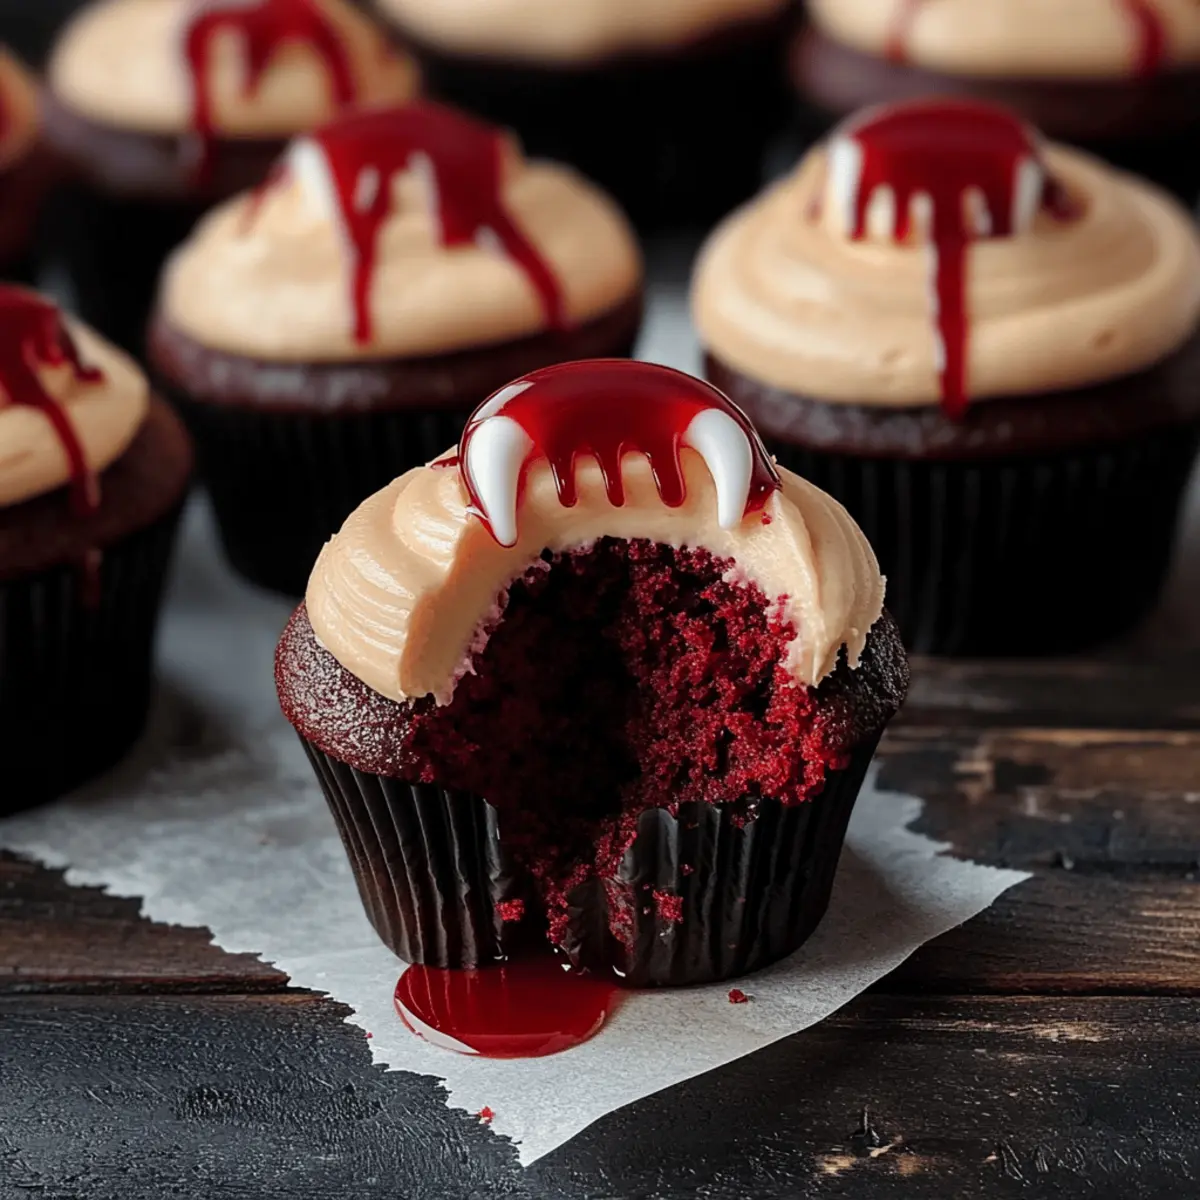
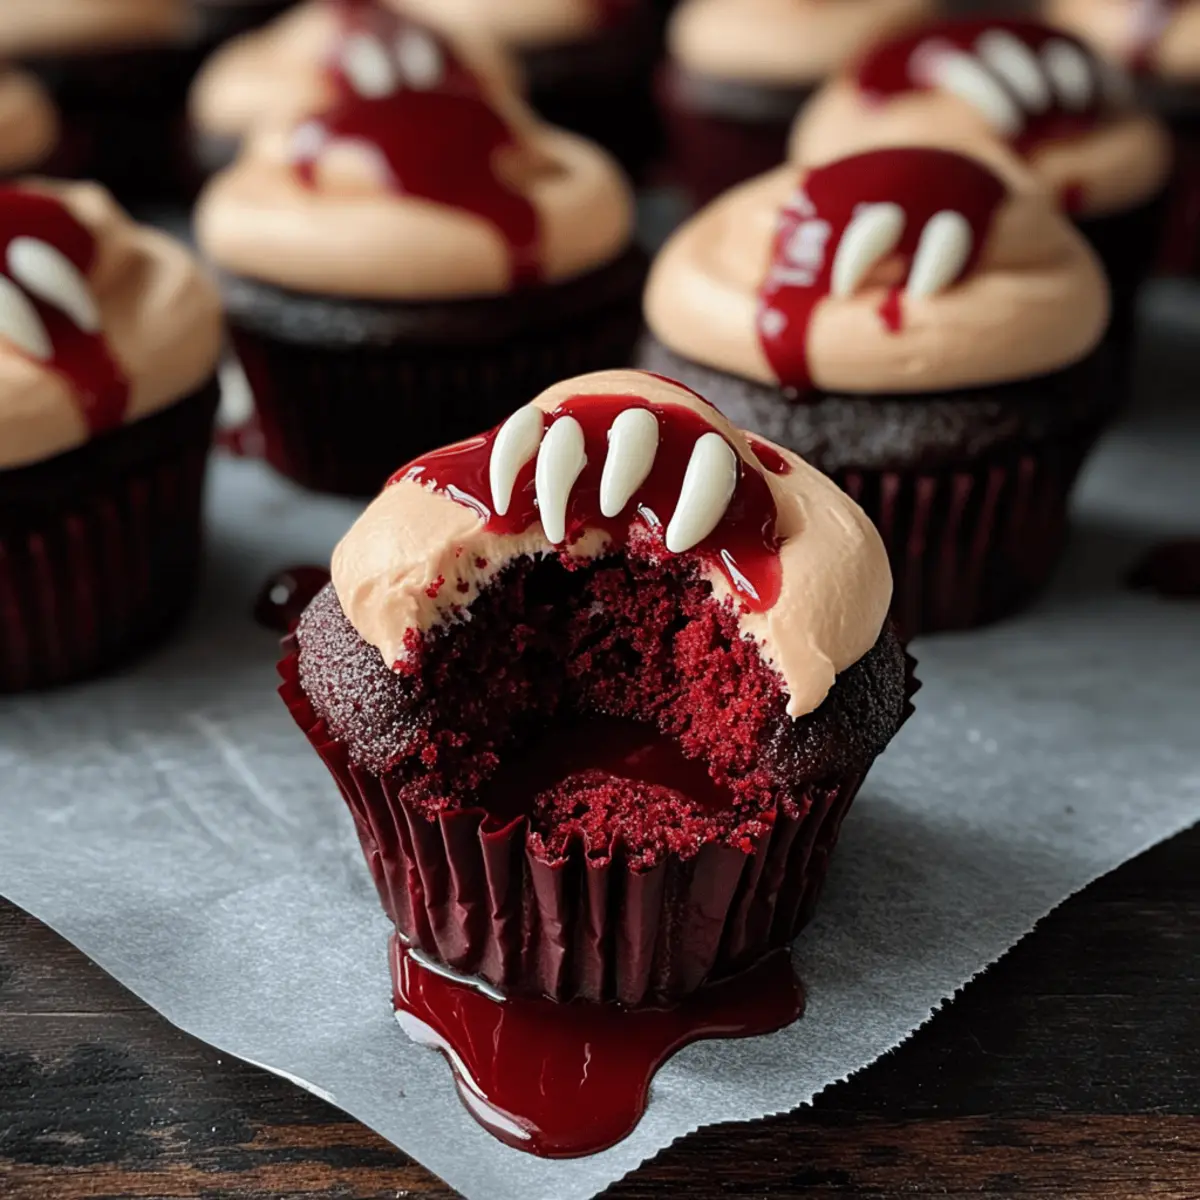
Now comes the fun part—decorating! Drizzle red syrup or edible red gel on top of the frosted cupcakes for that chilling blood drip effect. Place candy fangs or gummy worms strategically on top to symbolize those spooky bites. Feel free to get creative with additional decorations, making each cupcake uniquely eerie. This finishing touch will mesmerize your guests at any Halloween party!
Step 8: Serve
When ready to serve your Vampire Bite Halloween Cupcakes, present them on a dark platter surrounded by fun Halloween-themed decorations. This eerie display will offer an inviting yet spooky atmosphere, enhancing the bite-sized treats’ appeal. Sit back, watch the delighted faces of your guests, and enjoy the delightful flavors that come with each delicious bite!
Make Ahead Options
These Vampire Bite Halloween Cupcakes are perfect for meal prep, allowing you to enjoy the festivities without the last-minute rush. You can bake the cupcakes up to 24 hours in advance; simply cool them completely and store them in an airtight container at room temperature. The creamy filling can also be made ahead and stored in the refrigerator for up to 3 days—just give it a quick stir before using. When it’s time to serve, hollow the centers, fill them with the creamy mixture, frost, and decorate just before your guests arrive to ensure they’re as fresh and delightful as possible. Enjoy the ease of preparation while still impressing your Halloween party-goers with these show-stopping treats!
Storage Tips for Vampire Bite Halloween Cupcakes
Room Temperature: Store decorated cupcakes at room temperature for up to 2 days in a cool, dry place to maintain freshness.
Fridge: If you need to keep them longer, refrigerate the cupcakes for up to 5 days. Allow them to come to room temperature before serving for the best taste and texture.
Freezer: Unfrosted cupcakes can be frozen for up to 3 months. Wrap them tightly in plastic wrap and then place them in an airtight container to prevent freezer burn.
Reheating: For a warm treat, gently microwave the cupcakes for about 10-15 seconds before serving, ensuring neither the cupcake nor the frosting overheats. Enjoy your Vampire Bite Halloween Cupcakes at their best!
What to Serve with Vampire Bite Halloween Cupcakes
Elevate your spooky gathering with delightful accompaniments that harmonize with the rich flavors and visual charm of these hauntingly scrumptious cupcakes.
-
Blood-Red Punch: This fruity drink captures the Halloween spirit, offering a vibrant visual and sweet taste that thrills the senses.
-
Dark Chocolate Beverages: Rich, velvety hot cocoa or a chocolate-infused cocktail can beautifully complement the red velvet flavor. The contrasting tastes create a satisfying indulgence.
-
Creepy Cheese Board: Include an assortment of cheeses and crackers, adding some spooky fruits like blackberries or plums for an eerie yet gourmet touch. Each bite serves as a delightful contrast to the sweetness of the cupcakes.
-
Gummy Worms: Scatter these creepy candies on your serving platter or use them as a playful topping. They add an element of fun and whimsy that perfectly aligns with the Halloween theme.
-
Ghostly Meringues: Light and airy, these delicate treats not only complement the cupcake’s richness but also form an enchanting display beside your Vampire Bite Halloween Cupcakes.
-
Pumpkin Spice Cookies: These soft, spiced treats can provide a comforting warmth and flavor that gently balances the sweetness of the cupcakes, creating a delightful dessert spread.
-
Eerie Fruit Kabobs: Thread spooky fruits like strawberries, bananas, and blueberries onto skewers for a colorful and fresh contrast. This playful twist adds a refreshing element that guests will love.
-
Trick-or-Treat Brownies: These fudgy delights can provide a textural contrast while remaining within the theme, appealing to both chocolate lovers and cupcake enthusiasts alike.
-
Witch’s Brew Mocktail: A fizzy blend of green soda and lime juice, this refreshing drink adds a fun twist while harmonizing perfectly with the sweet richness of the Vampire Bite Halloween Cupcakes.
Vampire Bite Halloween Cupcakes Variations
Feel free to get creative and customize your spooky treats with these fun twists!
-
Almond Flavor: Substitute almond extract for vanilla to add a deliciously nutty note to your cupcakes.
-
Green Witch’s Brew: Experiment with green food coloring in your creamy filling for a thrilling “witch’s brew” surprise!
-
Chocolate Spiders: Decorate with chocolate spiders for an extra creepy touch—perfect for those mini monster enthusiasts!
-
Gummy Worms: Poke gummy worms into the frosting for a whimsical twist that adds a playful element to your cupcakes.
-
Spicy Twists: Add a pinch of cayenne pepper to the frosting for a subtle, surprising heat that contrasts with the sweetness.
-
Red Velvet Crust: Blend crushed red velvet cake crumbs into your frosting for added texture and a more intense red color.
-
Creamy Coconut: Swap out sweetened condensed milk for coconut cream for a luscious tropical flair that surprises the senses.
-
Mock Blood Drips: Use raspberry puree instead of syrup for a fresher, fruitier “blood” effect—it’s not only pretty but delicious too!
Explore these creative variations to make your Vampire Bite Halloween Cupcakes even more memorable! Pair them with homemade Chocolate Fudge Cupcakes or serve alongside comforting Potato Bacon Bites for a delightful Halloween spread!
Expert Tips for Vampire Bite Halloween Cupcakes
-
Smooth Buttercream: Ensure your buttercream is well-mixed for a silky finish. Lumps in the frosting can dampen the cupcake’s spooky aesthetic.
-
Oozy Filling: For the best “blood” effect, make your filling runnier. This helps create a dramatic ooze when bitten into, perfect for the Vampire Bite Halloween Cupcakes.
-
Use Gel Coloring: Stick to gel food coloring for a deep, vivid hue without adjusting the batter consistency. Liquid coloring can lead to unexpected texture issues.
-
Edible Decorations: Consider using edible straws or Fruit Roll-Ups instead of non-edible straws. They lighten the playful presentation while still aligning with the Halloween theme.
-
Make-Ahead Options: Bake the cupcakes and prepare the filling a day in advance, but wait to frost until just before serving for the freshest look and best texture.
-
Storage Tips: Keep decorated cupcakes at room temperature for up to 2 days or refrigerate for up to 5 days. Let them return to room temperature before serving for optimal flavor.
Vampire Bite Halloween Cupcakes Recipe FAQs
What’s the best way to select ripe ingredients for these cupcakes?
Absolutely! When choosing ingredients, opt for fresh, high-quality items. Look for unsalted butter that’s soft but not melted, and eggs should be at room temperature for better incorporation. When selecting red food coloring, gel-based options provide the best results, delivering vibrant color without altering the batter’s consistency.
How should I store my Vampire Bite Halloween Cupcakes and how long will they last?
You can store your decorated cupcakes at room temperature for up to 2 days in a cool, dry area. If you want to keep them longer, refrigerate them for up to 5 days. Just remember to let them come back to room temperature before serving to ensure that delectable creamy filling shines!
Can I freeze my Vampire Bite Halloween Cupcakes?
Definitely! If you’ve baked too many or want to save some for later, unfrosted cupcakes can be frozen for up to 3 months. To freeze, wrap each cupcake tightly in plastic wrap and place them in an airtight container to prevent freezer burn. When you’re ready to enjoy them, simply thaw at room temperature and frost just before serving.
What should I do if my cupcakes sink in the middle after baking?
That’s a common concern! If your cupcakes sink, it may be due to overmixing the batter, which can lead to excess air. Ensuring accurate oven temperature is also crucial—an oven thermometer can help! Bake the cupcakes until just a toothpick comes out clean. If you find they are still sinking, it’s worthwhile to check your baking soda’s freshness, as old leavening agents can impact rise.
Are these cupcakes safe for pets or those with allergies?
When it comes to dietary considerations, these cupcakes contain common allergens, including gluten, dairy, and eggs. If you’re making them for someone with allergies, consider gluten-free flour and dairy substitutes, like almond or oat milk. As for pets, keep them away from these treats! Chocolate (from cocoa powder) and excessive sugar are harmful to pets. Always prioritize safety!
Vampire Bite Halloween Cupcakes: Sinfully Sweet & Spooky Treats
Ingredients
Equipment
Method
- Preheat your oven to 350°F (175°C) and line a muffin tin with cupcake liners.
- Cream together ½ cup of softened unsalted butter and 1 cup of granulated sugar until light and fluffy, about 3 minutes.
- Incorporate 2 large eggs one at a time, mixing well after each.
- Add 1 cup of buttermilk, 2 tablespoons of cocoa powder, 2-3 teaspoons of red gel food coloring, 1 teaspoon of vanilla extract, ½ teaspoon of baking soda, 1 tablespoon of white vinegar, and ½ teaspoon of salt, blending until smooth.
- Gradually fold in 2 cups of all-purpose flour until just combined.
- Spoon the red velvet batter into the lined muffin tin, filling each cup about two-thirds full.
- Bake for 18-20 minutes, or until a toothpick inserted in the center comes out clean.
- Remove from the oven and cool in the pan for 5 minutes before transferring to a wire rack. Let cool completely.
- Carefully cut out the centers of each cupcake, leaving a small border around the edges to create a cavity.
- Set aside the removed cupcake tops to make red velvet cake crumbs for decoration.
- In a medium bowl, mix ½ cup of sweetened condensed milk with 2 tablespoons of softened unsalted butter and a few drops of red food coloring until smooth and creamy.
- Fill each hollow center with this luscious filling, allowing it to slightly overflow.
- Beat together 1 cup of softened unsalted butter and 3-4 cups of powdered sugar until creamy.
- Gradually add 2 tablespoons of milk and a splash of vanilla extract, mixing until combined.
- Add more milk if needed to achieve a smooth, spreadable texture, then incorporate ivory or peach food coloring.
- Generously frost the tops of each filled cupcake with the prepared frosting.
- Drizzle red syrup or edible red gel on top for a chilling blood drip effect.
- Place candy fangs or gummy worms: feel free to get creative!
- Present the cupcakes on a dark platter surrounded by Halloween-themed decorations.