


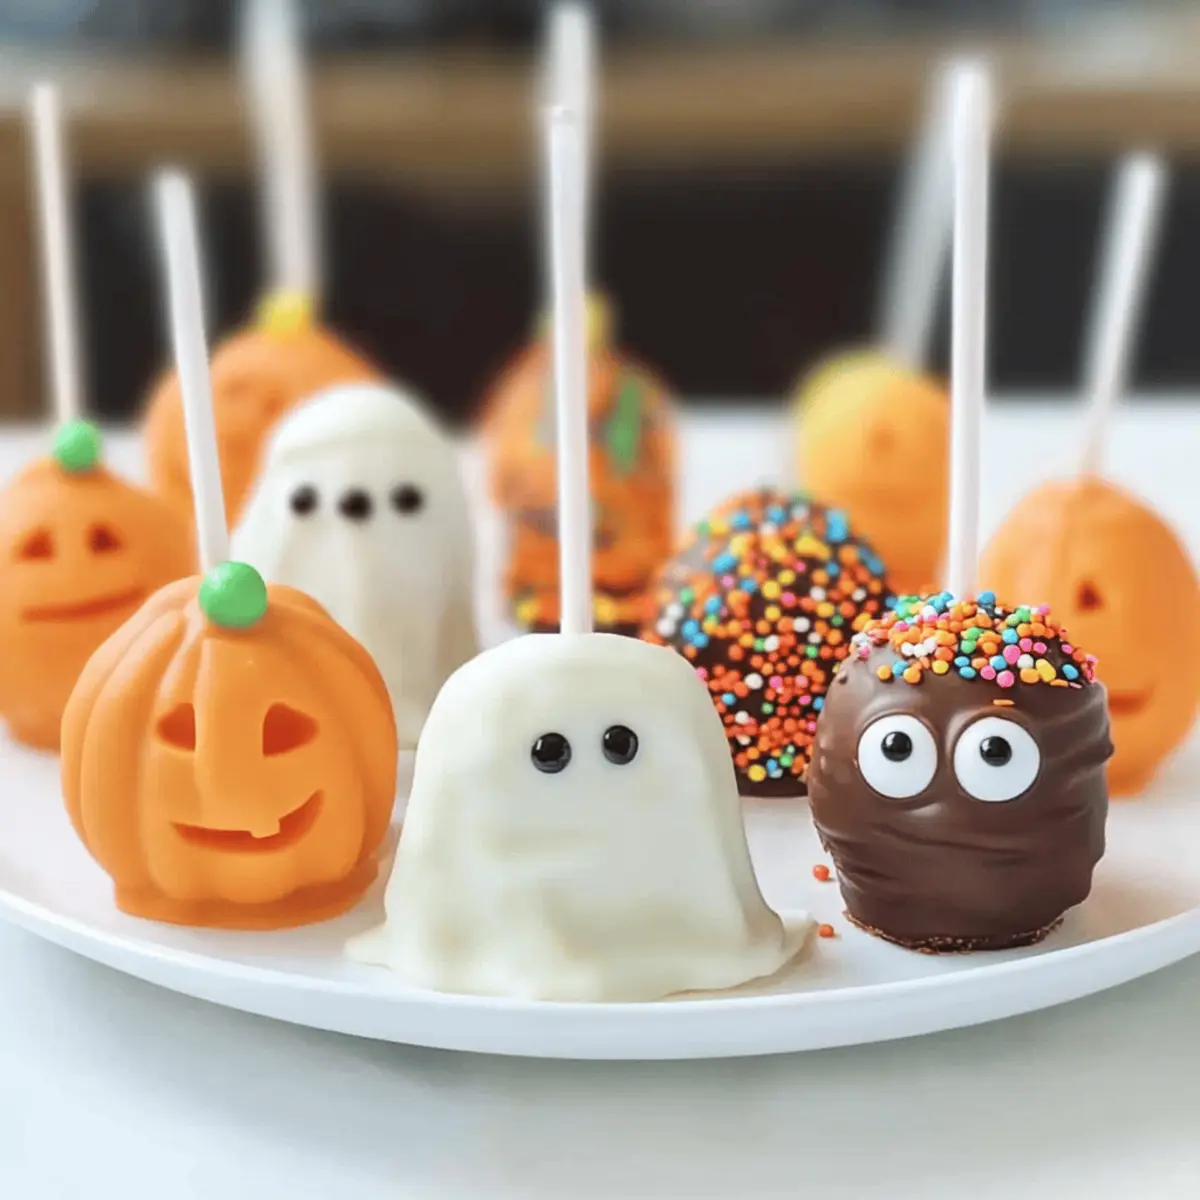
As I was watching my little ones excitedly prepare for Halloween, a brilliant idea struck me—what if we could combine their love for treats with a bit of creative fun? Enter these Halloween Brownie Pops! These delightful and adorable treats are incredibly easy to whip up and are sure to become the star of your festive gatherings. Shaped like whimsical mummies, playful ghosts, and cheerful pumpkins, they offer the perfect sweet indulgence without any frosting fuss. Not only are they a surefire hit with the kids, but they also make for a fun family activity that brings everyone together in the kitchen. Plus, they’re perfect for parties or as a spooky surprise in lunchboxes! Who could resist these charming pops? Come join me as we dive into this treat-making adventure!
Why are Halloween Brownie Pops a Must-Make?
Easy to Create: These Halloween Brownie Pops require minimal effort and skill, making them an approachable treat for bakers of all levels. Kid-Friendly Fun: With their playful designs, they’re not just treats but also a crafting activity for the whole family to enjoy together! Irresistible Flavors: The rich, chocolatey brownie base fused with a sweet candy coating offers a combination that’s hard to resist. Versatile Decorations: Customizable decorations allow you to get creative and transform the pops for various occasions — think festive sprinkles or themed candy toppings! Perfect for Any Gathering: They make striking additions to Halloween parties or school events, guaranteed to impress both kids and adults alike. Let your imagination run wild and celebrate the spooky season with these delightful treats!
Halloween Brownie Pops Ingredients
For the Brownie Base
• Fudge Brownie Mix – This provides the essential base for your pops. Feel free to swap with a homemade brownie recipe if you’re feeling adventurous!
• Melted Butter – Adds richness and moisture, elevating flavor. Substituting with oil is fine, but melted butter yields a superior texture.
• Eggs – Important for binding the mixture together. You can use an egg substitute for a quick vegan version.
• Water – Required as per the box instructions to prepare the brownie mix.
For the Candy Coating
• Chocolate Candy Melts – Ideal for coating the brownie pops, giving them a shiny candy shell. You can replace these with chocolate chips mixed with a bit of coconut oil for easier melting.
For Decoration
• Edible Decorations – Bring your pop to life with sprinkles, candy eyes, or fun themed decorations. Customize them based on your Halloween themes or personal preferences!
Dive into this creative process and make Halloween Brownie Pops your new favorite treat this spooky season!
Step‑by‑Step Instructions for Halloween Brownie Pops
Step 1: Preparation
Begin by preheating your oven according to the instructions on the brownie mix box. While it heats, spray an 8″x8″ or 9″x13″ baking dish with nonstick spray, or line it with parchment paper for easy removal. Making this simple step sets the stage for your Halloween Brownie Pops to bake perfectly and ensures no sticking!
Step 2: Bake Brownies
Prepare the fudge brownie mix by combining it with the melted butter, eggs, and water as directed on the box. Pour the mixture into your prepared baking dish and bake for 2-3 minutes less than the recommended time. Once baked, allow the brownies to cool in the pan for about 1 hour, ensuring they are set and ready for shaping.
Step 3: Mash Brownies
After the brownies are completely cooled, trim the edges (if desired) to create a neat shape. Use a spatula to scoop out the brownie center into a large mixing bowl. Mash the brownie firmly until it becomes soft and scoopable, creating the perfect base for your delightful Halloween Brownie Pops.
Step 4: Form Shapes
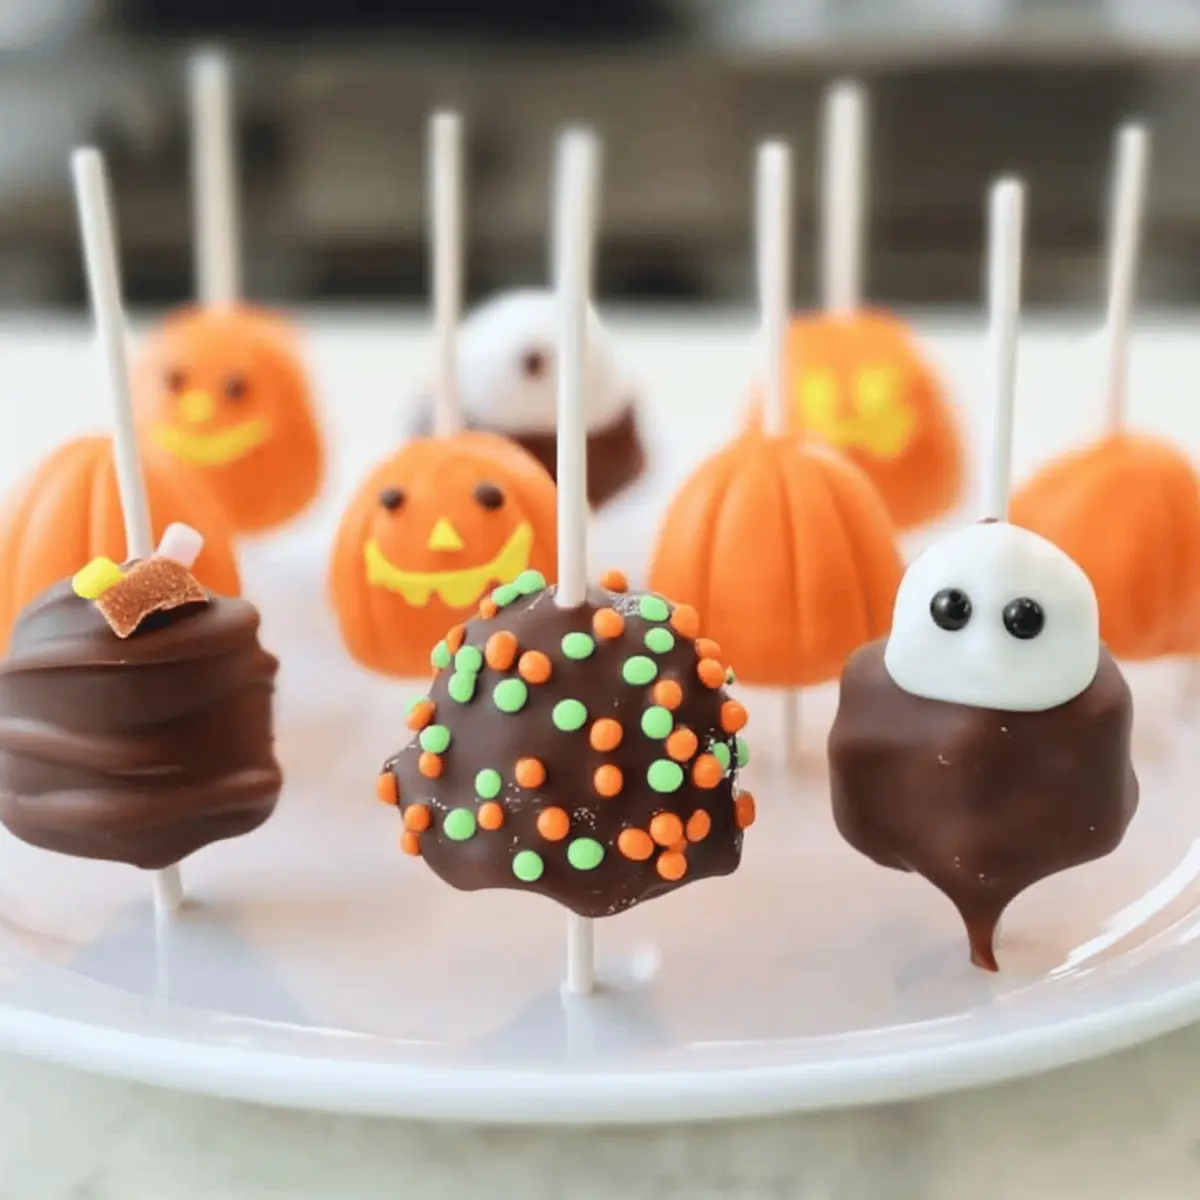
Using a small cookie scoop, form the brownie mixture into balls about 1 inch in diameter. For the mummies and ghosts, pinch the top slightly to create distinct shapes, and for the pumpkins, roll the balls fully to achieve a round form. These playful shapes are what will make your Halloween Brownie Pops so much fun!
Step 5: Chill
Place the formed brownie balls onto a baking sheet lined with parchment paper and freeze them for about 15 minutes. This chilling step firms up the pops, making them easier to work with during coating and decoration, ensuring your Halloween Brownie Pops maintain their shape.
Step 6: Melt Candy Coating
While the brownie pops chill, prepare the candy coating. In a microwave-safe bowl, melt the chocolate candy melts in 30-second increments, stirring in between until the mixture is smooth and melted. A perfectly melted coating is essential for a shiny finish on your Halloween Brownie Pops.
Step 7: Insert Sticks
Once your chocolate is smooth, dip the tip of each lollipop stick into the melted chocolate, then gently insert half of the stick into the center of each brownie ball. Allow them to sit for a few minutes until the chocolate sets slightly, securing the sticks in place for your pops.
Step 8: Dip in Chocolate
Next, carefully dip each brownie pop into the melted chocolate, ensuring they are fully coated. Allow any excess coating to drip off before moving on to the next step. This creates a luscious chocolate shell that perfectly wraps around your Halloween Brownie Pops, enhancing the flavor.
Step 9: Decorate
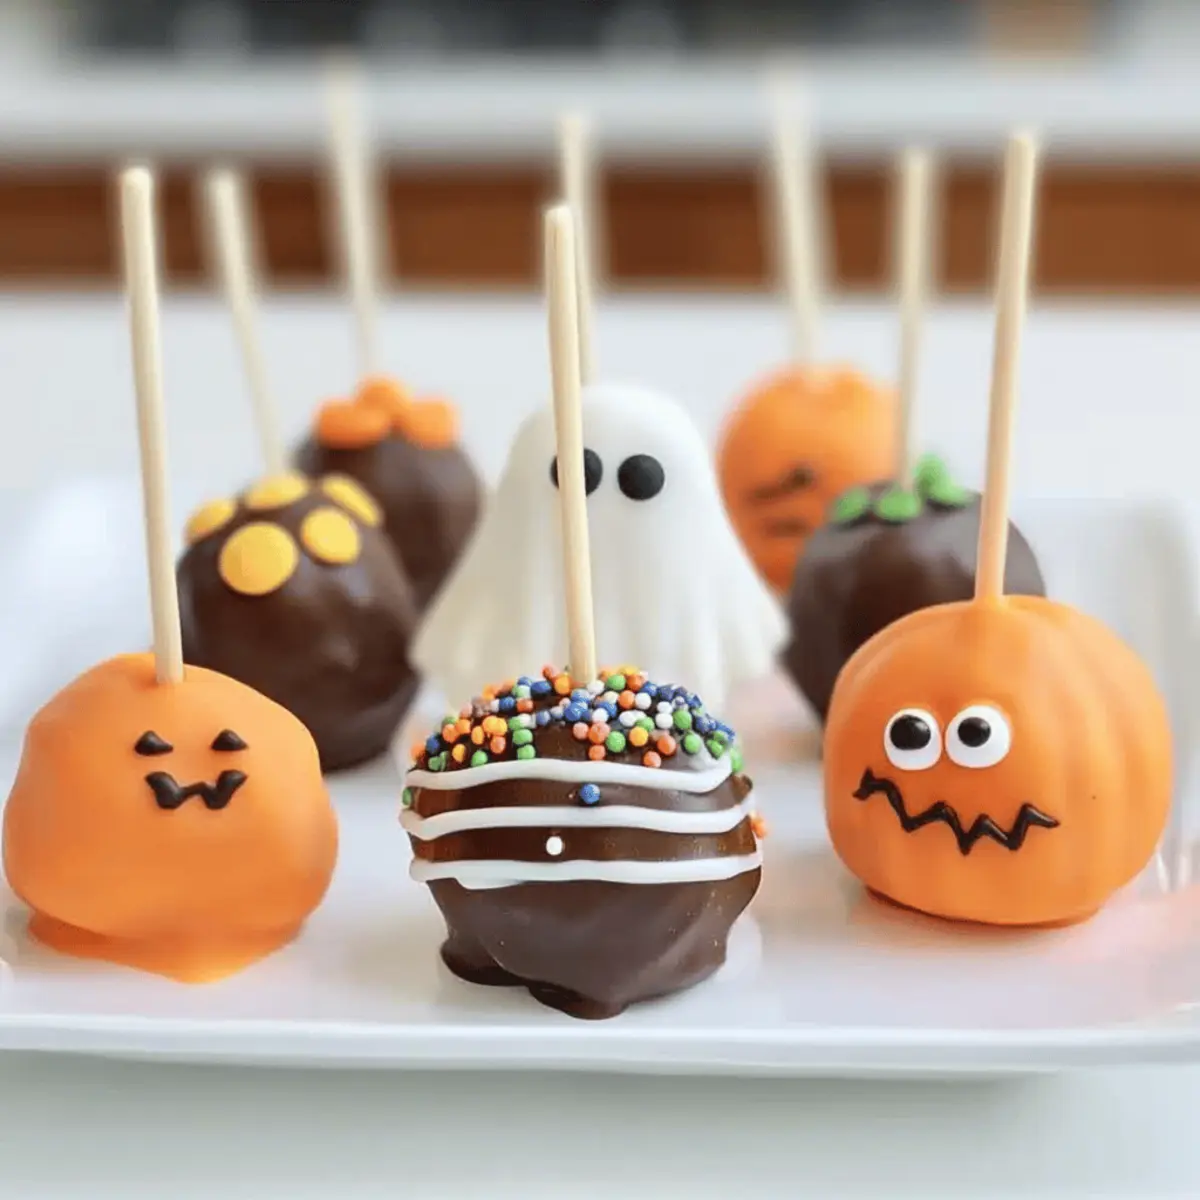
Before the chocolate coating completely sets, add your edible decorations! Use candy eyes, sprinkles, or any fun themed toppings to bring your Halloween Brownie Pops to life. Let the pops sit until the coating hardens, creating an adorable and festive treat that’s ready for any spooky celebration.
Step 10: Firming Up
If your brownie pops feel too soft to dip during coating or decoration, return them to the freezer for an additional 10-15 minutes. This ensures they stay firm and maintain their cute shapes, resulting in delightful Halloween Brownie Pops that will impress friends and family alike.
What to Serve with Halloween Brownie Pops
As the spooky season approaches, imagine delightful treats that not only satisfy your sweet tooth but also elevate your festive gatherings.
-
Crispy Apple Slices: Fresh and crunchy, these slices provide a refreshing contrast to the rich sweetness of the brownie pops. Perfect for balancing flavors at a Halloween party!
-
Pumpkin Spice Hot Chocolate: Cozy up with this warm drink that’s infused with the flavors of fall. Its creamy sweetness pairs wonderfully with the fudgy brownie texture.
-
Spooky Cheese Platter: A selection of cheeses, crackers, and themed fruits adds savory elements to the table. The contrast of flavors makes for an exciting treat spread.
-
Ghostly Vanilla Cupcakes: Light, fluffy cupcakes with ghostly meringue tops make for a fun and sweet pairing. Kids go wild for the combination of flavors and textures!
-
Ghoulish Green Smoothies: Blend spinach with banana and coconut milk for a nutritious drink that’s festively green. It’s a great way to hide some veggies with a sweet Halloween twist!
-
Candy Corn Trail Mix: Combining candy corn, nuts, and dried fruit adds playfulness and crunch. This mix complements the brownie pops while adding a festive touch to your spread.
-
Chilled Apple Cider: Serve this classic fall drink chilled alongside your treats. It offers a refreshing sip that balances the sweetness of the brownie pops.
-
Chocolate Dipped Pretzels: Crispy and salty, these pretzels drizzled with chocolate provide a delightful crunch. They’re a fun snack to enjoy in between brownie pops!
-
Caramel-Apple Dip: Creamy caramel brings a luscious element to crunchy apple slices. It’s a delicious treat that echoes the fall festivities and pairs nicely with sweeter desserts.
Make Ahead Options
These Halloween Brownie Pops are perfect for busy home cooks looking to save time while delivering delightful treats! You can prepare the brownie base up to 24 hours in advance; simply bake the brownies, allow them to cool, then cover tightly and refrigerate. The formed brownie balls can also be made up to 3 days ahead. Once shaped, place them on a baking sheet and freeze until firm before transferring to an airtight container. When you’re ready to serve, simply dip them in melted chocolate and add decorations, guaranteeing fresh and adorable pops that are just as delicious as if made that day! This prep-ahead method takes the stress out of last-minute party preparations, leaving you free to enjoy the festivities!
Storage Tips for Halloween Brownie Pops
Room Temperature: Store your Halloween Brownie Pops in an airtight container at room temperature for up to 5 days to maintain their freshness and flavor.
Fridge: If you prefer them chilled, you can refrigerate the pops for up to a week. Just ensure they’re well-covered to prevent drying out.
Freezer: For longer storage, freeze the Halloween Brownie Pops in a single layer on a baking sheet until solid, then transfer to an airtight container. They can be kept in the freezer for up to 3 months.
Reheating: Enjoy the frozen pops directly from the freezer or allow them to thaw in the fridge for a few hours before serving.
Expert Tips for Halloween Brownie Pops
-
Melted Butter Magic: Using melted butter instead of oil enhances flavor and texture, making your Halloween Brownie Pops irresistibly rich.
-
Chill Before Dipping: Always chill your brownie balls for at least 15 minutes before dipping. This helps them hold their shape and makes coating easier.
-
Smooth Coating: Adding a teaspoon of coconut oil to chocolate chips ensures a smoother melt and prevents clumping, which is perfect for those beautifully coated pops.
-
Decoration Fun: Get creative with decorations! Aim for colorful sprinkles or themed candy eyes that not only enhance the visual appeal but also make the Halloween Brownie Pops more exciting.
-
Storing Leftovers: Keep any leftover pops in an airtight container at room temperature. They’ll stay delicious for up to 5 days, perfect for enjoying a spooky treat beyond Halloween!
Halloween Brownie Pops Variations & Substitutions
Feel free to bring your own twist to these delightful treats with these fun variations and swaps that will make your Halloween Brownie Pops even more enjoyable!
- Gluten-Free: Use a gluten-free brownie mix to cater to those with dietary restrictions, ensuring everyone can join in the fun!
- Dairy-Free: Swap the butter for vegan butter or any plant-based oil to create a delicious dairy-free treat that still packs a flavor punch.
- Nutty Surprise: Add chopped nuts, like walnuts or pecans, to the brownie mixture for an added crunch that complements the fudgy texture perfectly.
- Colorful Coating: Experiment with candy melts in vibrant colors, like orange or green, to give your Halloween Brownie Pops a festive flair that can match any spooky theme.
- Spooky Sprinkles: Use Halloween-themed sprinkles or edible glitter for an extra touch of whimsy. They add both visual appeal and a playful pop of texture!
- Decadent Drizzle: For an extra sweet twist, drizzle some caramel or white chocolate on top after dipping in chocolate, creating a beautiful design that’s equally delicious.
- Flavor Infusion: Add a teaspoon of peppermint extract or orange zest to the brownie mix for a refreshing twist that will elevate the classic chocolate flavor.
- Themed Toppers: Instead of candy eyes, consider using mini marshmallows or pumpkin-shaped candies for creating unique designs that stir the imagination!
Let your creativity shine and enjoy making these delightful Halloween Brownie Pops even more unique with these variations! You might even find inspiration for a new favorite treat. If you’re looking to add more fun spins to your Halloween treats, check out my fun Halloween dessert ideas or explore other kid-friendly recipes that will make your celebrations sweeter!
Halloween Brownie Pops Recipe FAQs
What type of brownie mix is best for Halloween Brownie Pops?
Using a fudge brownie mix works perfectly as it provides a rich flavor and moist texture. If you’re feeling adventurous, feel free to use a homemade brownie recipe for a personal touch!
How long can I store Halloween Brownie Pops?
You can store your Halloween Brownie Pops in an airtight container at room temperature for up to 5 days. If you want them to last longer, refrigerate them for up to a week, or freeze them for up to 3 months.
Can I freeze my Halloween Brownie Pops?
Absolutely! To freeze, first place the pops in a single layer on a baking sheet until they are solid. Then, transfer them to an airtight container, where they can stay fresh for up to 3 months. Thaw them in the fridge before serving for the best texture.
My brownie pops are too soft to dip. What should I do?
Very common! If your brownie pops feel too soft when it’s time to dip, just pop them back into the freezer for an additional 10-15 minutes. This chilling step helps them firm up, making dipping easy and ensuring they maintain their shape.
Are there any dietary considerations for Halloween Brownie Pops?
If you’re making these for kids or guests with dietary restrictions, you can use an egg substitute to create a vegan version. Additionally, be cautious with any decorations or coatings that may contain allergens, such as nuts or gluten, and select suitable alternatives when decorating.
How can I customize decorations for Halloween Brownie Pops?
The decorating options are limitless! Get creative by using different colored candy melts or sprinkles, and add themed decorations like edible glitter or mini candy corn. Tailor your designs based on the occasion—for example, festive flowers for springtime or spooky monsters for Halloween!

Halloween Brownie Pops That Kids Will Adore and Devour
Ingredients
Equipment
Method
- Preheat your oven according to the instructions on the brownie mix box and prepare the baking dish.
- Prepare the fudge brownie mix by combining it with the melted butter, eggs, and water as directed. Bake for 2-3 minutes less than the recommended time and cool for 1 hour.
- Trim the brownies as desired and mash the brownie firmly in a bowl until soft.
- Form the brownie mixture into balls and pinch the tops slightly for mummies and ghosts, rolling fully for pumpkins.
- Freeze brownie balls for about 15 minutes to firm them up.
- Melt the chocolate candy melts in 30-second increments in a microwave-safe bowl.
- Dip the tip of each lollipop stick into the melted chocolate, then insert into each brownie ball.
- Carefully dip each brownie pop into the melted chocolate until fully coated.
- Before the chocolate sets, add your edible decorations and let them sit until hardened.
- If pops feel too soft, return to the freezer for an additional 10-15 minutes.