


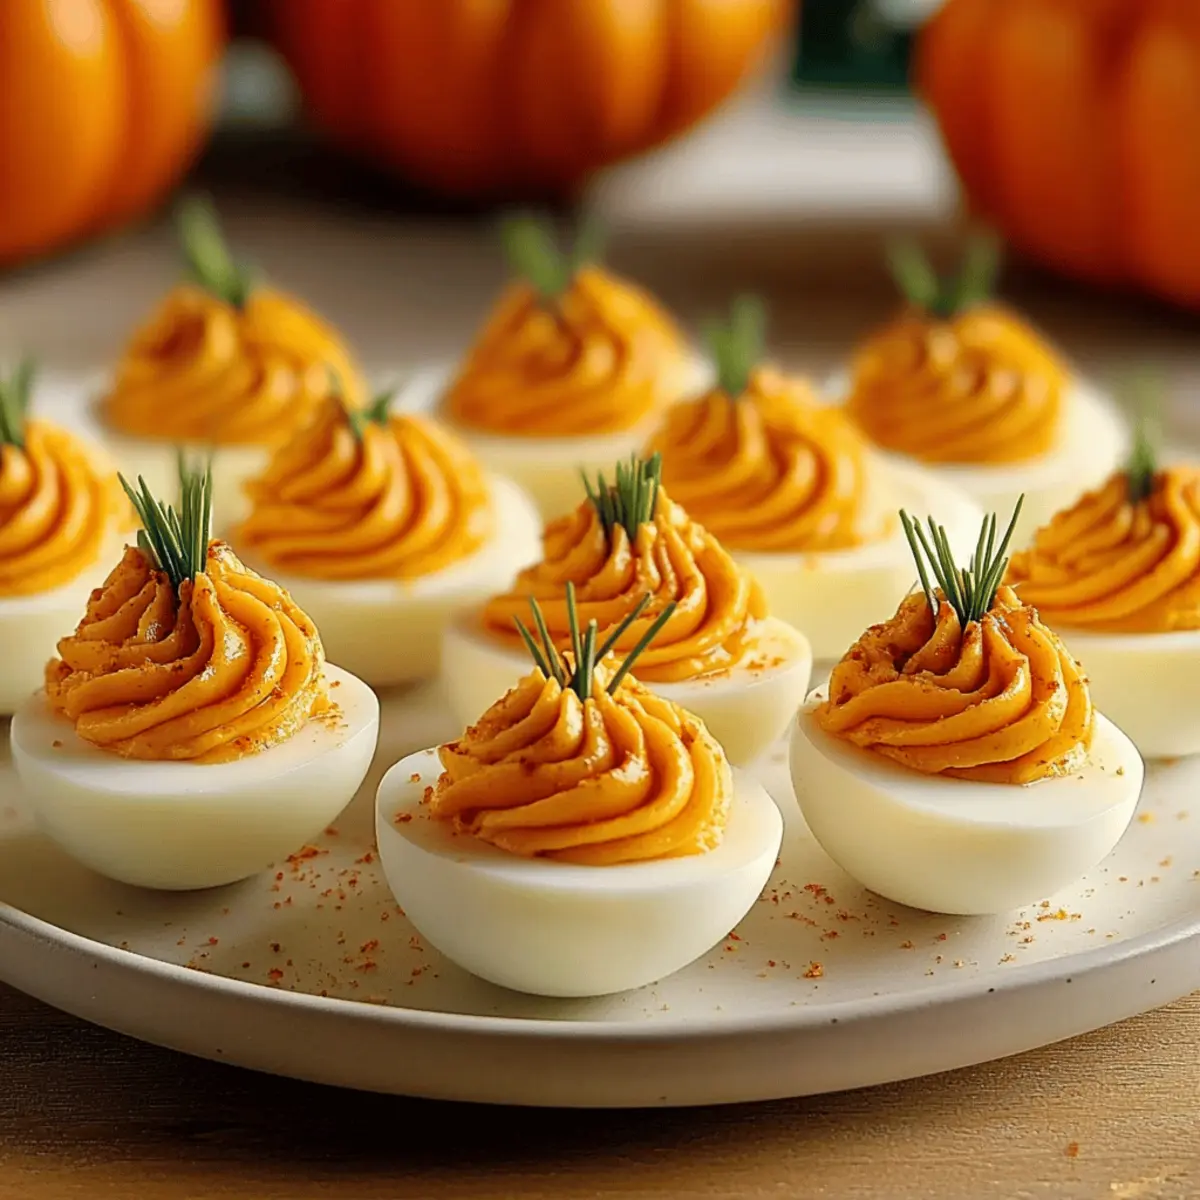
“Can I just say how much I adore Halloween? Not only do I get to see adorable costumes, but it’s also a fantastic excuse to get creative in the kitchen! This time, I’m bringing a festive twist to a classic favorite with my Pumpkin Patch Deviled Eggs. These delightful little appetizers are not only visually stunning, resembling cute little pumpkins, but they also promise to whip up in no time—making them perfect for your autumn gatherings. Whether you’re hosting a family get-together or looking to impress friends at a holiday party, these deviled eggs offer that ideal combination of creamy richness and fall warmth. Ready to dive into a recipe that’s as fun to make as it is to eat? Let’s get started!”
Why are These Deviled Eggs a Must-Try?
Festive Appeal: These Pumpkin Patch Deviled Eggs aren’t just delicious—they’re a feast for the eyes! Their pumpkin shape makes them the perfect conversation starter at any autumn gathering.
Quick and Easy: With simple steps and minimal fuss, you’ll have a stunning appetizer ready in no time. Who doesn’t love a recipe that’s both impressive and quick?
Flavorful Filling: The creamy yolk mixture, with a hint of tang from mustard and the warmth of paprika, offers a delightful burst of flavor in every bite.
Versatile Decoration: Get creative! Swap chives for colorful veggies to represent pumpkin stems or go spicy with some hot sauce for those who crave a kick.
Crowd Favorite: Whether it’s a family gathering, Halloween bash, or Thanksgiving feast, these deviled eggs will be the hit of the table, just like my Joumou Haitian Pumpkin soup!
Pumpkin Patch Deviled Eggs Ingredients
For the Filling
• Large Eggs – The main component providing the base; use fresh eggs for easier peeling.
• Mayonnaise – Adds creaminess and richness to the filling; substitute with Greek yogurt for a lighter version.
• Yellow Mustard – Provides tanginess that balances the richness of the mayonnaise.
• Salt – Enhances the overall flavor of the filling; adjust to taste.
• Black Pepper – Adds mild spiciness for depth of flavor.
• Paprika – Offers warmth and color; lightly dust for extra visual appeal.
• Orange Food Coloring (optional) – Enhances the vibrant pumpkin color of the filling; use sparingly.
For the Decoration
• Fresh Chives – Used for making “stems” and as garnish; substitute with parsley or dill for a different flavor.
These Pumpkin Patch Deviled Eggs are an easy, festive appetizer, perfect for your autumn gatherings!
Step‑by‑Step Instructions for Pumpkin Patch Deviled Eggs
Step 1: Boil Eggs
Begin by carefully arranging your large eggs in a single layer in a saucepan, making sure they aren’t overcrowded. Cover them with cold water, ensuring there’s about an inch above the eggs. Bring the water to a rolling boil over medium-high heat. Once boiling, remove the saucepan from heat and cover with a lid, letting the eggs sit for 10 minutes to achieve perfectly cooked yolks.
Step 2: Ice Bath
While the eggs are resting, prepare an ice bath by filling a large bowl with ice and cold water. After the 10 minutes are up, use a slotted spoon to transfer the hot eggs from the saucepan to the ice bath. Allow the eggs to chill for about 5 minutes, which will help stop the cooking process and make peeling much easier.
Step 3: Peel Eggs
Once the eggs are cool, gently crack each egg by rolling it on a clean surface to loosen the shell. Peel the eggs under cool running water to help remove stubborn bits of shell. You should aim for smooth, unblemished whites, which will create an appealing base for your Pumpkin Patch Deviled Eggs.
Step 4: Prep Filling
Next, carefully slice each egg in half lengthwise and gently scoop out the yolks into a mixing bowl. Mash the yolks with a fork until smooth, then mix in mayonnaise, yellow mustard, salt, black pepper, paprika, and a few drops of orange food coloring if desired. Blend until you have a creamy, pumpkin-colored filling that’s well-combined and deliciously flavored.
Step 5: Pipe Filling
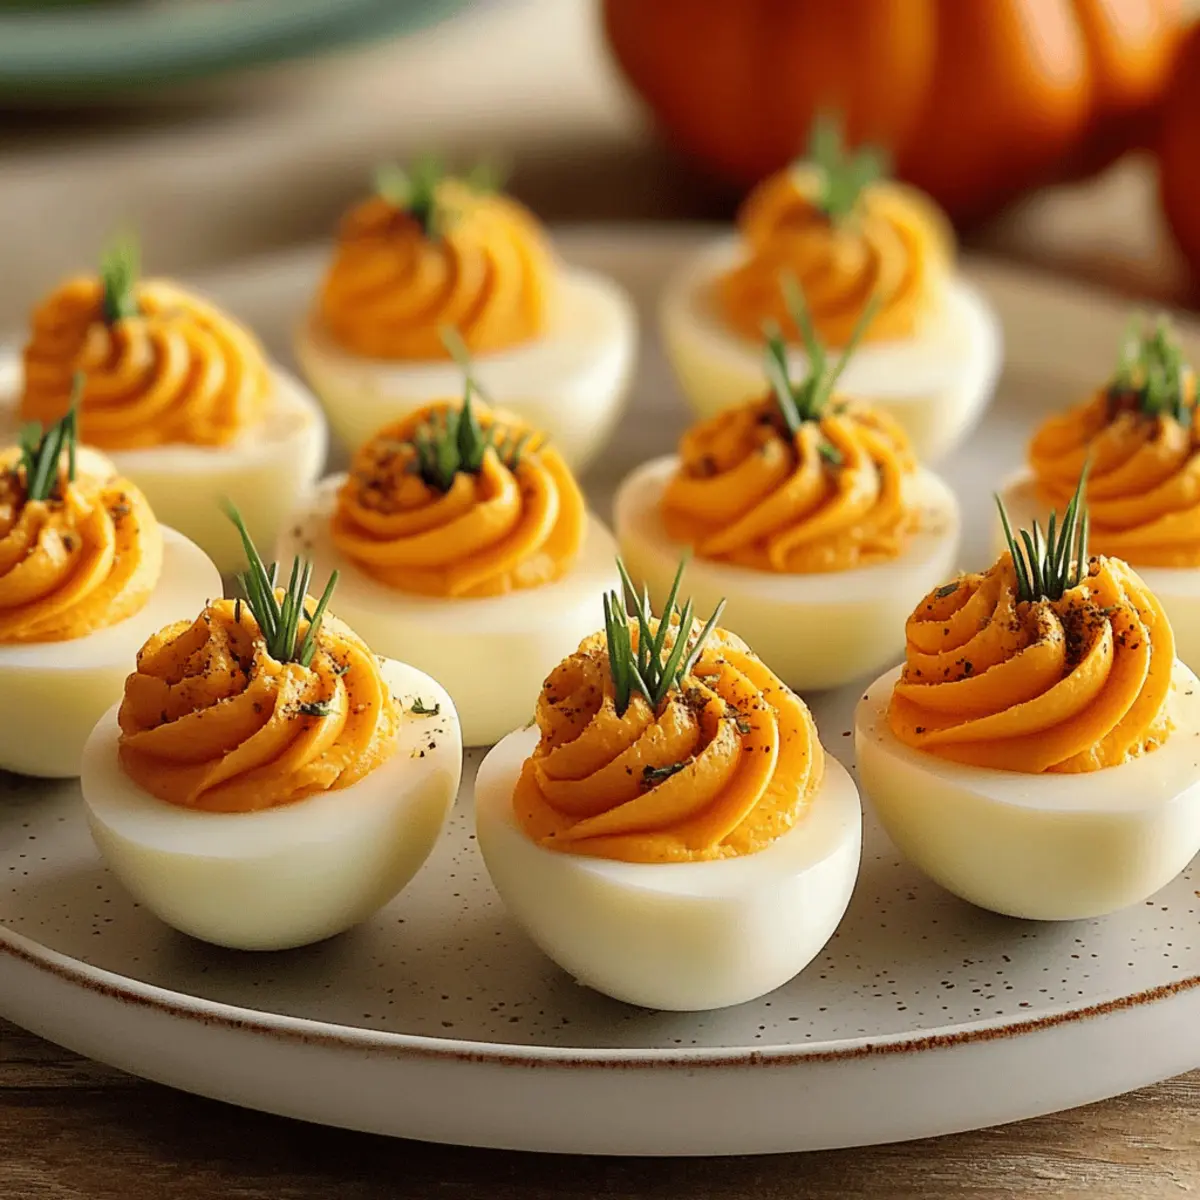
To create the charming pumpkin look of the deviled eggs, place the smooth yolk mixture into a piping bag fitted with a star tip. Carefully pipe the filling into each egg white half, starting from the center and working your way outwards to form a lovely dome shape. The texture should resemble the rise and fall of a cute pumpkin, so take your time to achieve that festive form.
Step 6: Decorate
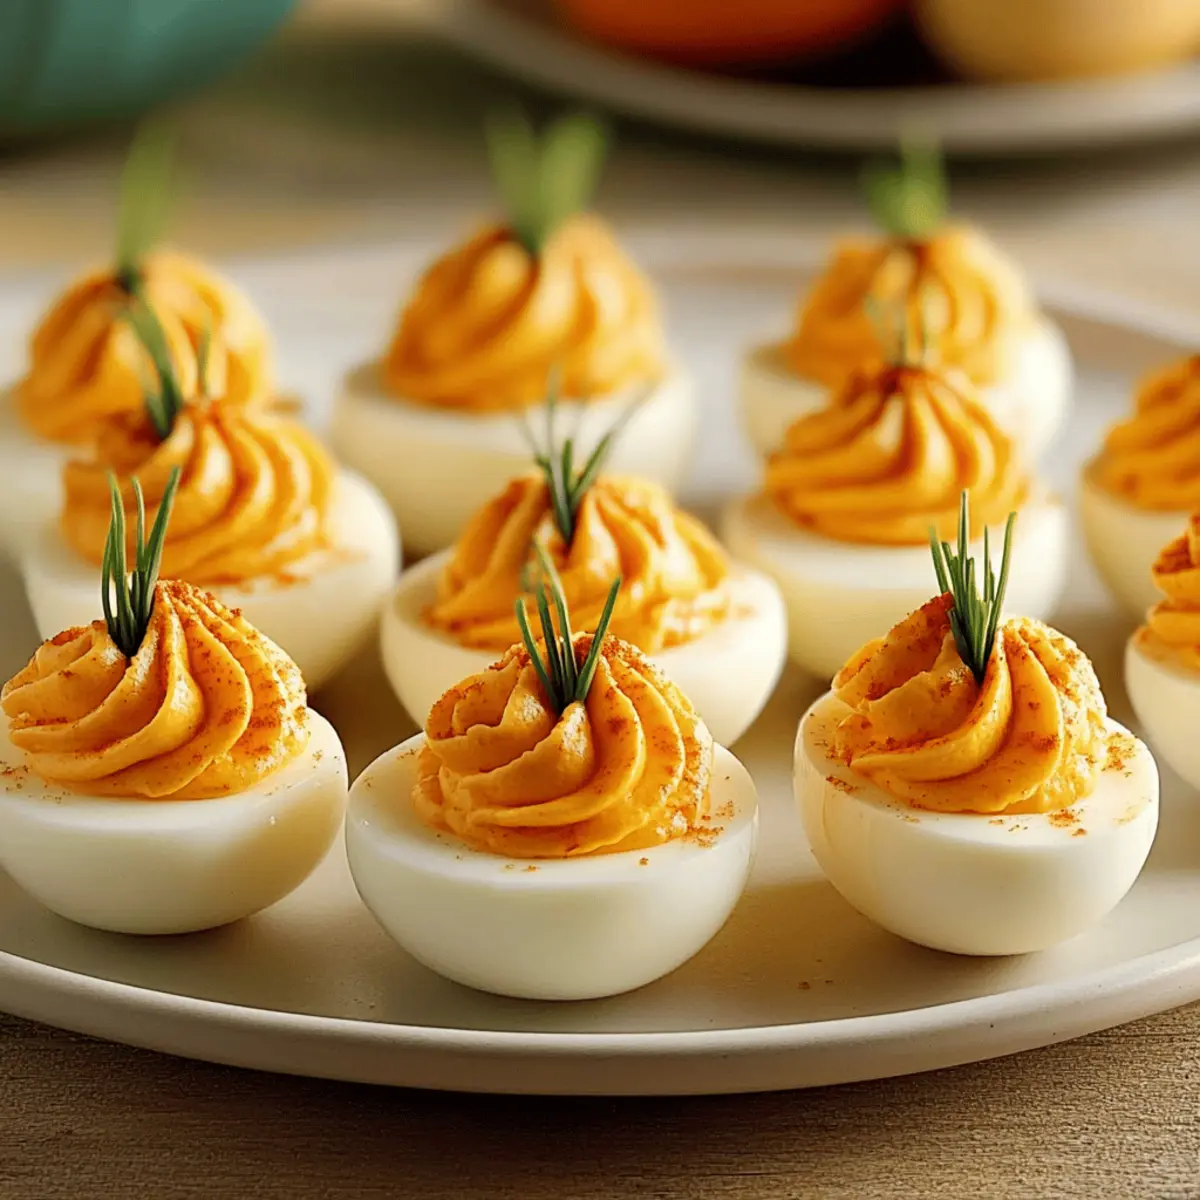
Now it’s time to add the finishing touches! Using a sharp knife or toothpick, make small ridges on the filling to give your deviled eggs a textured appearance resembling pumpkin grooves. Finally, insert pieces of fresh chives into the top of each egg to act as stems, giving them that adorable final touch for your Pumpkin Patch Deviled Eggs.
Step 7: Chill
To enhance the flavors and allow the shapes to set beautifully, refrigerate your decorated Pumpkin Patch Deviled Eggs for at least 30 minutes before serving. This not only helps meld the flavors together but also makes them a delightful, cool treat for your guests during autumn gatherings!

What to Serve with Pumpkin Patch Deviled Eggs
Looking to create a full meal that captures the spirit of fall and satisfies your guests?
-
Roasted Chicken: This savory dish complements the creamy richness of the deviled eggs, bringing a juicy contrast to your spread.
-
Hearty Stew: A warm bowl of hearty stew adds comforting flavors and textures, making it a cozy companion for your festive appetizer.
-
Autumn Salad: A fresh salad with mixed greens, apples, and nuts provides a fresh crunch, enhancing the overall dining experience with a burst of color.
-
Dinner Rolls: Soft and buttery rolls bring a delightful softness against the spices of the deviled eggs. Perfect for soaking up flavors!
-
Light Hard Cider: This refreshing drink pairs beautifully, cutting through the richness of the eggs while embracing the essence of fall.
-
Pumpkin Pie: End on a sweet note with classic pumpkin pie, keeping the autumn theme alive and surely satisfying everyone’s sweet tooth.
Whether it’s a family gathering or a holiday party, these pairings will elevate your Pumpkin Patch Deviled Eggs to the center of attention!
Make Ahead Options
These Pumpkin Patch Deviled Eggs are ideal for meal prepping! You can prepare the egg yolk filling up to 3 days in advance, storing it in an airtight container in the refrigerator. To maintain quality and prevent browning, press a piece of plastic wrap directly onto the surface of the filling before sealing the container. You can also boil and peel the eggs 1-2 days ahead, storing the whites in a covered container with a damp paper towel for moisture retention. When you’re ready to serve, simply pipe the creamy filling into the egg whites, decorate, and chill for at least 30 minutes to enhance the flavors. Enjoy the time-saving benefits while impressing your guests with these stunning appetizers!
Expert Tips for Pumpkin Patch Deviled Eggs
• Perfect Timing: Ensure you follow the boiling and resting times carefully; overcooking can result in unwanted green rings around the yolks.
• Smooth Filling: For a velvety texture, mash the yolks thoroughly and consider straining the mixture through a fine-mesh sieve.
• Piping Technique: Use steady pressure when piping the filling to achieve a consistent pumpkin shape—practice makes perfect!
• Color Carefully: If using orange food coloring, add it gradually. Too much can alter the flavor, so start with a drop!
• Freshness Matters: For easier peeling, opt for slightly older eggs (7-10 days), which typically have larger air pockets.
Pumpkin Patch Deviled Eggs Variations
Feel free to unleash your creativity with these delicious ideas to customize your Pumpkin Patch Deviled Eggs!
-
Spicy Kick: Add cayenne pepper or a few drops of your favorite hot sauce to the yolk mixture for a delightful heat that balances the creaminess. Your guests who love a bit of spice will thank you!
-
Healthier Swap: Try Greek yogurt in place of mayonnaise for a lighter version. This not only reduces fats but also adds a protein boost, making these goodies just a touch healthier without sacrificing flavor.
-
Colorful Stems: Swap chives for thin slices of colorful carrots or bell peppers to add a playful twist. This vibrant addition makes your deviled eggs even more appealing on the plate!
-
Gourmet Flavor: Incorporate fresh herbs like dill or basil into the filling for an aromatic twist. This will elevate your deviled eggs to gourmet status, perfect for impressing those special guests.
-
Nutty Boost: Stir in crushed walnuts or pecans into the yolk mixture for added texture and a delightful nutty flavor. It not only enhances taste but also brings in a satisfying crunch.
-
Cheddar Delight: Mix in shredded cheddar cheese for a creamy, cheesy experience. This unexpected ingredient can be a surprise hit at your autumn gatherings, adding depth to your eggs!
-
Festive Garnish: Create a charming display by surrounding the deviled eggs with small gourds or autumn leaves on the platter. This not only sets the mood but attracts attention to your lovely dish, just like with my Feta Fried Eggs.
-
Savory Spin: For a twist on flavors, try adding a spoonful of sriracha to your filling for a smoky taste that blends well with the savory ingredients.
With these variations, your Pumpkin Patch Deviled Eggs will be ready to capture the hearts and taste buds of everyone at the table! Enjoy customizing and celebrating the flavors of autumn!
How to Store and Freeze Pumpkin Patch Deviled Eggs
Fridge: Store leftover Pumpkin Patch Deviled Eggs in an airtight container for up to 2 days. They are best enjoyed within 24 hours for freshness and optimal flavor.
Make-Ahead: You can prepare the egg filling 2-3 days in advance. Just keep it stored separately in the fridge, then pipe it into the egg whites just before serving for the best presentation.
Freezer: While deviled eggs don’t freeze well due to their texture, you can freeze the yolk filling in a sealed zip-top bag for up to 2 months. Thaw in the fridge overnight before piping.
Reheating: Since deviled eggs are best served chilled, no reheating is necessary. Simply enjoy them cold after chilling!
Pumpkin Patch Deviled Eggs Recipe FAQs
How do I select the best eggs for deviled eggs?
Absolutely! For making Pumpkin Patch Deviled Eggs, choose fresh large eggs. Fresh eggs are easier to peel after boiling. If possible, select eggs that are 7-10 days old, as they will have larger air pockets, making them easier to peel after cooking.
How long can I store leftover deviled eggs?
Very! You can keep your leftover Pumpkin Patch Deviled Eggs stored in an airtight container in the refrigerator for up to 2 days. However, they’re best enjoyed within 24 hours for maximum freshness, flavor, and visual appeal.
Can I make the filling ahead of time?
Absolutely! The filling for your Pumpkin Patch Deviled Eggs can be prepared in advance—up to 2-3 days ahead. Just keep the mixture in the refrigerator and store it in a tightly sealed container. Pipe it into the egg whites right before serving to maintain their festive look!
What’s the best way to freeze deviled eggs?
While the finished deviled eggs don’t freeze well due to their texture, you can freeze the yolk filling! Simply place it in a sealed zip-top bag, removing as much air as possible, and freeze for up to 2 months. When ready to use, thaw it in the refrigerator overnight, then pipe it into the egg whites for a fresh serving.
How can I prevent the yolks from turning green?
Absolutely! To avoid the dreaded green ring around your yolks, be sure not to overcook the eggs. Follow the boiling instructions closely: after bringing the water to a boil, remove the saucepan from heat and cover for exactly 10 minutes. Using an ice bath immediately afterward will also help prevent any color changes.
Are there any dietary considerations for these deviled eggs?
Very! If you have guests with dietary restrictions, you can easily modify the Pumpkin Patch Deviled Eggs. Substitute mayonnaise with Greek yogurt for a lighter option, and always check for any allergies to the ingredients like eggs or mustard. For pet safety, never feed your dog or cat these eggs, as ingredients like mayonnaise are not recommended for them.
Delicious Pumpkin Patch Deviled Eggs for Your Autumn Gatherings
Ingredients
Equipment
Method
- Boil Eggs: Arrange eggs in a single layer in a saucepan, cover with cold water, and bring to a boil. Remove from heat, cover, and let sit for 10 minutes.
- Ice Bath: Prepare an ice bath and transfer eggs to chill for 5 minutes.
- Peel Eggs: Crack and peel eggs under cool running water.
- Prep Filling: Slice eggs in half, scoop out yolks, and mash with mayonnaise, mustard, salt, pepper, paprika, and food coloring.
- Pipe Filling: Place yolk mixture in a piping bag and pipe into egg whites.
- Decorate: Make ridges on the filling and add chives as stems.
- Chill: Refrigerate decorated eggs for at least 30 minutes before serving.