


As the golden hour of the holidays approaches, the scent of peppermint and cocoa fills the air, sparking memories of cozy gatherings and warm smiles. I can’t help but feel the excitement as I whip up this easy-to-make Peppermint Red Velvet Cake, a festive showstopper that’s simply a delight for any celebration. With its moist, fluffy texture and a refreshing peppermint cream cheese frosting, this cake not only tantalizes the taste buds but also makes holiday baking effortlessly enjoyable. Whether you’re hosting a festive gathering or surprising friends with a homemade treat, this vibrant cake is sure to impress. Are you ready to bring a sweet touch of joy to your holiday table?

Why is this cake a holiday must-have?
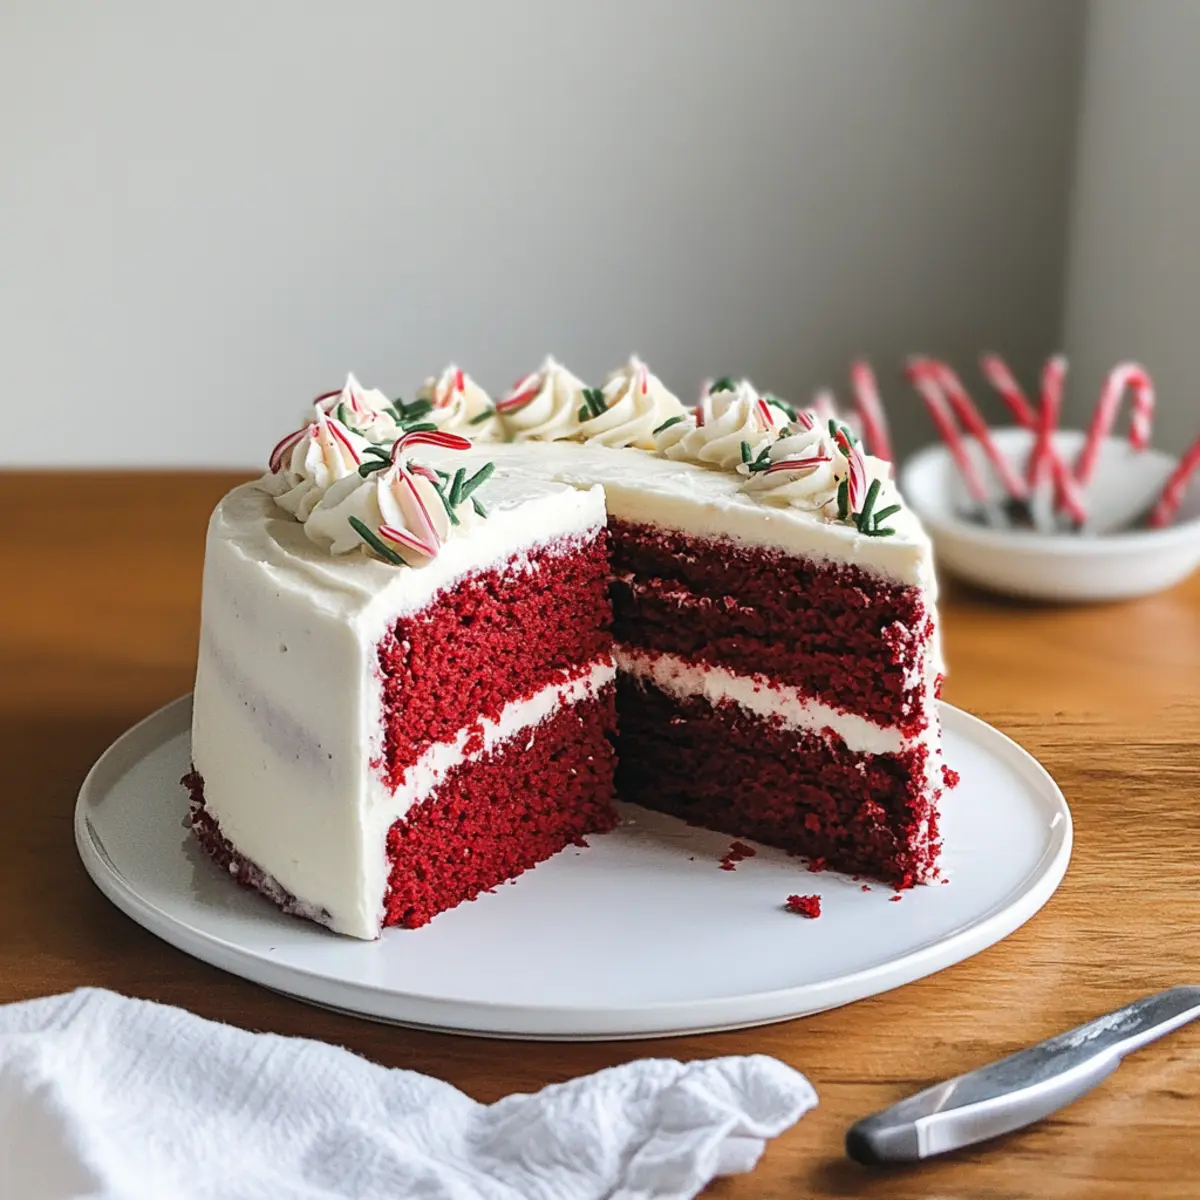
Festive Appeal: This Peppermint Red Velvet Cake is a stunning centerpiece that brings vibrant color and cheer to any holiday gathering.
Irresistible Flavor: The blend of rich cocoa and refreshing peppermint creates a flavor experience that feels both nostalgic and on-trend.
Effortless Baking: With its simple ingredients and straightforward steps, even novice bakers can create this delicious treat with ease.
Versatile Options: Whether you want to keep it traditional or explore variations, this cake is adaptable—try it with vanilla for a classic twist, or swap in vegan alternatives without sacrificing taste.
Crowd-Pleaser: This cake not only looks beautiful but tastes divine, ensuring satisfied guests and happy smiles around the table. Pair it with a warm cup of cocoa, or check out options like Strawberry Cheesecake Dump for more festive inspiration!
Peppermint Red Velvet Cake Ingredients
• Get ready to bake with these simple ingredients!
For the Cake
- All-Purpose Flour – Provides structure and texture for the cake.
- Granulated Sugar – Adds sweetness and moisture to the cake.
- Cocoa Powder – Contributes chocolate flavor and color to the red velvet cake.
- Clabber Girl Baking Powder – Acts as a leavening agent for lift and tenderness.
- Baking Soda – Works with vinegar to enhance the cake’s rise.
- Salt – Balances sweetness and enhances overall flavor.
- Crisco® Pure Vegetable Oil – Keeps the cake moist and tender.
- Buttermilk – Provides acidity to react with baking soda and enriches flavor.
- Large Eggs – Contributes moisture and helps bind ingredients together.
- Spice Island Pure Vanilla Extract – Adds rich flavor to the cake.
- White Vinegar – Adds acidity, helping achieve the characteristic red color of red velvet.
- No Taste Red Gel Food Coloring – Enhances the red color without altering flavor.
For the Frosting
- Cream Cheese – Forms the base of the frosting, contributing tanginess and creaminess.
- Unsalted Butter – Adds flavor and richness to the frosting.
- Crisco® All-Vegetable Shortening – Enhances the texture of the frosting, making it smooth and easy to pipe.
- Peppermint Extract – Adds a refreshing hint of peppermint to the frosting.
- Heavy Cream – Ensures smooth consistency in the frosting.
- Powdered Sugar – Provides sweetness and stability to the frosting.
For Garnish
- Peppermints or Candy Canes – Used as a decorative and flavorful garnish.
- Fresh Rosemary – Optional garnish to represent festive “Christmas trees.”
With these delightful ingredients, your Peppermint Red Velvet Cake will be the star of any holiday celebration!
Step‑by‑Step Instructions for Peppermint Red Velvet Cake
Step 1: Preheat & Prepare Pans
Preheat your oven to 350°F (175°C). As the oven warms up, prepare your three 8-inch cake pans by spraying them generously with Baker’s Joy baking spray to ensure easy removal after baking. This step is crucial for achieving a flawless Peppermint Red Velvet Cake, so don’t skip it!
Step 2: Mix Dry Ingredients
In a large mixing bowl, whisk together 2 cups of all-purpose flour, 1 ½ cups of granulated sugar, ¾ cup of cocoa powder, 1 teaspoon of baking powder, 1 teaspoon of baking soda, and 1 teaspoon of salt. This blend will form the foundation of your cake and must be thoroughly mixed to ensure even texture and flavor in your festive treat.
Step 3: Combine Wet Ingredients
In a separate bowl, combine 1 cup of vegetable oil, 1 cup of buttermilk, 2 large eggs, 1 teaspoon of vanilla extract, and 1 tablespoon of white vinegar. Gradually pour this mixture into the dry ingredients while mixing on low speed until just combined. Stir in 1 tablespoon of no taste red gel food coloring until the batter is beautifully vibrant—this is where your Peppermint Red Velvet Cake gains its signature color!
Step 4: Bake
Divide the vibrant batter evenly among your prepared cake pans. Bake in your preheated oven for 22 to 25 minutes, or until a toothpick inserted in the center comes out clean. You’ll know your cakes are ready when they spring back gently when pressed. Remove them from the oven and let the pans cool on a wire rack for about 10 to 15 minutes.
Step 5: Cool
Carefully remove the cakes from the pans and allow them to cool completely on the wire rack, which should take approximately 4 hours. Proper cooling is essential for optimal stacking and frosting, ensuring that your Peppermint Red Velvet Cake maintains its moist, tender texture without collapsing under the weight of the frosting.
Step 6: Make Frosting
While the cakes cool, prepare the frosting. In a stand mixer, beat together 8 ounces of cream cheese, ½ cup of unsalted butter, and ½ cup of vegetable shortening on medium speed until creamy and smooth. Gradually mix in ½ teaspoon of peppermint extract, ¼ cup of heavy cream, and 4 cups of powdered sugar until well combined, achieving a fluffy, spreadable consistency perfect for your festive cake.
Step 7: Assemble Cake
Once the cakes are thoroughly cooled, use a serrated knife to trim the domed tops for a flat surface. Layer your peppermint frosting generously between each cake layer, then apply a crumb coat all around the outside. Chill the cake in the refrigerator for about 30 minutes to firm up before applying the final layer of frosting, ensuring a professional finish on your Peppermint Red Velvet Cake.
Step 8: Decorate and Serve
After chilling, use the remaining frosting to decorate the top and sides of your cake, creating a smooth finish. For a festive touch, garnish with crushed peppermint candies or candy canes, and add sprigs of fresh rosemary if desired to represent Christmas trees. Slice, serve, and enjoy the delightful flavors of your Peppermint Red Velvet Cake during your holiday gatherings!

How to Store and Freeze Peppermint Red Velvet Cake
Room Temperature: Keep your Peppermint Red Velvet Cake at room temperature for up to 1 day, tightly covered to prevent drying out.
Fridge: Store in the refrigerator for up to 3 days, ensuring it’s loosely covered or in an airtight container to retain moisture and flavor.
Freezer: For longer storage, freeze the cake by wrapping individual slices or the whole cake tightly in plastic wrap followed by aluminum foil. It can be frozen for up to 3 months.
Reheating: To enjoy slices from the freezer, thaw overnight in the fridge and let it sit at room temperature for about 30 minutes before serving for optimal taste!
What to Serve with Peppermint Red Velvet Cake?
As you prepare to delight friends and family with the vibrant flavors of this festive cake, consider these delightful pairings to create a memorable holiday feast.
-
Creamy Mashed Potatoes: The buttery richness offers a comforting contrast to the cake’s sweet peppermint frosting.
-
Roasted Brussels Sprouts: Their natural earthiness and slight bitterness balance the sweetness of the cake, making each bite harmonious.
-
Spiced Winter Fruit Salad: A refreshing blend of citrus and spices provides brightness and a zesty kick that complements the rich cocoa flavor.
-
Gingerbread Cookies: These classic treats bring warmth and nostalgia, making them perfect to nibble on alongside slices of peppermint red velvet.
-
Mulled Wine: The aromatic spices in this seasonal drink echo the cake’s festive flavors, creating a cozy sips-and-bites moment.
-
Peppermint Hot Chocolate: For a double dose of peppermint pleasure, serve this warm beverage to pair perfectly with the sweet cake.
-
Vanilla Ice Cream: Scoops of smooth, creamy ice cream provide a cooling contrast to the warm notes of chocolate and peppermint.
-
Hibiscus Iced Tea: This floral, refreshing drink cleanses the palate and enhances the celebratory feel of your dessert spread.
Embrace these delightful pairings to elevate your holiday gathering, making each bite a memorable experience!
Expert Tips for Peppermint Red Velvet Cake
- Perfect Cooling: Allow the cakes to cool completely on a wire rack before frosting to prevent melting and slipping. This step is key for a beautiful Peppermint Red Velvet Cake!
- Color Boost: If you desire a deeper red hue, add a few extra drops of red gel food coloring while mixing the batter. A vibrant color enhances the festive presentation!
- Frosting Supremacy: Ensure your cream cheese and butter are at room temperature to achieve a smooth, creamy frosting that pipes beautifully and flavors every slice.
- Layer Neatly: Trim the tops of your cooled cakes for even stacking. This helps the layers align perfectly and gives a polished look to your cake!
- Garnish Wisely: Be creative with your toppings! Crushed peppermint candies not only add flavor but also provide a delightful crunch and festive appeal to your Peppermint Red Velvet Cake.
Peppermint Red Velvet Cake Variations
Let your creativity shine as you customize this festive cake, making it uniquely yours and bursting with flavors!
-
Vegan Version: Swap dairy cream cheese and butter with plant-based alternatives for a delicious vegan Peppermint Red Velvet Cake.
Plant-based baking can be delightful, bringing the same richness and flavor without animal products! -
Gluten-Free Twist: Use a gluten-free all-purpose flour blend to create a gluten-free version without sacrificing taste.
This adaptation allows everyone to enjoy the cake, ensuring no one misses out on this holiday delight. -
Minty Freshness: Add crushed mint candies to the batter for an extra burst of minty flavor throughout the cake.
Imagine that refreshing crunch in every bite—it’s a joyful surprise that elevates this holiday treat! -
Chocolate Peppermint Delight: Fold in mini chocolate chips for an indulgent chocolate-peppermint fusion.
The melty chocolate bits harmonize beautifully with the peppermint, creating layers of flavor. -
Nutty Crunch: Incorporate chopped walnuts or pecans into the cake batter for added texture and flavor.
Nuts bring both a delightful crunch and a warm, earthy flavor that complements the sweetness perfectly. -
Creamy Frosting Upgrade: For an extra decadent touch, mix in some mascarpone cheese with your cream cheese frosting.
This twist adds richness and a creamy tang that will leave everyone asking for seconds! -
Layer It Up: Create a four-layer cake using the same recipe, stacking layers for a dramatic presentation.
The more layers, the more festive, plus it allows for more frosting and decoration!
Feeling inspired? Whether you’re in the mood for vanilla undertones like in a Strawberry Cheesecake or a minty chocolate blend, let these variations guide you as you create your own festive masterpiece!
Make Ahead Options
These Peppermint Red Velvet Cakes are perfect for busy home cooks looking to simplify their holiday baking! You can prepare the cake layers up to 24 hours in advance; simply bake, cool, and wrap them tightly in plastic wrap before refrigerating to maintain their moist texture. The peppermint cream cheese frosting can also be made ahead and stored in an airtight container in the refrigerator for up to 3 days. Just give it a quick mix to restore its fluffy consistency before frosting the cake. When you’re ready to serve, assemble the layers with the frosting and add your festive garnishes for a showstopping treat that’s just as delicious as if you had made it fresh!
Peppermint Red Velvet Cake Recipe FAQs
How do I choose the right ingredients for the Peppermint Red Velvet Cake?
Absolutely! For the best results, ensure your ingredients are fresh. Use all-purpose flour with a good texture and check your cocoa powder for freshness—older cocoa can lose its flavor. Choose vibrant, pure red gel food coloring, as this will make your cake beautifully festive. Lastly, opt for quality cream cheese and butter for the frosting to achieve a delightful creaminess.
How should I store my Peppermint Red Velvet Cake?
Very important! Store the cake loosely covered in the refrigerator for up to 3 days to keep it fresh and moist. If you want to store it at room temperature, you can keep it covered for up to 1 day. Always check for any signs of drying out or spoilage before serving.
Can I freeze the Peppermint Red Velvet Cake, and how?
Certainly! To freeze your cake, wrap individual slices or the whole cake tightly in plastic wrap, followed by aluminum foil to prevent freezer burn. It can be frozen for up to 3 months. When you’re ready to enjoy it, simply thaw it overnight in the fridge and let it sit at room temperature for about 30 minutes before serving to restore its delightful flavors.
What if my cake is too dry or crumbly?
Don’t worry! If your cake turns out dry, there are a few fixes. Ensure you’ve measured flour accurately, as too much can lead to a drier cake. Next time, consider adding a bit more buttermilk to the batter, as this helps maintain moisture. If it’s too late, serve your slices with a drizzle of chocolate syrup, whipped cream, or even a scoop of ice cream to enhance the moisture!
Are there any dietary considerations for Peppermint Red Velvet Cake?
Absolutely! For those with dairy allergies, you can easily substitute plant-based cream cheese and buttery alternatives in the frosting. The cake itself can be made vegan by using flax eggs instead of regular eggs and swapping buttermilk for a plant-based milk mixed with vinegar or lemon juice, which behaves similarly. Just ensure the peppermint extract is allergy-friendly!
What type of decorations can I use for the Peppermint Red Velvet Cake?
The more the merrier! For festive flair, I recommend using crushed peppermint candies or candy canes on top of your frosting. Fresh rosemary sprigs also add a charming touch, resembling mini Christmas trees. You might even consider gluten-free alternatives for your toppings if allergy considerations arise!

Delicious Peppermint Red Velvet Cake for Your Holiday Table
Ingredients
Equipment
Method
- Preheat your oven to 350°F (175°C) and prepare three 8-inch cake pans with baking spray.
- In a large mixing bowl, whisk together the dry ingredients.
- In a separate bowl, combine the wet ingredients and mix with the dry ingredients until just combined.
- Divide the batter among the prepared pans and bake for 22 to 25 minutes.
- Allow the cakes to cool in the pans for 10 to 15 minutes before transferring to a wire rack.
- Prepare the frosting while the cakes cool, mixing until creamy and smooth.
- Trim the tops of the cooled cakes, layer with frosting, and chill to firm up.
- Decorate with remaining frosting and garnishes before serving.