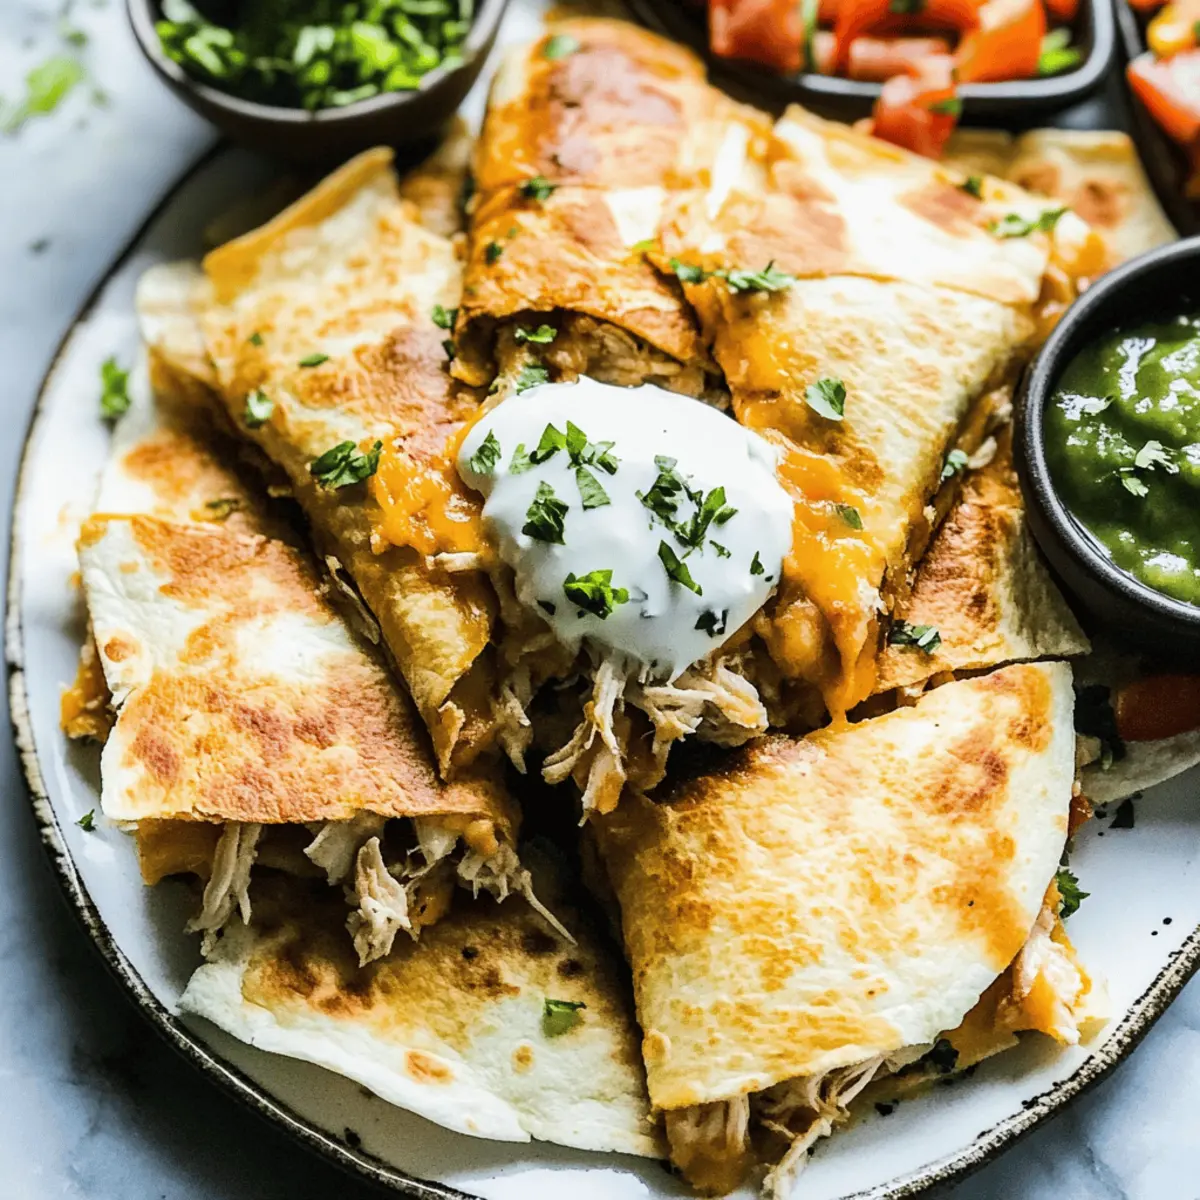
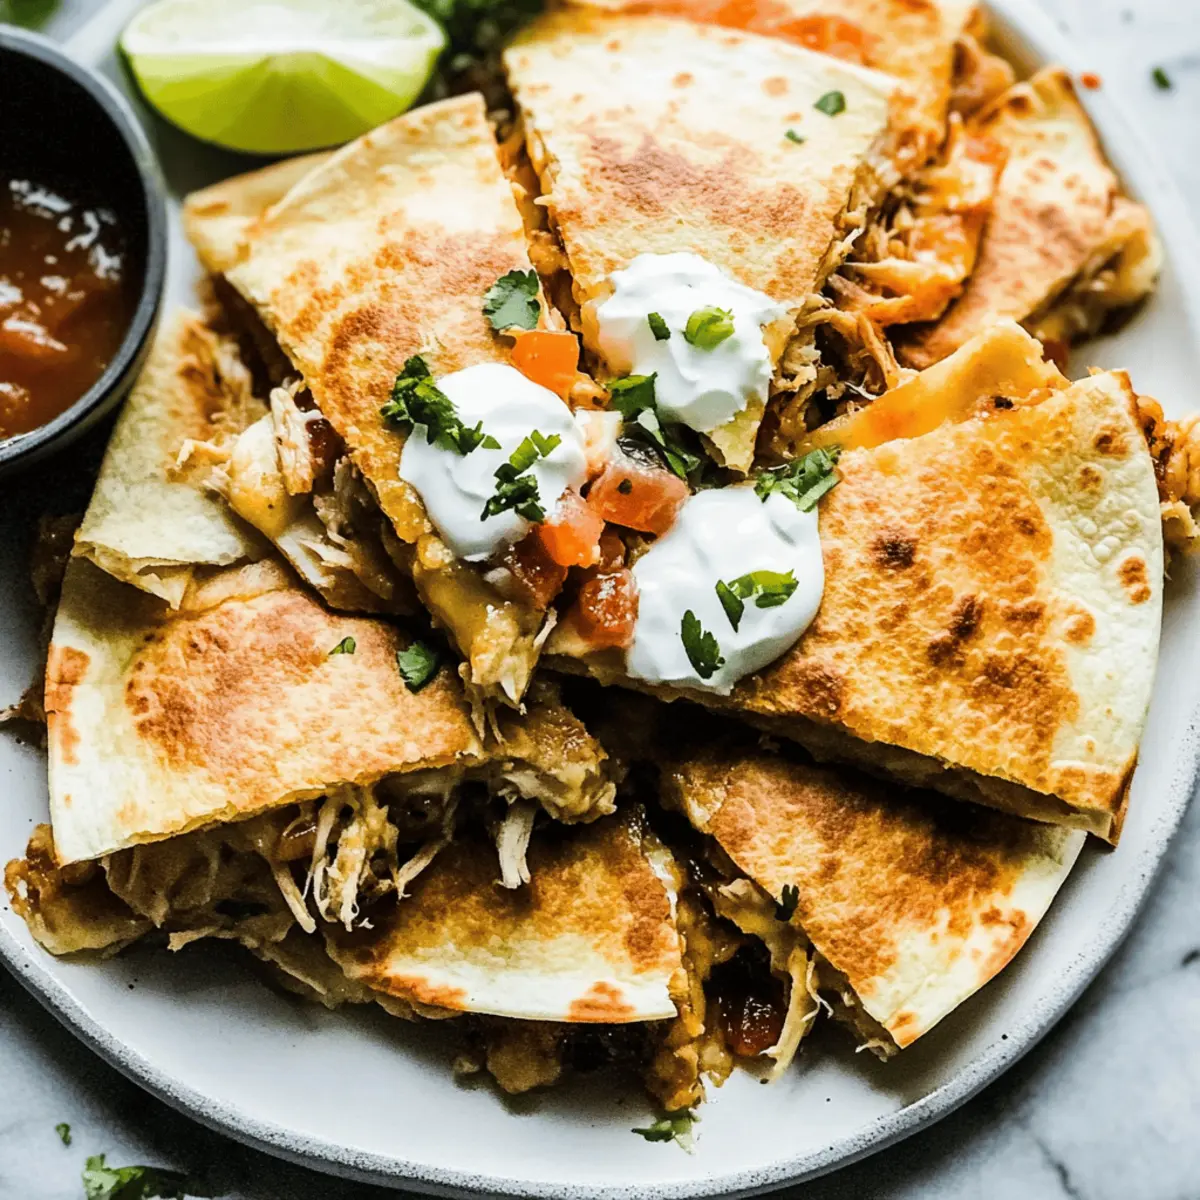
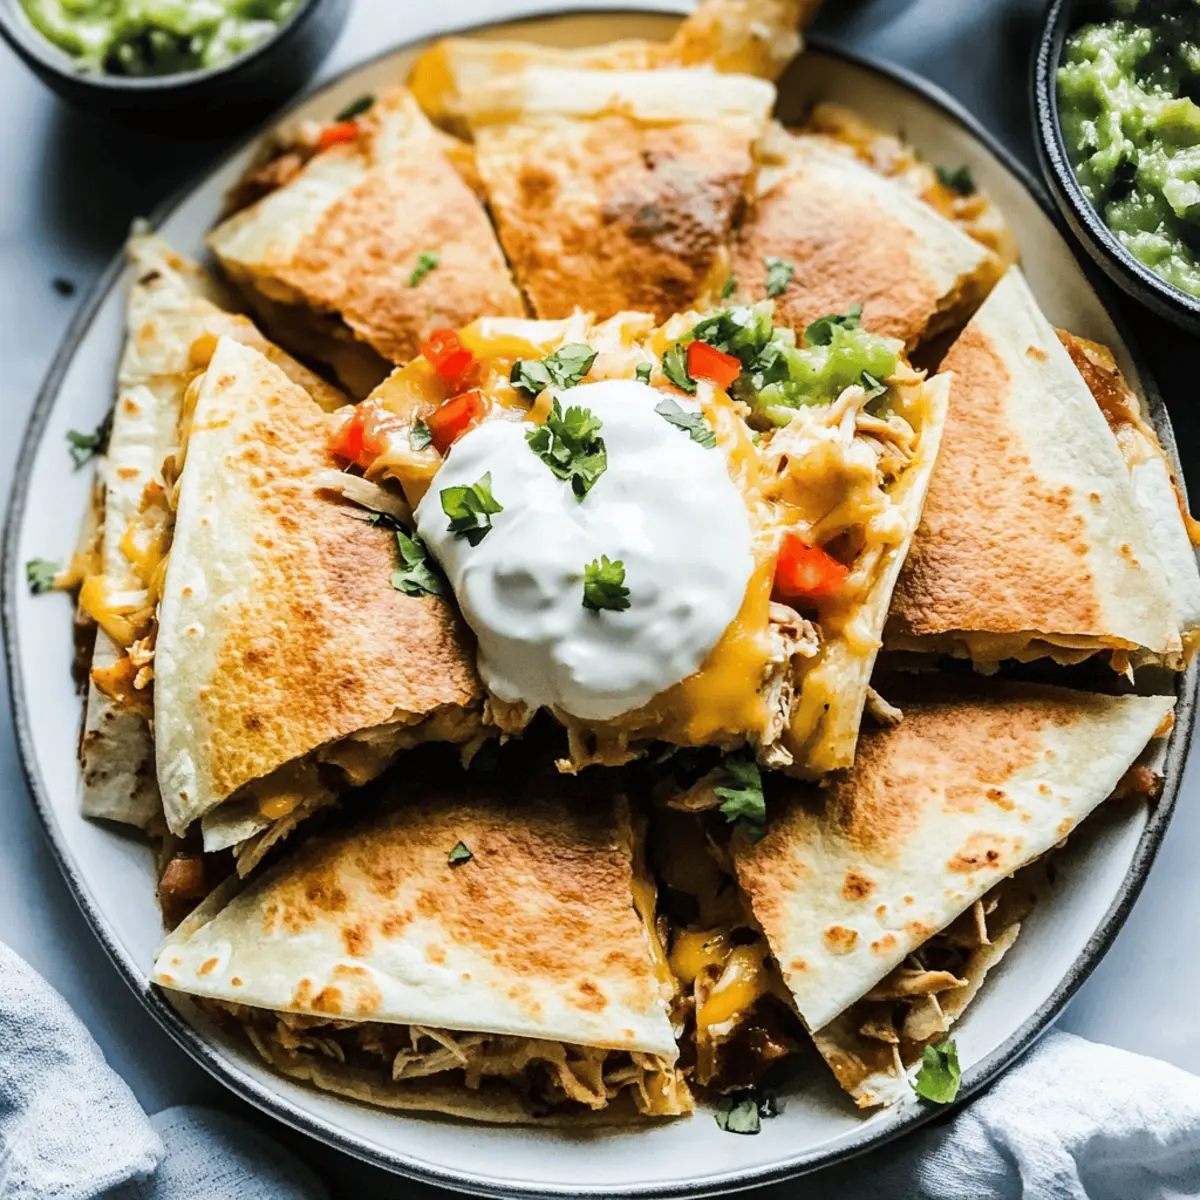
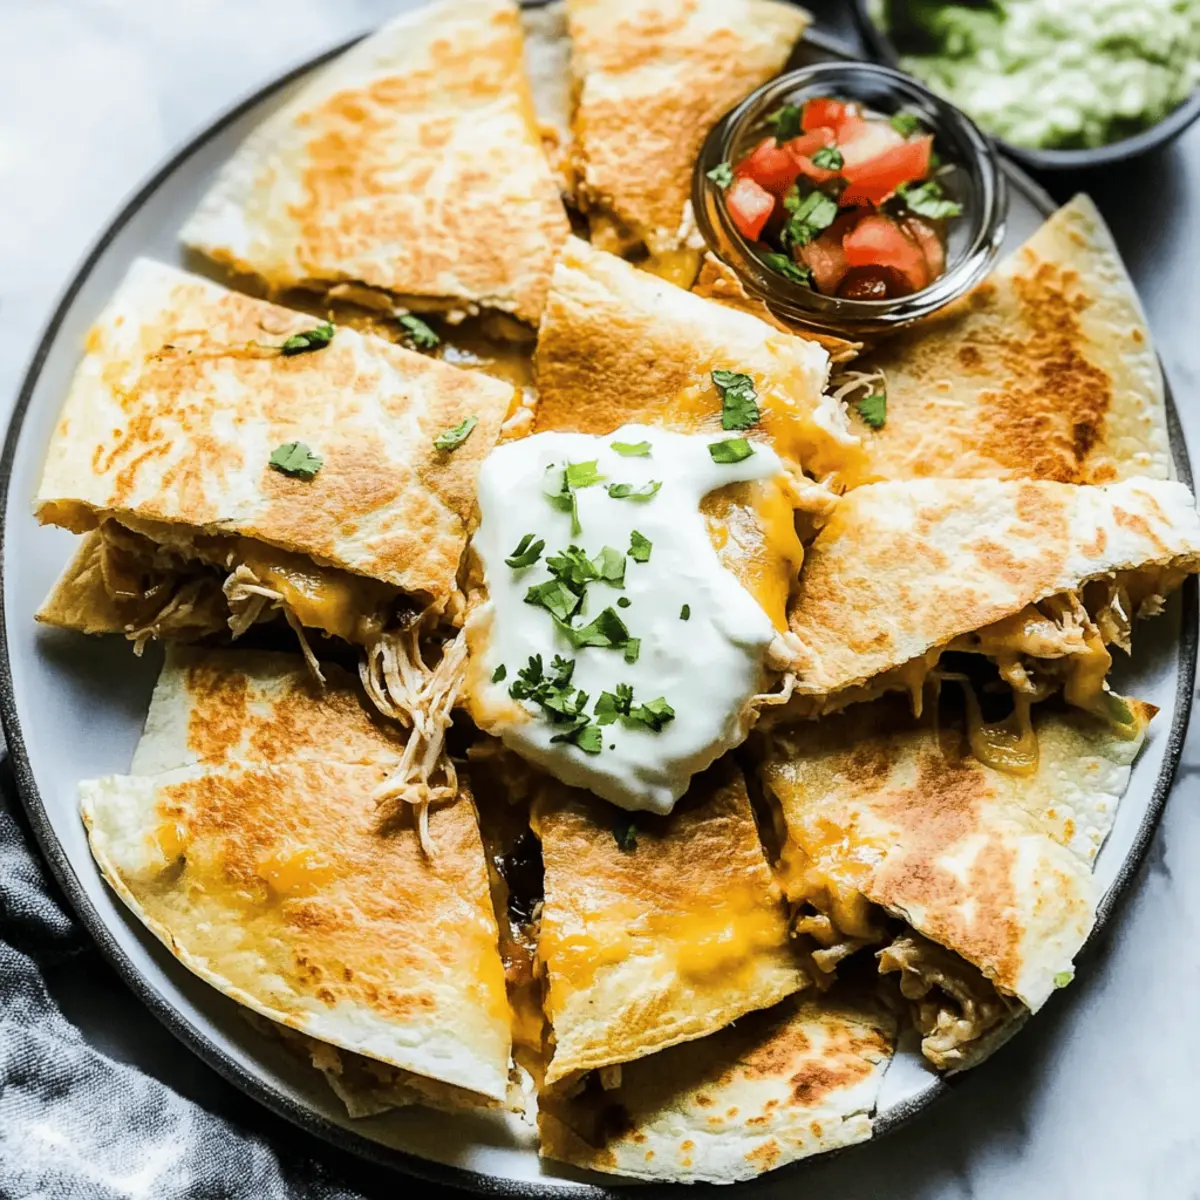
As I pulled the sizzling tray of Baked Chicken Quesadillas from the oven, the aroma enveloped my kitchen, igniting memories of cozy family dinners and laughter shared over delicious food. This recipe is my go-to for a crowd-pleaser, combining gooey melted cheese, tender shredded chicken, and a smoky hint of chipotle—definitely a comfort food favorite! Not only do these quesadillas promise minimal stove time, making them a breeze for busy weeknights, but they also provide a healthier alternative to frying, letting you enjoy that crispy texture without the guilt. Whether you’re hosting friends or simply treating your family, you’ll find that each cheesy, golden bite is sure to delight. Ready to whip up this easy meal and impress everyone at your table?

Why Are These Quesadillas A Must-Try?
Comfort Food at Its Finest: Baked Chicken Quesadillas deliver all the cozy vibes, with gooey cheese mingling perfectly with tender chicken.
Crowd-Pleaser: This recipe serves eight, ensuring that nobody gets left out during family gatherings or parties.
Time-Saving Delight: Minimal prep and bake time make these quesadillas a fantastic option for busy weeknights—no frying necessary!
Versatile Satisfaction: Customize your filling with different meats or veggies, ensuring everyone finds something they love.
Goes Great with Everything: Pair your quesadillas with a side of salsa or guacamole for a complete meal bursting with flavor.
Your new favorite recipe awaits!
Baked Chicken Quesadillas Ingredients
-
For the Quesadilla Filling
• Shredded Chicken (4 cups) – The heartiness you need for a satisfying bite; using rotisserie chicken cuts down on prep time.
• Chipotle Peppers in Adobo Sauce (1 tbsp, adjust for heat) – For that smoky kick; feel free to substitute with green chiles if you’re looking for a milder option.
• Sea Salt (½ tsp) – Elevates the overall flavor profile of your filling.
• Sour Cream (2 cups, divided) – Adds rich creaminess; swap with Greek yogurt for a healthier twist.
• Shredded Pepper Jack or Mozzarella Cheese (2 cups) – Melts beautifully for that gooey texture; any melting cheese like cheddar can work too. -
For the Tortillas
• 10-inch Flour Tortillas – The perfect vessel for your filling, providing a soft, chewy texture; try corn tortillas for a gluten-free alternative. -
For Baking
• Olive Oil – A light brush on top gives you that lovely golden, crispy finish.
Enjoy making these Baked Chicken Quesadillas and get ready for a crowd-pleasing experience!
Step‑by‑Step Instructions for Baked Chicken Quesadillas
Step 1: Preheat the Oven
Begin by preheating your oven to 400°F (200°C). This crucial step ensures that your baked chicken quesadillas will cook evenly and achieve that perfect golden-brown color. As the oven warms up, you’ll set the stage for creating that delightful crispy texture on the outside of your quesadillas.
Step 2: Prepare the Filling
In a large mixing bowl, combine the shredded chicken, two cups of sour cream (saving some for serving later), finely chopped chipotle peppers, shredded cheese, and sea salt. Stir all the ingredients together until well combined and creamy. This filling is the heart of your baked chicken quesadillas, bringing together all those comforting flavors in every bite.
Step 3: Assemble the Quesadillas
Take a 10-inch flour tortilla and lay it flat on a baking sheet. Evenly spread a generous portion of the chicken filling across the tortilla, reaching the edges for maximum flavor. Carefully place another tortilla on top, creating a quesadilla sandwich. Make sure the edges align, securing all that delicious filling in place for the baking process.
Step 4: Brush with Olive Oil
Using a pastry brush, lightly coat the top of each assembled quesadilla with olive oil. This step is essential for achieving a beautifully crisp and golden exterior. The olive oil not only enhances the flavor but also helps the quesadillas to brown perfectly in the oven, making each bite irresistible.
Step 5: Bake in the Oven
Place the baking sheet with your quesadillas into the preheated oven. Bake them for about 15 minutes, or until the tortillas are golden brown and the cheese inside is deliciously melted. Keep an eye on them as they bake to ensure they don’t over-brown; you want that eye-catching color that signals a satisfying crunch.
Step 6: Slice & Serve
Once baked to perfection, remove the quesadillas from the oven and let them cool for a minute. Using a sharp knife or pizza cutter, slice each quesadilla into wedges. Serve while warm, offering the remaining sour cream and any desired toppings to complement your baked chicken quesadillas. Enjoy the cheesy, crunchy goodness that everyone will love!

Make Ahead Options
These Baked Chicken Quesadillas are perfect for meal prep enthusiasts who want to save time and stress during busy weeknights! You can assemble the quesadillas up to 24 hours in advance; simply prepare the filling and spread it between tortillas, then cover tightly and refrigerate. This not only enhances the flavors but also allows for quick baking when you’re ready to serve. When it’s time to enjoy, just brush the tops with olive oil and bake at 400°F (200°C) for about 15 minutes until they are golden and crispy. Rest assured, following these prep steps ensures your quesadillas are just as delicious as if you made them fresh on the spot!
Baked Chicken Quesadilla Variations
Feel free to let your creativity shine as you personalize your quesadillas with these delightful twists!
- Gluten-Free: Use corn tortillas instead of flour ones for a gluten-free option without compromising on taste.
- Healthy Swap: Replace sour cream with Greek yogurt for a protein boost and a tangy flavor.
- Veggie Power: Add sautéed bell peppers and onions for a colorful, nutritious filling that enhances each bite with freshness.
- Extra Spice: Toss in diced jalapeños alongside the chipotle peppers for an extra kick of heat that spice lovers will adore.
- Cheese Combination: Experiment with different cheeses like cheddar or Monterey Jack for unique flavors; blending two types can elevate the gooeyness.
- Meat Variety: Substitute shredded chicken with pulled pork or ground turkey for a delightful variation that packs a flavorful punch.
- Sweet and Savory: Add sliced peaches or pineapple to the filling for a delightful contrast that balances the savory elements beautifully.
- Baked Dip Version: Spread the filling in a baking dish, top with tortillas and extra cheese, and serve as a cheesy dip alongside tortilla chips.
If you love these quesadillas, do check out my recipes for Sizzling Chicken Pepper, where bold flavors come alive, or for a heartwarming option, give my Tuscan Chicken Soup a try!
Expert Tips for Baked Chicken Quesadillas
-
Crispy Perfection: Brush both sides of the quesadilla with olive oil for maximum crispiness. A well-oiled exterior ensures that each bite is delightful and crunchy.
-
Cheese Choices: Experiment with different cheeses like Monterey Jack or Oaxaca for unique flavors. Just remember to choose melty options for the best baked chicken quesadillas.
-
Prevent Sogginess: Bake the quesadillas right before serving. This helps keep them crispy and prevents moisture from the filling from making them soggy.
-
Flavor Boost: Add herbs like cilantro or green onions to the filling for an extra layer of flavor. They enhance the comfort food experience wonderfully.
-
Batch Cooking: Make a double batch to freeze some for later—just bake them straight from the freezer, adding a few extra minutes to the cooking time.
-
Serving Ideas: Pair your quesadillas with sides like homemade salsa or a fresh salad for a complete meal, enhancing the enjoyment of every cheesy bite.
How to Store and Freeze Baked Chicken Quesadillas
Fridge: Store any leftovers in an airtight container for up to 2 days. This helps retain flavor while keeping your baked chicken quesadillas fresh.
Freezer: For longer storage, wrap individual quesadillas tightly in plastic wrap and then place them in a freezer bag. They can be frozen for up to 3 months.
Reheating: To reheat, bake frozen quesadillas directly from the freezer at 375°F (190°C) for about 20-25 minutes, or until heated through and crispy.
Cooling Before Storing: Allow the quesadillas to cool completely before wrapping to avoid excess moisture, which can make them soggy.
What to Serve with Baked Chicken Quesadillas?
Savoring warm, cheesy goodness can be even better when paired with delightful accompaniments that elevate your meal.
- Fresh Salsa: A vibrant burst of flavor that balances the richness of the quesadillas. Homemade salsa brings freshness with tomatoes, cilantro, and a squeeze of lime.
- Guacamole: Creamy avocado dip adds a tantalizing contrast. Its smooth texture pairs perfectly with the crispy quesadillas, making every bite a delight.
- Mexican Street Corn Salad: This sweet and savory side incorporates grilled corn, lime, and spices, providing a refreshing crunch that complements the savory quesadillas.
- Simple Green Salad: Tossed greens with a light vinaigrette offer a refreshing contrast. Its crispness and tang enhance the cheesiness of your baked chicken quesadillas.
- Refried Beans: Creamy, flavorful beans add a hearty element to the meal. They’re rich in protein and help round out the dish, making it more filling.
- Churros for Dessert: Finish the meal on a sweet note with crispy churros served with chocolate sauce. The warm spices bring an exciting finish after the rich quesadillas.
These pairings will surely make your baked chicken quesadillas a full-on culinary experience!

Baked Chicken Quesadillas Recipe FAQs
How do I choose ripe ingredients for my quesadillas?
When selecting ingredients like bell peppers or tomatoes for your filling, look for vibrant colors and firm textures. Avoid any with dark spots or softness, as these are signs of overripeness. Fresh ingredients enhance the overall flavor and quality of your baked chicken quesadillas.
What’s the best way to store leftover quesadillas?
To keep your baked chicken quesadillas fresh, store any leftovers in an airtight container in the fridge for up to 2 days. Reheat them in the oven to regain some of their crispy texture, as microwaving can make them soggy.
Can I freeze baked chicken quesadillas?
Absolutely! To freeze, wrap each quesadilla tightly in plastic wrap, then place them in a freezer-safe bag. This method prevents freezer burn and keeps them fresh for up to 3 months. When ready to enjoy, bake them straight from the freezer at 375°F (190°C) for about 20-25 minutes, or until heated through and crispy.
What should I do if my quesadillas are soggy?
If you find your baked chicken quesadillas are soggy, it might be due to moisture from the filling. To prevent this, ensure you’re using cooked and drained ingredients. Baking them right before serving also helps keep them crispy, and if they’re still soggy, consider brushing them lightly with olive oil before reheating for added crunch.
Are there any allergy considerations I need to be aware of?
Definitely! When preparing baked chicken quesadillas, be mindful of common allergens such as dairy (found in cheese and sour cream) and gluten (from tortillas). Consider using gluten-free tortillas and Greek yogurt as a substitute for sour cream to accommodate dietary restrictions. Always check the labels of your ingredients to ensure they meet your guests’ needs.

Baked Chicken Quesadillas: Cheesy Comfort Food for Everyone
Ingredients
Equipment
Method
- Preheat your oven to 400°F (200°C) to ensure even cooking.
- In a large mixing bowl, combine shredded chicken, two cups of sour cream, chipotle peppers, shredded cheese, and sea salt. Stir until well combined.
- Lay a tortilla on a baking sheet, spread the chicken filling across it, and place another tortilla on top.
- Brush the top of each quesadilla with olive oil to achieve a crispy exterior.
- Bake in the preheated oven for about 15 minutes, until golden brown and the cheese is melted.
- Remove from the oven, let cool for a minute, then slice into wedges and serve warm.


