


Taco night just got a crispy upgrade! These Crunchy Baked Chicken Tacos are not only quick to whip up but also super satisfying for any gathering or weeknight dinner fix. With tender chicken nestled in extra thin corn tortillas and a gooey layer of cheese, they’re a deliciously healthier twist on the traditional fried version. Plus, the beauty of this recipe lies in its versatility—customize the filling to cater to everyone’s taste, whether you prefer beef, chicken, or even a hearty vegetarian option. And with meal prep in mind, these tacos make it easy to enjoy homemade goodness without the hassle. What creative fillings will you choose to stuff your tacos with?
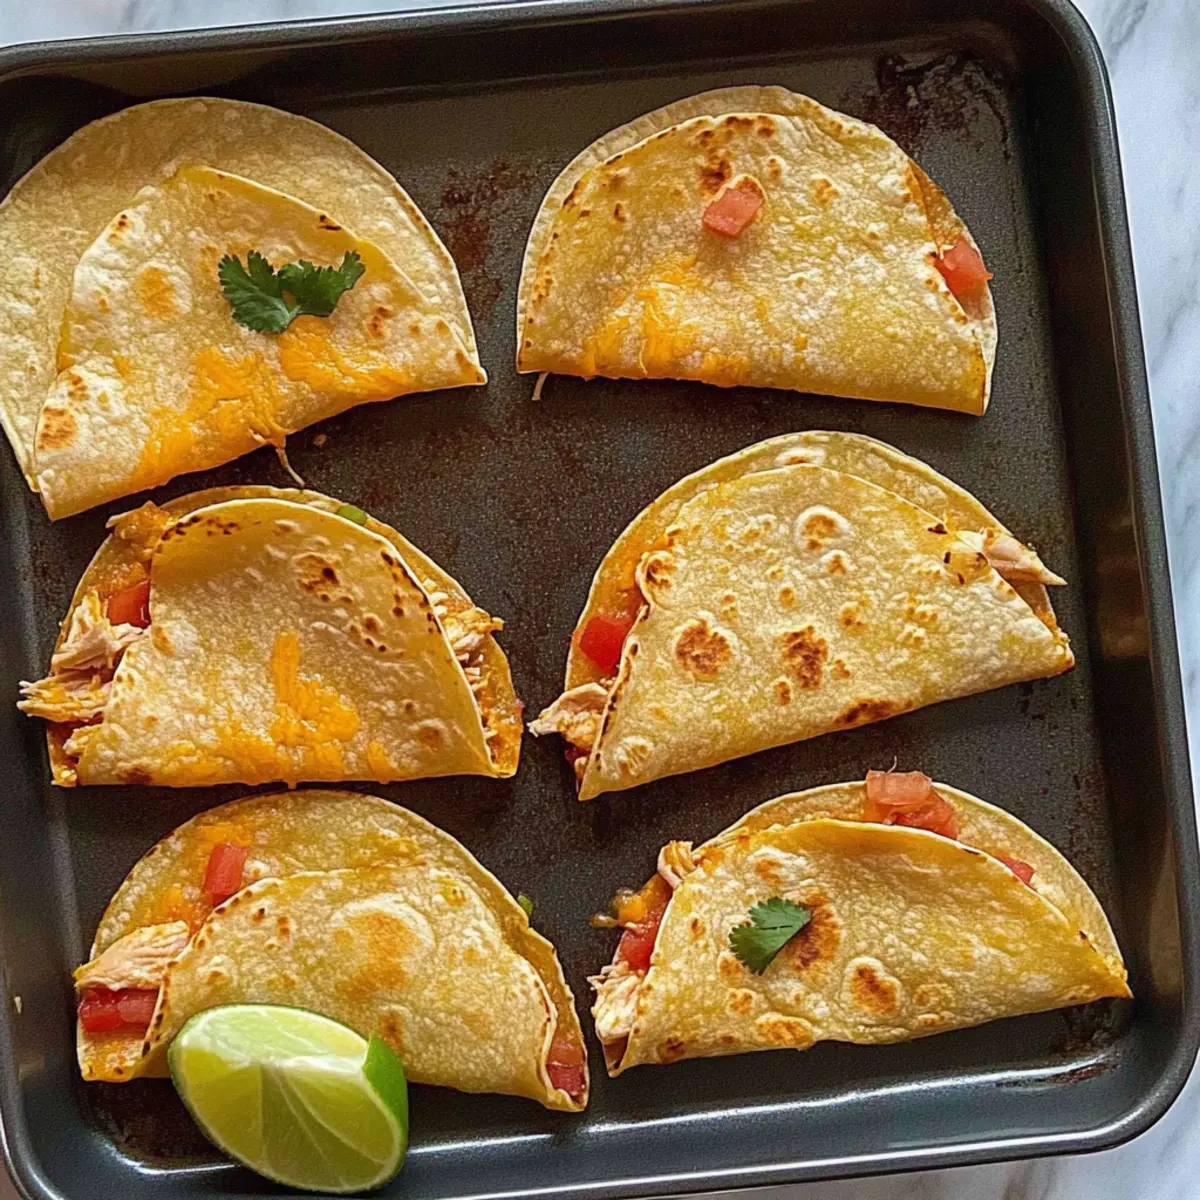
What makes these tacos a weeknight favorite?
Quick and Easy: This recipe is all about convenience, making dinner a breeze even on the busiest nights. Customizable Fillings: Ditch the boring fast food! You can easily switch up the protein or add veggies for a personal touch. Crispy Texture: Baking the tacos provides the satisfying crunch without the guilt of frying. Serve them with fresh salsa or guacamole for that perfect kick! Plus, they’re great for meal prep; simply store leftovers in the fridge for up to 3 days. You’ll find yourself craving these baked chicken tacos again and again!
Baked Chicken Taco Ingredients
For the Tacos
• Extra Thin Corn Tortillas – Essential for the perfect taco structure; Mission brand works best to prevent cracking.
• Cooked Chicken Breast – Packed with protein and great for filling; consider using shredded rotisserie chicken or ground beef for a twist.
• Shredded Cheese (Cheddar recommended) – Adds creaminess and flavor; feel free to substitute with your favorite cheese.
For Extra Flavor
• Toppings (Optional) – Customize with ingredients like diced peppers, onions, or avocado to elevate your tacos and cater to personal tastes.
• Fresh Salsa or Guacamole – Serve alongside for a fresh kick and added flavor; a must for these crispy tacos!
Storage Options
• Refrigerator – Prepare ahead and store in the fridge for up to 3 days; perfect for quick meals.
• Freezer – Can be frozen for longer storage; simply reheat in the oven or air fryer for a crispy finish.
Step‑by‑Step Instructions for Crunchy Baked Chicken Tacos
Step 1: Preheat the Oven
Start by preheating your oven to 400°F (200°C). This ensures an even and crispy texture for your Crunchy Baked Chicken Tacos. While the oven warms up, gather your ingredients on the counter to ensure a smooth assembly process.
Step 2: Prepare the Tortillas
Wrap the extra thin corn tortillas in a damp paper towel and microwave them for 45-60 seconds. This step makes them pliable and easy to fold without cracking. Keep an eye on them as they heat; you want them warm and soft, not hot to the touch.
Step 3: Assemble the Tacos
Once your tortillas are ready, lay them flat on a clean surface. Place a generous amount of cooked chicken breast on one half of each tortilla, adding any optional toppings like diced peppers or onions. Sprinkle shredded cheese on top, then fold the tortilla over to create a taco shape.
Step 4: Seal the Tacos
Gently press the folded tortillas down to seal them closed, ensuring the filling stays inside during baking. To keep the tacos secure, place a second baking sheet on top before transferring them to the oven. This will help them maintain their shape and prevent them from unfolding.
Step 5: Bake to Perfection
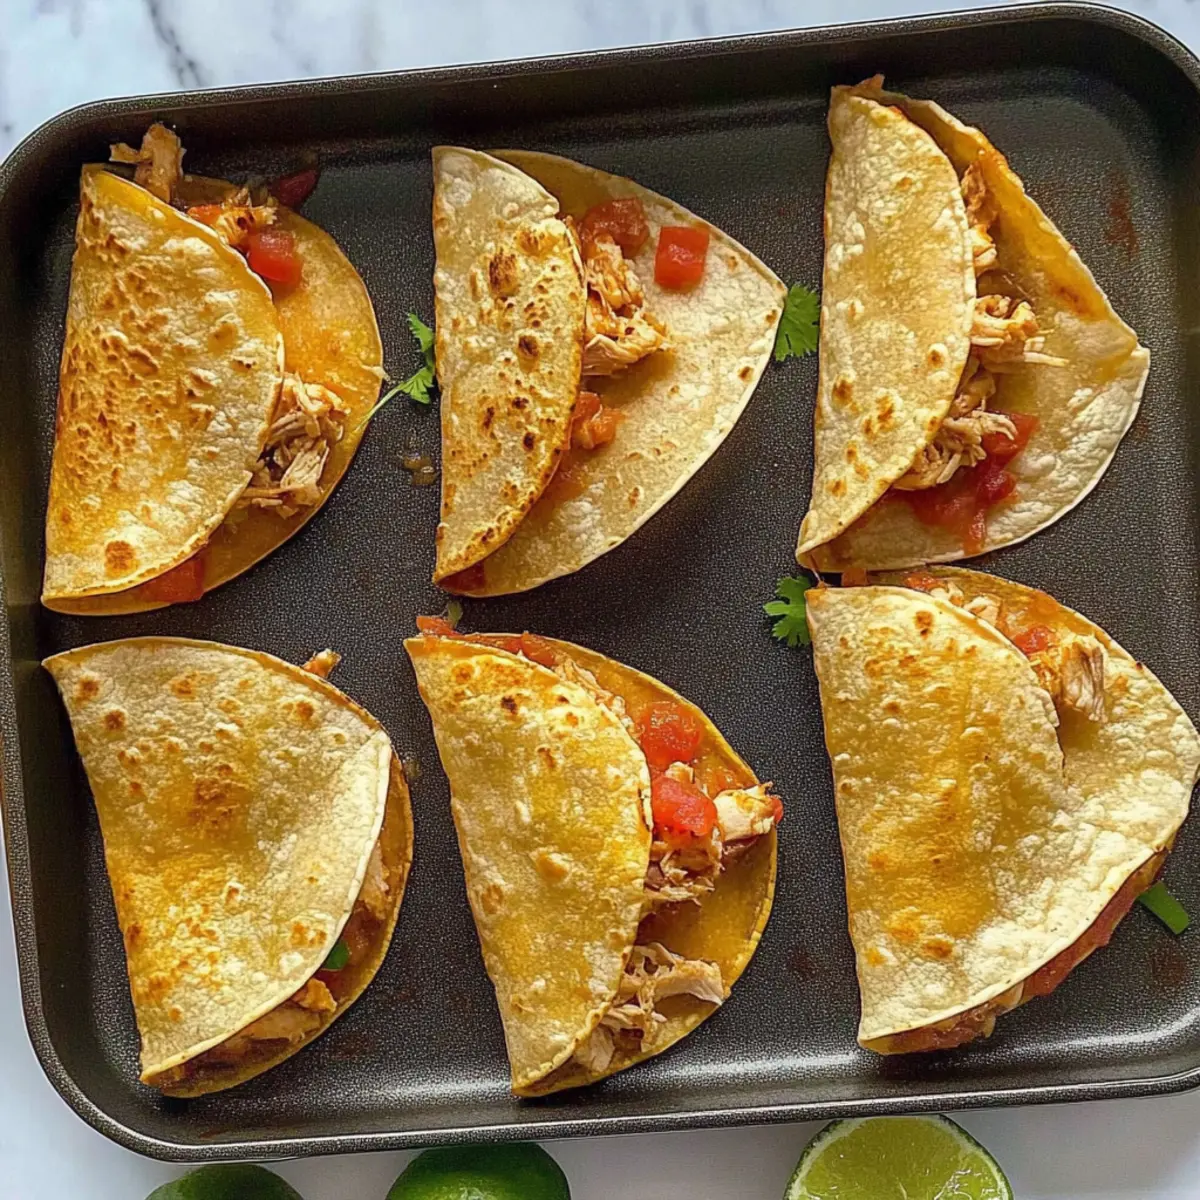
Carefully place the baking sheet with the tacos in the preheated oven and bake for 8-12 minutes. Watch for a golden brown color and crispy edges; this indicates that your Crunchy Baked Chicken Tacos are ready. If you desire extra crispiness, remove the top baking sheet for the last couple of minutes.
Step 6: Serve Warm
Once baked, carefully take the tacos out of the oven and let them cool for a minute. They will be hot and crispy! Serve your Crunchy Baked Chicken Tacos with fresh salsa or guacamole on the side for an added burst of flavor. Enjoy your delicious homemade feast!
Variations & Substitutions for Baked Chicken Tacos
Feel free to get creative and tailor these tacos to suit your taste preferences or dietary needs!
-
Beefy Delight: Swap out chicken for ground beef or turkey for a heartier flavor. This classic taco filling is a sure crowd-pleaser!
-
Vegetarian Option: Use black beans or lentils instead of meat for a filling veggie twist. Packed with protein and flavor, you won’t miss the meat!
-
Cheese Swap: Try pepper jack cheese for a spicy kick or go dairy-free with a plant-based cheese alternative to accommodate different diets.
-
Tortilla Variety: Experiment with flour tortillas or hybrid corn-flour tortillas for added flavors and textures. Each option offers a unique crunch that makes taco night even more exciting!
-
Spice it Up: Add diced jalapeños or a sprinkle of chili powder for extra heat. This little touch can take your tacos from mild to magnificent!
-
Herb & Citrus Boost: Mix in fresh herbs like cilantro or a squeeze of lime juice right before serving for a burst of freshness that elevates your dish.
-
Crunchy Toppings: Top with thinly sliced radishes or crunchy cabbage for a delightful textural contrast to the soft filling. Don’t forget a drizzle of your favorite hot sauce!
-
Meal Prep Magic: Double the filling recipe and use it in burritos or salads throughout the week. It’s a delicious way to keep meals varied with minimal extra effort.
Cooking doesn’t have to be boring! Remember, you can always serve these with a side of fresh salsa or guacamole for that perfect serving of flavor and freshness. Enjoy your culinary adventure with these delightful baked chicken tacos!
How to Store and Freeze Baked Chicken Tacos
Fridge: Store any leftover baked chicken tacos in an airtight container in the refrigerator for up to 3 days. This keeps them fresh and ready for a quick meal.
Freezer: For longer storage, freeze the baked chicken tacos individually wrapped in plastic wrap and then in a freezer bag for up to 3 months.
Reheating: To reheat, place frozen tacos in a preheated oven at 400°F (200°C) for 12-15 minutes or until heated through. Enjoy the crispy texture just like when they were fresh!
Meal Prep: Feel free to prepare the chicken filling ahead of time, making it even easier to whip up these delightful baked chicken tacos on a busy weeknight.
Make Ahead Options
These Crunchy Baked Chicken Tacos are perfect for busy weeknights and meal prep enthusiasts! You can prepare the filling and assemble the tacos up to 24 hours in advance by filling the tortillas with cooked chicken and cheese, then sealing them tightly. Store them in an airtight container in the refrigerator to maintain their quality. When you’re ready to enjoy your tacos, simply preheat your oven to 400°F and bake for 8-12 minutes as directed, adding a couple more minutes without the top baking sheet for extra crispiness if desired. This way, you can savor a homemade dinner with minimal effort, just as delicious as if you made them from scratch that evening!
Expert Tips for Crunchy Baked Chicken Tacos
-
Heat the Tortillas: Ensure your tortillas are adequately heated in the microwave; this prevents them from cracking when folding the tacos.
-
Mind the Fillings: Avoid overfilling your tacos, as this can lead to spillage during baking. A little filling goes a long way.
-
Layer the Toppings: If using toppings like peppers, add them in moderation to ensure each taco maintains its crunchy structure while still being flavorful.
-
Crispiness Control: For extra crispy tacos, remove the top baking sheet during the last few minutes of baking to allow air circulation and browning.
-
Watch the Time: Keep an eye on the baking time; tacos can go from golden to burnt quickly. Aim for an 8-12 minute bake for the best results.
-
Make It Your Own: Feel free to experiment with different proteins and toppings; these baked chicken tacos are easily customizable to suit your taste!
What to Serve with Crunchy Baked Chicken Tacos
Elevate your taco night experience with delightful pairings that bring out those crispy flavors.
-
Creamy Guacamole: This velvety dip adds richness and a burst of freshness, perfectly complementing the crunchy texture of the tacos.
-
Zesty Salsa: A tangy, fresh salsa made with tomatoes and cilantro brightens every bite, enhancing the savory chicken filling. Serve it on the side for dipping!
-
Mexican Rice: Fluffy cilantro lime rice brings a fragrant herbaceous touch that balances the spices in the tacos, making for a satisfying meal.
-
Refried Beans: Creamy refried beans add a smooth texture and hearty flavor to your plate, complementing the crunchiness of the tacos wonderfully.
-
Corn Salad: A vibrant corn salad with bell peppers and lime dressing adds a refreshing sweetness that contrasts beautifully with the savory tacos.
-
Chilled Margaritas: Sip on a refreshing margarita—its citrusy flavor and slight sweetness elevate the rich flavors of the tacos while keeping your meal festive.
-
Pineapple Upside-Down Cake: For dessert, this classic cake offers a sweet, caramelized finish, perfectly rounding out a delightful taco feast.
Choose a couple of these pairings to create a well-rounded meal that transforms your Crunchy Baked Chicken Tacos into a fiesta!
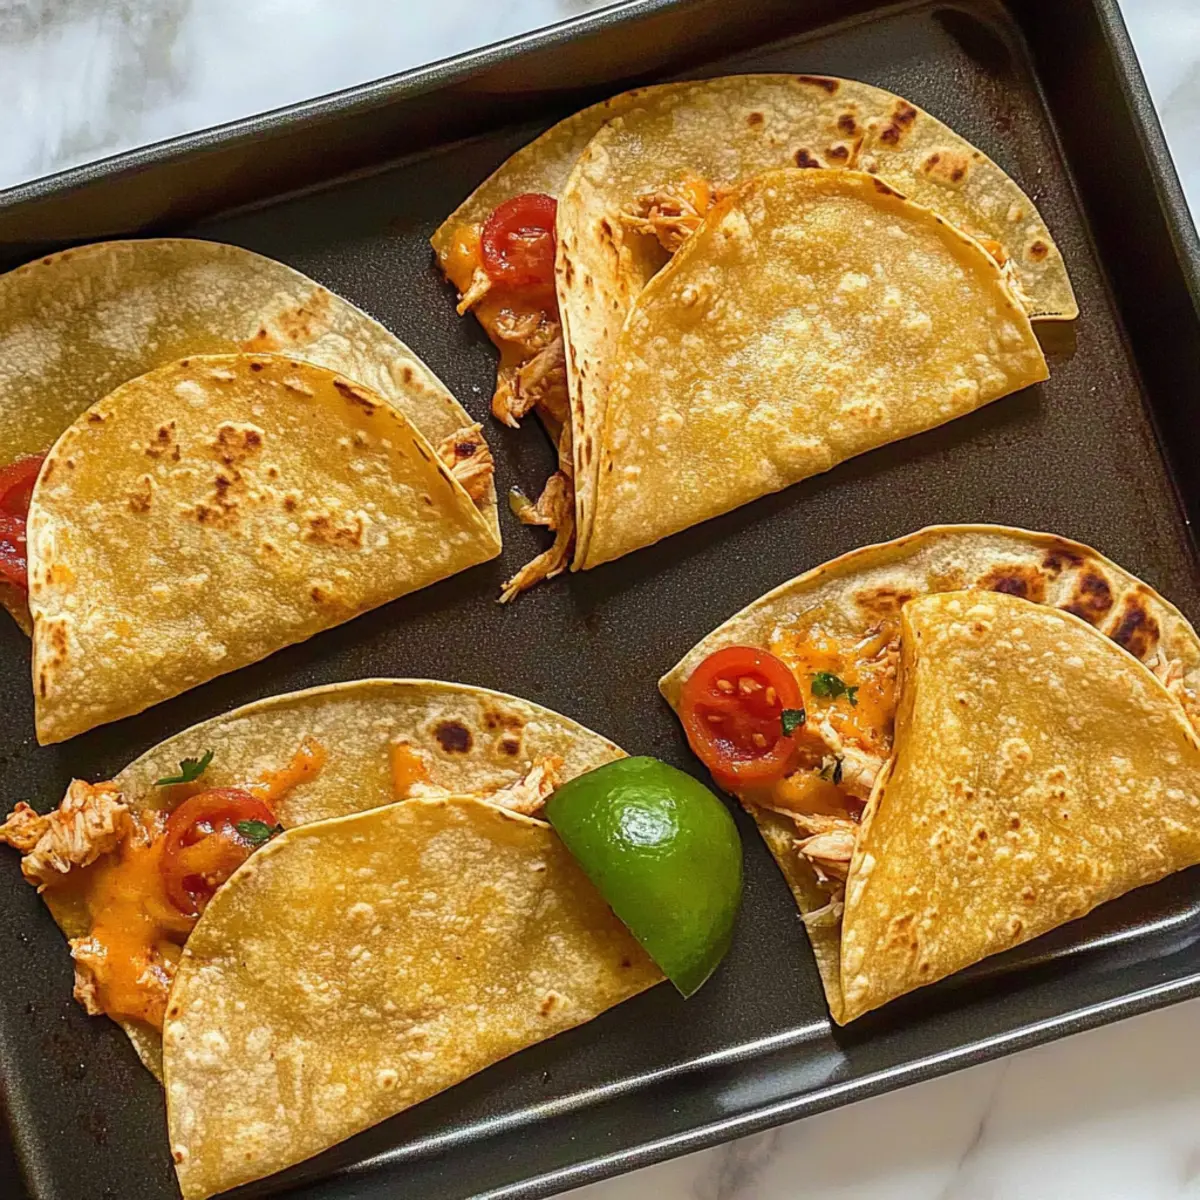
Crunchy Baked Chicken Tacos Recipe FAQs
How do I choose the right tortillas for my tacos?
Absolutely! For the best results, I recommend using extra thin corn tortillas, particularly the Mission brand, as they provide the perfect structure and prevent cracking. If you can’t find those, look for any extra thin variety while avoiding thicker tortillas that may not fold easily.
How should I store leftover baked chicken tacos?
Leftover baked chicken tacos can be stored in an airtight container in the refrigerator for up to 3 days. Just be sure to let them cool completely before sealing to avoid moisture buildup, which can make them soggy.
Can I freeze these tacos for later?
Definitely! To freeze your baked chicken tacos, wrap each one individually in plastic wrap and store them in a labeled freezer bag. They can last for up to 3 months. When you’re ready to enjoy them, simply reheat from frozen in a preheated oven at 400°F (200°C) for about 12-15 minutes, ensuring they get crispy again.
What can I do if I overfilled the tacos and they spill?
If you find your tacos are overflowing, it’s best to prevent that from happening by being mindful of your filling amounts next time. In case of spillage, simply take them out of the baking pan, push the excess filling back into the taco, and them back to the oven for a few more minutes. Next time, try using less filling to keep everything nicely contained.
Are there any dietary considerations for allergies with this recipe?
Very! If you’re concerned about allergies, note that using shredded cheese may not be suitable for lactose intolerance. For a dairy-free option, try a lactose-free cheese alternative or omit the cheese entirely. Additionally, if you’re accommodating for pets, remember not to share any cooked chicken or seasoned ingredients with them, as some can be harmful.
How can I customize the filling for different tastes?
What a great question! The beauty of these crunchy baked chicken tacos is their versatility. You can easily substitute the cooked chicken with ground beef, turkey, or even black beans for a vegetarian option. Add veggies like diced peppers or onions for extra flavor. Just follow the same assembly steps, adapting the filling to your liking!
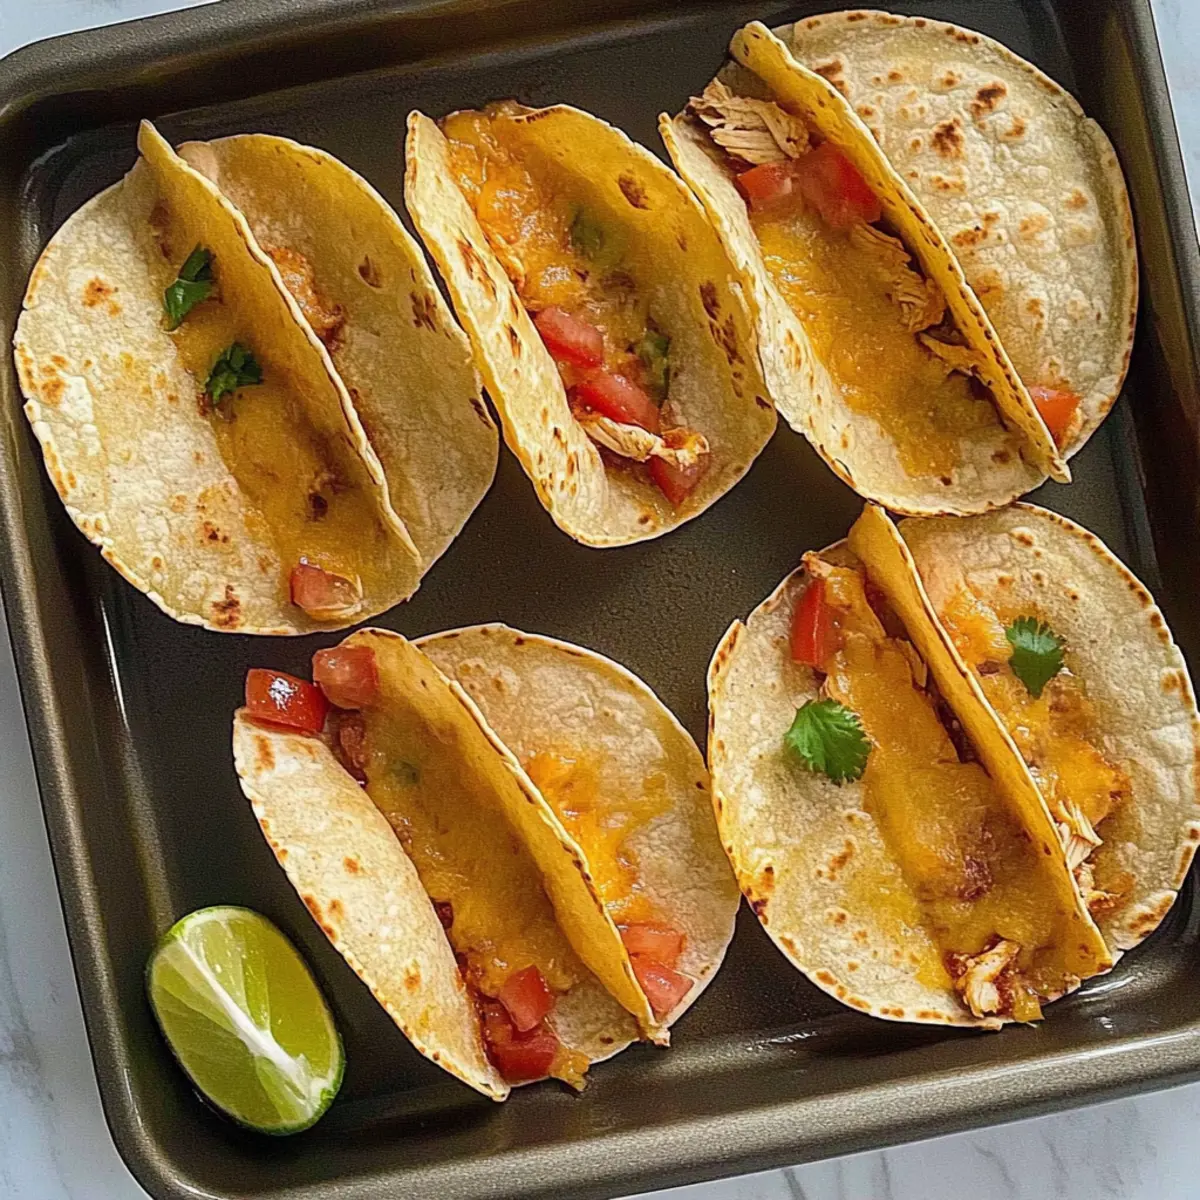
Crispy Baked Chicken Tacos You’ll Crave Every Weeknight
Ingredients
Equipment
Method
- Preheat your oven to 400°F (200°C).
- Wrap the extra thin corn tortillas in a damp paper towel and microwave them for 45-60 seconds.
- Lay the warm tortillas flat and add cooked chicken and optional toppings.
- Fold the tortillas to form tacos and press gently to seal.
- Place a second baking sheet on top and bake for 8-12 minutes.
- Remove from oven, let cool slightly, and serve with fresh salsa or guacamole.