


As I stood in my kitchen on a sweltering summer day, the craving for something cold and satisfying hit me hard. That’s when I decided to whip up these Cherry Creamsicles, a delightful twist on a childhood favorite. What I love about this recipe, aside from being utterly delicious, is that it’s crafted from real food with no refined sugars! These icy treats not only satisfy your sweet tooth, but they’re also a healthier option that everyone in the family can enjoy, making them perfect for those sunny afternoons. Whether you’re lounging by the pool or hosting a backyard barbecue, these popsicles are a fun and nourishing way to cool down. Curious how to transform fresh cherries into this guilt-free indulgence? Let’s dive into the recipe!
Why settle for ordinary desserts?
Deliciously Healthy: These Cherry Creamsicles prioritize health without compromising flavor, so you can indulge guilt-free.
Real Ingredients: Made with fresh cherries and real cream, they provide a wholesome treat that’s far from your typical sugary popsicles.
Versatile Options: Feel free to swap out cherries for your favorite fruits, like strawberries or blueberries, making this a go-to recipe for variety!
Crowd-Pleasing Appeal: Perfect for any gathering, these popsicles are a hit with kids and adults alike, ensuring everyone finds enjoyment.
Easy Preparation: With simple steps and minimal equipment, you’ll have these refreshing delights ready in no time!
Ready to make some? Let’s get started on crafting these mouthwatering Cherry Creamsicles!
Cherry Creamsicles Ingredients
-
For the Cherry Puree
-
Cherries – Fresh or thawed frozen organic cherries provide natural sweetness and fruity flavor, perfect for a vibrant cherry puree.
-
Coconut Water/Filtered Water – 1/4 cup adds hydration; using coconut water gives it a tropical twist.
-
For the Cream Base
-
Raw Cream/Organic Whipping Cream – 1 cup creates a rich, creamy texture; substitute with coconut cream for a dairy-free variation.
-
Vanilla Extract – 1 teaspoon enhances flavor; opt for pure vanilla for the best taste.
-
Raw Honey – 3-4 tablespoons sweeten naturally; local raw honey is recommended, allowing you to adjust to your taste.
Get ready to dive into the refreshing world of Cherry Creamsicles that not only satisfy your cravings but also nourish your body!
Step‑by‑Step Instructions for Cherry Creamsicles {Real Food + No Refined Sugar}
Step 1: Chill the Mixing Bowl
Start by placing a large mixing bowl in the fridge for about 15 minutes to chill. This will help you whip the cream more efficiently later on. The longer chilling time ensures that the cream keeps its structure, resulting in perfectly fluffy Cherry Creamsicles.
Step 2: Thaw the Cherries
If you’re using frozen cherries, take 2 cups out of the freezer and let them thaw for about 10-15 minutes at room temperature. For fresh cherries, rinse them under cold water, remove the pits, and prepare them for blending. You want them juicy and sweet to create that vibrant cherry puree.
Step 3: Blend the Cherry Puree
In a blender, combine the thawed or fresh cherries with 1/4 cup of coconut water. Blend on high speed until the mixture is smooth and pureed, taking about 30 seconds. Scrape down the sides as needed to ensure even blending. This creamy cherry mixture will serve as a delicious layer in your Cherry Creamsicles.
Step 4: Whip the Cream
Retrieve your chilled bowl and add 1 cup of raw cream or coconut cream for a dairy-free version, along with 1 teaspoon of vanilla extract and 3-4 tablespoons of raw honey. Using an electric mixer, whip the ingredients on medium-high speed for about 1-1.5 minutes until the mixture thickens and forms soft peaks. You want it fluffy but still spreadable for layering.
Step 5: Layer the Popsicles
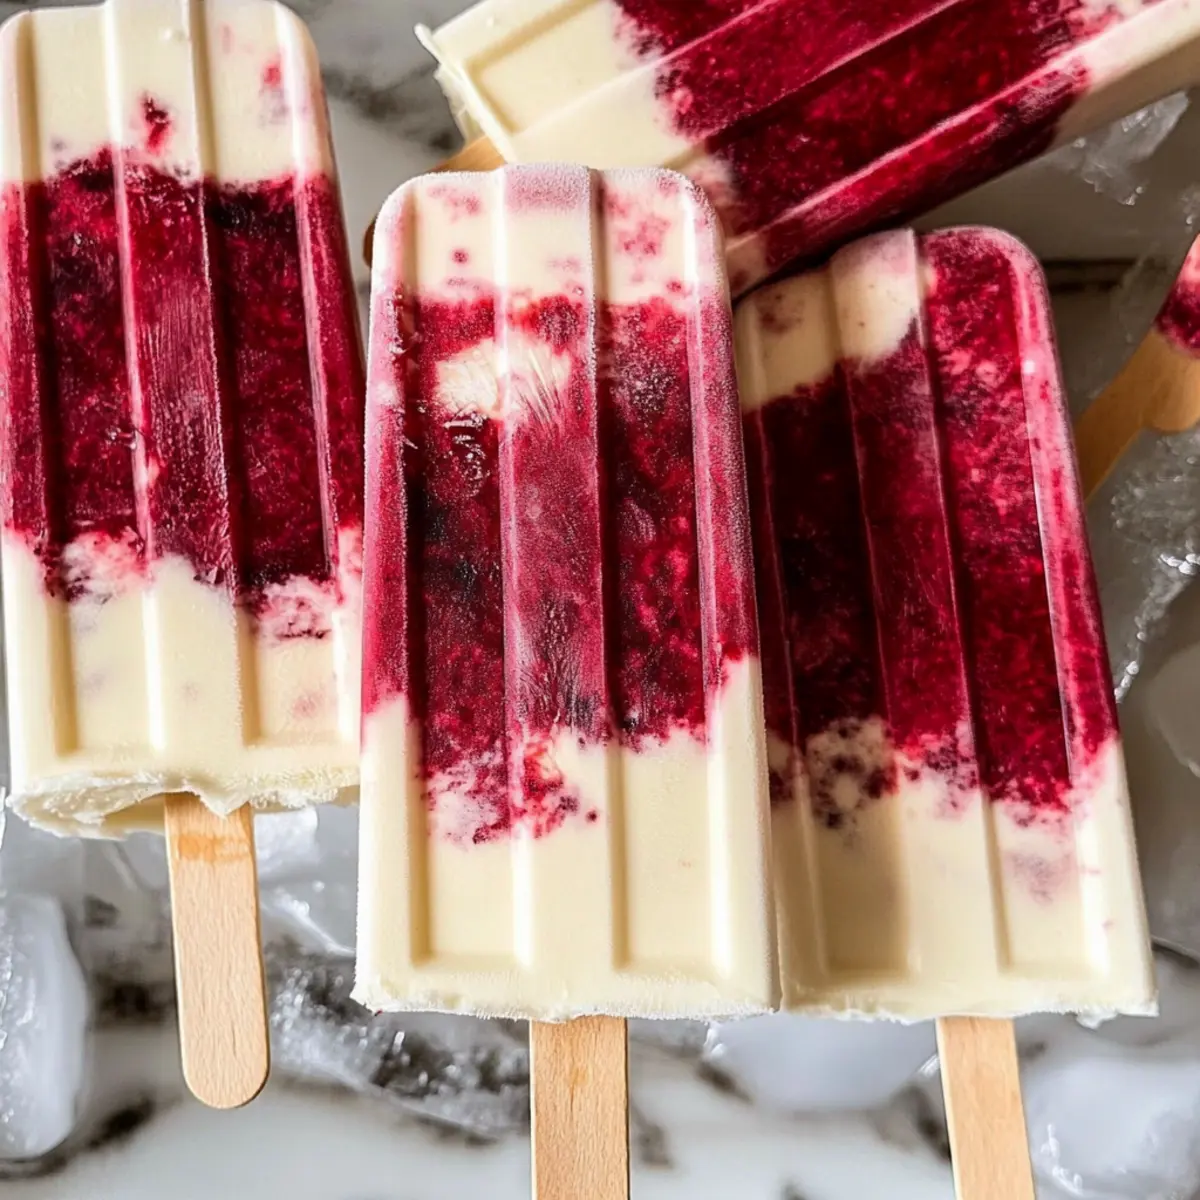
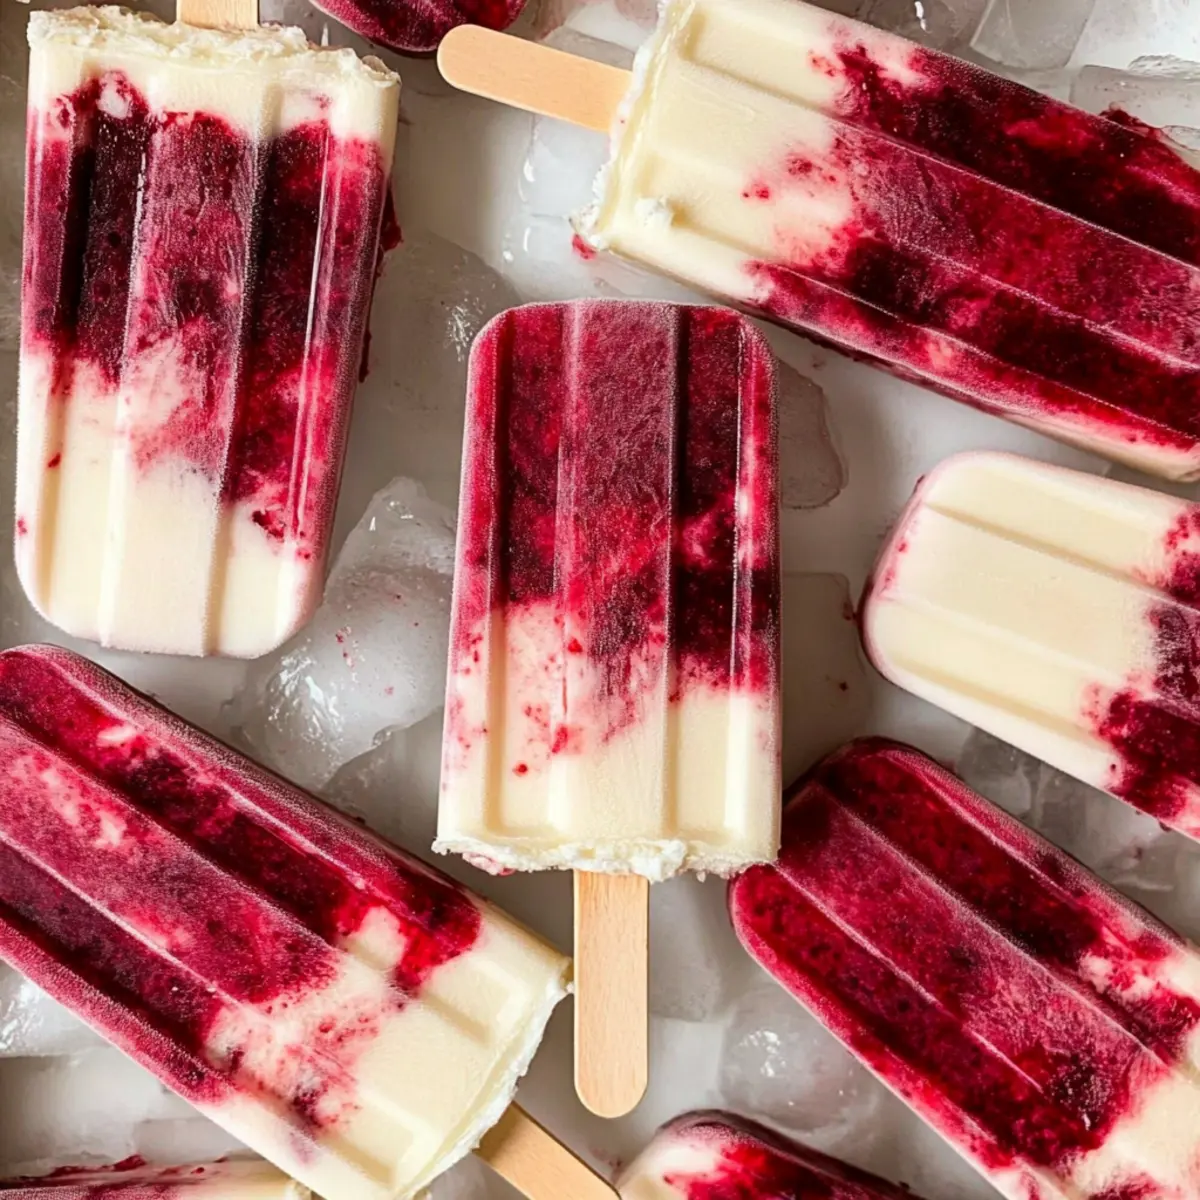
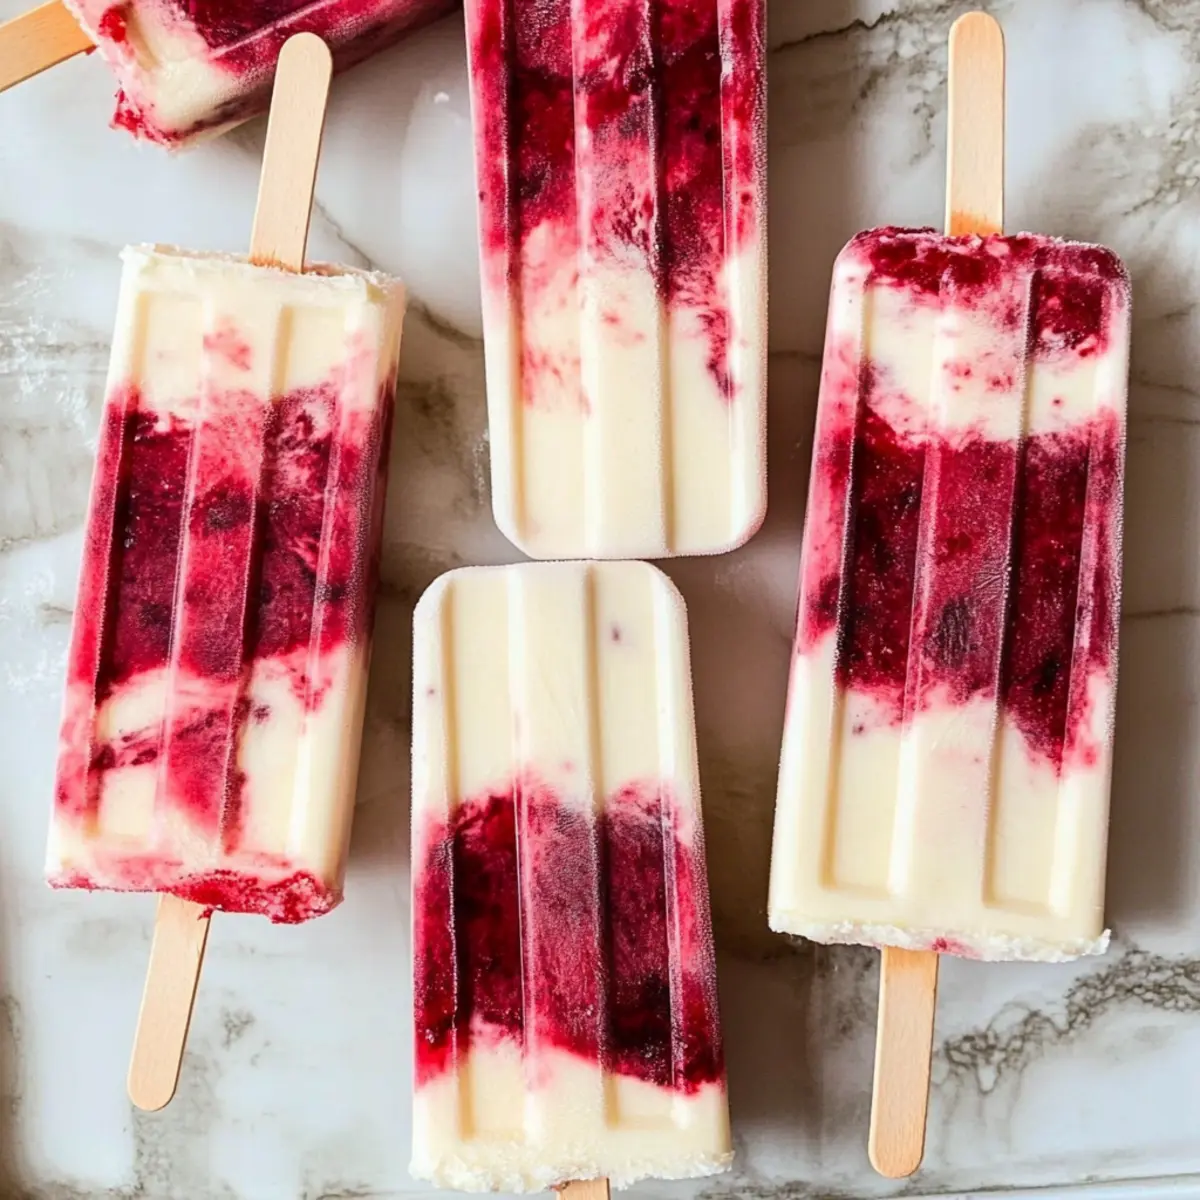
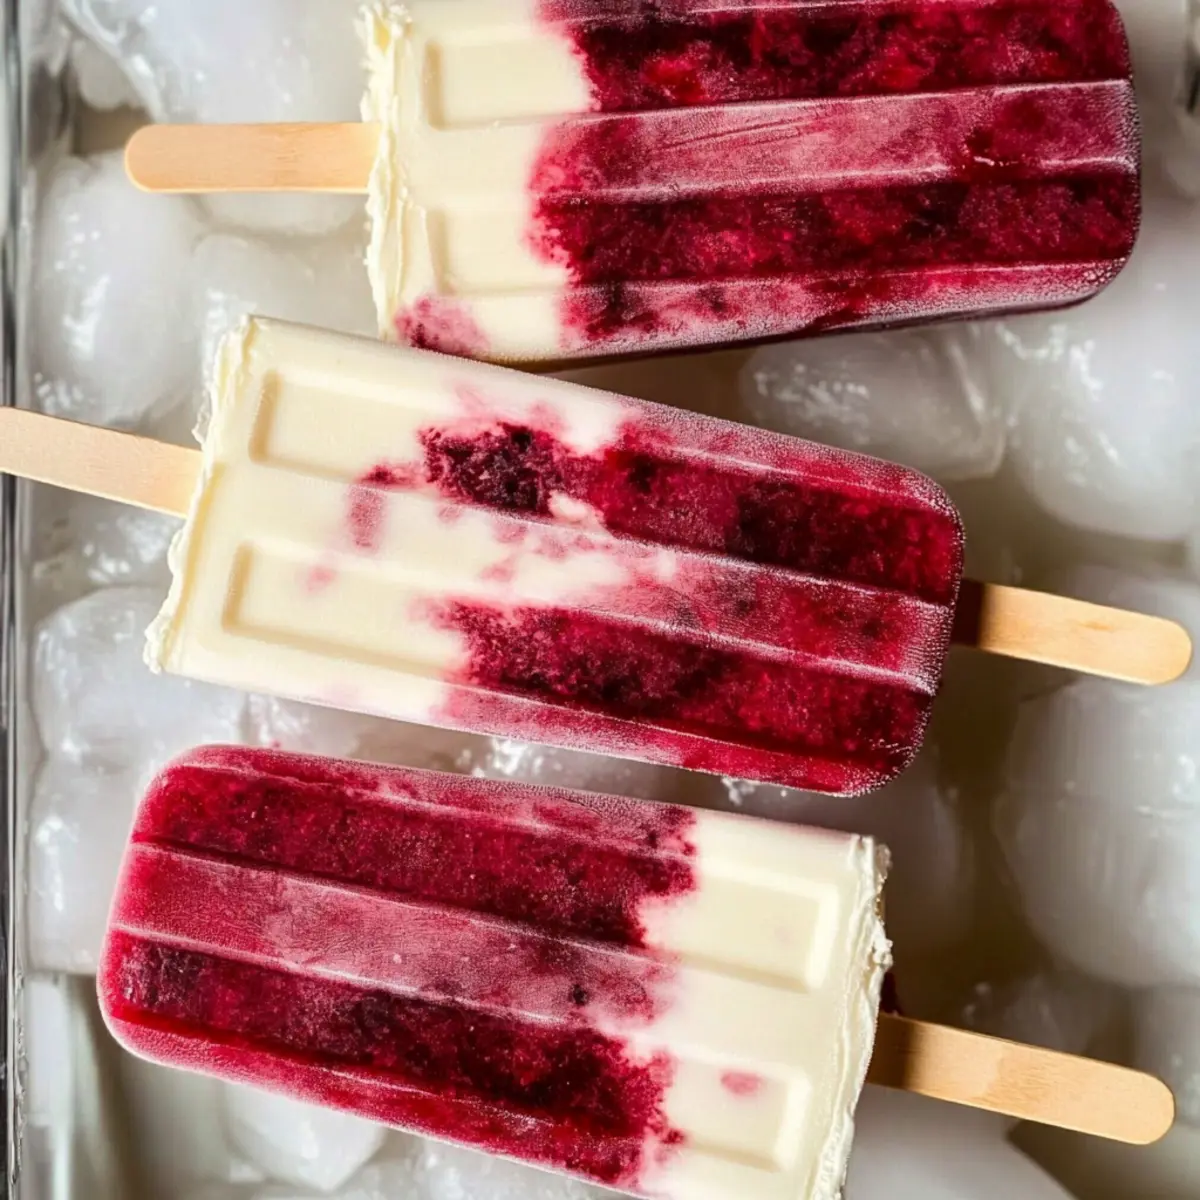
Grab your popsicle molds and begin by spooning in a layer of the whipped cream mixture, then follow with a layer of cherry puree. Alternate layers until the molds are filled, tapping them gently on the counter to eliminate air pockets. Aim for a marbled look by slightly swirling the two together; this adds a beautiful visual as well.
Step 6: Freeze the Popsicles
Once your molds are filled, cover them with their lids and place them in the freezer. Freeze for at least 6-8 hours, but letting them sit overnight is even better to ensure they’re thoroughly solid. As they freeze, they transform into refreshing Cherry Creamsicles ready to delight your taste buds.
Step 7: Release the Creamsicles
To remove your Cherry Creamsicles from the molds, run them under warm water for about 10-15 seconds. The warmth will help loosen the popsicles, allowing you to gently pull them out without breaking. Serve immediately for a refreshing treat on a hot day!
Expert Tips for Cherry Creamsicles
• Choose Quality Cherries: Opt for organic, ripe cherries for the best flavor and natural sweetness in your Cherry Creamsicles.
• Mix Cream with Care: Whip the cream just until soft peaks form; over-whipping can lead to a grainy texture, affecting the creamy consistency.
• Layer Strategically: To achieve a beautiful marbling in the molds, alternate layers of whipped cream and cherry puree carefully without completely mixing them.
• Mold Selection: Stainless steel molds release popsicles more easily compared to plastic ones, which may require extra time under warm water.
• Freezing Time Matters: For the best results, freeze your Cherry Creamsicles overnight; this ensures they are solid and easy to release when you’re ready to enjoy!
Make Ahead Options
These Cherry Creamsicles are perfect for meal prep, allowing you to enjoy a sweet treat without the last-minute rush! You can prepare the cherry puree and whipped cream mixture up to 24 hours in advance; simply store them separately in airtight containers in the refrigerator. This not only saves time but also ensures that the flavors are fresh and vibrant when you’re ready to assemble. When it’s time to make your popsicles, just layer the chilled mixture into the molds as directed, then freeze for at least 6-8 hours (or overnight for best results). By prepping ahead, you’ll have these delightful, no-refined-sugar Cherry Creamsicles ready for those busy summer days, ensuring every scoop is just as delicious as if they were made fresh!
Cherry Creamsicles Variations & Substitutions
Feel free to sprinkle your creativity into these Cherry Creamsicles for a personalized touch that tantalizes your taste buds!
-
Berry Bliss: Substitute cherries with strawberries or blueberries for a fruity twist. Their vibrant colors and flavors create delightful popsicle variations.
-
Dairy-Free Delight: Use coconut cream instead of raw cream for a rich, dairy-free alternative. The coconut flavor pairs beautifully with the cherry puree.
-
Nutty Flavor: Add a tablespoon of almond or hazelnut extract to enhance the flavor profile and bring a delightful nutty essence to your creamsicles.
-
Chocolate Lovers: Stir in mini chocolate chips or cocoa powder into the whipped cream for a decadent chocolate variation. The chocolate complements the cherry sweetness beautifully.
-
Tropical Paradise: Swap coconut water for pineapple juice, creating a tropical explosion of flavors that reminds you of summertime vacations.
-
Spice It Up: Add a dash of cinnamon or nutmeg to the whipped cream for a warm spice that contrasts with the fruity cherry. This adds a lovely depth of flavor.
-
Herbal Infusion: Toss in some fresh mint or basil leaves while blending the cherry puree for a refreshing herbal twist that elevates the overall taste.
-
Honey Alternatives: Experiment with maple syrup or agave nectar instead of honey for a different sweetening option, each bringing its own unique flavor to the mix.
As you explore these variations, don’t forget to consider other delightful options! For example, enjoy them alongside some refreshing Herbal Tea or pair them with some Greek Yogurt for an even more satisfying experience!
What to Serve with Cherry Creamsicles {Real Food + No Refined Sugar}
Indulging in these refreshing Cherry Creamsicles creates the perfect opportunity to build a delightful summer spread that’ll please every palate.
-
Fresh Fruit Salad: A medley of seasonal fruits brings brightness and a refreshing contrast to the creamy popsicles.
-
Grilled Chicken Skewers: Juicy, seasoned chicken skewers add a savory balance, making your meal exciting and satisfying.
-
Coconut Rice: Fluffy coconut rice offers a tropical twist that resonates with the flavors of the creamsicles and enhances the overall experience.
-
Minted Ice Tea: A cool, mint-infused iced tea quenches thirst, pairing beautifully with the sweet cherry pops for a refreshing sip.
-
Dark Chocolate Dipped Cookies: Treat yourself with a side of crunchy cookies dipped in dark chocolate; their richness complements the lightness of the creamsicles fabulously.
-
Strawberry Shortcake: An indulgent but fresh dessert that mirrors the flavors of the creamsicles, yet gives a luxurious feel to your summertime gathering.
-
Homemade Granola: A classic crunch on the side for a satisfying texture mix; top it with yogurt for a delightful parfait.
-
Almond Milk Smoothie: Creamy and nutrient-rich, an almond milk smoothie can serve as a deliciously wholesome beverage choice that echoes the healthful theme of your meal.
-
Lemon Sorbet: A tart and icy treat that opens up the palate, balancing the sweetness of the Cherry Creamsicles with a zesty finish.
How to Store and Freeze Cherry Creamsicles
Fridge: Store leftover Cherry Creamsicles in an airtight container, but they’re best enjoyed fresh. They may last in the fridge for up to 3 days if needed.
Freezer: Freeze Cherry Creamsicles in molds or transfer them to airtight containers for up to 2-3 months. Make sure they’re well-wrapped to prevent freezer burn.
Thawing: When ready to enjoy, remove them from the freezer and let them sit at room temperature for a minute before enjoying. Run under warm water briefly if needed to release from molds.
Refreezing: Avoid refreezing once they’ve been thawed, as it can change the texture of these delightful treats. Each bite of your Cherry Creamsicles should be as creamy and refreshing as the first!
Cherry Creamsicles Recipe FAQs
What type of cherries should I use for the Cherry Creamsicles?
Absolutely! For the best results, opt for fresh, ripe organic cherries if available. They provide the sweetest flavor and vibrant color for your creamsicles. If you’re using frozen cherries, make sure they are thawed before blending to achieve a smooth puree.
How should I store my Cherry Creamsicles?
Store your Cherry Creamsicles in an airtight container in the freezer for up to 2-3 months. If you’re using popsicle molds, you can also keep the pops in the molds until you’re ready to serve. Be sure to seal the molds tightly to prevent any freezer burn or ice crystals from forming.
Can I freeze leftover Cherry Creamsicle mixture?
I recommend freezing your Cherry Creamsicle mixture only if it’s not yet whipped. You can freeze the cherry puree and the whipped cream separately in airtight containers for up to 3 months. When ready to use, thaw them out in the fridge overnight, then whip the cream again for a fresh texture before layering.
What should I do if my creamsicles won’t come out of the molds?
Very! If your Cherry Creamsicles are stuck in the molds, run the molds under warm water for 10-15 seconds. The heat will loosen them, making it easier to pull them out without breaking. You can also try gently twisting the molds to release the treats.
Are Cherry Creamsicles safe for my dog to eat?
While cherries themselves are safe for dogs in moderation, ensure that your Cherry Creamsicles don’t contain any other harmful ingredients, such as honey or cream, that might not suit a dog’s diet. Always consult your veterinarian before offering new treats to your pet.
Can I adjust the sweetness of my Cherry Creamsicles?
Absolutely! You can easily adjust the sweetness by reducing the quantity of raw honey or substituting it with a natural sweetener like maple syrup or agave nectar. Taste the cherry puree before layering to find the perfect balance that satisfies your sweet tooth!
Fresh Cherry Creamsicles: Real Food, No Refined Sugar Delight
Ingredients
Equipment
Method
- Chill the Mixing Bowl: Start by placing a large mixing bowl in the fridge for about 15 minutes to chill.
- Thaw the Cherries: If using frozen cherries, let them thaw for about 10-15 minutes. For fresh cherries, rinse, pit, and prepare them.
- Blend the Cherry Puree: In a blender, combine the thawed or fresh cherries with coconut water and blend until smooth.
- Whip the Cream: In the chilled bowl, add raw cream, vanilla extract, and honey. Whip until soft peaks form.
- Layer the Popsicles: Spoon in layers of whipped cream and cherry puree into the molds, alternating for a marbled look.
- Freeze the Popsicles: Cover the molds and freeze for at least 6-8 hours, preferably overnight.
- Release the Creamsicles: To remove, run molds under warm water for 10-15 seconds and gently pull them out.