


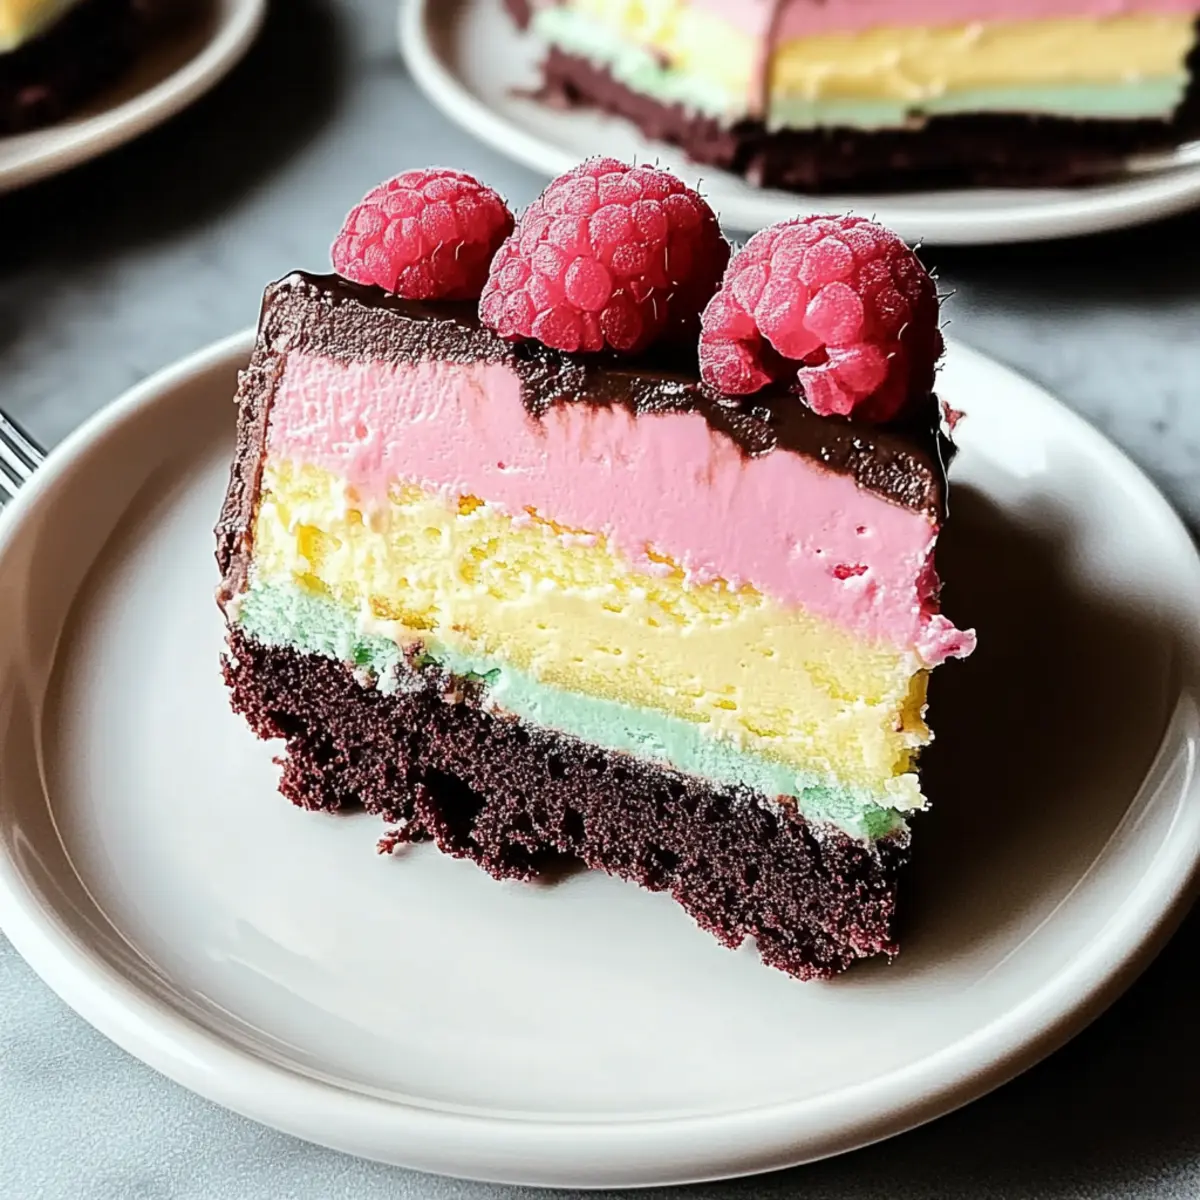
Is it really summer if you’re not indulging in a slice of vibrant, colorful layered homemade ice cream cake? This no-bake delight captures the essence of sunny days and joyful gatherings, making it a perfect centerpiece for your summer celebrations. With layers of rich vegan chocolate cake, creamy pistachio gelato, salted caramel ice cream, and tangy raspberry sorbet, this dessert is as customizable as it is crowd-pleasing. Plus, it’s a breeze to make in advance, ensuring you spend less time in the kitchen and more time delighting in laughter with friends and family. Whether you’re hosting a backyard barbecue or simply treating yourself, I bet you’ll be reaching for seconds! What combinations will you dream up for your own colorful creation?
Why is this ice cream cake a must-try?
No-Bake Convenience: This recipe requires no baking, making it a lifesaver for hot summer days when you want to avoid turning on the oven.
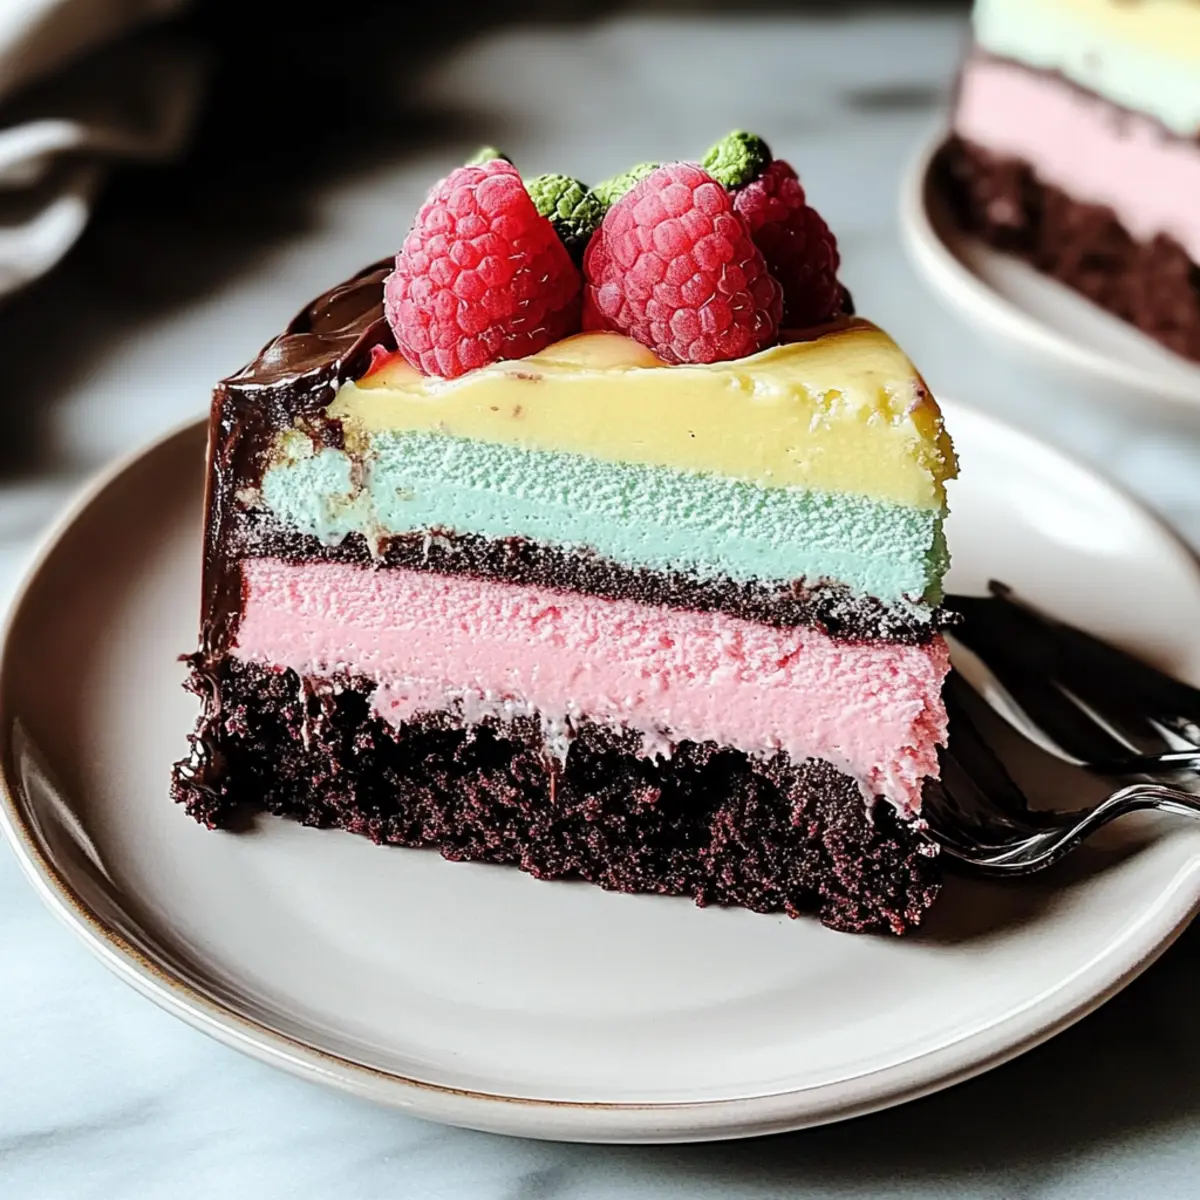
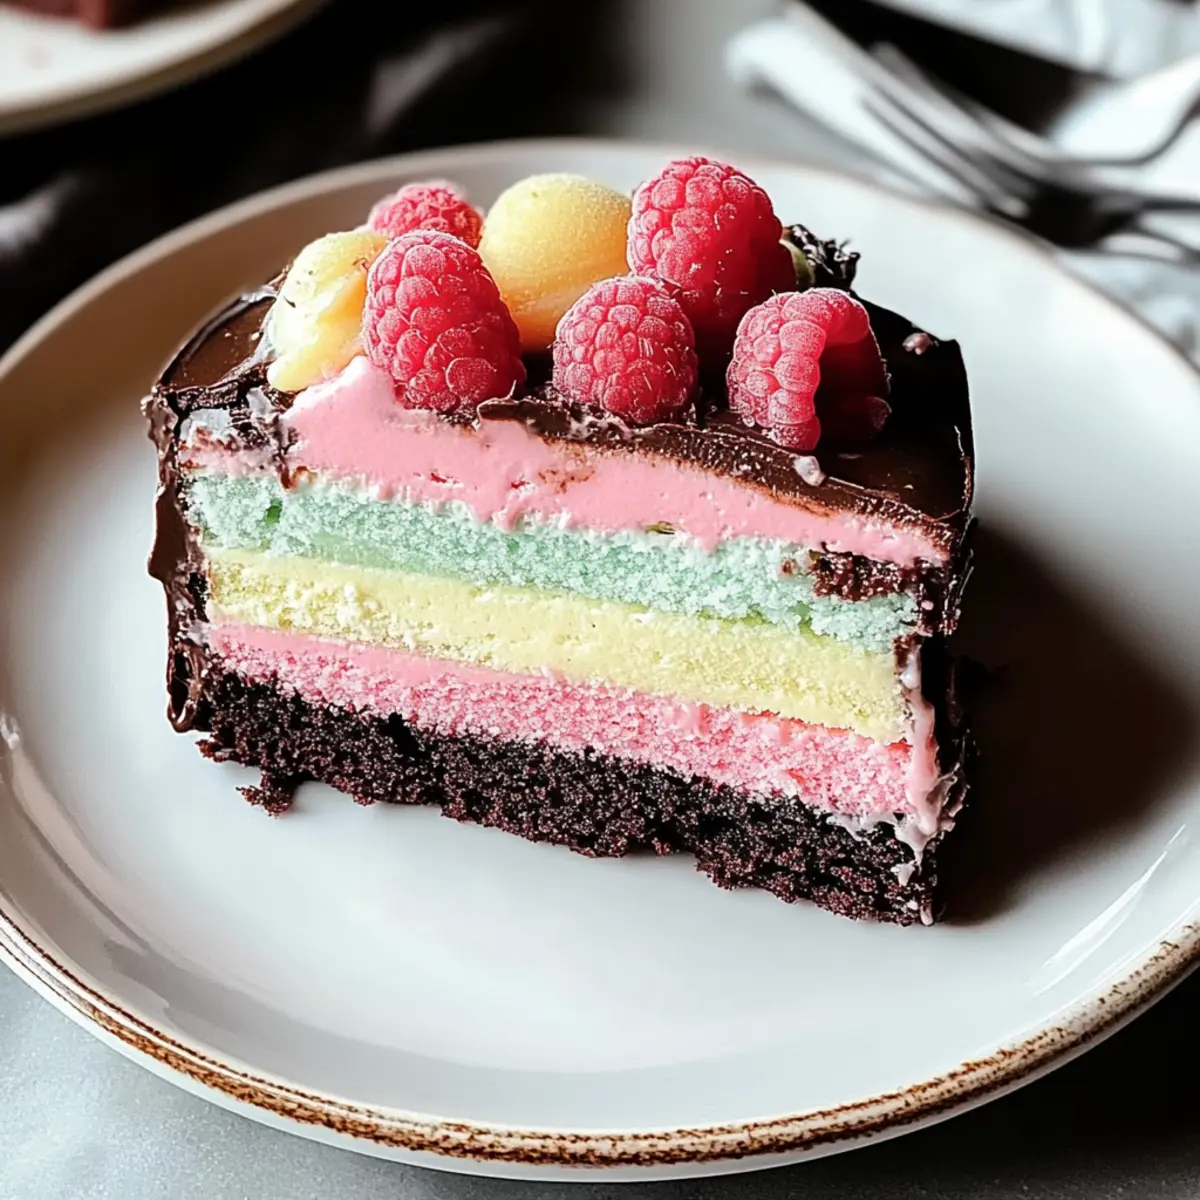
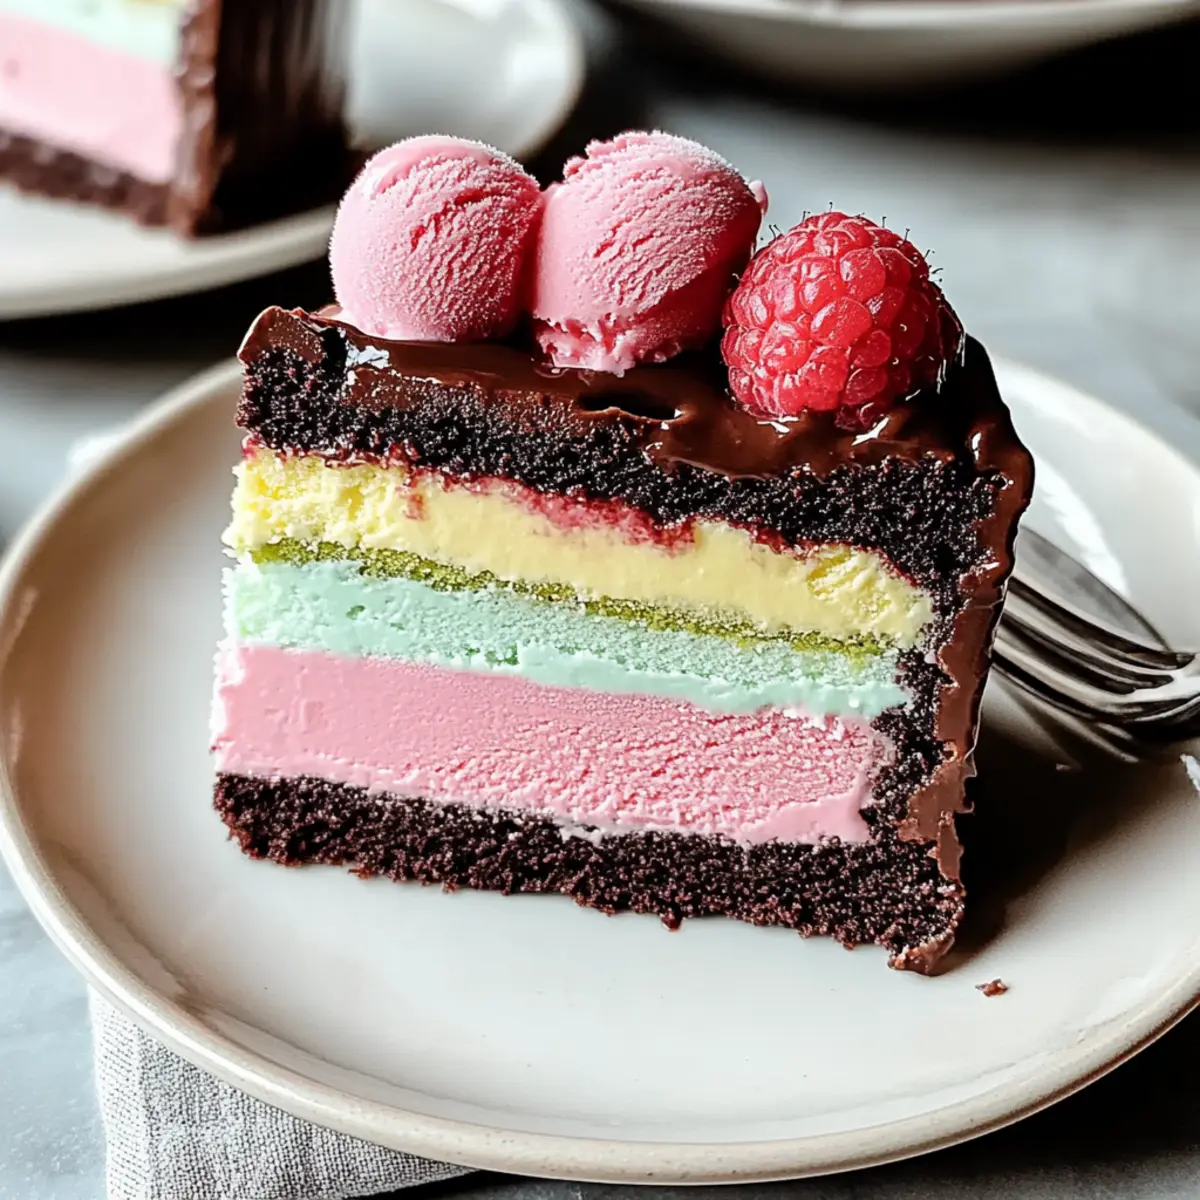
Vibrant Layers: Each layer bursts with color and flavor, creating a stunning visual experience that’s sure to impress.
Customizable Ideas: Feel free to get creative! Swap in your favorite ice creams or add seasonal fruits for a personal twist.
Crowd-Pleaser: Perfect for parties or family gatherings, everyone will be coming back for seconds of this delightful treat.
Make-Ahead Magic: Prepare it the day before, allowing flavors to meld beautifully while you relax and enjoy your company.
This colorful layered homemade ice cream cake is not only fun to make but also a delightful centerpiece that brings joy to any summer occasion!
Colorful Layered Homemade Ice Cream Cake Ingredients
• Dive into the deliciousness without turning on the oven!
For the Cake Base
- Vegan Chocolate Cake – Base layer providing structure and richness. Substitution: Any chocolate cake recipe or store-bought vegan option can be used.
For the Ice Cream Layers
- Pistachio Gelato – Creamy ice cream layer adding nutty flavor. Substitution: Any nut-based gelato works beautifully.
- Salted Caramel Ice Cream – Adds sweetness and a salty contrast. Substitution: Regular caramel ice cream can replace salted caramel when unavailable.
- Raspberry Sorbet – Refreshing fruity layer that balances sweetness. Substitution: Other fruity sorbets or sherbets can be used based on preference.
For the Topping
- Fresh Raspberries – For decoration and visual appeal. Notes: Other berries or edible flowers can enhance presentation.
Step‑by‑Step Instructions for Colorful Layered Homemade Ice Cream Cake
Step 1: Prepare the Chocolate Cake Base
Preheat your oven to 350°F (175°C). Grease a 9×5-inch loaf pan and pour in the vegan chocolate cake batter, spreading it evenly. Bake for 18-22 minutes or until a toothpick inserted in the center comes out clean. Once done, allow the cake to cool completely in the pan.
Step 2: Freeze the Base
Once the chocolate cake has cooled, line it with parchment paper, ensuring the paper overhangs the edges for easy removal. Place the lined cake in the freezer and let it chill for at least 3 hours or until it’s firm to the touch, providing a solid foundation for the ice cream layers.
Step 3: Add Ice Cream Layers
After the cake base is frozen, let the pistachio gelato soften at room temperature for about 10 minutes. Spread the softened gelato evenly over the frozen cake layer, making sure to cover all sides. Return the cake to the freezer for 4 hours, allowing this layer to set completely.
Step 4: Layer Salted Caramel Ice Cream
Next, take the salted caramel ice cream and let it soften slightly at room temperature for 10 minutes. Once softened, layer it over the pistachio gelato, smoothing it out evenly. Place the cake back in the freezer for an additional 4 hours until this layer is solid.
Step 5: Final Layer with Raspberry Sorbet
Soften the raspberry sorbet for about 10 minutes until it’s easy to spread. Carefully spread it over the salted caramel layer, ensuring a nice even layer on top. Cover the cake again and freeze overnight for the best results, ensuring all layers are well combined and firm.
Step 6: Serve
When ready to serve your colorful layered homemade ice cream cake, remove it from the freezer and let it sit at room temperature for 5 minutes. Carefully invert the cake onto a baking sheet, lifting off the pan and peeling away the parchment paper. Slice with a hot knife for clean cuts and enjoy the vibrant layers!
Colorful Layered Ice Cream Cake Variations
Feel free to let your imagination run wild as you customize this delightful ice cream cake!
-
Sponge Cake Base: Swap the chocolate cake for a fluffy sponge cake for a lighter taste and texture. The airy layers will add a lovely contrast to the creamy ice creams.
-
Berry Medley: Change the fresh raspberries to strawberries or blueberries for a seasonal twist. These fruits not only taste delicious but also provide vibrant color that can brighten your presentation.
-
Nutty Crunch: Stir in crushed nuts, like walnuts or hazelnuts, into the layers for added crunch and flavor. This little twist provides an exciting textural surprise in each slice!
-
Chocolate Drizzle: Top the cake with a drizzle of melted dark chocolate for a rich and indulgent finish. It elevates the sweet flavors and adds a beautiful glossy sheen.
-
Minty Whipped Cream: Serve with aerated mint-infused whipped cream on the side for a refreshing finishing touch. The mint complements the flavors beautifully, making every bite feel like a delightful summer breeze.
-
Spicy Kick: For the adventurous, sprinkle a hint of cayenne pepper or chili powder into the chocolate cake batter. This unexpected heat balances the sweetness and adds an exciting layer of flavor!
-
Cookie Crust: Instead of a cake base, use crushed cookies mixed with butter to create a crunchy bottom layer. This twist makes for a delightful and textural contrast to the ice cream layers.
-
Fruit Sorbet Swaps: Experiment with different fruity sorbets; mango or passion fruit can give your cake a tropical flair. Each variation brings its own unique flavors, making it a refreshing treat for any occasion.
By exploring these variations, you’ll find endless ways to create a personalized version of this colorful layered ice cream cake, perfect for sharing with family and friends.
Storage Tips for Colorful Layered Homemade Ice Cream Cake
-
Fridge: Store leftover slices in an airtight container for up to 3 days. This keeps the flavors fresh, but don’t forget to enjoy them swiftly!
-
Freezer: Wrap tightly in plastic wrap or foil, then place in an airtight container to freeze for up to 3 months. Let it sit at room temperature for 10-15 minutes before serving to soften.
-
Separation Tip: When storing, layer parchment paper between slices to prevent sticking and maintain the colorful layers of your ice cream cake.
-
Reheating: No reheating needed! Serve directly from the fridge or freezer for a refreshing treat, savoring every delicious bite of your colorful layered homemade ice cream cake.
What to Serve with Colorful Layered Homemade Ice Cream Cake
Indulging in a slice of vibrant cake is just the beginning; let’s elevate your dessert experience to bliss!
-
Minty Whipped Cream: A dollop of fresh, mint-infused whipped cream adds a refreshing burst of flavor, enhancing every creamy bite.
-
Fresh Berries: A mix of strawberries, blueberries, and raspberries perks up the plate with color and tartness, perfectly balancing the sweet layers.
-
Iced Lemonade: Serve alongside a glass of refreshing iced lemonade for a zesty contrast that complements the rich flavors of the cake.
-
Chocolate Drizzle: Drizzle warm, melted dark chocolate over each slice for an indulgent touch that will satisfy any sweet tooth.
-
Fruit Salad: A light fruit salad packed with seasonal fruits rounds out the meal, providing a fresh and juicy palate cleanser.
-
Coffee or Espresso: Enjoy your cake with a side of rich coffee or espresso; the warm, strong flavors create a delightful contrast with the cold ice cream layers.
Your colorful layered homemade ice cream cake is only the beginning of an unforgettable dessert experience that invites smiles and delighted taste buds!
Make Ahead Options
This colorful layered homemade ice cream cake is perfect for meal prep enthusiasts looking to save time! You can prepare the vegan chocolate cake base up to 24 hours in advance; simply store it in the freezer wrapped tightly in plastic to maintain freshness. Additionally, each ice cream layer can be added ahead; layer the softened pistachio gelato and salted caramel ice cream, freezing each layer for 4 hours before adding the next. For the best flavor, freeze the completed cake overnight. When it’s time to serve, simply let the cake sit at room temperature for about 5 minutes before slicing, ensuring each slice remains just as delicious and vibrant as the day you made it!
Expert Tips for Colorful Layered Homemade Ice Cream Cake
-
Layer Firmness: Ensure each ice cream layer is fully frozen before adding the next. This prevents mixing and maintains clean, distinct layers.
-
Cleaning Cuts: Use a hot knife for slicing through the cake. This keeps the layers intact and beautiful for presentation.
-
Flavorful Variations: Don’t hesitate to customize the flavors! Experiment with different gelatos and sorbets to create a unique twist on this colorful layered homemade ice cream cake.
-
Chill Time: Be patient! Allow the cake to freeze overnight for optimal flavor melding and texture. Trying to serve too soon can lead to messy cuts.
-
Textural Additions: Consider mixing crushed nuts into the ice cream layers for an added crunch, making your cake even more delightful!
Colorful Layered Homemade Ice Cream Cake Recipe FAQs
How do I choose ripe and fresh ingredients for this ice cream cake?
Absolutely! For the best results, select fresh fruits that are vibrant and free from blemishes. Look for raspberries that are plump and bright red, avoiding ones with dark spots. When it comes to gelatos and ice creams, check the expiration dates and ensure they have a smooth texture without ice crystals for optimal creaminess.
How should I store leftover slices of the ice cream cake?
To keep your colorful layered homemade ice cream cake fresh, store any leftover slices in an airtight container in the fridge for up to 3 days. If you want to preserve it for longer, wrap it tightly in plastic wrap or foil and place it in an airtight container to freeze for up to 3 months. Let it sit at room temperature for 10-15 minutes before serving again to soften.
Can I freeze this ice cream cake? If so, how?
Very! Freezing is a great way to preserve your colorful layered homemade ice cream cake. First, make sure the cake is fully frozen. Then, slice it if desired, and wrap each slice in plastic wrap. Next, place the wrapped slices in an airtight container to prevent freezer burn. For best flavor and texture, consume within 3 months. Just remember to allow them to thaw for 10-15 minutes before enjoying!
What if my layers are mixing together during assembly?
Ensure each layer is fully frozen before adding the next. If layers are mixing, it may be because the previous layer wasn’t set long enough. I recommend allowing each ice cream layer to freeze for a minimum of 4 hours. If you do find some mixing has occurred, don’t fret – the flavors will still be delicious, just less visually distinct!
Are there any dietary considerations I should be aware of?
Definitely! This ice cream cake is already vegan and can cater to many dietary needs. However, cross-contamination can occur, so be sure to check labels on all store-bought ingredients for allergens if you have guests with dietary restrictions. Substitute any ice cream with dairy-free or nut-free options if needed, and enjoy this delightful dessert without worry!
What is the best way to serve this cake?
When serving, I recommend letting the cake sit at room temperature for about 5 minutes after removing it from the freezer. Use a heated knife to slice it so you can maintain the beautiful layers. It pairs wonderfully with fresh berries or a drizzle of chocolate sauce for an extra special touch. Enjoy every colorful bite!
Colorful Layered Homemade Ice Cream Cake for Summer Bliss
Ingredients
Equipment
Method
- Preheat your oven to 350°F (175°C). Grease a 9x5-inch loaf pan and pour in the vegan chocolate cake batter, spreading it evenly. Bake for 18-22 minutes or until a toothpick inserted in the center comes out clean. Once done, allow the cake to cool completely in the pan.
- Once the chocolate cake has cooled, line it with parchment paper, ensuring the paper overhangs the edges for easy removal. Place the lined cake in the freezer and let it chill for at least 3 hours or until it’s firm to the touch.
- After the cake base is frozen, let the pistachio gelato soften at room temperature for about 10 minutes. Spread the softened gelato evenly over the frozen cake layer, making sure to cover all sides. Return the cake to the freezer for 4 hours.
- Next, take the salted caramel ice cream and let it soften slightly at room temperature for 10 minutes. Once softened, layer it over the pistachio gelato, smoothing it out evenly. Place the cake back in the freezer for an additional 4 hours.
- Soften the raspberry sorbet for about 10 minutes until it’s easy to spread. Carefully spread it over the salted caramel layer, ensuring a nice even layer on top. Cover the cake again and freeze overnight.
- When ready to serve, remove it from the freezer and let it sit at room temperature for 5 minutes. Carefully invert the cake onto a baking sheet, lifting off the pan and peeling away the parchment paper. Slice with a hot knife for clean cuts.