

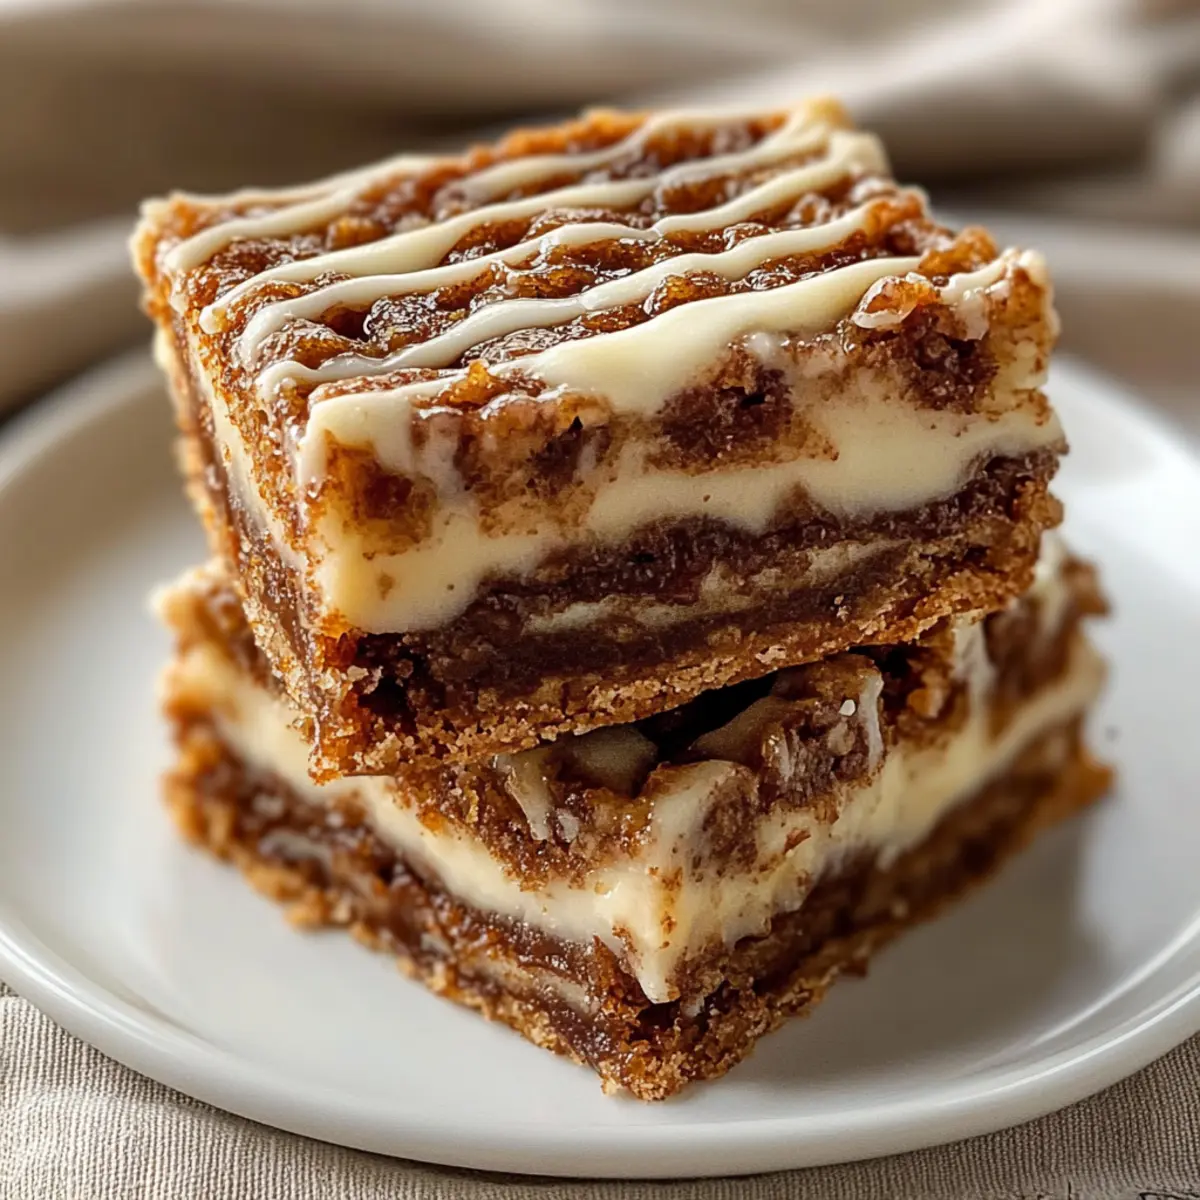
The scent of cinnamon wafting through the kitchen always brings back fond memories for me, instantly transporting me to my grandmother’s cozy baking corner. Today, I’m excited to share a scrumptious recipe for Delightful Cinnamon Roll Bliss Bars that captures that comforting essence in a fun and easy dessert. Perfect for any occasion, these bars are an absolute crowd-pleaser, combining the beloved flavors of cinnamon rolls with minimal prep time. Not only do they deliver on taste, but they also offer a delightful way to indulge in homemade comfort food without spending hours in the kitchen. So, are you ready to turn your kitchen into a sweet sanctuary and impress everyone with these delicious bars? Let’s get baking!
Why Is This Recipe So Irresistible?
Simplicity: This recipe is a breeze, allowing you to create something special without culinary pressure.
Comforting Flavors: With rich cinnamon and velvety cream cheese frosting, each bite transports you to sweet memories.
Crowd-Pleaser: Ideal for gatherings, these bars are sure to impress guests and leave them craving more.
Versatile: Feel free to customize it with nuts or healthier sugar alternatives to suit your taste!
Quick Prep Time: In just about an hour, achieve bakery-quality results right in your kitchen.
Storage-Friendly: These bars stay delicious for days, making them perfect for enjoying a little sweetness throughout the week. For more delightful dessert ideas, check out our easy dessert recipes.
Cinnamon Roll Bliss Bars Ingredients
-
For the Base
-
All-Purpose Flour – Provides structure; use gluten-free flour for a gluten-free version.
-
Granulated Sugar – Sweetens the base; substitute with coconut sugar for unique flavor.
-
Baking Powder – Acts as a leavening agent for a lighter texture.
-
Baking Soda – Works with acid ingredients for leavening.
-
Salt – Enhances flavor for a greater taste experience.
-
Unsalted Butter (cold and cubed) – Binds the base; ensure it’s cold for optimal texture.
-
Buttermilk – Adds moisture and tang; can be substituted with milk plus vinegar or lemon juice.
-
Vanilla Extract – Adds sweetness and depth to the flavor profile.
-
For the Cinnamon Filling
-
Packed Brown Sugar – Provides sweetness and moisture; opt for blonde or dark brown for richer flavor.
-
Ground Cinnamon – Delivers that signature cinnamon flavor; high-quality cinnamon is recommended for best taste.
-
Unsalted Butter (melted) – Ties the lovely cinnamon filling together.
-
For the Frosting
-
Cream Cheese (softened) – Base for the frosting, lending creaminess; use reduced-fat for a lighter version.
-
Powdered Sugar – Sweetens the frosting; you can use less for more balanced sweetness.
-
Milk – Fluid for frosting; adjust for desired consistency.
These Cinnamon Roll Bliss Bars are not only easy to make but also perfect for indulging in a homemade comfort dessert!
Step‑by‑Step Instructions for Delightful Cinnamon Roll Bliss Bars
Step 1: Preheat the Oven and Prepare the Pan
Start by preheating your oven to 375°F (190°C). While it heats, line a 9×13 inch baking pan with parchment paper, allowing some overhang for easy removal later. Greasing the pan lightly will also prevent sticking, ensuring those Delightful Cinnamon Roll Bliss Bars come out perfectly formed.
Step 2: Mix the Dry Ingredients
In a large mixing bowl, whisk together the all-purpose flour, granulated sugar, baking powder, baking soda, and salt. Ensure all the dry ingredients are combined evenly without lumps. This step is crucial for achieving the ideal texture in your base. Take a moment to breathe in the sweet aroma of the sugar and flour blend!
Step 3: Cut in the Butter
Next, add the cold, cubed unsalted butter to the dry ingredients. Using a pastry cutter or your fingers, cut the butter into the mixture until it resembles coarse crumbs. This process should take about 2-3 minutes and is key to creating that flaky texture in your Delightful Cinnamon Roll Bliss Bars.
Step 4: Combine Wet Ingredients
In a separate bowl, mix the buttermilk and vanilla extract until well combined. Slowly stir this mixture into the dry ingredients, combining gently until just moistened. Avoid overmixing, as this will ensure your bars maintain a soft and tender crumb. You’ll know it’s ready when there are no dry patches left in the dough.
Step 5: Press the Dough into the Pan
Using your hands or a spatula, evenly press the dough into the bottom of the prepared baking pan. Aim for a smooth and uniform layer that covers the entire bottom. This base will provide the delicious foundation for your cinnamon filling. Take a moment to admire the dough’s lovely texture before moving on to the next step.
Step 6: Prepare the Cinnamon Filling
In a small bowl, combine the packed brown sugar and ground cinnamon, mixing thoroughly to distribute the flavors. Drizzle the melted unsalted butter evenly over the dough base, followed by sprinkling the cinnamon-sugar mixture generously on top. This creates a warm, gooey filling that makes these Delightful Cinnamon Roll Bliss Bars irresistible.
Step 7: Bake Until Golden
Place the pan in the preheated oven and bake for 20–25 minutes, or until the bars are golden brown and a toothpick inserted in the center comes out clean. Keep an eye on them during the final minutes of baking; the edges should be slightly crispy while the center is soft. Allow them to cool completely in the pan for the best results.
Step 8: Make the Frosting
While the bars are cooling, prepare the cream cheese frosting. In a mixing bowl, beat the softened cream cheese and butter together until creamy and smooth. Gradually add the powdered sugar, milk, and a splash of vanilla extract, mixing until you reach the desired creamy consistency. This luscious frosting will perfectly complement your Delightful Cinnamon Roll Bliss Bars.
Step 9: Frost and Serve
Once the bars have cooled completely, spread the cream cheese frosting evenly over the top using a spatula. Be generous and cover every corner! Then, cut into squares or rectangles for serving, enjoying the delightful combination of flavors and textures. These bars are ready to bring a smile to everyone’s face!
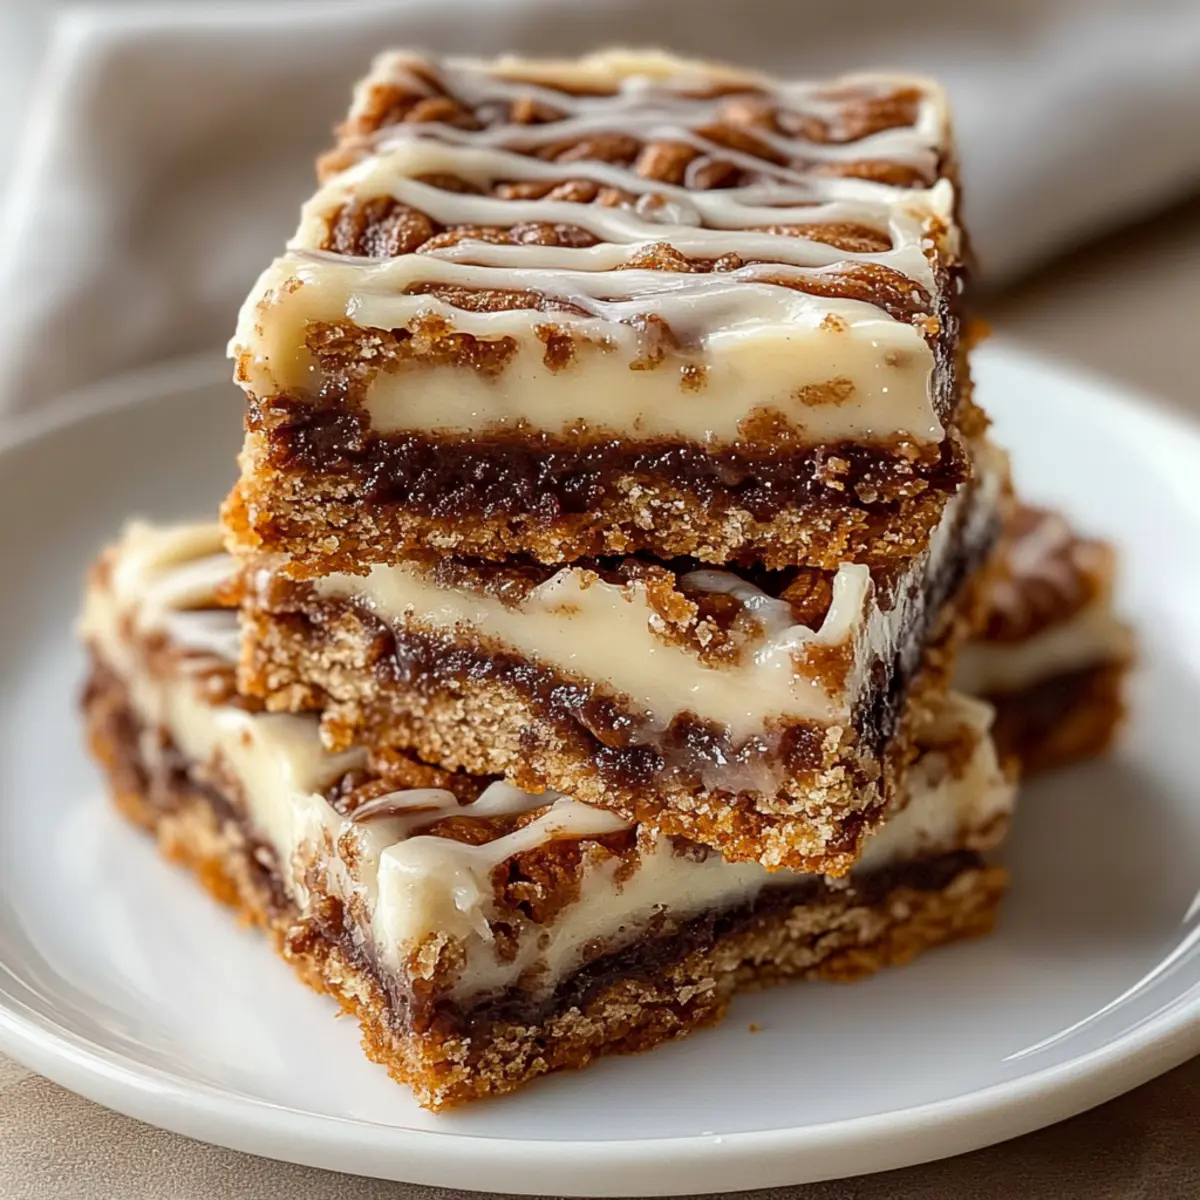
Expert Tips for Delightful Cinnamon Roll Bliss Bars
-
Cold Butter is Key: Ensure the butter for the base is cold to achieve that perfect flaky texture. Warm butter can lead to dense bars.
-
Don’t Rush Cooling: Allow the bars to cool completely before adding frosting. Frosting them too early may cause it to melt and become soggy.
-
Use Quality Cinnamon: Opt for high-quality ground cinnamon for the filling to elevate the overall flavor of your Delightful Cinnamon Roll Bliss Bars.
-
Electric Mixer for Frosting: For a consistently smooth frosting, use an electric mixer. If you whisk manually, it may require extra effort to achieve the right consistency.
-
Parchment Paper Advantage: Lining your baking pan with parchment paper not only helps with easy removal but also simplifies cleanup, making the process more enjoyable.
-
Customize Sweetness: If you’d like a less sweet frosting, adjust the amount of powdered sugar. You can always add a bit more if needed!
Delightful Cinnamon Roll Bliss Bars Variations
Feel free to make these bars your own with fun twists and swaps that enhance flavor and texture!
-
Nutty Crunch: Add chopped pecans or walnuts to the cinnamon filling for an irresistible bite and extra crunch.
Embrace the additional texture and flavor they bring, making each bite even more enjoyable. -
Sugar Swap: Substitute granulated sugar with coconut sugar for a unique flavor profile that adds depth to the sweetness.
The subtle caramel notes of coconut sugar can elevate the overall taste experience! -
Gluten-Free Delight: Use gluten-free all-purpose flour to create a version that everyone can enjoy without sacrificing taste or texture.
It allows those with dietary restrictions to partake in this delightful dessert. -
Creamy Twist: For a unique frosting twist, mix in a few tablespoons of peanut butter into your cream cheese frosting.
This adds a rich, nutty flavor that pairs beautifully with the cinnamon! -
Spicy Kick: Add a pinch of cayenne pepper to the cinnamon filling for a surprising and warming flavor boost.
The hint of spice will complement the sweetness, creating a delightful balance. -
Dried Fruit Addition: Incorporate dried cranberries or raisins into the filling for a sweet and chewy surprise in every bite.
They bring a burst of fruity flavor that contrasts nicely with the cinnamon. -
Lower Sugar Option: Reduce the amount of powdered sugar in the frosting to cut down on sweetness while still achieving that creamy texture.
This way, you can enjoy these bars with a lighter hand on sugar!
With all these customization ideas, your baking adventure can be as unique as your taste! If you’re looking for more sweet inspiration, explore our collection of easy dessert recipes.
Make Ahead Options
These Delightful Cinnamon Roll Bliss Bars are perfect for busy cooks who want to save time during the week! You can prepare the dough and filling up to 24 hours in advance, storing them separately in airtight containers in the refrigerator. For the best results, press the dough into the pan, cover it tightly, and keep the cinnamon-sugar mixture in a sealed bag. When you’re ready to bake, simply sprinkle the filling over the chilled dough and follow the baking instructions. Frosting can be made ahead as well, just store it in the fridge and let it come to room temperature before spreading it on the cooled bars. Enjoy the convenience of a delightful dessert without the hassle on the day of serving!
How to Store and Freeze Cinnamon Roll Bliss Bars
Room Temperature: Keep the bars in an airtight container at room temperature for up to 3 days. This ensures their soft texture remains intact for quick snacking.
Fridge: For extended freshness, store in the refrigerator for up to a week. Just make sure they’re well-covered to prevent them from drying out.
Freezer: Freeze un-frosted bars in an airtight container for up to 3 months. Thaw overnight in the fridge before frosting and serving.
Reheating: Reheat bars individually in the microwave for about 10-15 seconds. Enjoy warm for that freshly baked taste, just like your Delightful Cinnamon Roll Bliss Bars out of the oven!
What to Serve with Delightful Cinnamon Roll Bliss Bars
Indulging in these blissful bars is just the start of your cozy dessert experience! Let’s explore some delightful pairings that will elevate your sweet treat to the next level.
- Creamy Mashed Potatoes: The buttery, creamy texture provides a savory contrast that’s perfect for balancing out the sweet cinnamon flavors.
- Fresh Fruit Salad: A light and refreshing mix of seasonal fruits adds brightness and a touch of acidity, making each bite of dessert pop.
- Rich Vanilla Ice Cream: The creamy texture and sweet flavors create a heavenly combination when served warm on top of the bars.
- Warm Coffee: A nice, bold cup of coffee complements the sweetness and enhances the aromatic spices in the cinnamon bars.
- Caramel Sauce Drizzle: A warm drizzle of caramel enhances the flavors, adding sticky sweetness that makes each bite irresistible.
- Spiced Chai Latte: The warm spices in chai pair beautifully with the cinnamon flavors, creating a comforting drink that feels like a hug in a cup.
- Chopped Nuts Topping: Sprinkling nuts, such as pecans or walnuts, onto the bars adds an inviting crunch that contrasts wonderfully with the soft base.
- Decadent Hot Chocolate: Pair with a rich hot chocolate for an extra indulgent dessert experience, perfect for a cozy night in.
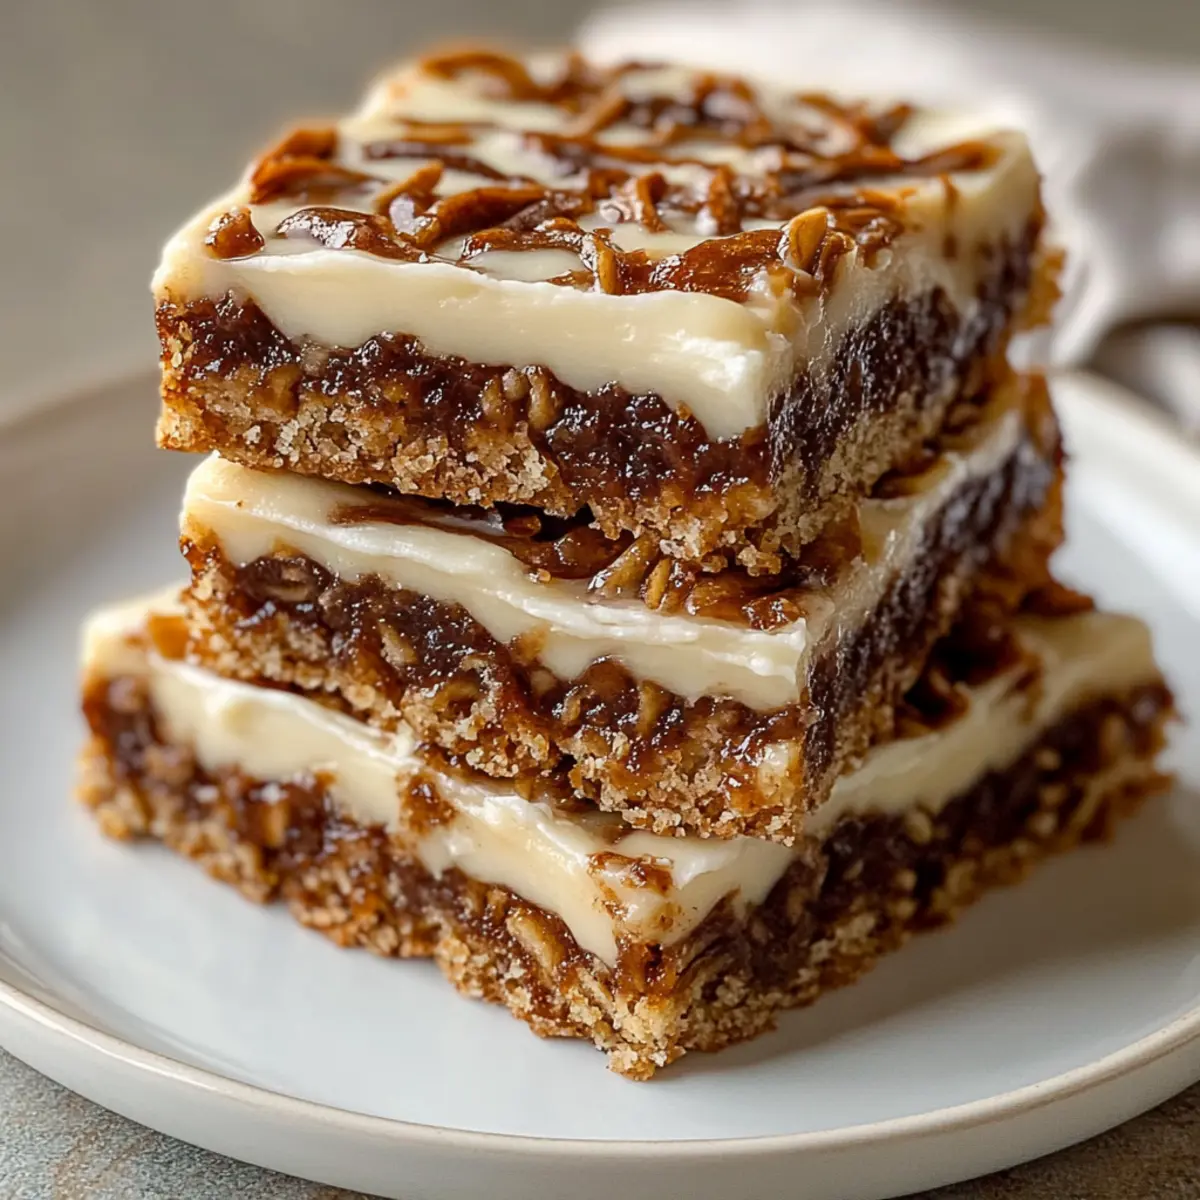
Delightful Cinnamon Roll Bliss Bars Recipe FAQs
What type of cinnamon should I use for the best flavor?
Absolutely! High-quality ground cinnamon is the key to elevating the flavor of your Delightful Cinnamon Roll Bliss Bars. Look for cinnamon labeled as Ceylon or “true” cinnamon for a sweeter, more delicate flavor. Avoid cassia cinnamon, as it tends to be harsher in taste.
How do I store leftover Cinnamon Roll Bliss Bars?
You can store your bars in an airtight container at room temperature for up to 3 days to keep them soft and delicious. If you wish to enjoy them longer, place them in the refrigerator, where they’ll stay fresh for up to a week. Just ensure they’re covered to prevent dryness!
Can I freeze Cinnamon Roll Bliss Bars?
Absolutely! For optimal freezing, wrap un-frosted bars individually in plastic wrap and place them in an airtight container. They’ll stay fresh for up to 3 months. When you’re ready to indulge, simply thaw them overnight in the refrigerator. After thawing, frost them and enjoy!
What if my bars are too dense or dry?
If your Delightful Cinnamon Roll Bliss Bars turn out dense or dry, it could be due to overmixing the dough or using warm butter. To avoid this, mix your wet and dry ingredients until just combined—remember, a little lumpiness is okay! If your butter is not cold enough during the initial mixing, it can affect the texture.
Can I make these bars gluten-free?
Very much so! For a gluten-free version of your Delightful Cinnamon Roll Bliss Bars, substitute all-purpose flour with a gluten-free all-purpose flour blend. I recommend checking that the blend contains xanthan gum to help replicate the structure that gluten provides.
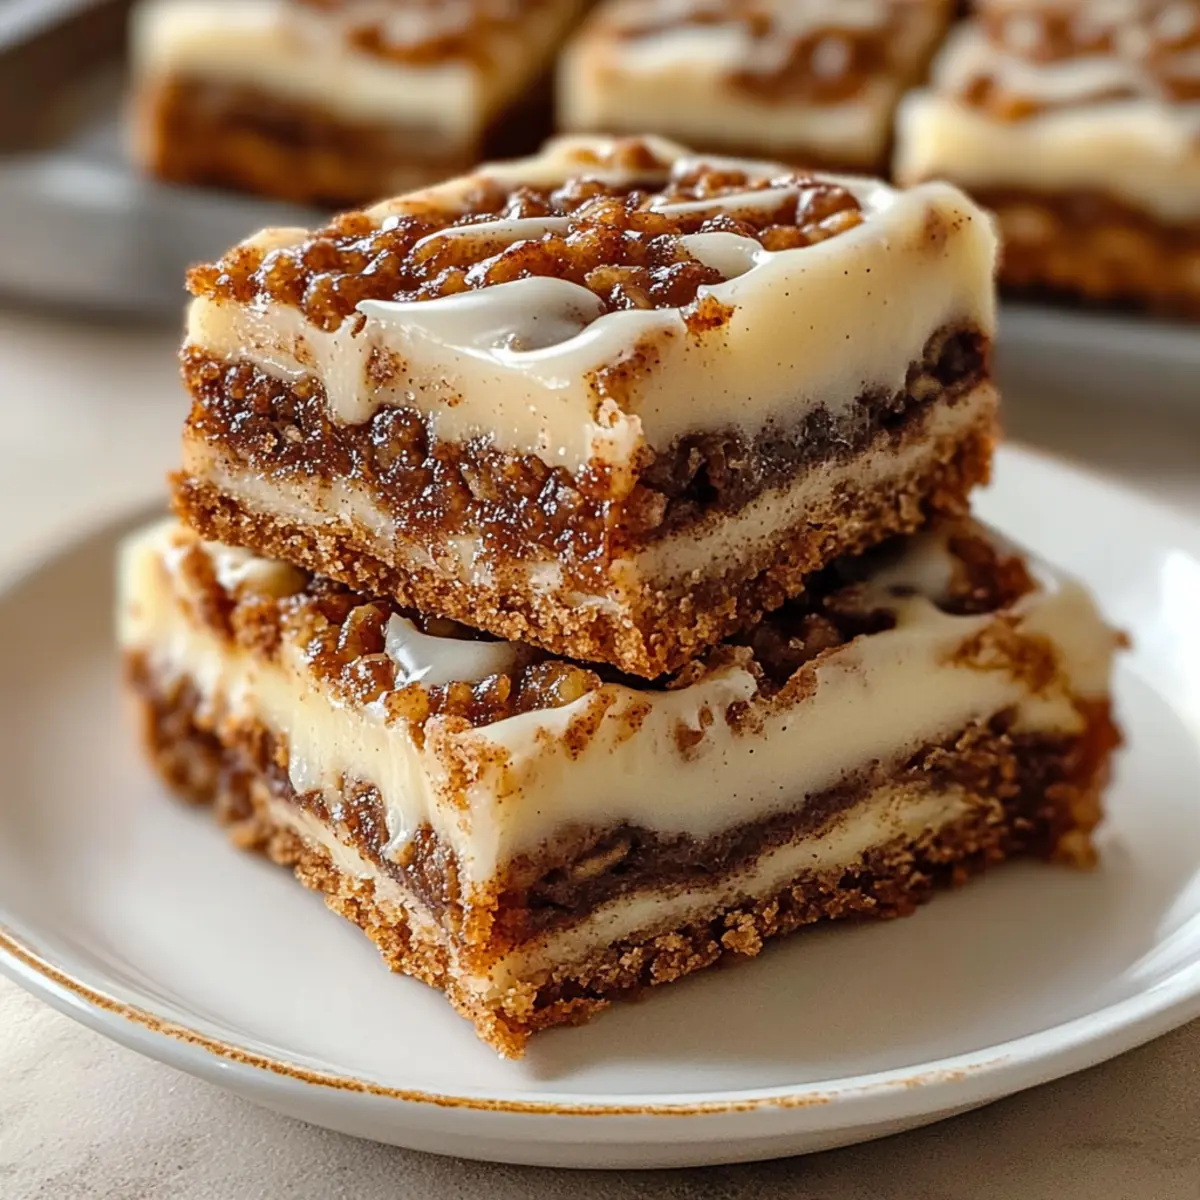
Delightful Cinnamon Roll Bliss Bars for a Cozy Dessert Night
Ingredients
Equipment
Method
- Preheat your oven to 375°F (190°C) and line a 9x13 inch baking pan with parchment paper.
- In a large bowl, whisk together all-purpose flour, granulated sugar, baking powder, baking soda, and salt.
- Add cold cubed butter to the dry ingredients and cut in until coarse crumbs form.
- In a separate bowl, mix buttermilk and vanilla extract, then slowly stir into the dry mixture until just moistened.
- Press the dough evenly into the bottom of the prepared baking pan.
- In a small bowl, combine brown sugar and ground cinnamon. Drizzle melted butter over the dough and sprinkle with cinnamon-sugar mixture.
- Bake for 20–25 minutes or until golden brown. Cool completely in the pan.
- Prepare frosting by beating cream cheese and butter until smooth. Gradually add powdered sugar and milk until desired consistency is reached.
- Spread cream cheese frosting evenly over the cooled bars and cut into squares for serving.