


The scent of freshly baked peach pie wafts through the air, conjuring memories of sun-kissed summer days spent with loved ones. Allow me to introduce you to my beloved Peach Pie Bars, a delightful twist on a classic dessert that brings a slice of sunshine to any table. These bars are not only a cinch to whip up, but they also strike the perfect balance between sweet and tart, making them ideal for picnics, barbecues, or simply a sweet treat for yourself. Plus, they can easily be made gluten-free, accommodating all dietary preferences without sacrificing flavor. Ready to savor a taste of summer with each crumbly bite? Let’s dive into this irresistible recipe together!
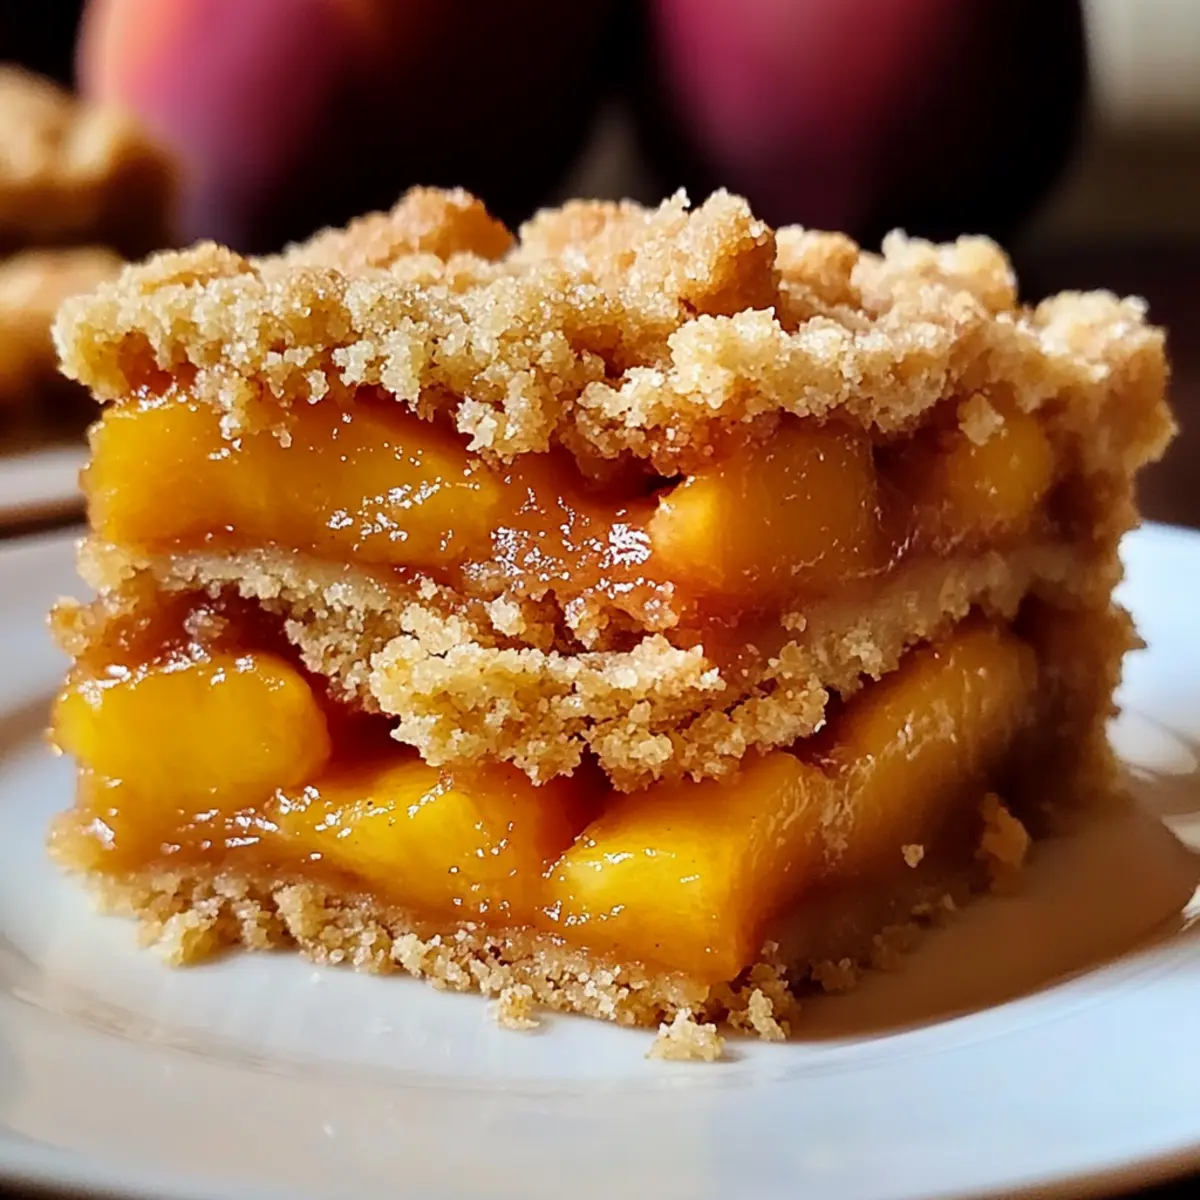
Why Are Peach Pie Bars So Irresistible?
Sweet and Tangy: Each bite of these Peach Pie Bars brings together the sweetness of ripe peaches with a hint of tang, making them a perfect summer dessert.
Summer Delight: The warm aroma of cinnamon fills your kitchen, creating an inviting atmosphere for family and friends, reminiscent of sunny picnics and barbecues.
Easy Preparation: With simple ingredients and straightforward steps, even novice bakers will shine in the kitchen.
Versatile Serving Options: Enjoy them warm with a scoop of vanilla ice cream, or serve them as a delightful treat at your next gathering.
Diet-Friendly: These bars can easily cater to a variety of diets, as they’re vegetarian and can be made gluten-free using a suitable flour blend. What’s not to love?
Peach Pie Bar Ingredients
• • Discover the essentials to create delicious Peach Pie Bars!
For the Crust
- All-Purpose Flour – Provides structure to the crust and bars; can substitute with a gluten-free flour blend for a gluten-free option.
- Granulated Sugar – Sweetens both the filling and crust; adjust to taste, especially if peaches are especially sweet.
- Brown Sugar – Adds deeper caramel notes to the flavor; can use all granulated sugar if preferred.
- Butter – Creates a rich and crumbly texture; use unsalted or salted based on your taste preference.
- Cinnamon – Enhances the warm, comforting flavor; swap with pumpkin spice for a seasonal twist.
- Salt – Balances the sweetness and enhances flavors; sea salt or kosher salt can offer different flavor notes.
- Egg(s) – Binds ingredients together for a richer bar texture; omit for a vegan substitute.
For the Filling
- Ripe Peaches – Adds natural sweetness and juiciness; frozen peaches can be used if thawed and drained.
For Topping
- Reserved Crumb Mixture – Ensures a delightful, crunchy topping that complements the luscious peach filling.
Now that you have these ingredients lined up, you’re ready to embark on a culinary adventure! Happy baking!
Step‑by‑Step Instructions for Irresistible Peach Pie Bars
Step 1: Preheat the Oven
Begin by preheating your oven to 350°F (175°C). This step is crucial as it ensures your Peach Pie Bars bake evenly and achieve the perfect golden-brown color. While the oven warms up, gather your baking dish and prepare to get your hands a little messy with deliciousness!
Step 2: Prepare the Baking Dish
Lightly grease a baking dish or line it with parchment paper for easy removal later on. A 9×13-inch dish works perfectly for these Peach Pie Bars, giving them enough space to bake uniformly. Make sure every corner is covered to keep those scrumptious peach juices contained while baking!
Step 3: Mix the Dry Ingredients
In a large mixing bowl, combine the all-purpose flour, granulated sugar, brown sugar, cinnamon, and salt. Whisk these ingredients together until evenly blended. This mixture will create the base for both the crust and the topping of your Peach Pie Bars, introducing a sweet and warm flavor foundation.
Step 4: Incorporate the Butter
Cut cold butter into the dry mixture using a pastry cutter or your fingertips until it resembles coarse crumbs. This should take about 3-5 minutes. The mixture should feel crumbly but not wet. This step is key to achieving that rich, crumbly texture that makes your bars irresistible!
Step 5: Form the Crust
Reserve about 1 cup of the crumbly mixture for the topping. Firmly press the remaining mixture into the bottom of the prepared baking dish, creating an even layer across the base. Aim for a thickness of around 1/4 inch. This base will create a sturdy foundation for the luscious peach filling.
Step 6: Pre-Bake the Crust
Place the crust in your preheated oven and bake for about 10 minutes, or until it turns slightly golden. This pre-baking helps set the crust and prevents it from becoming soggy. Keep an eye on it, and don’t let it brown too much—just a hint of color is perfect.
Step 7: Prepare the Peach Filling
While the crust is baking, slice your ripe peaches and toss them in a bowl with some additional sugar and cinnamon, letting them mingle for a few minutes. The sugar will draw out the natural juice from the peaches, making a sweet, flavorful filling. Aim for about 3-4 cups of sliced peaches.
Step 8: Assemble the Bars
Once the crust is pre-baked, evenly spread the peach mixture over it. Then, sprinkle the reserved crumb topping generously over the peaches, helping to create a delightful crunchy layer. This combination of textures will make each bite of your Peach Pie Bars irresistible.
Step 9: Bake the Bars
Return the baking dish to the oven and bake for an additional 25-35 minutes. The bars are done when the top is golden brown and the filling is bubbling. Check with a toothpick inserted in the center—if it comes out clean, your bars are ready to shine!
Step 10: Cool and Slice
After baking, remove the Peach Pie Bars from the oven and let them cool completely in the pan. This cooling step is essential for the bars to set properly. Once cooled, slice them into squares, ready to serve, and watch them disappear at your summer gatherings!
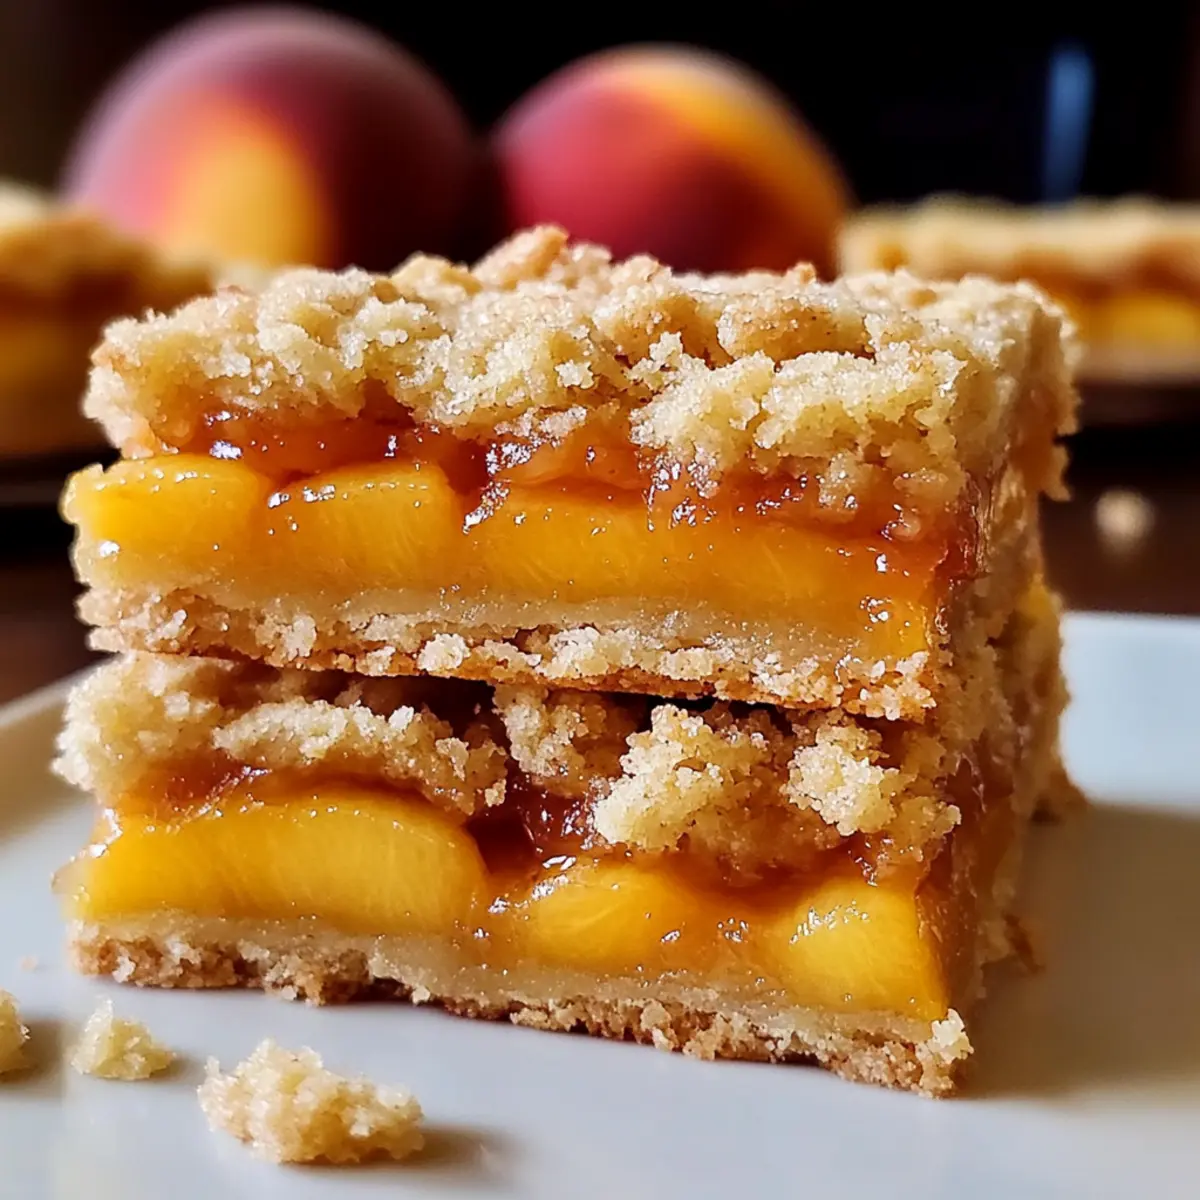
How to Store and Freeze Peach Pie Bars
Room Temperature: Cut bars can be stored in an airtight container at room temperature for up to 2 days, but they are best enjoyed fresh.
Fridge: Keep Peach Pie Bars in an airtight container in the refrigerator for up to 1 week. This helps maintain their crumble while staying deliciously fresh.
Freezer: For longer storage, freeze wrapped bars in plastic wrap and then in aluminum foil for up to 3 months. Thaw at room temperature or reheat in the oven to enjoy.
Reheating: To reheat, warm them in the oven at 350°F (175°C) for about 10-15 minutes for that freshly baked taste.
Peach Pie Bars: Delicious Variations
Feel free to take your Peach Pie Bars to a whole new level by getting creative with these fun variations!
-
Nutty Delight: Add chopped nuts such as pecans or walnuts to the crumb topping for an irresistible crunch. The combination of flavors will add depth and texture to each bite.
-
Berry Twist: Substitute diced peaches with berries like blueberries or raspberries for a juicy fruity surprise. This vibrant swap brings a pop of color and tangy sweetness to the classic recipe.
-
Carmel Drizzle: For an indulgent touch, drizzle melted caramel sauce over the warm bars before serving. Picture bites bursting with flavor—pure bliss!
-
Spiced Up: Swap cinnamon with pumpkin spice for a cozy twist that’s perfect for those fall gatherings. Seasonal spices can enhance the comforting feelings we associate with traditional desserts.
-
Vegan-Friendly: Omit the eggs for an easy vegan version. You can replace them with flaxseed meal mixed with water for binding or simply enjoy the bars without any egg!
-
Zesty Surprise: Add a splash of lemon or orange zest to your peach filling for a refreshing citrus kick. This will brighten up the flavors and make your bars sing with summer vibes.
-
Fruity Fusion: Mix diced peaches with a medley of seasonal fruits like strawberries and blackberries for a delightful flavor explosion. Each bar becomes a hidden treasure of fruity goodness!
-
Top It Off: Serve your Peach Pie Bars with a scoop of vanilla ice cream or whipped cream and a sprinkle of toasted coconut. These finishing touches can elevate your dessert experience!
Explore these variations, and don’t be afraid to mix and match for a personalized touch. If you’re looking for other desserts, why not check out making a classic Apple Crumble? It’s another easy and delicious way to showcase seasonal fruits!
Expert Tips for Peach Pie Bars
-
Peach Prep: Ensure peaches are firm and ripe for the best flavor. Remove any excess moisture from thawed frozen peaches to prevent a soggy filling.
-
Crisp Crust: For a perfectly crisp crust, pre-bake it as instructed. Press the dough firmly into the dish to create a sturdy base that holds the juicy filling.
-
Don’t Overbake: Keep a close eye on your bars in the oven. They are done when the topping is golden and the filling bubbles slightly; overbaking can lead to dryness.
-
Flavor Boost: Feel free to enhance the flavor profile by adding a splash of vanilla extract to the peach mixture. This little addition will elevate your Peach Pie Bars even more.
-
Storage Tip: Store uneaten bars in an airtight container in the refrigerator for up to a week. They also freeze well for future indulgence, just remember to label them!
What to Serve with Peach Pie Bars?
Treat your taste buds to a delightful meal experience that perfectly complements the summery sweetness of these bars.
-
Vanilla Ice Cream: The creaminess and coolness of vanilla ice cream enhance the warmth of the Peach Pie Bars, creating a harmonious dessert duo.
-
Whipped Cream: Light and airy, a dollop of whipped cream provides a refreshing contrast to the rich peach filling, inviting a blissful bite.
-
Fresh Mint: Add a sprinkle of fresh mint leaves on top for a burst of color and a refreshing taste that elevates the dessert beautifully.
-
Berry Salad: A light, mixed berry salad with strawberries, blueberries, and raspberries offers a tartness that balances the sweetness of the bars.
-
Sparkling Lemonade: The zesty fizz of sparkling lemonade refreshes the palate, making it a bright and cheerful drink choice against a backdrop of summer treats.
-
Cheese Platter: Serve an elegant cheese platter with brie and goat cheese for a savory option that pairs intriguingly with the sweet peach flavors.
-
Coffee: A rich cup of coffee or espresso provides a warm, bitter contrast to the sweet bars, perfect for cozy late-afternoon gatherings.
-
Iced Tea: Refreshing iced tea, perhaps with a hint of lemon, makes a cool accompaniment, inviting guests to sip leisurely while enjoying their treats.
Make Ahead Options
These Peach Pie Bars are perfect for meal prep enthusiasts looking to simplify their baking routine! You can prepare the crust and crumb topping up to 24 hours in advance; just keep them stored in an airtight container in the refrigerator to maintain their fresh flavor. Additionally, you can slice your ripe peaches and toss them with sugar and cinnamon, allowing them to sit in the fridge overnight. When you’re ready to serve, simply assemble the bars by layering the peach filling over the crust, add the topping, and bake as directed. With these steps, you’ll create these delicious Peach Pie Bars with minimal effort, perfect for busy weeknights or summer gatherings!
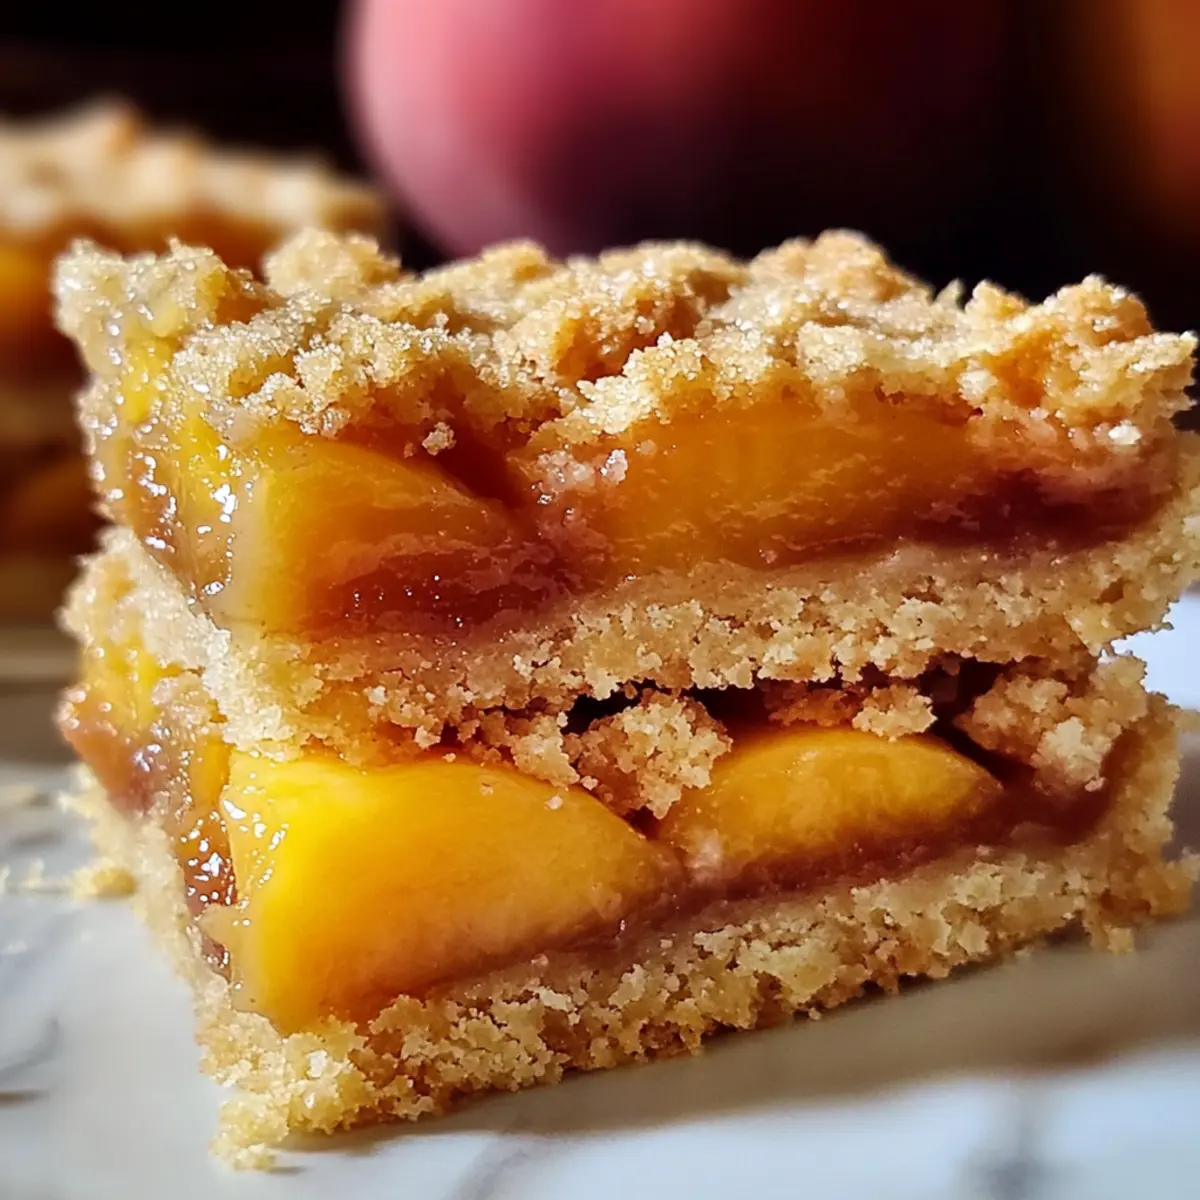
Peach Pie Bars Recipe FAQs
What kind of peaches should I use for Peach Pie Bars?
Absolutely! You want to use ripe peaches for the best flavor and juiciness. Look for peaches that are slightly soft to the touch and fragrant. If you can’t find fresh peaches, frozen peaches work well too; just make sure to thaw and drain them to avoid excess moisture.
How should I store Peach Pie Bars?
Very! Store your Peach Pie Bars in an airtight container in the refrigerator for up to 1 week. This keeps them deliciously fresh and maintains that crumbly texture. If you have leftovers after that, the bars can also be kept at room temperature for 2 days, but they taste best when cold!
Can I freeze Peach Pie Bars?
Absolutely! To freeze, wrap the bars tightly in plastic wrap and then cover them in aluminum foil. This seals in freshness and prevents freezer burn. They can be frozen for up to 3 months. When you’re ready to enjoy, thaw them at room temperature or reheat gently in the oven at 350°F (175°C) for about 10-15 minutes.
What if my peach filling is too watery?
The more the merrier! If you find your peach filling is too watery, try to remove excess moisture by patting thawed frozen peaches dry before using them. You can also add a tablespoon of cornstarch to the peach mixture to help absorb some of the liquid while baking, resulting in a lovely firm filling.
Are Peach Pie Bars safe for pets, particularly dogs?
Good question! While peaches are generally safe for dogs in small amounts, the pits should be avoided as they can be toxic. The bars themselves contain sugar, butter, and cinnamon which aren’t ideal for pets. So, it’s best to keep these delectable bars for your enjoyment and offer your furry friends peach slices without any toppings instead!
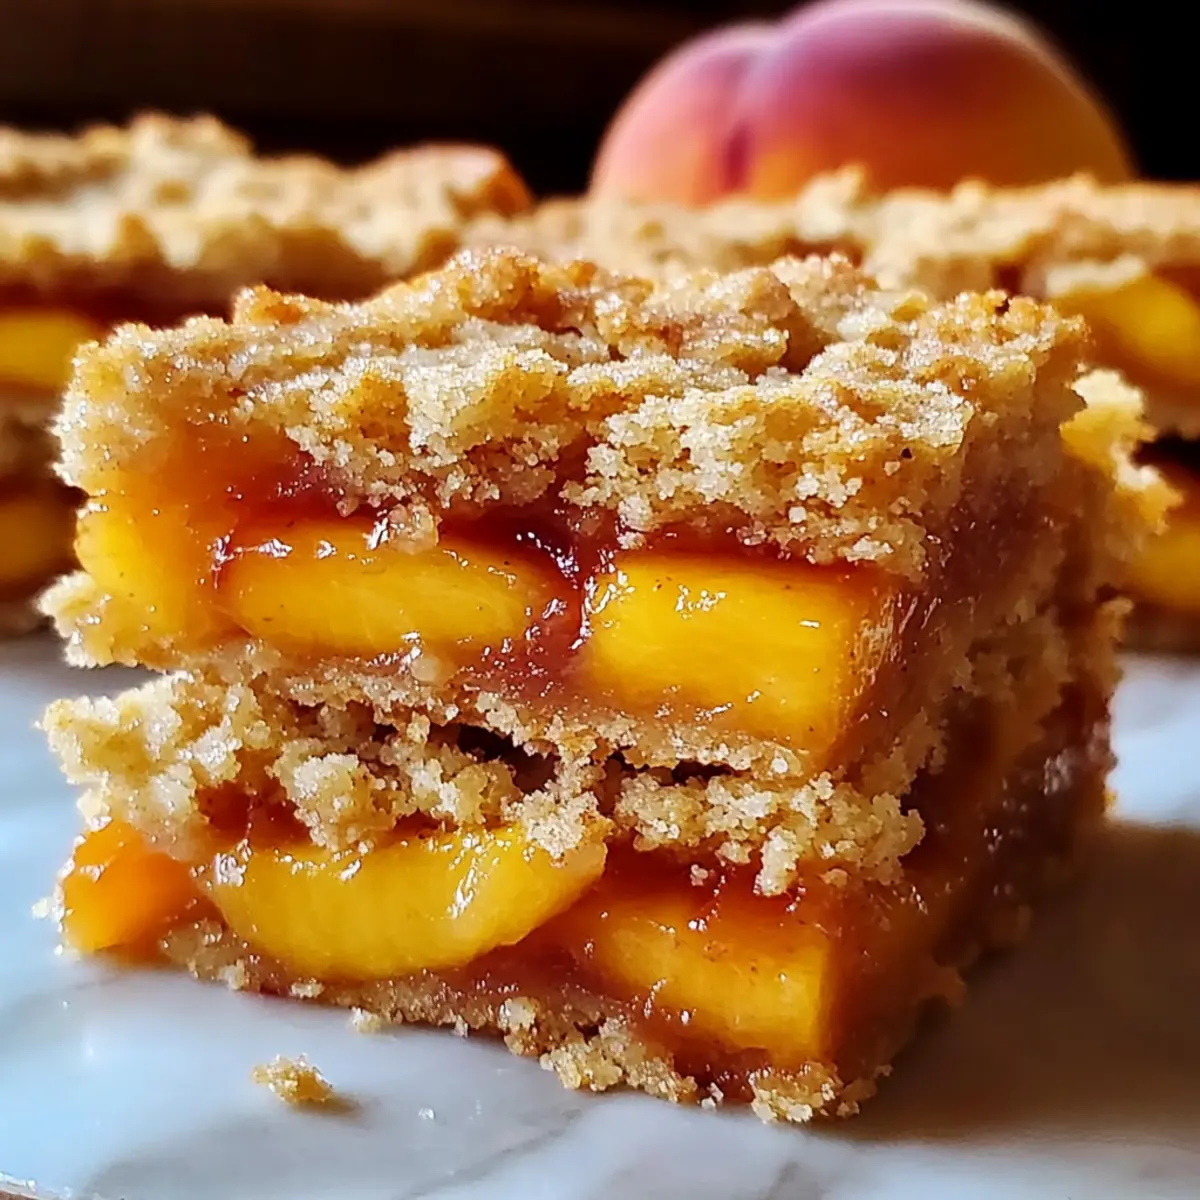
Sweet and Tangy Peach Pie Bars for a Perfect Summer Treat
Ingredients
Equipment
Method
- Preheat your oven to 350°F (175°C).
- Lightly grease a 9x13-inch baking dish or line it with parchment paper.
- In a large mixing bowl, combine the all-purpose flour, granulated sugar, brown sugar, cinnamon, and salt.
- Cut cold butter into the dry mixture until it resembles coarse crumbs.
- Reserve about 1 cup of the crumbly mixture for the topping and press the remaining into the bottom of the prepared baking dish.
- Pre-bake the crust for about 10 minutes until it is slightly golden.
- Slice your ripe peaches and toss them in a bowl with some additional sugar and cinnamon.
- Evenly spread the peach mixture over the pre-baked crust, then sprinkle the reserved crumb topping over the peaches.
- Bake for an additional 25-35 minutes until the top is golden brown and the filling is bubbling.
- Let the bars cool completely in the pan before slicing into squares.