


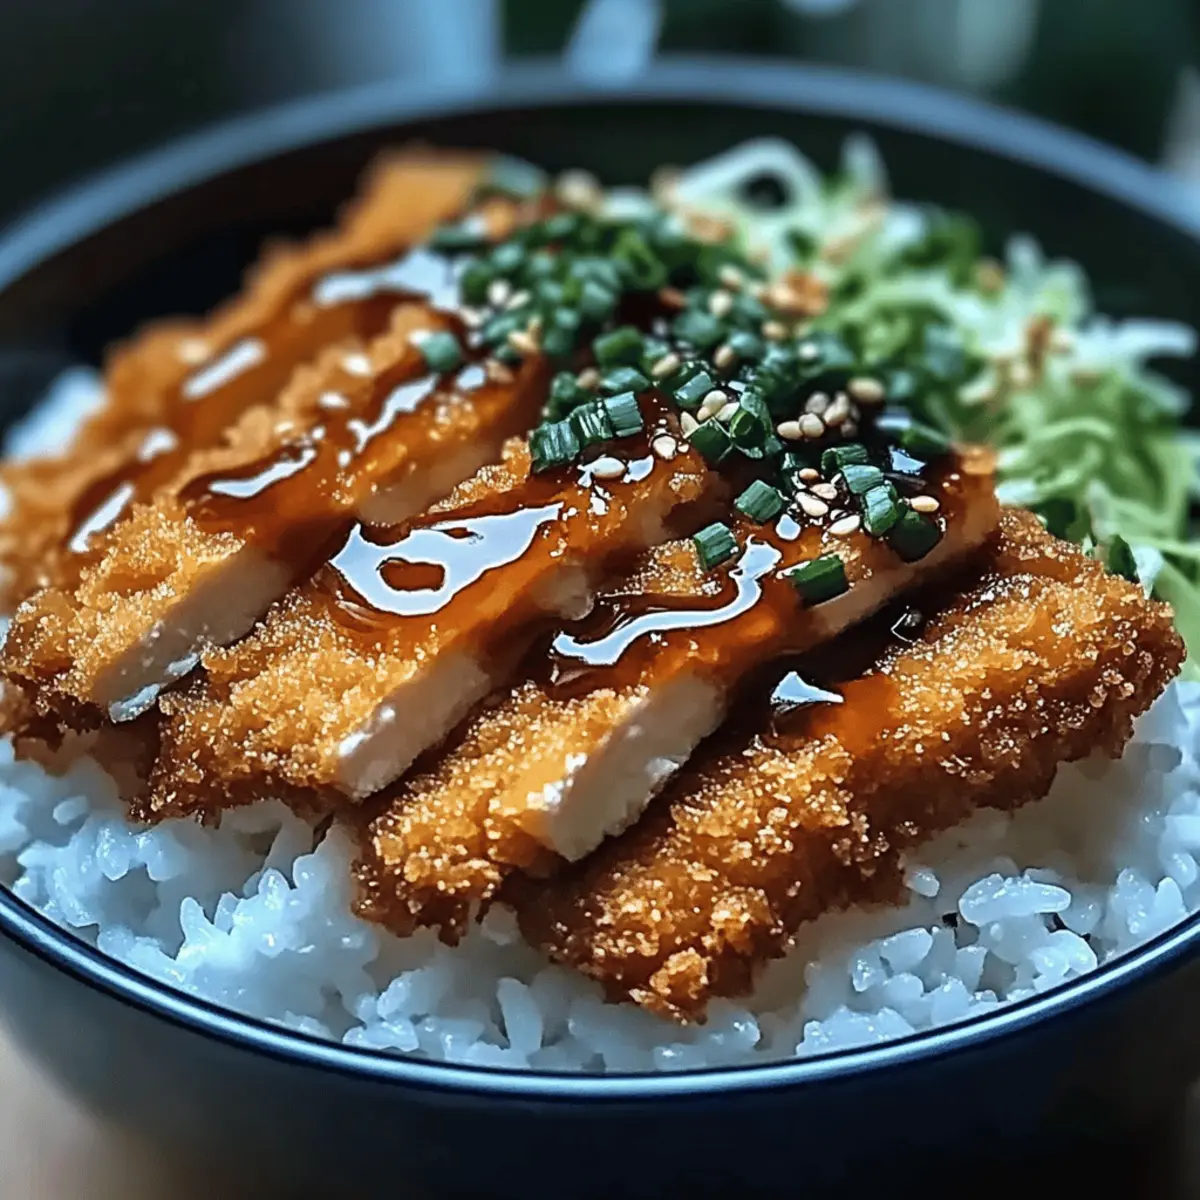
As I stood in my kitchen, the sizzle of frying katsu danced through the air, instantly transporting me to the bustling streets of Tokyo. Japanese Katsu Bowls are soulful comfort food, blending crispy, golden-brown cutlets with fluffy, seasoned rice—a combo that’s not just a meal but a delightful experience. This dish is remarkably family-friendly, making it perfect for both busy weeknights and special gatherings that call for extra love. Plus, the satisfying crunch of perfectly fried katsu paired with the tender, flavorful rice creates an enticing contrast that’s hard to resist. Whether you’re a seasoned home chef or just stepping into the culinary world, this recipe will invite warmth and joy to your dinner table. Are you ready to bring a taste of Japan into your home kitchen?
Why Will You Love Katsu Bowls?
Comforting, there’s nothing quite like a warm bowl of Japanese Katsu to wrap you in a delicious embrace. Quick & Easy, this recipe is straightforward enough for any home cook, simplifying your busy weeknight dinners. Versatile, whether you choose crispy chicken, succulent pork, or even a vegan option with eggplant or tofu, you can cater to any palate. Crowd-Pleasing, friends and family will adore this dish, making it a fantastic choice for gatherings. If you’re looking for more satisfying meals, check out these delightful Chicken Katsu Bowls or refreshing Shrimp Avocado Bowls that are sure to impress!
Japanese Katsu Bowls Ingredients
• Get ready to dive into deliciousness!
For the Katsu
- Boneless chicken breasts (or pork loin) – The main protein that gives these Japanese Katsu Bowls their heartiness; try eggplant or tofu for a tasty vegetarian twist.
- Salt and pepper – Essential for enhancing flavors; adjust to your taste preferences.
- All-purpose flour – Acts as a coating to help the egg and panko stick; gluten-free flour is a perfect substitute if needed.
- Large eggs – Binds the breading together for that perfect crunch; no substitutions recommended unless opting for vegan alternatives.
- Panko breadcrumbs – Delivers that signature crispy texture; regular breadcrumbs can be used, but expect a different crunch.
- Vegetable oil – Necessary for frying; canola or sunflower oil works well as substitutes.
For the Rice
- Japanese short-grain rice – Provides the sticky base essential for authentic flavor; using jasmine or basmati may change the overall experience.
- Water – Key for cooking rice; ensure the ratio is just right for your desired texture.
- Rice vinegar, sugar, salt – This seasoning mix gives your rice a beautiful sweet and tangy flavor profile; adjust amounts to suit your palate.
For the Sauce and Toppings
- Tonkatsu sauce – The star condiment that adds a delightful sweet and umami kick; you can buy it pre-made or make your own.
- Soy sauce – Boosts the sauce’s depth; tamari offers a gluten-free alternative.
- Worcestershire sauce & ketchup – Small amounts create a complex flavor; no substitutions for these.
- Shredded cabbage, green onions, sesame seeds – Fresh toppings that contribute fantastic crunch and flavor; customize based on your preferences or what’s in season.
- Pickled ginger – A zingy option for an extra layer of flavor when serving.
With these ingredients on hand, you’re one step closer to whipping up soul-soothing Japanese Katsu Bowls that your family will love!
Step‑by‑Step Instructions for Japanese Katsu Bowls
Step 1: Prepare the Rice
Begin by rinsing Japanese short-grain rice under cold water until the water runs clear, removing excess starch. Soak the rice in fresh water for 30 minutes to ensure tenderness. After soaking, drain and transfer the rice to a pot with the appropriate amount of water. Cook with the lid on over medium heat for 15 minutes, then let it sit, covered, for another 10 minutes before gently folding in rice vinegar, sugar, and salt.
Step 2: Prepare the Katsu
While the rice is cooking, prepare the katsu by pounding boneless chicken breasts (or pork loin) to a uniform ½-inch thickness to ensure even cooking. Season both sides with salt and pepper for enhanced flavor. Set up a breading station by placing all-purpose flour, beaten eggs, and panko breadcrumbs in separate shallow dishes, and coat each piece of meat first in flour, then egg, and finally in panko, ensuring an even coating.
Step 3: Fry the Katsu
Heat approximately ½ inch of vegetable oil in a skillet over medium heat until shimmering, about 350°F. Test the oil’s readiness by dropping a few breadcrumbs into the oil; they should sizzle immediately. Carefully place the breaded chicken or pork into the skillet, frying for 4-5 minutes on each side. When golden brown and cooked through, transfer the katsu to a paper towel-lined plate to drain excess oil before slicing.
Step 4: Make the Sauce
In a small bowl, mix together tonkatsu sauce, soy sauce, Worcestershire sauce, and ketchup to create a balanced and flavorful dipping sauce. Taste and adjust any ingredients according to your preferences, ensuring the sauce complements the crispy, savory katsu. Set this sauce aside to enhance the flavors of the Japanese Katsu Bowls.
Step 5: Assemble Bowls
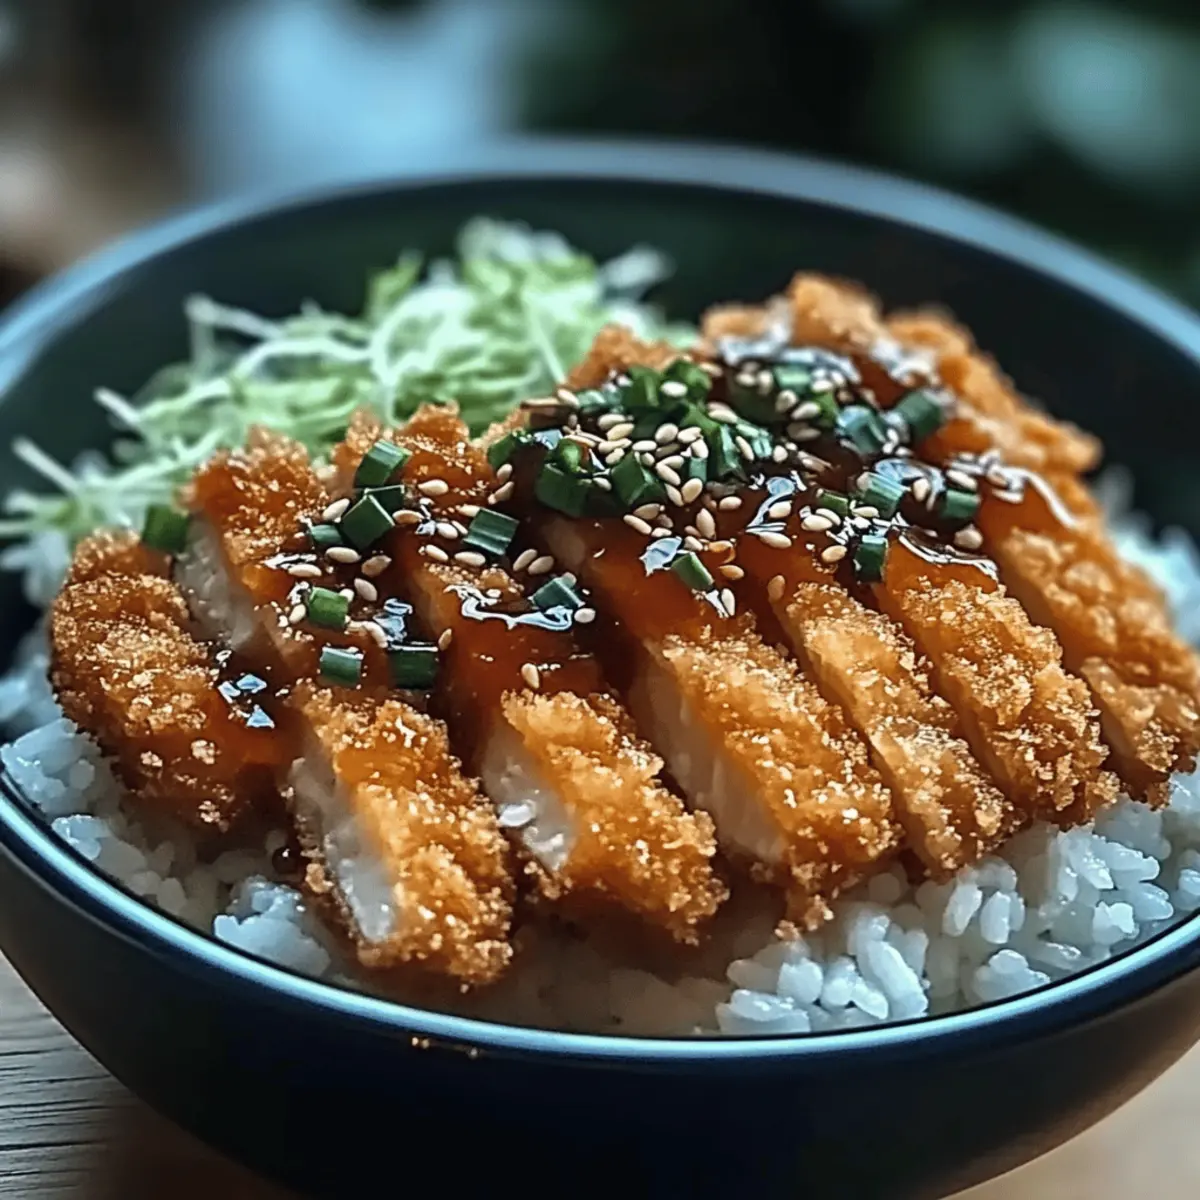
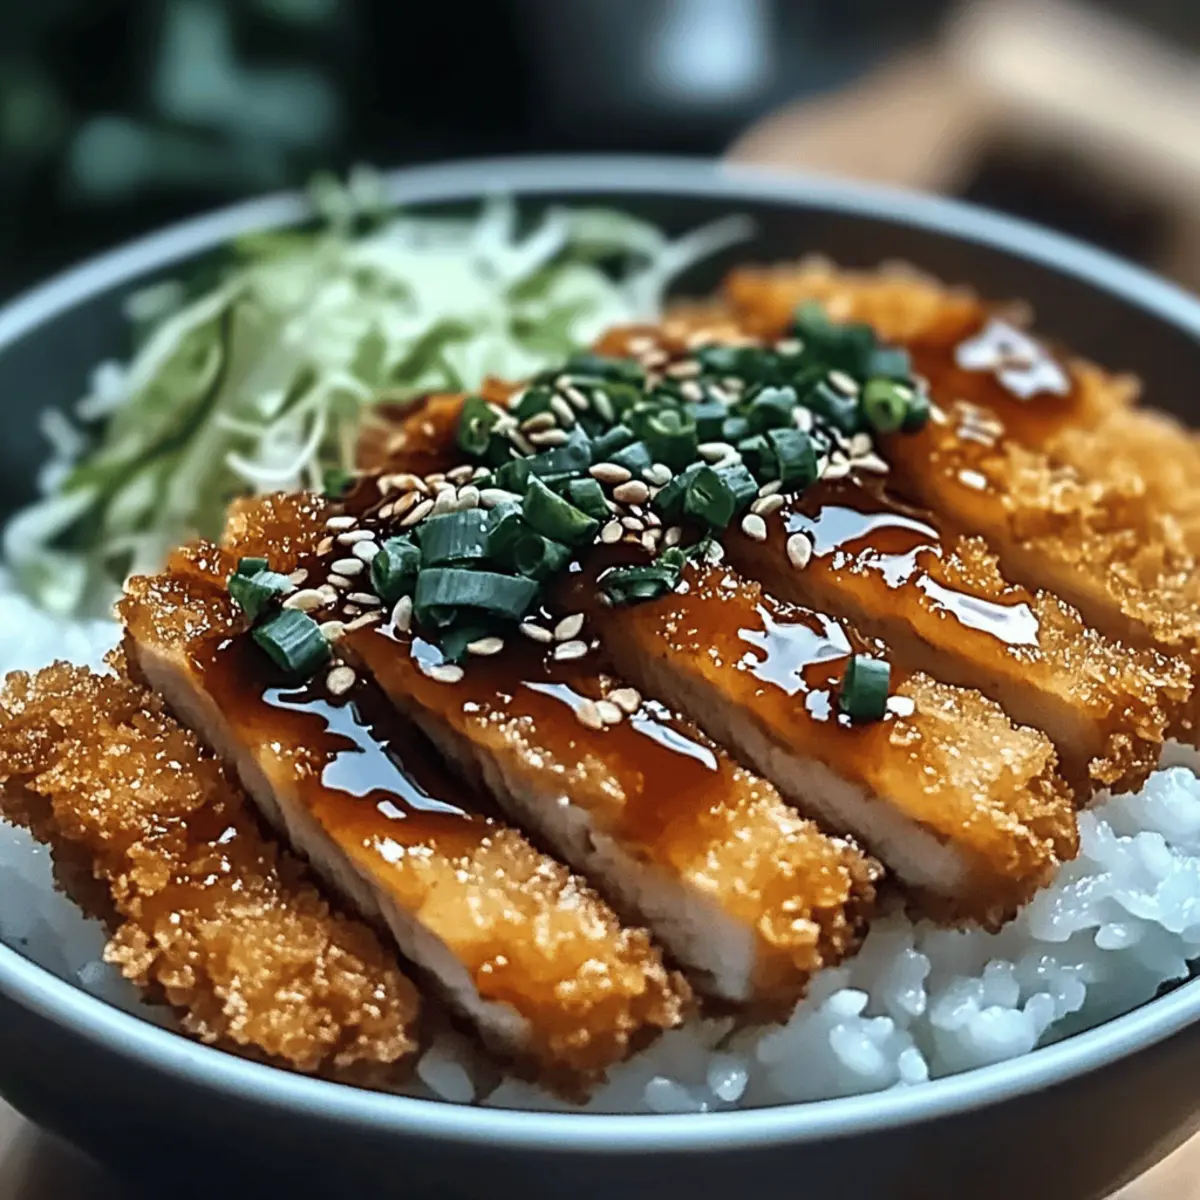
To assemble your Japanese Katsu Bowls, start with a generous scoop of the seasoned rice at the base of each bowl. Place the sliced katsu atop the rice, allowing the crispy texture to shine. Drizzle the fragrant sauce liberally over the katsu, and then finish with a garnish of shredded cabbage, chopped green onions, sesame seeds, and optional pickled ginger for an extra crunchy touch.
How to Store and Freeze Japanese Katsu Bowls
Fridge: Store leftover katsu and rice separately in airtight containers in the fridge for up to 3 days. This keeps each component fresh and preserves their textures.
Freezer: To freeze, wrap cooled katsu tightly in plastic wrap and then in aluminum foil, storing in the freezer for up to 2 months. Rice can be frozen in freezer-safe bags.
Reheating: For best results, thaw katsu and rice in the fridge overnight, then reheat katsu in a skillet over low heat until crispy and warmed through, and rice in the microwave with a splash of water.
Make-Ahead: You can prepare both the rice and katsu in advance, storing them separately to enjoy fresh-tasting Japanese Katsu Bowls on busy nights.
What to Serve with Japanese Katsu Bowls
Enhance your delightful Japanese Katsu Bowls experience with these flavorful pairings that create a well-rounded meal.
-
Creamy Coleslaw: The crunch and creaminess of coleslaw balance the dish’s richness, adding a refreshing contrast.
-
Miso Soup: A warm, savory miso soup complements the katsu, providing a comforting start to your meal.
-
Steamed Edamame: Lightly salted edamame brings a delightful bite that pairs nicely with the crispy katsu.
-
Pickled Vegetables: Serve with a side of tangy pickled vegetables, such as radishes or cucumbers, to cut through the dish’s richness.
-
Sesame Spinach Salad: The slight bitterness of sesame spinach salad contrasts beautifully with the savory flavors of the katsu.
-
Japanese Beer: A crisp, cold Japanese lager enhances the umami notes of the dish, making for a perfect refreshment.
-
Fruit Sorbet: A light fruit sorbet, such as yuzu or matcha, offers a refreshing and sweet end to your meal.
-
Green Tea: Warm green tea brings a soothing finish, enhancing the overall dining experience with its earthy tones.
Japanese Katsu Bowls Variations & Substitutions
Feel free to unleash your creativity and make these comforting katsu bowls your own with these fun, flavorful tweaks!
- Pork Alternative: Swap chicken for pork loin for a traditional katsu experience. The flavor and tenderness will bring new joy to your bowl.
- Vegetarian Delight: Use eggplant or tofu as the protein. The rich texture of eggplant, when cooked, makes it a fantastic substitute that absorbs flavors beautifully.
- Gluten-Free Option: Substitute all-purpose flour with gluten-free flour and use gluten-free panko for those avoiding gluten without sacrificing crunch.
- Spicy Twist: Add some heat by mixing sriracha or chili paste into your tonkatsu sauce. This spicy kick will make your taste buds dance with excitement!
- Sauce Surprise: Experiment with a citrusy ponzu sauce for a refreshing lift or drizzle a bit of spicy mayo for delightful creaminess instead.
- Topping Variety: Top with sliced avocado or soft-boiled eggs for added richness. The creaminess complements the crunch of katsu spectacularly.
- Grain Swaps: While traditional bowls use short-grain rice, try quinoa or farro for a nutrient-packed base that adds a nutty flavor to your dish.
- Fresh Garnishments: Feel free to switch out shredded cabbage for thinly sliced carrots or radishes—these provide an additional crunch and sweetness to the meal.
If your taste buds are still looking for more comforting dishes, give these delicious Chicken Katsu Bowls or refreshing Shrimp Avocado Bowls a try!
Expert Tips for Perfect Japanese Katsu Bowls
-
Oil Temperature Check: Use a kitchen thermometer to ensure oil is at 350°F before adding katsu; this guarantees a crispy exterior without excessive oil absorption.
-
Even Thickness: Pound the meat to an even ½-inch thickness for uniform cooking; this prevents dry edges and ensures juicy katsu throughout.
-
Fry in Batches: Avoid overcrowding the skillet; fry katsu in batches to maintain oil temperature and achieve consistent crispiness.
-
Rest Before Slicing: Allow katsu to rest for a few minutes after frying; this step retains moisture and enhances the mouthfeel in your Japanese Katsu Bowls.
-
Customize Seasoning: Feel free to adjust rice seasonings according to your taste; balancing vinegar, sugar, and salt can elevate the overall flavor of your dish.
Make Ahead Options
These Japanese Katsu Bowls are a fantastic meal prep solution for busy weeknights! You can prepare the rice and katsu up to 3 days in advance. First, cook the rice as directed, then refrigerate it in an airtight container; reheat the rice before serving for the best texture. For the katsu, fry it, let it cool, and store it separately in the fridge to maintain its crispiness. When you’re ready to enjoy your meal, simply reheat the katsu in a hot skillet for a couple of minutes per side to restore that golden crunch, and assemble your bowls just before serving for the freshest taste and delightful experience!
Japanese Katsu Bowls Recipe FAQs
How do I select the best meat for katsu?
When choosing your meat for Japanese Katsu Bowls, look for boneless chicken breasts or pork loin with a nice amount of marbling. This ensures juiciness and flavor. If opting for a vegetarian option, select firm eggplant or extra-firm tofu. Be sure to choose fresh, high-quality ingredients to elevate your dish.
What’s the best way to store leftovers?
Absolutely! To store leftover katsu and rice, place each component in separate airtight containers in the fridge. Enjoy them within 3 days for the best flavors and textures. Make sure to let them cool down first to keep them fresh!
Can I freeze the katsu and rice?
Yes, you can freeze your katsu and rice! Wrap cooled katsu tightly in plastic wrap, then overwrap with aluminum foil to prevent freezer burn. It can stay fresh for up to 2 months this way. For the rice, use freezer-safe bags and flatten them out for quicker thawing. Make sure to label them with the date!
How can I prevent the katsu from becoming soggy after frying?
An excellent question! To avoid soggy katsu, ensure that the oil is hot enough (about 350°F) before adding the meat. This creates a crispy outer layer that helps seal in moisture. Additionally, once cooked, let the katsu rest on paper towels to absorb excess oil before slicing and serving.
Are there any dietary considerations I should be aware of?
Yes! If you have gluten sensitivities, use gluten-free flour and panko breadcrumbs. For a healthier alternative, consider baking instead of frying the katsu. If you’re serving anyone with allergies, make sure to check the labels on sauces like tonkatsu sauce and Worcestershire sauce, as they can contain hidden allergens.
How should I reheat frozen katsu and rice?
When you’re ready to enjoy your frozen Japanese Katsu Bowls, first, thaw the katsu and rice in the fridge overnight. For the katsu, reheat it in a skillet over low heat to maintain crispiness; this should take about 5-7 minutes. Reheat the rice in the microwave, adding a splash of water to avoid dryness. Enjoy your delicious meal once again!

Crispy Japanese Katsu Bowls: Comfort Food with a Twist
Ingredients
Equipment
Method
- Rinse Japanese short-grain rice under cold water until water runs clear. Soak in fresh water for 30 minutes, then drain and transfer to a pot with water. Cook covered for 15 minutes, then let sit for 10 minutes before folding in rice vinegar, sugar, and salt.
- Pound boneless chicken breasts (or pork loin) to uniform ½-inch thickness. Season with salt and pepper. Set up a breading station with flour, beaten eggs, and panko breadcrumbs. Coat meat first in flour, then egg, and finally panko.
- Heat ½ inch of vegetable oil in a skillet over medium heat until shimmering (about 350°F). Fry breaded chicken or pork for 4-5 minutes on each side until golden brown. Transfer to a paper towel-lined plate.
- Mix tonkatsu sauce, soy sauce, Worcestershire sauce, and ketchup in a small bowl to create a dipping sauce. Adjust flavors as needed.
- To assemble, place seasoned rice in each bowl, slice katsu on top, drizzle sauce over, and garnish with cabbage, green onions, sesame seeds, and optional pickled ginger.