


As I discovered the magic of merging flavors, a thought struck me: mochi brownies could change the dessert game forever! These Easy Gluten-Free Mochi Brownies unite the delightful chewiness of Japanese mochi with the fudgy richness of classic brownies, creating a treat that’s not only mouthwatering but incredibly satisfying. Perfect for your next gathering or cozy night in, these brownies also cater to those who must navigate dietary restrictions without compromising taste. With quick prep time and a simple ingredient list, you’ll find yourself craving these irresistible bites again and again. Are you ready to whip up a batch of these chewy chocolate delights that will leave your guests in awe?
Why are Mochi Brownies a Must-Try?
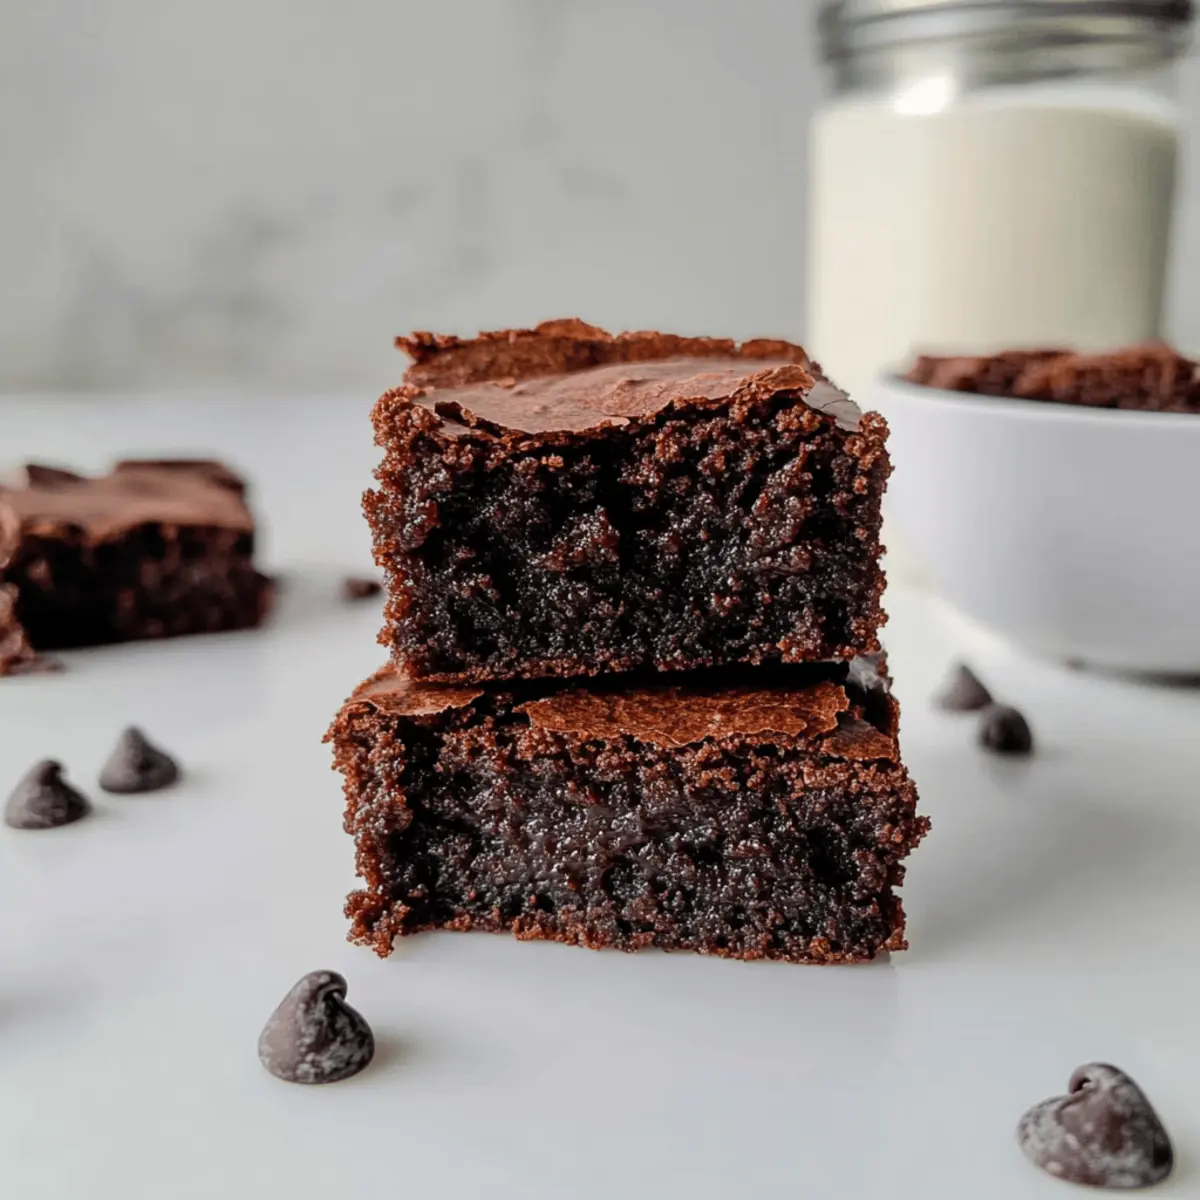
Unique Texture: The chewy, fudgy appeal of these mochi brownies transforms the traditional dessert experience, offering a delightful bite unlike any other.
Gluten-Free Delight: Perfect for gluten-sensitive friends, this recipe uses mochiko flour, ensuring everyone can indulge without worry.
Quick and Easy: With minimal prep and bake time, you’ll have these treats ready to impress in no time—even after a busy day!
Flavor Versatility: Feel free to customize with ingredients like nuts, or experiment with different extracts; the possibilities are endless!
Crowd-Pleasing Appeal: Whether at a gathering or a quiet evening at home, these brownies are sure to be a hit—who can resist chocolatey goodness?
Elevate your dessert game with these Mochi Brownies!
Mochi Brownie Ingredients
• Get ready to dive into deliciousness!
For the Batter
- Granulated Sugar – Provides sweetness; consider using coconut sugar for a wholesome option.
- Mochiko Flour – Creates the delightful chewy texture; make sure to use mochiko (sweet rice flour) for the perfect result.
- Cocoa Powder – Delivers rich chocolate flavor; swap with dark cocoa for an even deeper taste.
- Baking Soda – Helps the brownies rise; ensure it’s fresh for optimal results.
- Salt – Balances flavors; just a pinch enhances sweetness without being overpowering.
- Milk – Moistens the batter; use almond milk or coconut milk for a dairy-free alternative.
- Unsalted Butter – Adds richness and moisture; substitute with coconut oil for a dairy-free option.
- Eggs – Binds the ingredients together; whisk until frothy for the best consistency.
- Vanilla – Introduces a lovely depth of flavor; almond extract gives a unique twist if desired.
- Chocolate Chips – Optional for an extra chocolatey kick; dust with flour before mixing to prevent sinking.
Prepare these ingredients, and get ready to indulge in some irresistible mochi brownies!
Step‑by‑Step Instructions for Easy Gluten-Free Mochi Brownies
Step 1: Preheat the Oven
Begin by preheating your oven to 350°F (175°C). This ensures that the heat is evenly distributed when you bake your Easy Mochi Brownies. While the oven heats up, gather all your ingredients, as this will streamline your cooking process and keep things organized.
Step 2: Combine Dry Ingredients
In a large mixing bowl, combine granulated sugar, mochiko flour, cocoa powder, baking soda, and salt. Whisk these dry ingredients together thoroughly, ensuring no lumps remain. You are looking for a well-mixed, even texture that will elevate the flavor of your mochi brownies once baked.
Step 3: Mix Wet Ingredients
In a separate bowl, pour in the milk, melted butter, eggs, and vanilla extract. Use a whisk to mix these ingredients until they are perfectly blended and frothy. This step is crucial for creating a smooth batter that binds the flavors together beautifully in your mochi brownies.
Step 4: Combine Wet and Dry Mixes
Next, pour the wet mixture into your dry ingredients. Gently stir them together until just combined; be cautious not to overmix or it could affect the chewy texture of your brownies. The batter will be thick and rich, providing the foundation for that delightful mochi experience.
Step 5: Prepare the Baking Pan
Grease an 8×8 inch baking pan with butter or non-stick spray, ensuring it’s evenly coated to prevent sticking. Pour the rich brownie batter into the pan, smoothing it out with a spatula for even baking. For an optional treat, feel free to sprinkle chocolate chips on top before placing it in the oven.
Step 6: Bake the Brownies
Slide the pan into your preheated oven and bake for 60 minutes. Keep an eye on the brownies during the last few minutes—insert a toothpick into the center, and if it comes out clean or with a few moist crumbs, your Easy Mochi Brownies are ready to come out!
Step 7: Cool and Serve
Once baked, remove the brownies from the oven and let them cool completely in the pan on a wire rack. Patience is key here; allowing them to cool fully ensures a perfect chewy texture. After they’ve cooled, cut them into squares and serve them up to delighted friends and family!
What to Serve with Easy Gluten-Free Mochi Brownies?
Creating a memorable meal experience means pairing complementary flavors and textures that will leave everyone craving more.
-
Vanilla Ice Cream: The creaminess of vanilla ice cream contrasts beautifully with the chewy brownies, making each bite a delightful experience. A scoop on top or a side serving brings a decadent touch everyone will love.
-
Whipped Cream: Light and fluffy, whipped cream adds an airy contrast to the rich, fudgy brownies. Top your mochi brownies with a generous dollop for a simple yet elegant presentation.
-
Fresh Berries: The tartness of fresh strawberries or raspberries cuts through the sweetness of the brownies, offering a refreshing crunch and beautiful color on your plate. Simply tossed or served alongside, they brighten up the dessert.
-
Matcha Tea: This earthy drink, often enjoyed in Japanese culture, complements the mochi brownies’ flavor profile perfectly. It adds a calming balance to the rich chocolate, creating a harmonious experience.
-
Chocolate Sauce: A drizzle of warm chocolate sauce enhances the brownie’s flavor, inviting the chocolate lovers to dig in deeper. It adds a rich, indulgent element that makes each bite even more delightful.
-
Espresso or Coffee: The bold flavor of espresso pairs wonderfully with the sweetness of the brownies, intensifying the chocolatey notes. The warmth of the coffee balances out the chewy dessert beautifully.
-
Coconut Whipped Cream: For a dairy-free twist, top your mochi brownies with whipped coconut cream. Its subtle coconut flavor enhances both texture and taste, providing a tropical feel to your dessert.
Elevate your dessert game and impress your loved ones with these delicious pairings!
Make Ahead Options
These Easy Mochi Brownies are a fantastic option for meal prep enthusiasts! You can prepare the brownie batter up to 24 hours in advance by combining the dry ingredients and the wet ingredients in separate bowls. Store each in airtight containers in the refrigerator to preserve freshness. When you’re ready to bake, simply combine the two mixtures and proceed with the baking instructions—this ensures that you’ll enjoy that chewy goodness just as if they were made fresh! If you have leftover brownies, they can be stored at room temperature for 3-4 days, and may even improve in flavor as they sit. Indulge in the convenience of make-ahead baking, perfect for your busy weeknights!
Mochi Brownies Variations & Substitutions
Feel free to personalize these mochi brownies, enhancing their flavors and making them your own!
-
Dairy-Free: Substitute unsalted butter with coconut oil for a buttery richness without dairy.
-
Nut-Free: Replace any nuts with extra chocolate chips or dried fruits for a delightful chewy texture that everyone can enjoy.
-
Healthier Sweetener: Use coconut sugar instead of granulated sugar to give your brownies a subtle caramel flavor while keeping them guilt-free.
-
Extra Chocolatey: Swap regular cocoa powder with dark cocoa for an even richer chocolate experience. It’s a simple twist that ramps up the decadence!
-
Flavored Extracts: Enhance the flavor profile by trying almond or coconut extract instead of vanilla; each brings a unique character to your brownies.
-
Textural Twist: Add some chopped walnuts or pecans to the batter for crunchy bites amidst the chewy brownie goodness.
-
Spicy Kick: For those who enjoy a little heat, a touch of cayenne or chili powder can elevate the brownies; it’s an unexpected flavor that might surprise you!
-
Fruity Addition: Incorporate mashed bananas or pureed pumpkin for extra moisture and natural sweetness. Not only do they add flavor, but they also make these brownies wonderfully rich!
Dive into these delicious variations and revel in the creative process of making these Mochi Brownies your personal masterpiece!
Expert Tips for Mochi Brownies
-
Watch the Timer: Keep an eye on the baking time, as ovens can vary. It’s better to check at 50 minutes to avoid overbaking your mochi brownies.
-
Check Your Ingredients: Use fresh baking soda for the best rise. Old baking soda could lead to dense brownies instead of the light, chewy texture you desire.
-
Cooling is Key: Allow the brownies to cool completely before cutting. This helps maintain their structure and enhances the chewy texture.
-
Flour the Chips: If adding chocolate chips, toss them in a bit of flour before mixing. This simple step prevents them from sinking to the bottom of the batter.
-
Experiment with Flavors: Don’t hesitate to personalize your mochi brownies! Try adding different extracts or mix-ins like nuts or dried fruits for a unique twist.
How to Store and Freeze Mochi Brownies
Room Temperature: Keep your Mochi Brownies in an airtight container for up to 3 days at room temperature. They’ll stay chewy and delicious, perfect for that spontaneous sweet craving!
Fridge: For extended freshness, store the brownies in the refrigerator for up to a week. Just be sure to let them come to room temperature before enjoying for optimal texture.
Freezer: You can freeze mochi brownies for up to 3 months. Wrap each brownie individually in plastic wrap and then place them in an airtight container. Thaw at room temperature before indulging.
Reheating: If you prefer them warm, pop a brownie in the microwave for about 10-15 seconds. Enjoy the delightful gooeyness with every bite!
Easy Gluten-Free Mochi Brownies Recipe FAQs
How do I choose the right mochiko flour?
Absolutely! When selecting mochiko flour for your mochi brownies, look for a package labeled “sweet rice flour” or “mochiko.” This type of flour is specifically designed to create that chewy texture you’re after. Ensure the flour is fresh and free of any clumps to achieve the best results in your baking.
How should I store leftover mochi brownies?
Storing your mochi brownies is a breeze! Keep them in an airtight container at room temperature for about 3 to 4 days. They’ll maintain their wonderful chewiness, making them a delightful treat whenever you crave something sweet. For a longer shelf life, refrigerate them for up to a week, but remember to let them come to room temperature before enjoying.
Can I freeze my mochi brownies? If so, how?
Of course! Freezing mochi brownies is a fantastic way to extend their deliciousness. Wrap each brownie individually in plastic wrap, then place them in an airtight container or a resealable freezer bag. They can last up to 3 months in the freezer. When you’re ready to indulge, simply thaw them at room temperature or pop them in the microwave for about 10-15 seconds to warm them up and restore that lovely gooey texture.
What should I do if my brownies are too dense?
If your mochi brownies turn out denser than expected, it could be due to overmixing the batter or using too much flour. To fix this, combine the wet and dry ingredients gently until just mixed. Also, ensure that your baking soda is fresh, as old leavening agents can lead to a lack of rise. If they still seem too dense after baking, don’t fret! Serve them warm with a scoop of ice cream; it’s a delicious way to enjoy them regardless!
Are these mochi brownies safe for people with allergies?
Great question! These mochi brownies can be adapted to suit various dietary needs. For gluten-free individuals, make sure to use certified gluten-free ingredients. If you’re concerned about dairy allergies, substitute unsalted butter with coconut oil and choose nut milk like almond or oat milk. Always double-check labels for any potential allergens. Additionally, be mindful of cross-contamination if you’re serving to guests with specific allergies.
Can I use different flavors or add-ins?
Very! One of the beautiful aspects of mochi brownies is their versatility. Feel free to mix in flavors like almond or coconut extract for a unique twist. You can also replace chocolate chips with nuts or dried fruits for added texture and flavor. Just remember to adjust the sweetness accordingly if you’re adding more ingredients! The more the merrier when it comes to creativity in the kitchen.
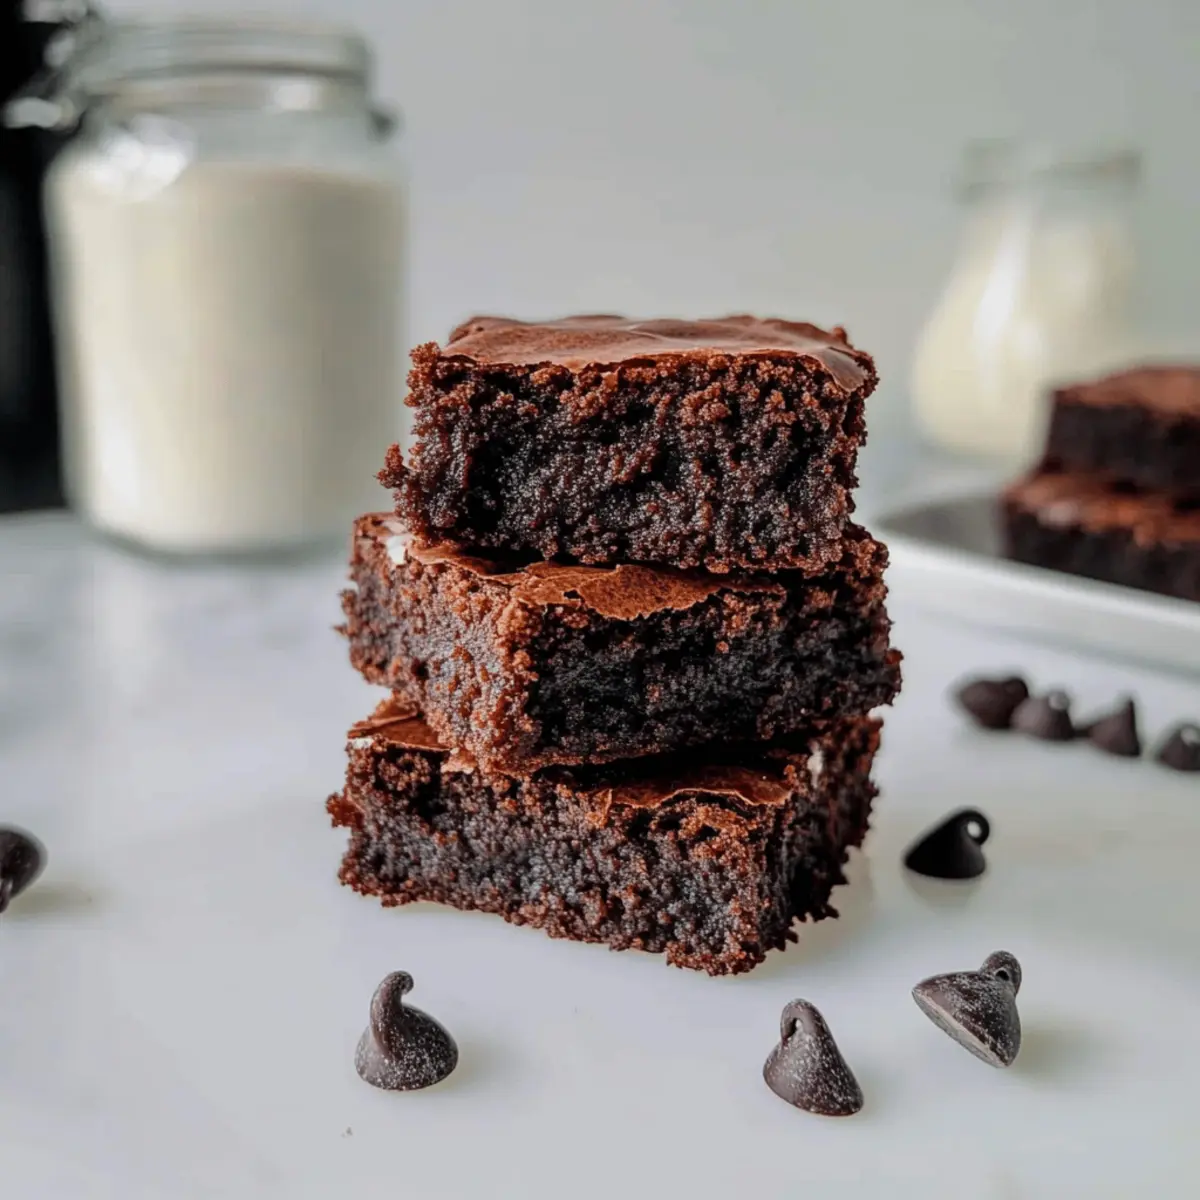
Mochi Brownies: Chewy, Chocolatey Bliss You’ll Love
Ingredients
Equipment
Method
- Preheat your oven to 350°F (175°C). Gather all ingredients.
- In a large bowl, combine sugar, mochiko flour, cocoa powder, baking soda, and salt. Whisk thoroughly.
- In another bowl, mix milk, melted butter, eggs, and vanilla. Whisk until blended and frothy.
- Pour the wet mixture into the dry ingredients and stir gently until just combined.
- Grease an 8x8 inch baking pan and pour in the batter. Optionally sprinkle chocolate chips on top.
- Bake for 60 minutes. Check doneness with a toothpick.
- Let cool completely in the pan before cutting into squares and serving.