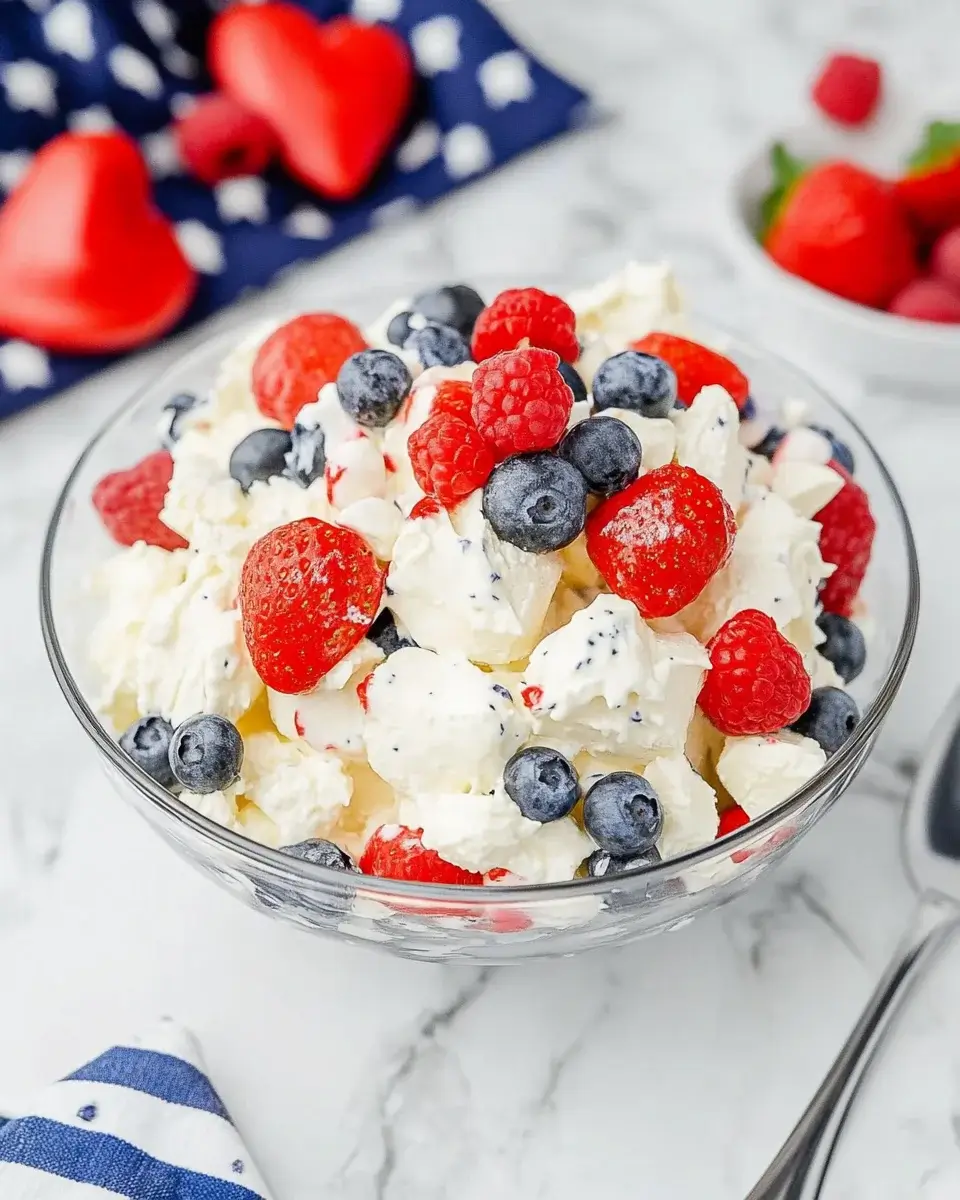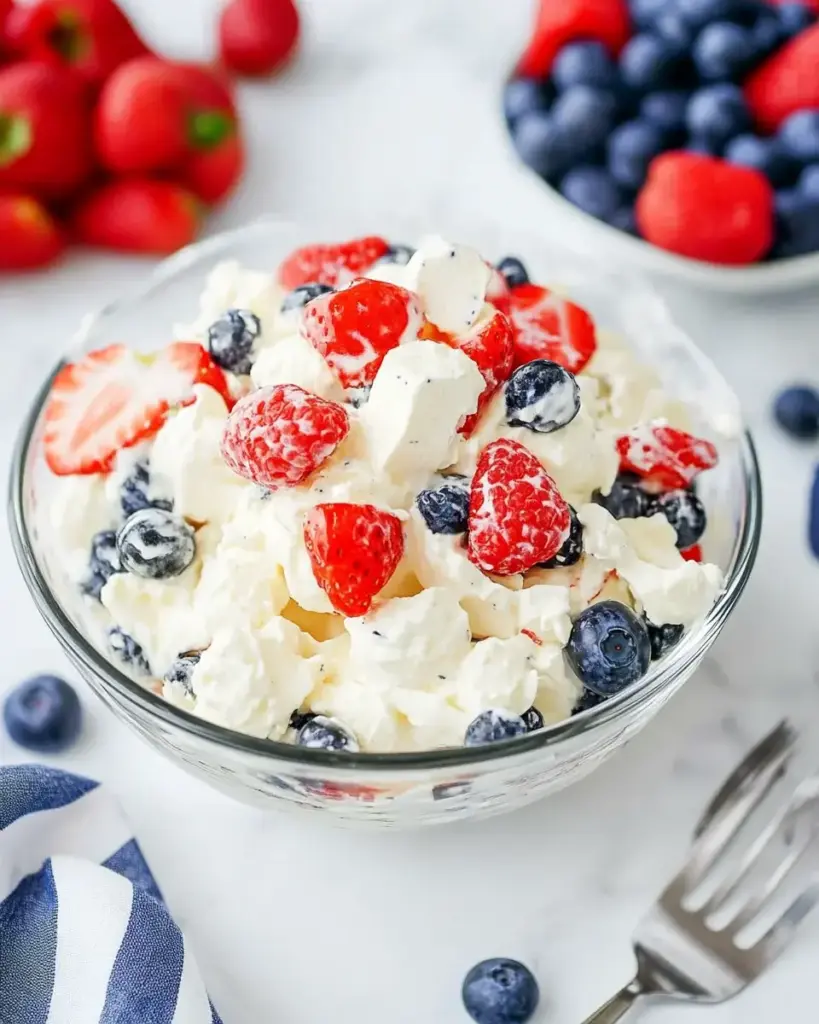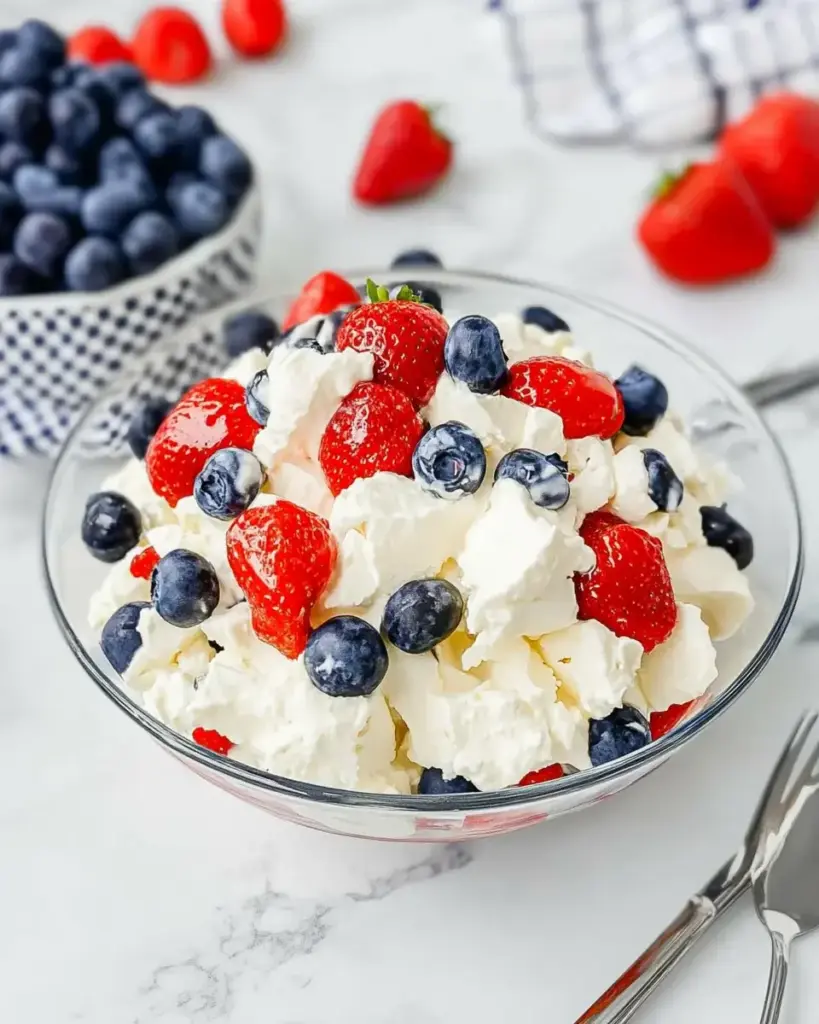
Introduction to Red, White, and Blue Cheesecake Salad
Summer gatherings are all about vibrant flavors and festive presentations, and nothing captures that spirit quite like a Red, White, and Blue Cheesecake Salad. This delightful dish is not just a feast for the eyes; it’s a quick and easy solution for those busy days when you want to impress your friends and family without spending hours in the kitchen. With its creamy cheesecake layers and fresh berries, it’s a crowd-pleaser that brings a touch of celebration to any occasion. Trust me, once you serve this, you’ll be the star of the summer cookouts!
Why You’ll Love This Red, White, and Blue Cheesecake Salad
This Red, White, and Blue Cheesecake Salad is a game-changer for summer desserts. It’s incredibly easy to whip up, taking just 20 minutes of prep time. The combination of creamy cheesecake and fresh berries creates a flavor explosion that’s both refreshing and indulgent. Plus, it’s a no-bake recipe, so you can keep your kitchen cool while impressing your guests. What’s not to love?
Ingredients for Red, White, and Blue Cheesecake Salad
Gathering the right ingredients is the first step to creating this festive delight. Here’s what you’ll need:
- Strawberries: Fresh, hulled, and sliced, these berries add a sweet and juicy burst of flavor.
- Blueberries: These little gems bring a pop of color and a slightly tart taste that balances the sweetness.
- Raspberries: Their vibrant red hue and tangy flavor make them a perfect addition to this patriotic salad.
- Cream Cheese: Softened for easy mixing, it forms the creamy base of the cheesecake layer.
- Powdered Sugar: This sweetener gives the cheesecake mixture its delightful sweetness without any graininess.
- Vanilla Extract: A splash of this adds depth and enhances the overall flavor of the salad.
- Whipped Topping: Light and airy, it helps create that fluffy texture we all love in a cheesecake.
- Crushed Graham Crackers: These provide a crunchy topping that mimics the crust of a traditional cheesecake.
- Mint Leaves (optional): A fresh garnish that adds a pop of color and a hint of freshness.
For those looking to lighten things up, consider substituting Greek yogurt for cream cheese and reducing the powdered sugar. A splash of lemon juice can also add a zesty twist to the mix. If you want to make it extra festive, sprinkle some edible glitter on top before serving!
Exact quantities for each ingredient can be found at the bottom of the article, ready for printing.
How to Make Red, White, and Blue Cheesecake Salad
Creating this Red, White, and Blue Cheesecake Salad is a breeze! Follow these simple steps, and you’ll have a stunning dessert that’s sure to impress. Let’s dive in!
Step 1: Prepare the Cream Cheese Mixture
Start by beating the softened cream cheese in a large mixing bowl. Use an electric mixer for a smooth consistency. Once it’s creamy, gradually add the powdered sugar and vanilla extract. Mix until everything is well combined and you have a luscious base for your cheesecake salad.
Step 2: Fold in the Whipped Topping
Next, gently fold in the whipped topping. This step is crucial for achieving that light and fluffy texture we all love. Use a spatula to carefully incorporate the whipped topping into the cream cheese mixture. Be gentle; you want to keep that airy feel!
Step 3: Layer the Berries
Now, grab a large serving bowl and start layering! Begin with half of the strawberries, blueberries, and raspberries. Spread them evenly across the bottom. This colorful layer sets the stage for the creamy goodness to come.
Step 4: Add the Cheesecake Mixture
Spread half of the cheesecake mixture over the berry layer. Use a spatula to ensure it covers the berries completely. This creamy layer is where the magic happens, blending beautifully with the fresh fruit.
Step 5: Repeat the Layers
It’s time to repeat the layering process! Add the remaining berries on top of the cheesecake mixture, followed by the rest of the cheesecake mixture. This double-layering creates a stunning visual and a delightful mix of flavors.
Step 6: Top with Graham Crackers
Finish off your masterpiece by sprinkling crushed graham crackers on top. This adds a satisfying crunch that mimics the crust of a traditional cheesecake. Plus, it looks fantastic!
Step 7: Chill Before Serving
Finally, chill your Red, White, and Blue Cheesecake Salad in the refrigerator for at least 1 hour. This allows the flavors to meld together beautifully. Trust me, the wait will be worth it when you take that first bite!

Tips for Success
- Use room temperature cream cheese for easier mixing and a smoother texture.
- Don’t skip the chilling step; it enhances the flavors and makes serving easier.
- For a fun twist, try adding a splash of your favorite liqueur to the cheesecake mixture.
- Keep your berries fresh by washing them just before use.
- Feel free to customize the fruit based on what’s in season!
Equipment Needed
- Mixing Bowl: A large bowl for combining ingredients. A glass or stainless steel bowl works well.
- Electric Mixer: For smooth cream cheese. A whisk can be used, but it requires more effort.
- Spatula: Essential for folding and spreading the mixture evenly.
- Serving Bowl: A large, clear bowl showcases the layers beautifully.
Variations
- Berry Medley: Swap out the berries for your favorites, like blackberries or peaches, for a unique twist.
- Chocolate Drizzle: Drizzle melted chocolate over the top for a decadent touch that chocolate lovers will adore.
- Nutty Crunch: Add chopped nuts, like pecans or almonds, for an extra layer of flavor and texture.
- Vegan Option: Use vegan cream cheese and coconut whipped cream for a dairy-free version that’s just as delicious.
- Low-Sugar Version: Substitute powdered sugar with a sugar alternative to reduce sweetness without sacrificing flavor.
Serving Suggestions
- Pair with grilled chicken or fish for a balanced meal that’s perfect for summer.
- Serve alongside a refreshing lemonade or iced tea to complement the flavors.
- For a festive touch, garnish with fresh mint leaves and edible flowers.
- Present in individual cups for a fun, personal serving option.

FAQs about Red, White, and Blue Cheesecake Salad
Can I make this Red, White, and Blue Cheesecake Salad ahead of time?
Absolutely! This salad can be made a day in advance. Just keep it covered in the refrigerator. The flavors will meld beautifully overnight, making it even more delicious!
What can I substitute for cream cheese?
If you’re looking for a lighter option, Greek yogurt works well as a substitute. It gives a tangy flavor while keeping the creamy texture. You can also use vegan cream cheese for a dairy-free version.
How long will leftovers last?
Leftovers can be stored in an airtight container in the refrigerator for up to 3 days. Just be aware that the berries may release some juice over time, but it will still taste great!
Can I use frozen berries instead of fresh?
Yes, you can use frozen berries! Just make sure to thaw and drain them before layering. This will prevent excess moisture from making the salad soggy.
Is this salad suitable for a gluten-free diet?
To make this Red, White, and Blue Cheesecake Salad gluten-free, simply substitute the crushed graham crackers with gluten-free options, like crushed gluten-free cookies or nuts. Enjoy without worry!
Final Thoughts
Creating this Red, White, and Blue Cheesecake Salad is more than just whipping up a dessert; it’s about bringing people together. Each layer tells a story, from the vibrant berries to the creamy cheesecake, evoking memories of summer celebrations and laughter. This dish is a reminder that cooking can be simple yet rewarding. Whether you’re hosting a barbecue or enjoying a quiet evening, this salad adds a festive touch to any occasion. So, roll up your sleeves, gather your loved ones, and dive into this delightful treat that’s sure to spark joy and create lasting memories!
Red, White, and Blue Cheesecake Salad: A Festive Delight!
Ingredients
Method
- In a large mixing bowl, beat the softened cream cheese with an electric mixer until smooth.
- Gradually add the powdered sugar and vanilla extract, mixing until well combined.
- Gently fold in the whipped topping until the mixture is light and fluffy.
- In a large serving bowl, layer half of the strawberries, blueberries, and raspberries.
- Spread half of the cheesecake mixture over the berries.
- Repeat the layers with the remaining berries and cheesecake mixture.
- Top with crushed graham crackers for added crunch.
- Chill in the refrigerator for at least 1 hour before serving to allow the flavors to meld.
Nutrition
Notes
- For a lighter version, substitute the cream cheese with Greek yogurt and reduce the powdered sugar.
- Add a splash of lemon juice for a zesty twist.
- Consider adding a sprinkle of edible glitter on top before serving for a festive touch.


