


As I lifted the lid of my mixing bowl, a wave of earthy sweetness wrapped around the kitchen, a promise that something delightful was on the way. This Easy Salted Honey Pie is my go-to dessert for impressing family and friends with minimal effort, bringing the perfect balance of sweetness and a hint of sea salt that elevates any occasion. Whipping up in just 10 minutes, this recipe is not only quick but also adaptable for gluten-free diets, ensuring everyone at your table can indulge in its creamy, rich goodness. Whether you’re hosting a gathering or treating yourself after a long day, this pie is bound to become a favorite in your home. Are you ready to discover a new classic that will have everyone asking for seconds?

Why Will You Adore This Pie?
Unmatched Simplicity: This Easy Salted Honey Pie comes together in just 10 minutes, making it an ideal treat for busy weeknights or spontaneous gatherings.
Rich, Decadent Flavor: The blend of high-quality honey and heavy cream creates a luxuriously creamy filling, balanced perfectly with a sprinkle of flaky sea salt.
Gluten-Free Friendly: With adaptable crust options, this pie ensures everyone can partake in the indulgence, whether you’re using a standard crust or a gluten-free alternative.
Endless Versatility: Feel free to experiment with flavors—try a chocolate cookie crust or a hint of cinnamon for a unique twist!
Crowd-Pleasing Appeal: This dessert is sure to impress family and friends, making it a sure hit for any occasion. Think of it as the perfect companion to your gatherings, just like a Crispy Feta Fried Eggs brunch or a comforting Crispy Chilli Beef dinner!
Easy Make-Ahead Option: Prepare the filling ahead of time for a stress-free dessert experience, allowing you more time to enjoy the company.
Salted Honey Pie Ingredients
For the Crust
• Pie Crust – You can use a store-bought or homemade crust; feel free to choose a gluten-free alternative to accommodate dietary needs.
For the Filling
• Honey – Opt for high-quality honey for the best flavor; substitute with maple syrup if desired, but be aware it will change the pie’s taste.
• Heavy Cream – Adds richness; you may use whole milk or coconut cream for a lighter version.
• Unsalted Butter – Enhances the filling’s flavor and texture; coconut oil is a great dairy-free alternative.
• Eggs – These provide essential structure to the filling, ensuring a creamy consistency.
• Flaky Sea Salt – Sprinkling this just before serving elevates the flavors and adds a delightful contrast to the sweetness.
Note: This Salted Honey Pie is a delightful treat that’s quick to prepare and perfect for satisfying any sweet craving!
Step‑by‑Step Instructions for Salted Honey Pie
Step 1: Preheat the Oven
Begin by preheating your oven to 350°F (175°C). This crucial step ensures that your Easy Salted Honey Pie bakes evenly, resulting in a perfect texture. While the oven warms, you can focus on preparing your pie crust, making this a smooth and efficient process.
Step 2: Prepare the Crust
Take your pie crust and roll it out on a lightly floured surface if homemade, or simply unroll the store-bought crust. Carefully transfer the crust into a 9-inch pie plate, crimping the edges for a beautiful finish. This foundation is essential for holding your luscious filling when baking.
Step 3: Mix the Filling
In a medium mixing bowl, whisk together the eggs, honey, heavy cream, and melted butter until the mixture is smooth and fully combined. The luscious filling should be homogeneous, showcasing a rich, creamy consistency. Keep an eye out for any lumps to ensure your Salted Honey Pie results in a velvety texture.
Step 4: Fill the Crust
Pour the creamy filling into your prepared pie crust. Be cautious not to overfill; leave about half an inch from the top to prevent spills during baking. As the filling settles, you’ll notice its glossy surface, promising a delightful treat once baked to perfection.
Step 5: Bake the Pie
Carefully place your filled pie in the preheated oven and bake for 35-40 minutes. The edges should puff slightly, while the center retains a gentle jiggle, indicating it’s perfectly set. Keep an eye on it as the baking progresses; this visual cue is key for optimal doneness.
Step 6: Cool
After baking, remove your pie from the oven and allow it to cool to room temperature on a wire rack. This cooling process helps the pie maintain its structure. Once cooled, transfer it to the refrigerator and chill for at least 2 hours, allowing the flavors in your Salted Honey Pie to meld beautifully.
Step 7: Serve
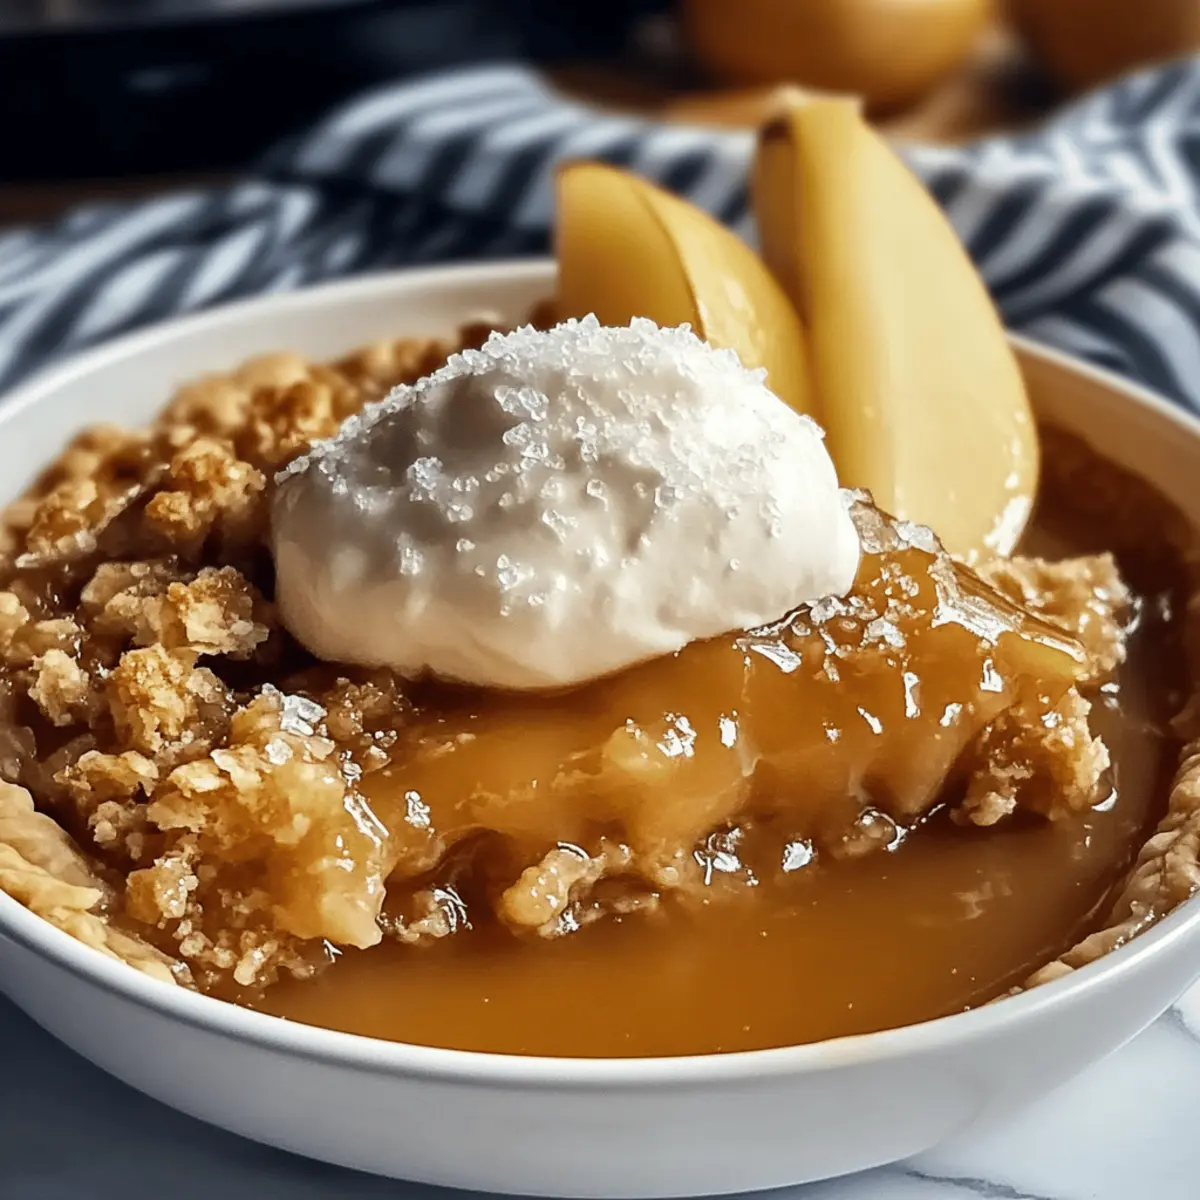
Just before serving, sprinkle a generous pinch of flaky sea salt over the top of your chilled pie. This enhances the sweetness and adds a delightful crunch. Slice and present your Salted Honey Pie with pride, ready for everyone to indulge in this sweet, creamy sensation!

Crockpot Apple Crisp Variations
Feel free to play with this recipe and make it truly your own, adding unique touches that excite your taste buds!
- Gluten-Free: Use certified gluten-free oats and a gluten-free flour blend for the crisp topping, ensuring everyone can enjoy this treat.
- Nutty Crunch: Add chopped walnuts or pecans to the crumb topping for added texture and a delicious nutty flavor. They not only enhance the crunch but also bring a delightful richness to each bite.
- Cinnamon Twist: Sprinkle in an extra teaspoon of cinnamon or a touch of nutmeg for a comforting spice that accentuates the natural sweetness of the apples.
- Maple Sweetness: Substitute some of the sugar with pure maple syrup for a warm, earthy sweetness that complements the apples beautifully. This twist adds a lovely depth of flavor that will leave your guests raving!
- Mixed Fruits: Combine apples with pears or berries for a fruity medley. This adds layers of flavor and makes for a visually stunning dessert, delighting everyone at your table.
- Caramel Drizzle: Drizzle some caramel sauce over the top just before serving for an extra indulgent flair. The rich, gooey sweetness balances perfectly with the soft apples and crispy topping.
- Vegan Delight: Swap butter for coconut oil and use a plant-based milk alternative to create a vegan-friendly version that everyone can enjoy.
- Serve it Up: Pair with a scoop of vanilla ice cream or whipped cream to enhance the cozy experience, just like a scoop alongside your favorite Crispy Chilli Chicken.
Enjoy the journey of making this comforting dessert your own!
Make Ahead Options
These Easy Salted Honey Pies are perfect for meal prep enthusiasts! You can prepare the filling up to 24 hours in advance by mixing together the eggs, honey, heavy cream, and melted butter, storing it in an airtight container in the refrigerator. Additionally, the pie crust can be prepared ahead of time and refrigerated for up to 3 days. To maintain quality, make sure to wrap the crust tightly to prevent it from drying out. When you’re ready to bake, simply pour the chilled filling into the prepared crust, bake as directed, and enjoy a delightful dessert that saves you time and stress during busy gatherings!
What to Serve with Easy Salted Honey Pie?
Indulge in the sweetness of this delightful pie alongside some perfect pairings that enhance its flavors and textures.
-
Whipped Cream: A light, airy dollop adds creaminess that echoes the pie’s filling while balancing its sweetness beautifully.
-
Vanilla Ice Cream: The cold, creamy texture of vanilla ice cream contrasts the warm pie perfectly, creating a comforting dessert experience.
-
Fresh Berries: Juicy raspberries or strawberries bring a refreshing burst of acidity, complementing the rich honey and cream.
-
Caramel Sauce: Drizzling warm caramel over each slice takes the indulgence up a notch, adding a sweet and buttery flavor that charms your taste buds.
-
Espresso or Coffee: A robust cup of coffee complements the sweetness, making every bite of the pie even more satisfying.
-
Nutty Granola: A sprinkle of nutty granola on top adds crunch and texture, enhancing each creamy slice with a delightful bite.
-
Sparkling Cider: For a festive touch, serve this pie with sparkling cider, refreshing the palate and elevating the dining experience.
-
Chocolate Sauce: For chocolate lovers, a drizzle of rich chocolate sauce on top creates a luxurious pairing that harmonizes beautifully with the pie’s flavors.
-
Coconut Whipped Cream: For a dairy-free alternative, enjoy this pie with luscious coconut whipped cream, adding a tropical twist that enhances the dessert.
-
Chai Latte: The spiced warmth of a chai latte pairs brilliantly, bringing out the pie’s richness while adding comforting, aromatic notes.
Storage Tips for Salted Honey Pie
Fridge: Store your Salted Honey Pie in an airtight container in the refrigerator for up to 3-4 days, keeping it fresh and delicious for your sweet tooth cravings.
Freezer: For longer storage, freeze the pie wrapped tightly in plastic wrap and aluminum foil for up to 3 months. Label it for easy identification later!
Reheating: To enjoy leftovers, thaw overnight in the fridge and reheat slices gently in the microwave, or serve chilled to savor the flavors.
Expert Tips for Salted Honey Pie
-
Smooth Filling: Ensure the mixture is completely smooth before pouring into the crust to avoid any lumps in your pie.
-
Mind the Fill: Avoid overfilling the pie crust; a gentle jiggle in the center indicates perfection without risking spills.
-
Chill Time: Let the pie cool at room temperature before refrigerating. Proper chilling helps the flavors develop and the filling set beautifully.
-
Quality Ingredients: Use high-quality honey for a richer flavor. Experimenting with different types of honey can give your pie a unique taste.
-
Gluten-Free Options: If you’re opting for a gluten-free crust, ensure to check all your ingredients, including any additives in the filling.

Salted Honey Pie Recipe FAQs
How do I choose the best honey for my pie?
Absolutely! Opt for high-quality honey, as it significantly enhances the flavor of your Salted Honey Pie. Look for raw or local honey for a richer taste. If you’re experimenting, remember that maple syrup can be used as a substitute, but it will alter the flavor profile slightly.
How should I store leftover Salted Honey Pie?
To store your Salted Honey Pie, make sure to keep it in an airtight container in the refrigerator for up to 3-4 days. This way, you can savor its delightful taste, keeping it fresh and creamy. If you need to store it longer, consider wrapping it tightly and freezing it for up to 3 months to maintain its yumminess.
Can I freeze the Salted Honey Pie?
Of course! Freezing is a great option. To do so, wrap your chilled pie tightly in plastic wrap followed by aluminum foil to avoid freezer burn. When you’re ready to enjoy, thaw it overnight in the fridge and either enjoy it chilled or gently warm slices in the microwave.
What if my filling has lumps?
If you find your filling has lumps, don’t fret! Simply pour the mixture through a fine-mesh strainer to achieve a smooth consistency. This step ensures your pie has the rich, creamy filling you desire, free from any unwanted textures.
Is this recipe suitable for people with dietary restrictions?
Very! This Salted Honey Pie is easily adaptable for gluten-free diets by choosing a gluten-free crust. Always check your ingredients, including butter and cream, for any potential allergens. You can even substitute with dairy-free alternatives like coconut cream and vegan butter for a completely dairy-free treat!
How long does the pie need to chill before serving?
For the best results, allow your Salted Honey Pie to chill in the refrigerator for at least 2 hours after baking. This chilling time not only helps the filling set perfectly but also allows the flavors to meld beautifully, resulting in a dessert that’s even more delicious.
Crockpot Apple Crisp: Cozy, Easy Delight for Fall Nights
Ingredients
Equipment
Method
- Peel and slice the apples, placing them in the crockpot.
- Mix together brown sugar, oats, flour, melted butter, cinnamon, and nutmeg in a bowl.
- Spread the mixture evenly over the apples in the crockpot.
- Cover and cook on low for 4-6 hours or high for 2-3 hours, until apples are tender.
- Let cool for at least 2 hours before serving to allow juices to settle.