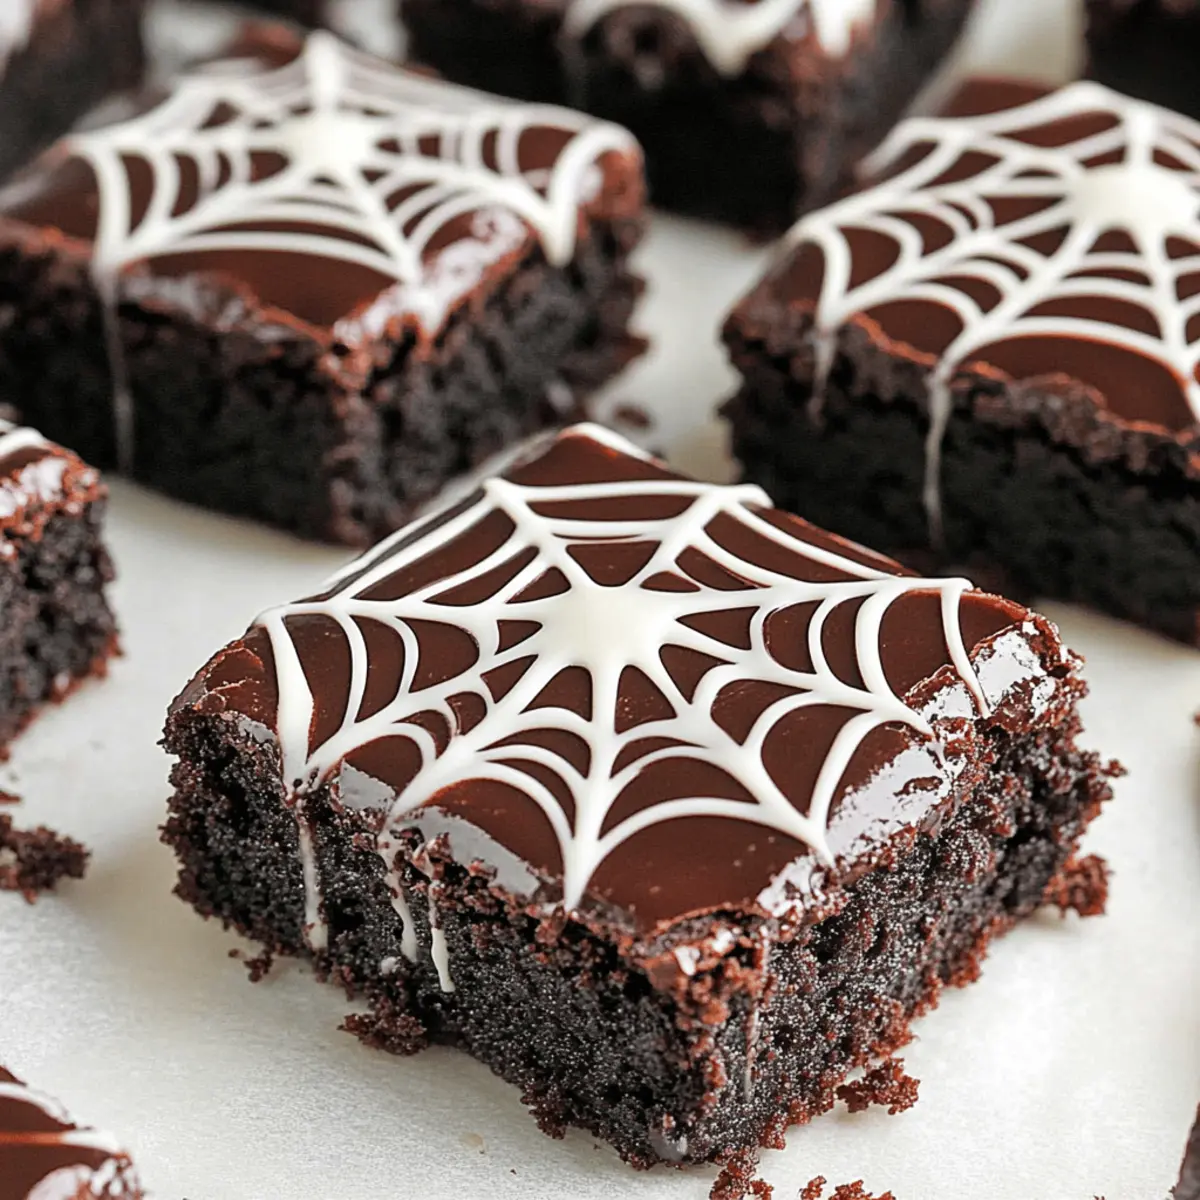
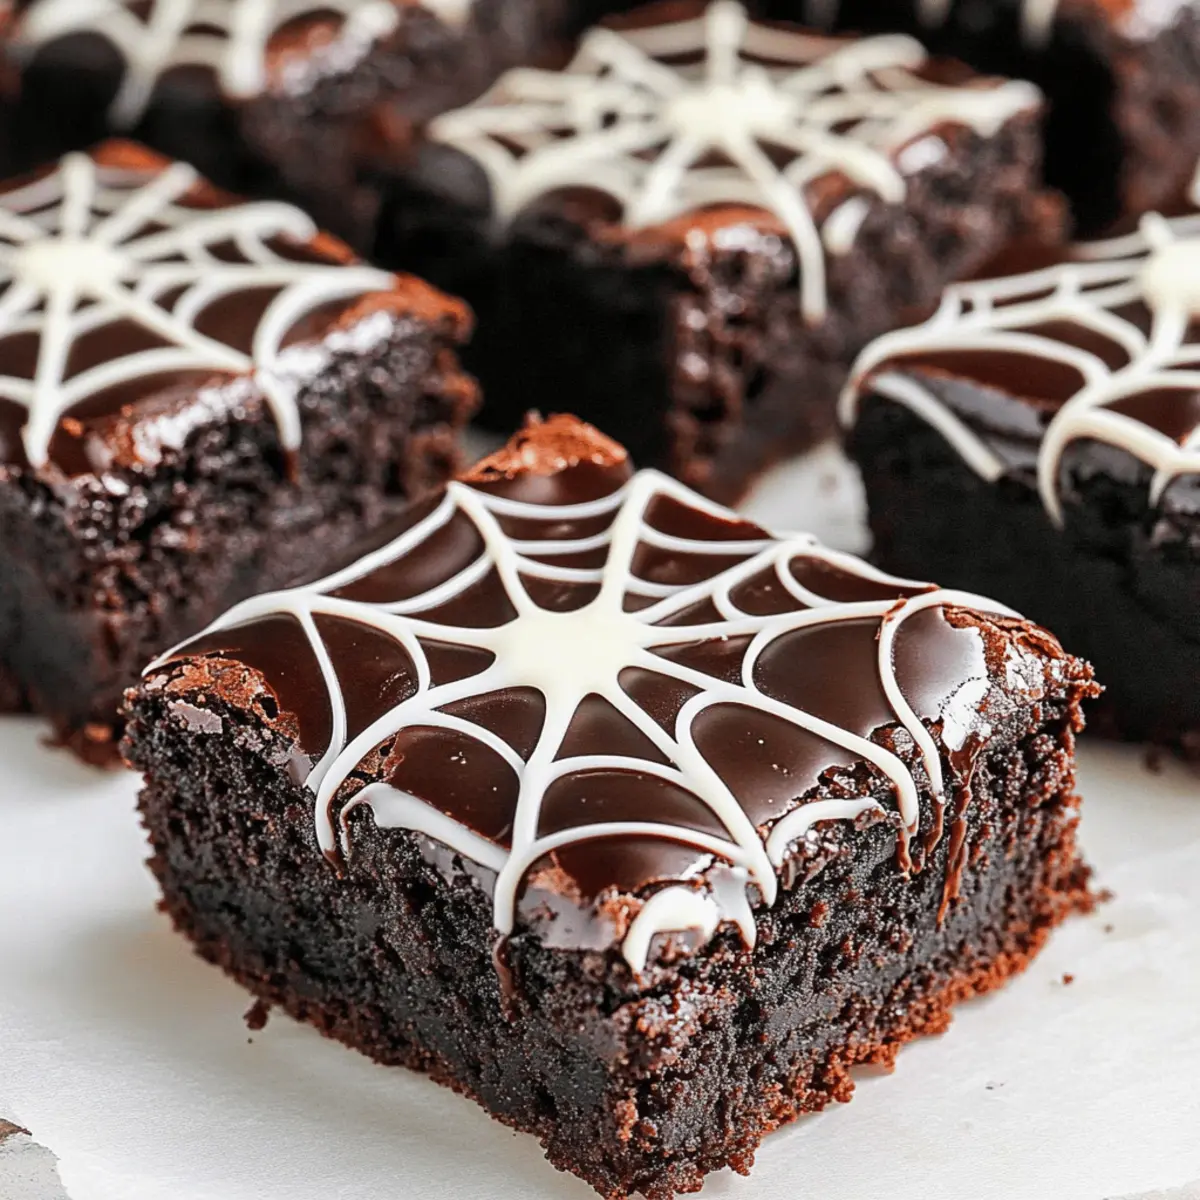
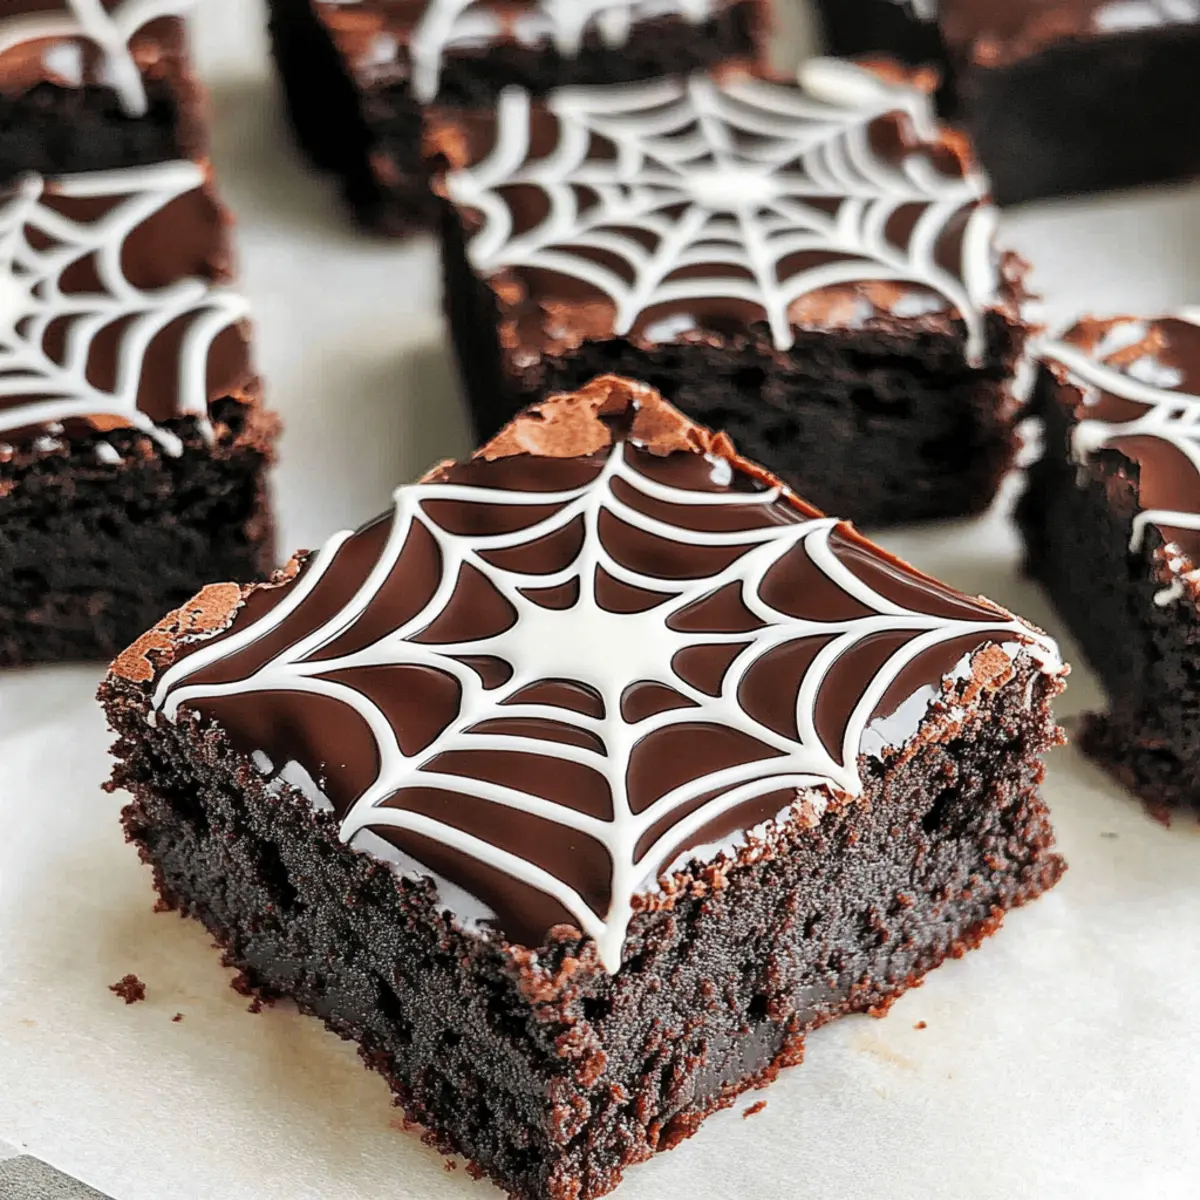
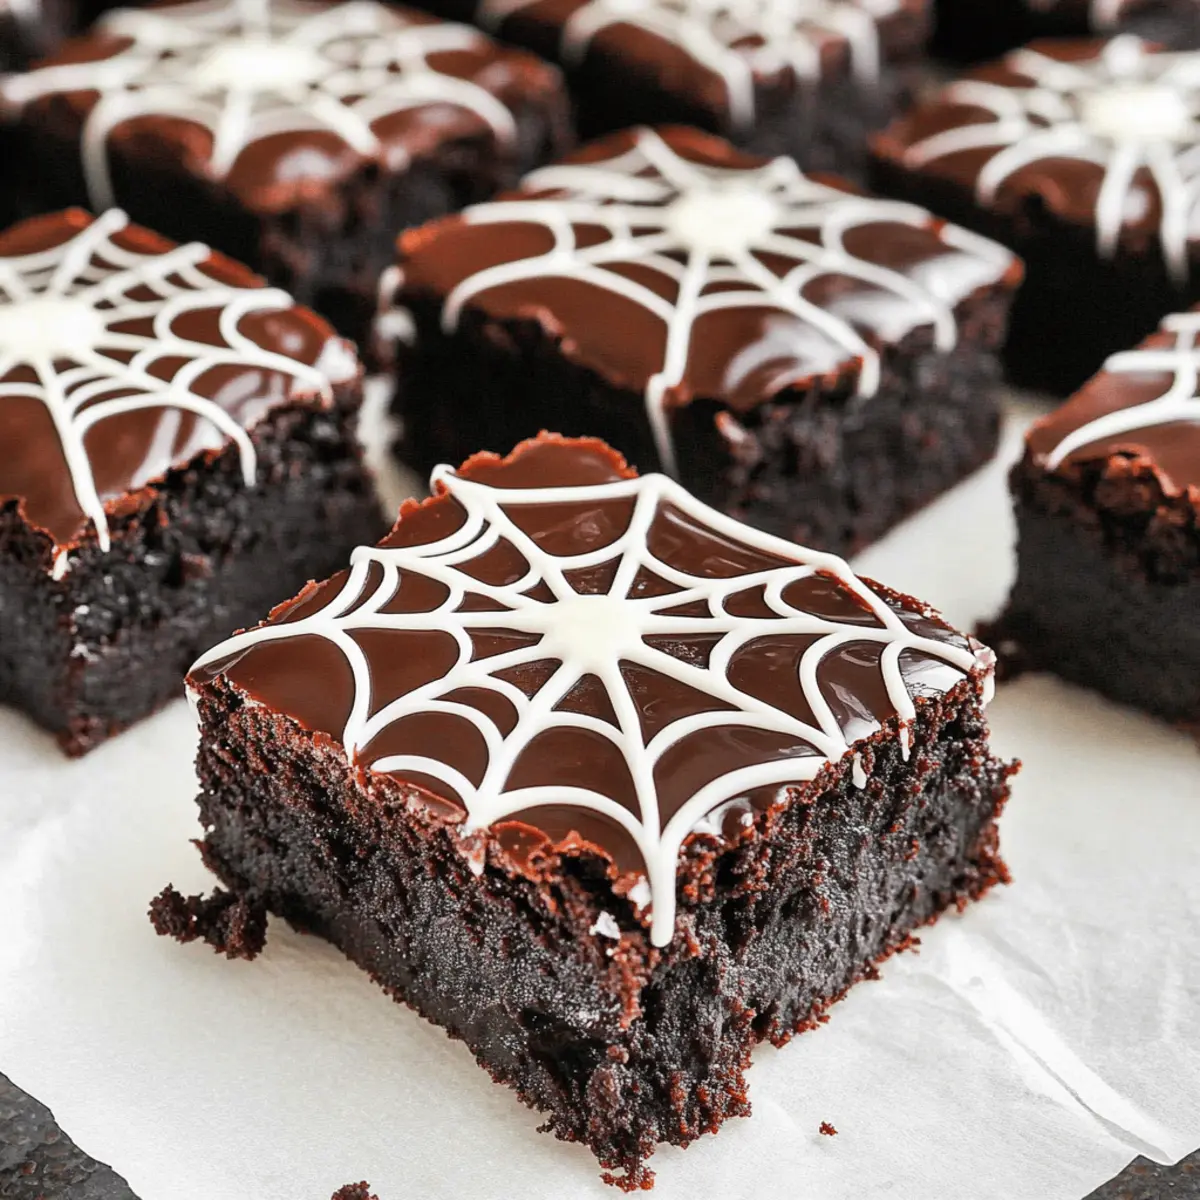
As I recently stirred a pot of melted chocolate, the sweet aroma wafted through my kitchen, transporting me to a world of cozy Halloween memories, and it hit me—the perfect treat for this season! Enter my Spiderweb Brownies, a fudgy delight that combines ultimate chocolate satisfaction with a whimsical holiday twist. With their glossy ganache topped by delicate white chocolate webs, these brownies are not just visually stunning; they’re also a breeze to whip up. Whether you’re throwing a Halloween party or simply craving a comforting dessert at the end of the day, these fudgy brownies fit the bill perfectly. Plus, they can easily be adapted to be gluten-free or dairy-free, ensuring everyone can enjoy this festive treat. Are you ready to impress your friends and family with these spooky yet scrumptious Spiderweb Brownies? Let’s dive into the recipe!

Why Are Spiderweb Brownies So Special?
Decadent and Fudgy: These Spiderweb Brownies are baked to perfection, offering a rich, gooey texture that envelops your taste buds in chocolate bliss.
Easy to Make: With simple ingredients and straightforward steps, you’ll have these delightful treats ready in no time—perfect for beginner bakers and seasoned pros alike!
Versatile for All Diets: Whether you need gluten-free or dairy-free options, this recipe adapts easily, ensuring everyone can indulge.
Festive Presentation: The beautiful white chocolate webs make these brownies a stunning centerpiece for your Halloween spread or any festive occasion.
Crowd-Pleasing Delight: They’re sure to impress at parties or as a cozy treat for family movie nights. Nothing beats sharing a delicious homemade dessert with loved ones!
Elevate your dessert game for spooky season or anytime by following this easy Spiderweb Brownies recipe.
Spiderweb Brownies Ingredients
For the Brownies
• All-purpose or Gluten-free flour – This provides structure to the brownies; substitute with gluten-free blends like buckwheat or measure-for-measure blends.
• Dutch-process cocoa powder – Adds a deep chocolate flavor and color; if needed, you can use regular cocoa powder instead.
• Salt – Enhances the flavor; it’s essential to achieving a balanced taste.
• Refined coconut oil or butter – Adds moisture and richness; opt for coconut oil for a dairy-free version.
• Granulated sugar or coconut sugar – Sweetens the brownies and acts as a binder; coconut sugar offers a healthier alternative.
• Vanilla extract – Infuses warmth and depth of flavor into the brownies.
• Large eggs (3) – Provides moisture and structure; for a vegan option, consider using egg replacers.
• Semi-sweet chocolate chips or chopped chocolate – Great for the ganache and enhances the chocolate flavor; use dairy-free chocolate for allergen-friendly brownies.
For the Ganache
• Heavy cream or full-fat canned coconut milk – This is used for making the ganache; choose coconut milk for a dairy-free variant.
For the Spiderweb Topping
• White chocolate chips or chopped white chocolate – Create the elegant spiderweb design on top; look for dairy-free brands if needed.
Step‑by‑Step Instructions for Spiderweb Brownies
Step 1: Preheat the Oven
Begin by preheating your oven to 350°F (175°C). While the oven heats up, line an 8″x8″ baking pan with parchment paper, allowing some overhang for easy removal later. This preparation ensures your Spiderweb Brownies bake evenly and can be easily lifted out once they’re cool.
Step 2: Mix Dry Ingredients
In a medium bowl, combine the all-purpose or gluten-free flour, Dutch-process cocoa powder, and salt. Whisk these dry ingredients together thoroughly to ensure an even mixture. Set this bowl aside, allowing the flavors to meld while you work on the wet mixture for your fudgy brownie batter.
Step 3: Prepare the Wet Ingredients
In a separate large bowl, mix together the melted coconut oil or butter with the granulated sugar and vanilla extract. Stir until the mixture is fully combined, with a shiny appearance indicating that the sugar is beginning to dissolve. This will create a rich base for your Spiderweb Brownies.
Step 4: Incorporate the Eggs
Add the three large eggs to your wet mixture, incorporating them one at a time. Mix gently after each addition, just until blended, to maintain the rich fudginess that these brownies are known for. You want to see a smooth mixture without any visible egg streaks.
Step 5: Combine Dry and Wet Mixtures
Gently fold the dry ingredients into the wet mixture using a spatula or wooden spoon. Mix just until you no longer see any flour streaks; be careful not to overmix, as that could lead to dense, cakey brownies. The batter should be thick and glossy.
Step 6: Bake the Brownies
Pour the batter into your prepared baking pan, spreading it evenly. Place the pan in the preheated oven and bake for 15–20 minutes. The brownies should look slightly underbaked and firm along the edges, with a toothpick inserted in the center coming out with moist crumbs for that fudgy texture.
Step 7: Cool the Brownies
Once baked, remove the pan from the oven and allow the brownies to cool in the pan for about 1 hour at room temperature. This step is essential for achieving the perfect texture. After cooling, transfer the brownies to the refrigerator for an additional hour to chill and firm up before cutting them into squares.
Step 8: Make the Ganache
While the brownies cool, prepare the chocolate ganache. Heat the cream (or coconut milk for a dairy-free option) until it begins to steam. Pour this hot liquid over the semi-sweet chocolate chips in a bowl and let it sit for a couple of minutes. Stir until the mixture is completely smooth and glossy, creating a rich topping for your brownies.
Step 9: Decorate the Brownies
Finally, once the brownies have cooled completely, it’s time to decorate them. Melt the white chocolate and use a piping bag or a small ziplock bag with a corner snipped off to pipe spirals over the cooled brownies, creating an elegant spiderweb design. This delightful touch transforms your Spiderweb Brownies into a spooky Halloween treat!

What to Serve with Spiderweb Brownies
These whimsical treats are not just delicious on their own; they can become the highlight of a complete spooky feast or gathering.
-
Pumpkin Spice Latte: The warm spices of this classic beverage perfectly complement the rich chocolate flavor, making for a delightful fall pairing.
-
Vanilla Ice Cream: A scoop of creamy vanilla ice cream on the side provides a cool and creamy contrast to the fudgy brownies, elevating each chocolate bite.
-
Caramel Sauce: Drizzling warm caramel sauce over your brownies adds a luscious sweetness that enhances the decadent chocolate intensity.
-
Fresh Berries: A handful of tart raspberries or strawberries offers a vibrant burst of freshness, balancing the rich flavors and adding a pop of color to your dessert table.
-
Spiced Apple Cider: Serve this warm drink alongside your Spiderweb Brownies for a cozy touch. Its sweetness and spice will harmonize beautifully with the chocolate richness.
-
Chocolate Milkshake: Pairing these brownies with a thick chocolate shake creates a delightful duo of flavors, perfect for chocolate lovers and adding an extra layer of indulgence.
-
Whipped Cream Topping: Light and airy whipped cream offers a delightful contrast in texture while adding a touch of sweetness without overpowering the brownie’s deep chocolate flavor.
-
Halloween-Themed Cookies: A platter of spooky sugar cookies or ghost-shaped meringues visually enhances your dessert spread and embraces the festive spirit alongside the brownies.
Make Ahead Options
These Spiderweb Brownies are a fantastic choice for meal prep, saving you time on busy days! You can prepare the brownie batter up to 24 hours in advance by mixing all the wet and dry ingredients, then refrigerating it tightly covered. The ganache can also be made up to 3 days ahead; store it in an airtight container in the fridge and simply reheat it gently before spreading over your brownies. Just remember, when you’re ready to bake, allow the batter to come to room temperature for consistent baking results. By prepping ahead, you ensure your Spiderweb Brownies are just as fudgy and delicious, allowing you to enjoy this Halloween treat with minimal effort on the day of serving!
How to Store and Freeze Spiderweb Brownies
- Room Temperature: Allow brownies to cool completely, then store in an airtight container at room temperature for up to 3 days. Enjoy their gooey texture by serving them fresh!
- Fridge: To prolong freshness, keep brownies in an airtight container in the refrigerator for up to 5 days. This will help maintain their fudgy consistency and prevent spoilage.
- Freezer: For longer storage, wrap brownies tightly in plastic wrap or aluminum foil, then place them in a freezer bag. They can be frozen for up to 3 months without losing their delightful flavor.
- Reheating: To enjoy brownies warm, microwave them for about 10-15 seconds. This will make the chocolate melt slightly, enhancing your Spiderweb Brownies experience!
Spiderweb Brownies Variations
Feel free to mix things up and create your perfect version of these delightful brownies!
-
Gluten-Free: Substitute all-purpose flour with 1 cup of light buckwheat or teff flour for a gluten-free treat perfect for gatherings.
-
Dairy-Free: Use refined coconut oil and dairy-free chocolate chips to easily make these brownies free from dairy without compromising flavor.
-
Vegan Adaptation: Replace eggs with 1/4 cup unsweetened applesauce or a commercial egg replacer to enjoy these treats without any animal products.
-
Nutty Twist: Add 1/2 cup chopped walnuts or pecans into the batter for a delightful crunch that complements the fudgy texture perfectly.
-
Minty Chocolate: Stir in 1/2 teaspoon of peppermint extract into the wet ingredients for a refreshing twist that pairs wonderfully with chocolate.
-
Spicy Heat: For a subtle kick, add 1/4 teaspoon cayenne pepper to the batter. It creates an inviting warmth that will surprise and delight your guests.
-
Flavor Fusion: Swirl 1/2 cup caramel sauce into the brownie batter before baking for a decadent combination of rich chocolate and sweet caramel goodness.
-
Extra Chocolate: Use a combination of semi-sweet and dark chocolate chips to deepen the chocolate flavor, making every bite an indulgent experience.
Feel free to explore these variations, and remember, cooking is all about creativity and personal touch! If you’re looking to add another layer of excitement to your dessert repertoire, you may also enjoy a spooky-inspired treat like Halloween Cake Pops for that festive vibe. Happy baking!
Expert Tips for Spiderweb Brownies
- Avoid Overmixing: Mixing too much can lead to dense, cakey brownies—just blend until no flour streaks remain for that fudgy texture.
- Baking Time Matters: Don’t bake the brownies for too long; they should be slightly underbaked in the center to maintain gooeyness.
- Cooling is Key: Allow the brownies to cool completely before cutting. This gives you clean edges and makes for prettier squares.
- Creating the Web: Use a toothpick to pipe the spiderweb design carefully; clean it between designs for sharp, clear lines.
- Chill for Texture: Refrigerating the brownies for an hour enhances their fudginess, making them even more delicious as a Halloween treat.

Spiderweb Brownies Recipe FAQs
What type of flour can I use for Spiderweb Brownies?
Absolutely! You can use all-purpose flour for the traditional version, or opt for gluten-free blends like teff, buckwheat, or a measure-for-measure gluten-free flour to cater to dietary needs. Just make sure the gluten-free flour includes ingredients that mimic the binding properties of wheat flour for the best texture.
How should I store my Spiderweb Brownies?
To keep these fudgy brownies fresh, store them in an airtight container at room temperature for up to 3 days. If you want to extend their shelf life, refrigerate them for up to 5 days. Just remember that chilling them can enhance that classic fudginess!
Can I freeze Spiderweb Brownies?
Very! To freeze your brownies, first allow them to cool completely. Then wrap them tightly in plastic wrap or aluminum foil and place them in a freezer bag. These brownies can be stored in the freezer for up to 3 months. When you’re ready to enjoy them, just let them thaw in the refrigerator or at room temperature.
What should I do if my brownies are too cakey?
If your Spiderweb Brownies turned out cakey, it might be due to overmixing the batter or baking them for too long. For a fudgy texture, mix just until no flour streaks are visible and aim for an underbaked center. Bake for the recommended time, checking often. A toothpick should come out with moist crumbs for that gooey experience!
Can I make these Spiderweb Brownies dairy-free?
You bet! To make them dairy-free, simply use coconut oil instead of butter, and ensure your chocolate chips and ganache are dairy-free. Opt for full-fat coconut milk for the ganache to keep it rich and creamy. It’s a delicious adaptation that everyone can enjoy!
What’s the best way to achieve the perfect spiderweb design?
For the best spiderweb effect, melt the white chocolate and use a piping bag or a small ziplock bag with a tiny corner snipped off. Pipe spirals on top of the cooled brownies, then use a toothpick to gently pull lines outwards for a delicate web effect. A little patience goes a long way for that spooky presentation!

Must-Try Spiderweb Brownies: Fudgy Halloween Delight
Ingredients
Equipment
Method
- Preheat your oven to 350°F (175°C) and line an 8"x8" baking pan with parchment paper.
- In a medium bowl, combine flour, cocoa powder, and salt. Whisk to mix thoroughly.
- In a large bowl, mix melted coconut oil or butter with sugar and vanilla until shiny.
- Add the eggs one at a time, mixing gently after each addition until smooth.
- Fold dry ingredients into the wet mixture until no flour streaks remain. The batter should be thick and glossy.
- Pour the batter into the prepared pan and bake for 15–20 minutes until slightly underbaked.
- Allow the brownies to cool for 1 hour at room temperature, then refrigerate for an additional hour.
- Heat cream (or coconut milk) until steaming, then pour over chocolate chips and stir until smooth to create ganache.
- Melt white chocolate and pipe spirals over cooled brownies to create the spiderweb design.


